Adguard for macOS
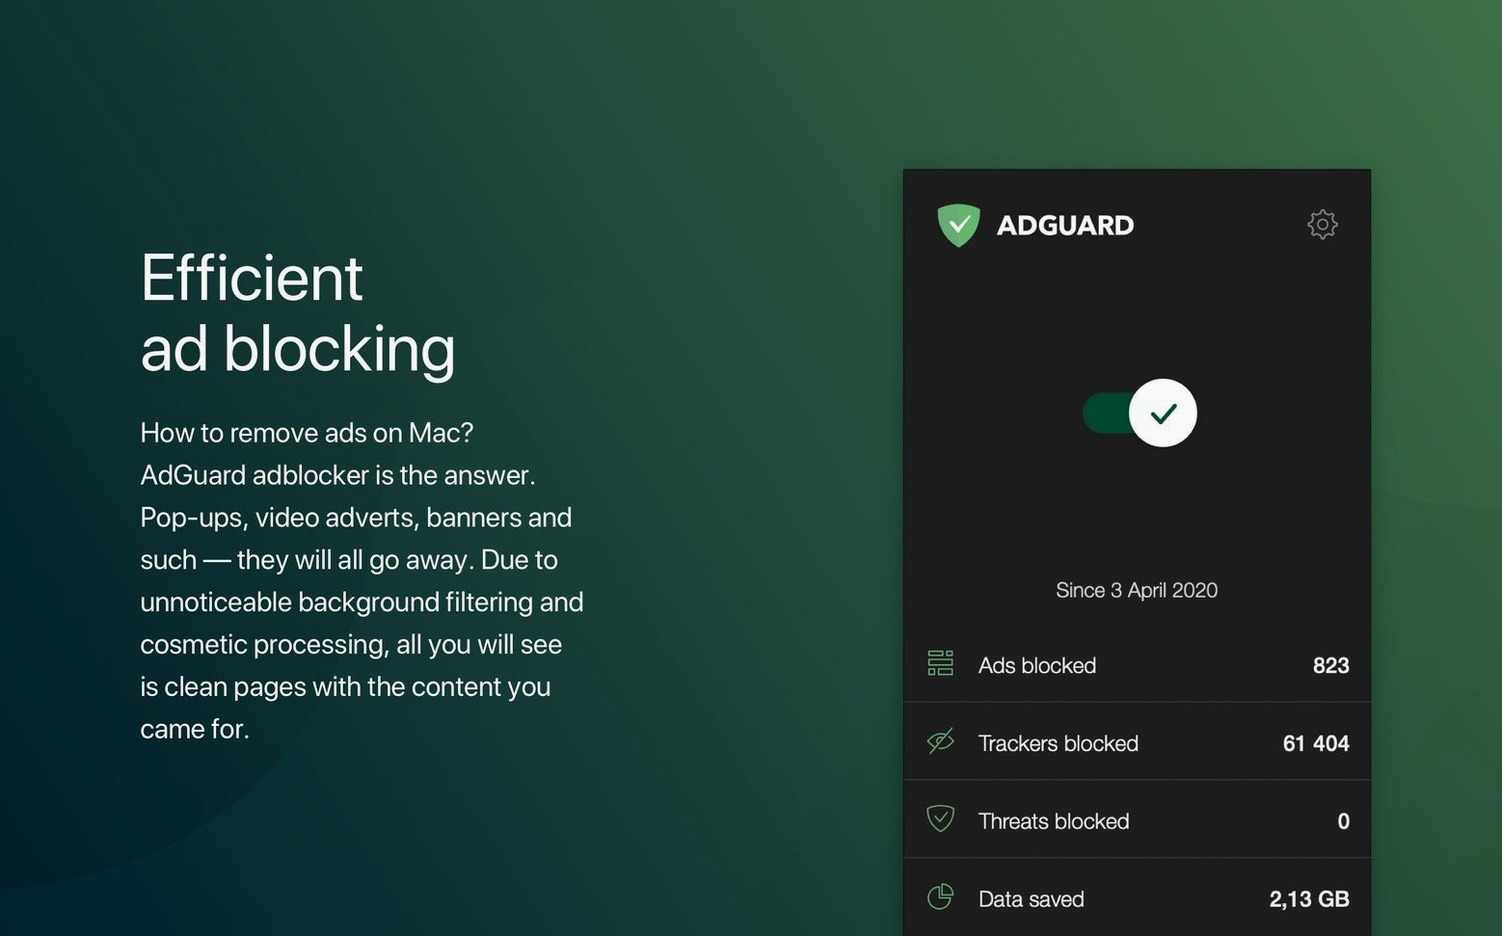
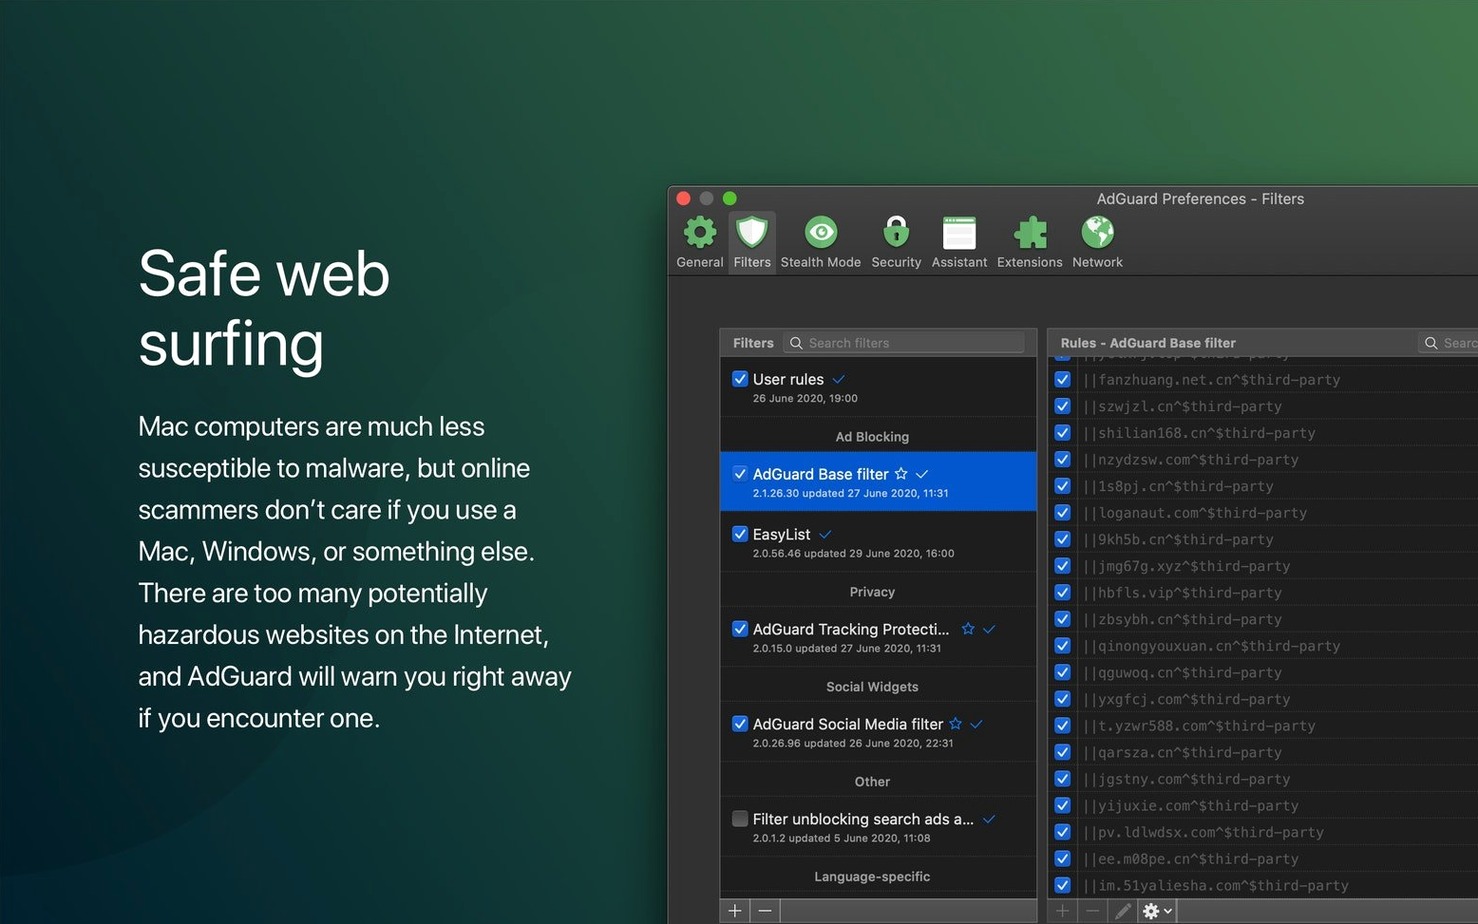
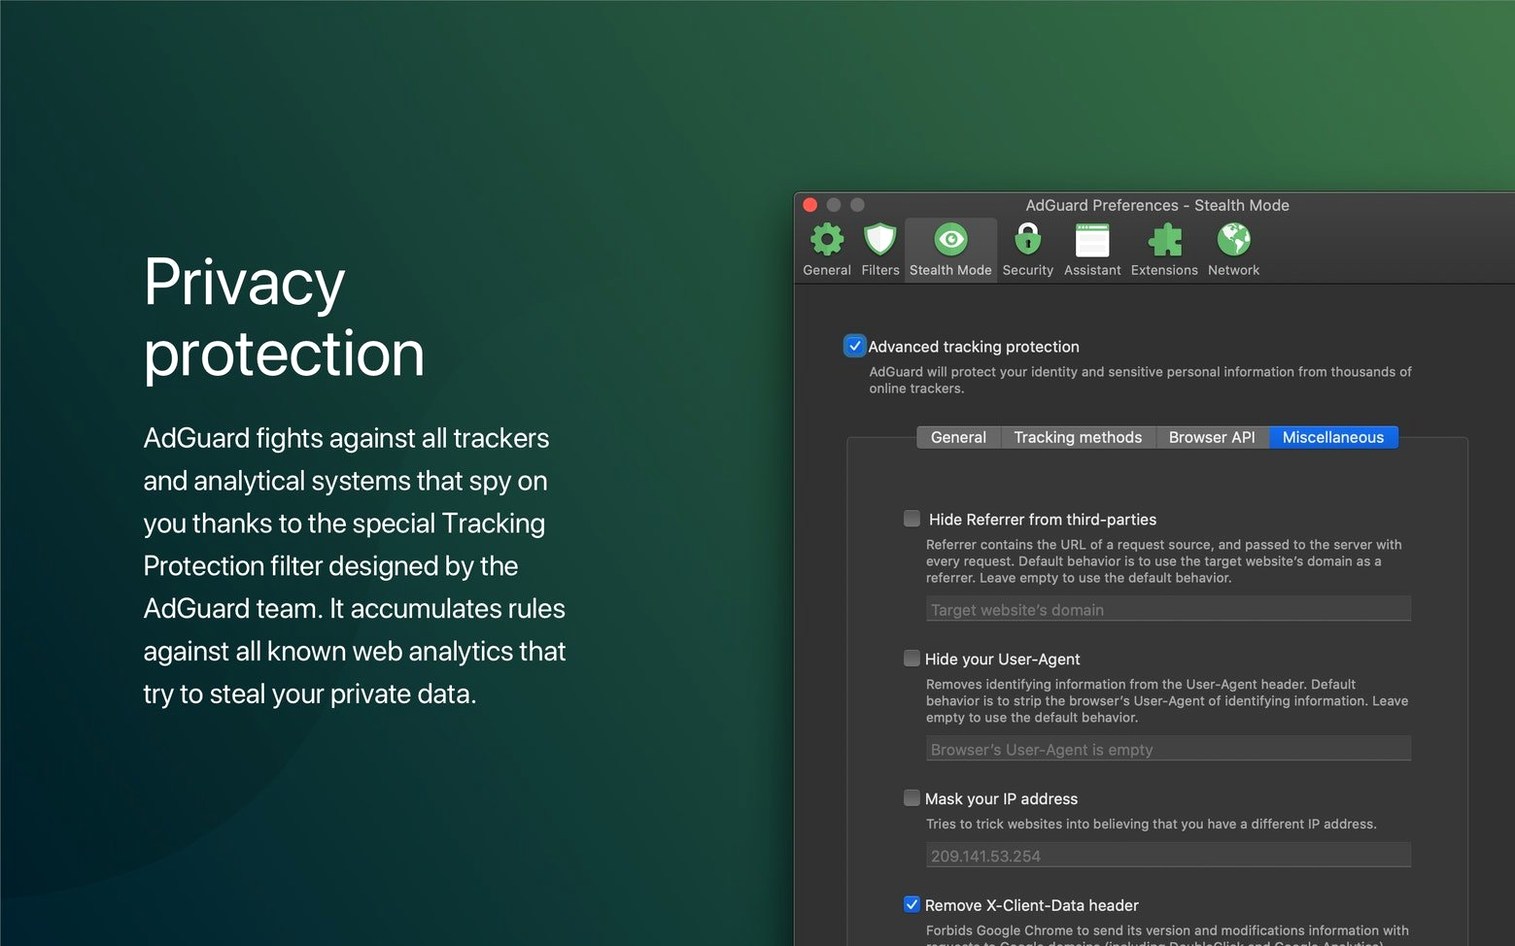
If you know Safari's content blockers, AdGuard works like a version of that which operates one level deeper. Instead of living inside a single browser, it inspects network traffic before it reaches any app. That means a .dmg download from a site littered with tracking pixels gets the same treatment as a YouTube pre-roll in Chrome. Once it's installed and its network extension is active, you are essentially running a filtering proxy on your own machine—one that reads rule lists covering ads, trackers, and known phishing domains. The defaults are sensible, but a few early tweaks make the setup feel more yours.
- Enable HTTPS filtering. The system extension needs permission to decrypt and inspect secure traffic. Install the AdGuard root certificate via the app's Network settings, then trust it in Keychain Access. Without this step, encrypted ad payloads slip through.
- Choose your filter lists. Open Protection → Safari & General and review the stock selections. The "AdGuard Base" and "Tracking Protection" lists are a good starting pair; adding a language-specific list catches region-specific annoyances.
- Add a DNS filter. In the DNS Protection pane, pick a server like AdGuard DNS or Cloudflare Malware. This blocks tracking domains before the browser even starts a handshake, and it covers apps that ignore the system proxy settings.
- Whitelist a site you trust. Browse to a site that breaks with filtering on, open the Assistant menu, and toggle protection. The rule appears under User Rules so the exception persists across restarts.
Spending five minutes on these steps gives you a filter stack tailored to your browsing habits rather than someone else's. The UI keeps things readable, and the dark mode support makes the settings panels comfortable to work through at any hour.
Why does Mail.app show a certificate mismatch right after install?
Right after the network extension activates, you will notice a brief hiccup with apps that expect a direct internet pipe. Mail.app might complain about a certificate mismatch for the first few minutes, and some banking apps will pop an untrusted-connection alert. That is normal—the system is learning to route everything through 127.0.0.1 and the local filtering core needs a moment to settle. Let the machine sit idle for two or three minutes after the first restart, then open the AdGuard dashboard and check the statistics tab. If the blocked-requests counter is climbing, filtering is live.
A practical habit: keep the Assistant icon in the menu bar. Clicking it reveals a live snapshot of what was just blocked on the current page or app. When a site renders a blank space where a login form should be, open the Assistant, scroll the list, and you will usually spot a blocked third-party script that the site silently depends on. One click toggles filtering for that domain, and the page reloads cleanly. Doing this a handful of times in the first week builds a custom allowlist that prevents most future breakage without needing to touch the full settings panel.
How do I fix the 'not private' error on every HTTPS site?
The most frequent trouble report is a browser that shows "Your connection is not private" on every HTTPS site. The root cause is almost always the AdGuard root certificate not being trusted at the system level. Open Keychain Access, find "AdGuard CA" under the login keychain, double-click it, expand the Trust section, and set "When using this certificate" to Always Trust. Quit and reopen the browser, and the warnings disappear.
Another recurring snag involves iMessage or FaceTime failing to connect after installation. The DNS Protection module sometimes blocks Apple's push-notification endpoints. The fix is not to disable DNS filtering wholesale: instead, open DNS Protection → DNS Filter, tap the "Blocked domains" log, and search for courier.push.apple.com or push.apple.com. If either appears, add a whitelist rule through the Assistant or the DNS rules pane. Service returns immediately.
Users who run a VPN alongside AdGuard occasionally find the two extensions fighting over the network stack. On macOS, only one content-filter provider can sit at the head of the queue. The workaround is to set the VPN as the primary tunnel and route AdGuard's DNS filtering through it by enabling "Use AdGuard DNS in VPN mode" inside the DNS settings. On WireGuard-based VPNs, you may need to switch AdGuard's DNS implementation from "Native" to "Simple" in the advanced options to avoid double-encapsulation timeouts.
Questions asked before installing
Does it slow the machine down? The filter engine runs as a low-priority background process. On an Apple Silicon Mac, the CPU cost of inspecting hundreds of requests per second is rarely more than two or three per cent. Intel machines with 8 GB of RAM might feel a slight pause when opening a heavy ad-tech site for the first time, because the rule-compilation cache is still cold. After that initial page load, cached rules make the overhead negligible. If you want the lightest possible footprint, skip the "AdGuard Social Media" and "Annoyances" filter lists—they are the largest rule sets.
Can I use it just for Safari and leave other apps alone? Yes. The filtering modes are granular. In the Network settings, switch from "Automatic" to "Manual" proxy mode, then configure only Safari to route through the local proxy port. Other apps bypass the filter entirely. This is a common setup for people who use a separate VPN for work traffic and want AdGuard limited to personal browsing.
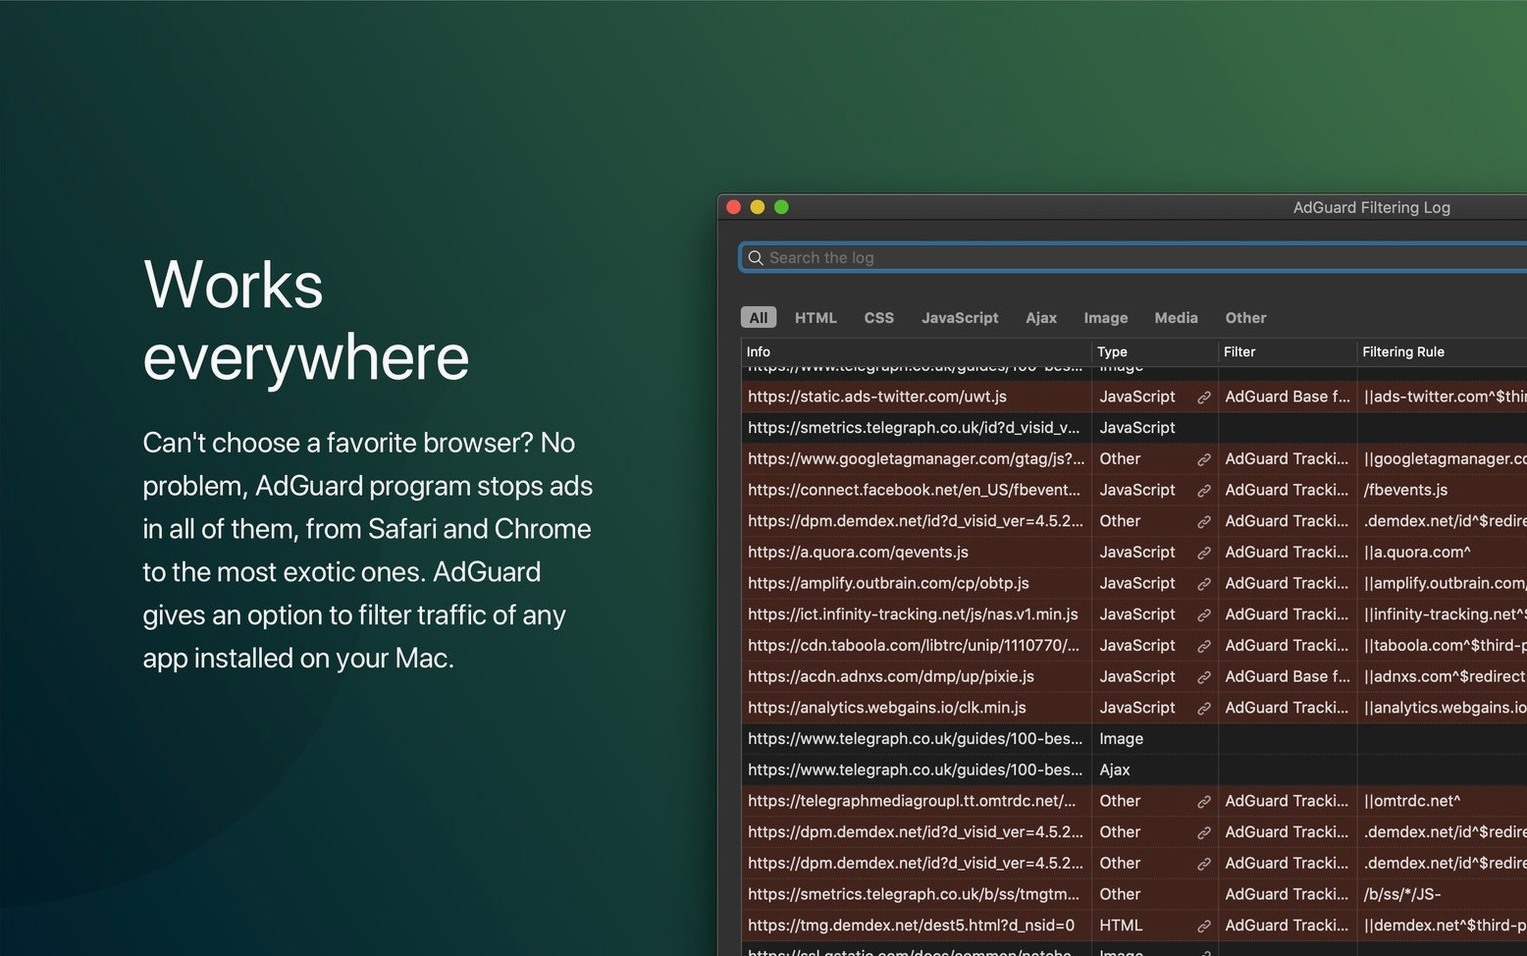
What if something breaks and I cannot figure out what is blocked? The filtering log under Settings → Advanced → Filtering Log records every request, its source app, the applied rule, and whether it was allowed or denied. You can filter the log by domain or app name. Spotting the culprit is usually a matter of refreshing the broken page, then scanning the log for anything marked blocked that comes from that domain. The log is your debugger—use it before uninstalling.
How do I strip autoplay videos and sticky banners from a news site?
Say you read a regional news outlet whose layout is 40 per cent article and 60 per cent autoplay videos, newsletter pop-overs, and sticky footer banners. Here is a systematic approach to making that site behave.
Navigate to the site and let it finish loading. Click the AdGuard menu-bar icon and open the Assistant. You will see a list of blocked items; make a mental note of the count, then switch to the "Select element" tool. Hover over the autoplay video container—AdGuard draws a red outline around block-level elements—and click. A rule-creation dialog appears. Accept the suggested CSS selector, but check the "Apply to all pages on this domain" box before saving. The video container is now stripped from every page load.
Repeat the element-picker step for the newsletter modal backdrop and the sticky footer. For the footer, you may need to use the "Expand selection" button in the rule dialog to capture the parent container instead of just the inner text block. Three clicks, three rules.
Next, open the AdGuard dashboard, go to User Rules, and review what the Assistant generated. The rules use the domain##selector syntax. If the news site runs a shared ad-tech network, you can generalise a rule by replacing the domain with a wildcard pattern like *.example-cdn.com##.ad-wrapper—that silences the same ad unit on any site pulling from that CDN. Save the rules, reload the news page, and you will see a clean reading surface with no leftover blank frames. The whole process takes under two minutes once you know the tool, and the rules persist until you delete them.
Release notes for version 2.20.2.2629 are published on the developer's official site, covering the latest round of fixes and improvements.
- macOS 10.15 (Catalina) or later
- Apple Silicon and Intel 64‑bit native
Comments 0
Sign in or create an account to leave a comment.
No comments yet. A codec, a slice, a machine — they appear after moderation.