Affinity Designer for macOS
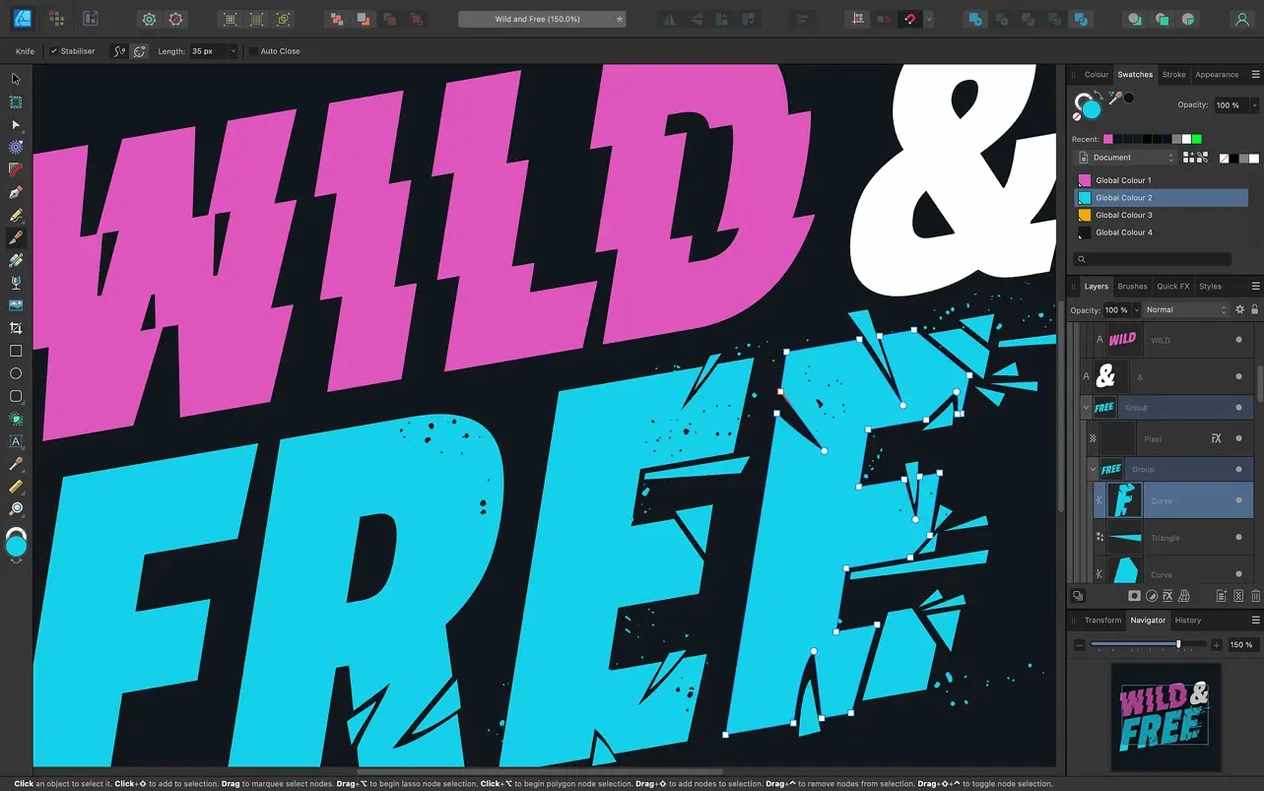
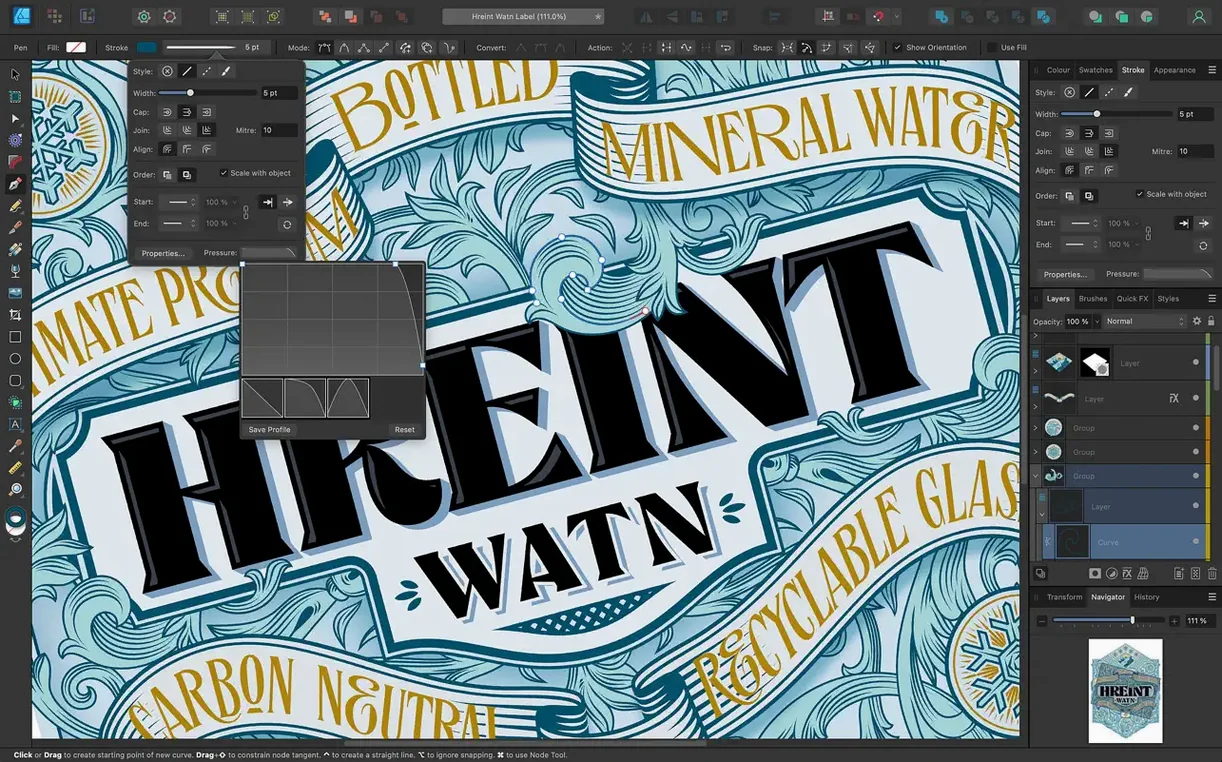
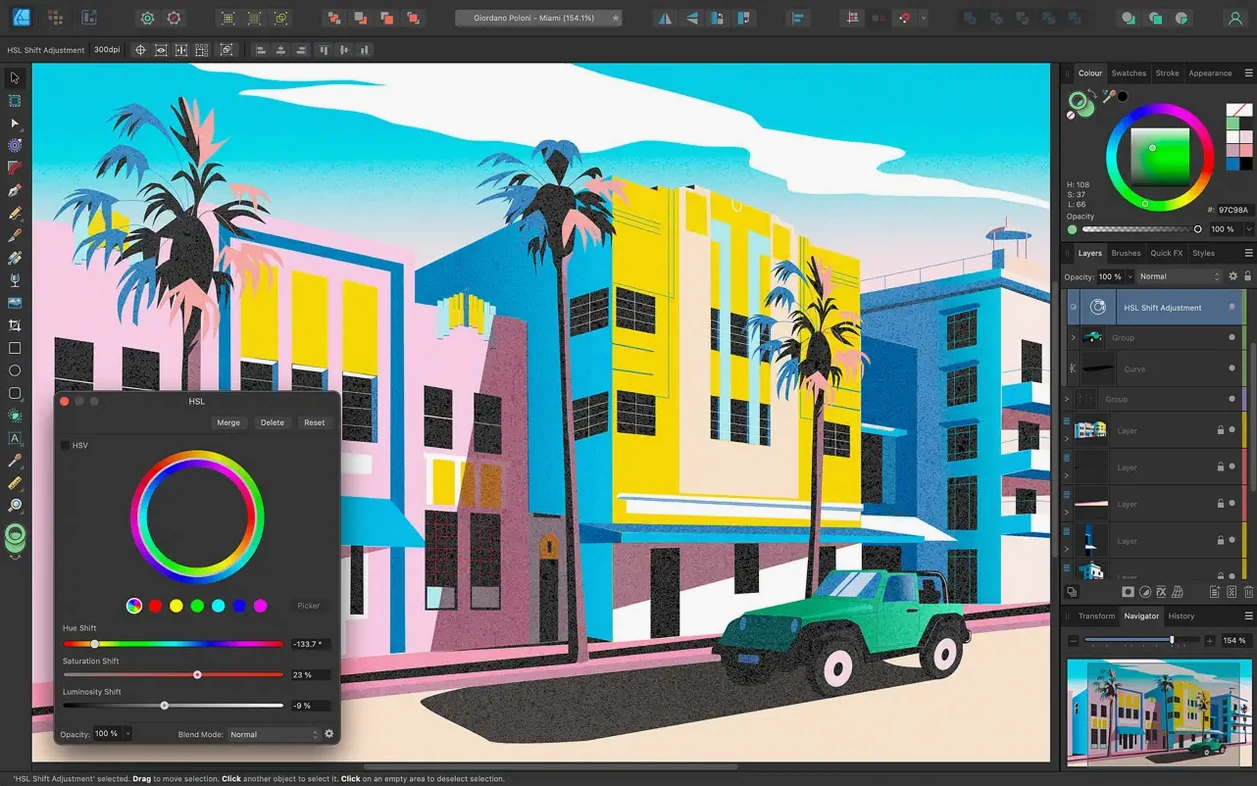
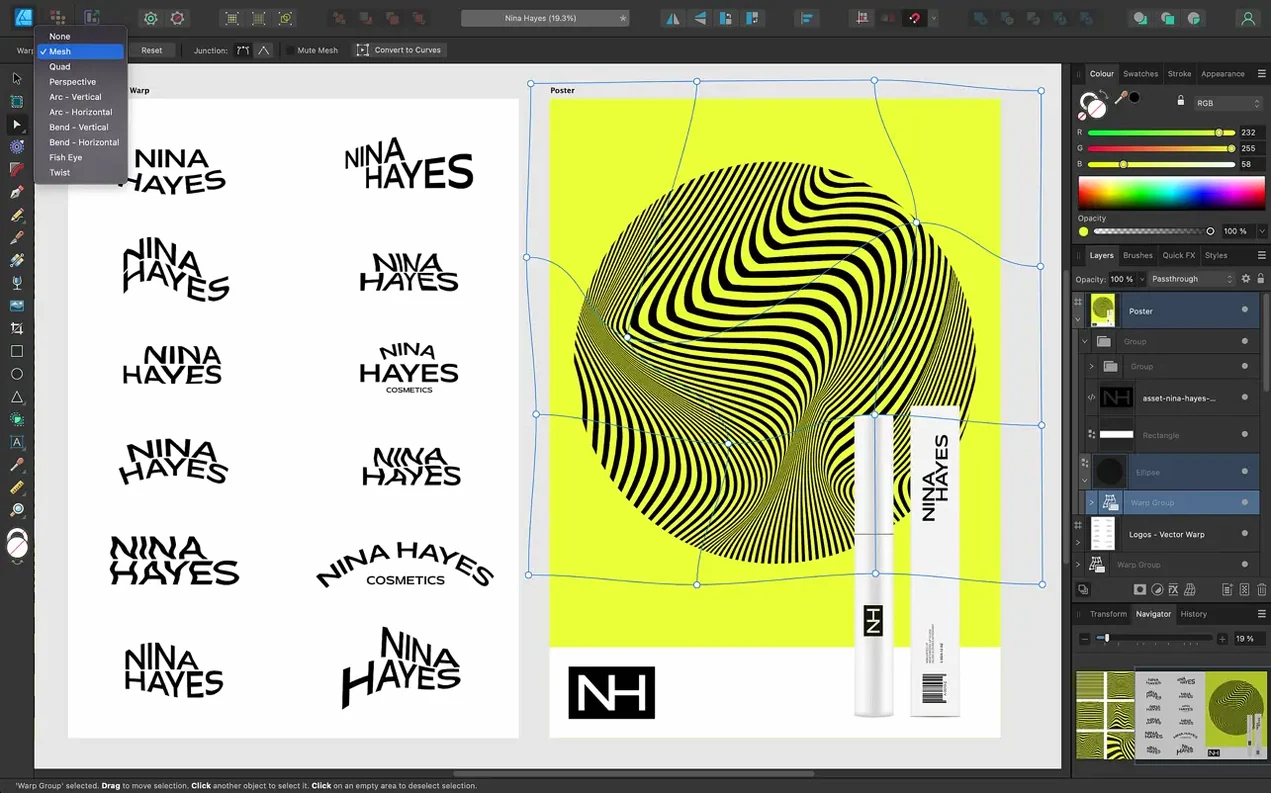
Version 2.6 landed with profiling improvements for the Stroke Width Tool, a reset option for those profiles, and refined Pencil tool behaviour — quiet changes that make line work feel more direct.
Vector workspace — the primary environment for resolution-independent artwork built from Pen, Node, curve editing, and shape tools. Every point and bezier handle stays editable at any zoom level.
Raster workspace — pixel-based brushes and textures inside the same document. You switch personas instead of launching a separate app, so pixel art and vector shapes coexist on the same artboard.
Artboards — unlimited per document, each with its own export settings. Useful for icon sets, UI mockups, or multi-page layout drafts that stay visually side by side.
Text engine — artistic text for headlines and display type; text frames for flowing paragraphs. OpenType feature support gives you access to ligatures, stylistic alternates, and contextual swashes when the font provides them.
File exchange — reads and writes .afdesign natively, plus imports and exports PSD, AI, PDF, EPS, SVG, JPG, TIFF, and EXR. Round-tripping with Affinity Photo 2 and Publisher 2 keeps layers and adjustments intact across the suite.
Pencil stroke smoothing now trims stray nodes on quick sketches
The Pencil tool improvements landed quietly, but they shift the feel of freehand drawing. Line smoothing and the way strokes follow fast cursor movements got a tune-up — fewer stray nodes appear after a quick sketch, so you spend less time cleaning up curves. If you use a graphics tablet, the difference is noticeable within the first ten minutes.
The Stroke Width Tool now remembers profiles more predictably. You can taper a stroke along a path, save the pressure-like profile, and reset it with a single click when an edit goes sideways. Before 2.6, resetting meant manually re-dragging every width handle back to default — the new Reset Profile command cuts that to one action. Combined with the improved profiling logic, variable-width strokes feel less fragile during node edits.
The marquee selection toggle — hold Command or Ctrl while dragging — switches between adding to a selection and intersecting it. In practice, that means you can box-select a cluster of overlapping shapes, then Command-drag through part of that cluster to keep only what both rectangles touched. It is a small interaction change that saves trips to the Layers panel when documents get dense.
Version 2.6.5 is strictly a stability and bug-fix update. No new tools or UI shifts — just fewer unexpected quits when pushing large files through export queues, which matters if you batch-export artboards before a deadline.
Precision booleans and unlimited artboards speed up logo iterations
Logo and icon designers sit squarely in the sweet spot. The combination of precise boolean operations, snap-to-grid behaviour, and unlimited artboards makes iterating on symbol variations fast. You can lay out sixteen icon candidates on one canvas, tweak curves individually, and export all sixteen slices in one pass without leaving the vector persona.
UI and web designers benefit from the pixel-preview mode and the way artboards double as screens. Constraints and snapping keep elements aligned when you resize an artboard, and the colour picker handles hex values directly — no conversion math needed. Text styles and symbols (reusable components) let you update a button across thirty screens by editing it once.
Print illustrators who need CMYK control and ICC profile support find most of what they need. Spot colours, overprint preview, and 16-bit-per-channel editing are present, so packaging artwork for offset printing does not require a round-trip through another application. The absence of a dedicated trapping engine means you handle trapping manually or in pre-press elsewhere, but for illustration work that is rarely a daily concern.
Casual vector dabblers can grow into the tool without hitting a ceiling quickly. The learning curve is gentler than some competitors because the toolset stays context-sensitive — switching between the Pen tool and the Node tool happens with a single keypress, and the status bar at the bottom gives hints about modifier keys as you drag.
Set your colour profile defaults before the first new document
Start by setting your colour profile defaults in Preferences > Colour. Affinity Designer respects the system-level display profile, but you will want to pin down whether new documents default to sRGB, Adobe RGB, or a CMYK profile that matches your printer. Changing this later on a finished document means converting every object, which is never fun.
Spend fifteen minutes with the Stroke panel and the Appearance panel. Most new users find multiple strokes and fills on a single shape later than they should — you can stack several strokes with different widths and dash patterns on one curve, each with its own blend mode and opacity. That one trick replaces a lot of duplicate-layer workarounds.
Map a tablet or set up mouse shortcuts early. The default keyboard shortcuts are fine, but assigning B to the Vector Brush and P to the Pen tool — if they are not already — keeps your left hand off the arrow keys. If you use an iPad with Sidecar, the pencil pressure curve in Affinity Designer is adjustable independently of the system settings under Preferences > Tools.
Drag the .afdesign file into your project folder, not your Desktop. The native format keeps everything — history, slices, swatches — inside a single file. There is no linked-resource nightmare like some older workflows, but the files can grow. Saving to a cloud-synced folder works, though you will want to pause syncing during long export runs to avoid file-lock hiccups.
One overlooked first-hour move: open the Assets panel (View > Studio > Assets) and drag a few frequently used shapes or grouped objects into it. Even three or four reusable button states or icon parts save noticeable time by day three.
Handles screen and print natively where Sketch stops at RGB
Next to Sketch, Affinity Designer covers a broader range of output intents. Sketch focuses almost exclusively on screen design — its print support is thin, and CMYK colour is absent. Designer handles both screen and print natively, so a single file can serve a website mockup and a business card without converting colour spaces in another app. Sketch wins on plugin ecosystem and team-library sharing, but Designer wins on flexibility when the work spans media types.
Measured against Inkscape, the gap is in polish and performance. Inkscape runs on macOS but does not use Metal acceleration or Core Graphics — panning at 60 fps with live gradients is not part of its experience. Designer's boolean operations on complex paths finish fast and rarely produce the stray node debris that Inkscape sometimes leaves behind. Inkscape has an enthusiastic open-source community and handles SVG as a native dialect, but the interface feels heavier and less responsive on Retina displays.
Compared to Adobe Illustrator, Designer lacks some niche features: envelope distort, gradient mesh beyond the basic approaches, and scriptable automation. What it does not lack is speed. Launching Illustrator on even a recent Mac involves a noticeable wait and a Creative Cloud handshake; Designer opens cold in under four seconds on Apple Silicon. For bread-and-butter vector work — logos, icons, simple illustrations, multi-artboard layouts — the feature overlap is about eighty-five percent, and the file weight is often half. If you already live inside the Affinity suite, round-tripping between Photo and Publisher without exporting to PDF is the practical advantage that makes the three-app workflow feel cohesive.
Off-pixel artboards cause export slices with wrong dimensions
Export slices come out with wrong dimensions. This usually traces back to artboard placement not sitting on whole pixels. Open View > Snapping Manager and enable Force Pixel Alignment, then check that artboard X and Y coordinates in the Transform panel are whole numbers. Half-pixel origins cause blurry edges and off-by-one export sizes, especially at 1x scale.
Boolean operations leave open paths or holes. Before combining shapes, zoom in on the intersection points. Two curves that barely kiss at a tangent produce unpredictable results. Nudge them so they clearly overlap, or use the Node tool to snap endpoints precisely. The Layer > Fill Mode setting (Alternate vs. Winding) also changes how overlapping sub-paths render — flipping it sometimes fixes a "hole" without rebuilding geometry.
Text on a path runs backwards or upside down. Affinity Designer reads the path direction from the start node to the end node. If your text flows the wrong way, select the path with the Node tool, right-click the start node, and choose Reverse Path. The text flips instantly without retyping.
Brush strokes lag on an Intel Mac with large canvases. Drop the view quality to Bilinear instead of Nearest Neighbour (Best Quality) in Preferences > Performance when working on zoomed-out views above 4000 px. The renderer still uses Metal, but it trades a tiny amount of on-screen sharpness for smoother brush tracking. On Apple Silicon, this is rarely necessary unless the canvas pushes past 10 000 px.
An .EPS or .AI file opens with missing elements. Third-party EPS and AI files often contain proprietary data that only Adobe apps interpret fully. If gradients or transparency vanish on import, ask the sender for a PDF version — Designer parses PDF streams far more completely. When you control the source, export from Illustrator with the Create PDF Compatible File checkbox on, which embeds a full PDF representation inside the AI container.
App hangs on first launch after install. If you are running the build from outside the App Store, macOS quarantine may block execution. Open Terminal and run xattr -cr /Applications/Affinity\ Designer\ 2.app (adjusting the path if you renamed it), then launch again. The app should start without the Gatekeeper delay. A similar quarantine flag can affect the .dmg if you try to open it from a write-protected volume — copy it to your Desktop first, mount it, then drag the app to Applications.
- Stroke Width Tool profiling improvements and a Reset Profile command for pressure-based strokes.
- Pencil tool refinements for smoother curve generation and fewer control points.
- Command or Ctrl toggle added for marquee select intersection behaviour.
- Bug fixes and stability improvements across the application.
- macOS 10.15 or later
- Apple silicon and 64-bit Intel Macs
Comments 0
Sign in or create an account to leave a comment.
No comments yet. A codec, a slice, a machine — they appear after moderation.