
Affinity Photo for macOS
One retouch, start to finish
Frequency separation is the starting point — not a plugin, but a built-in technique that splits texture from tone so you can smooth skin without losing pores. Here’s how a single portrait edit flows in Affinity Photo 2.6.5.
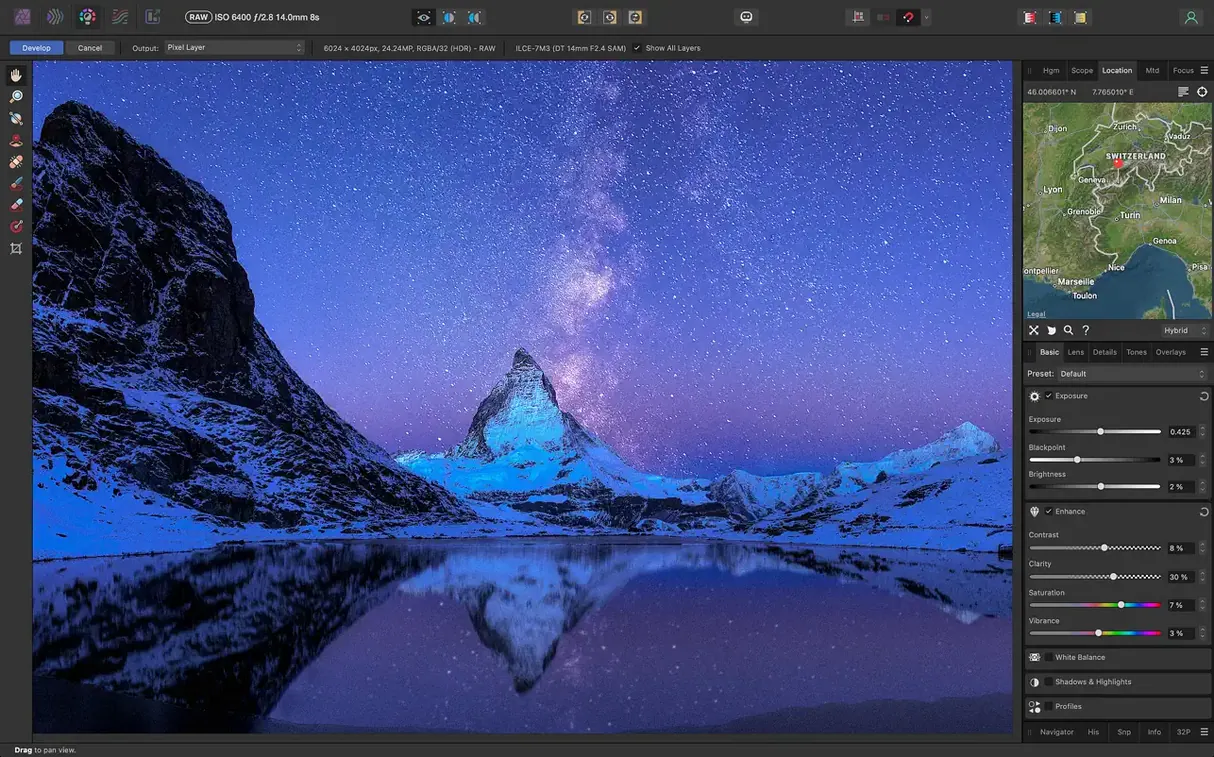
- Open a RAW file straight into the Develop persona. Pull back blown highlights, lift shadows, and apply a lens profile to correct barrel distortion.
- Click Develop to enter the Photo persona. Duplicate the background layer twice. Name the lower copy “Color” and the upper copy “Texture”.
- Apply a high-pass filter to the Texture layer (Filters > Sharpen > High Pass) so details remain visible. Then blur the Color layer with a Gaussian Blur until skin tones smooth out — no edges, just soft color.
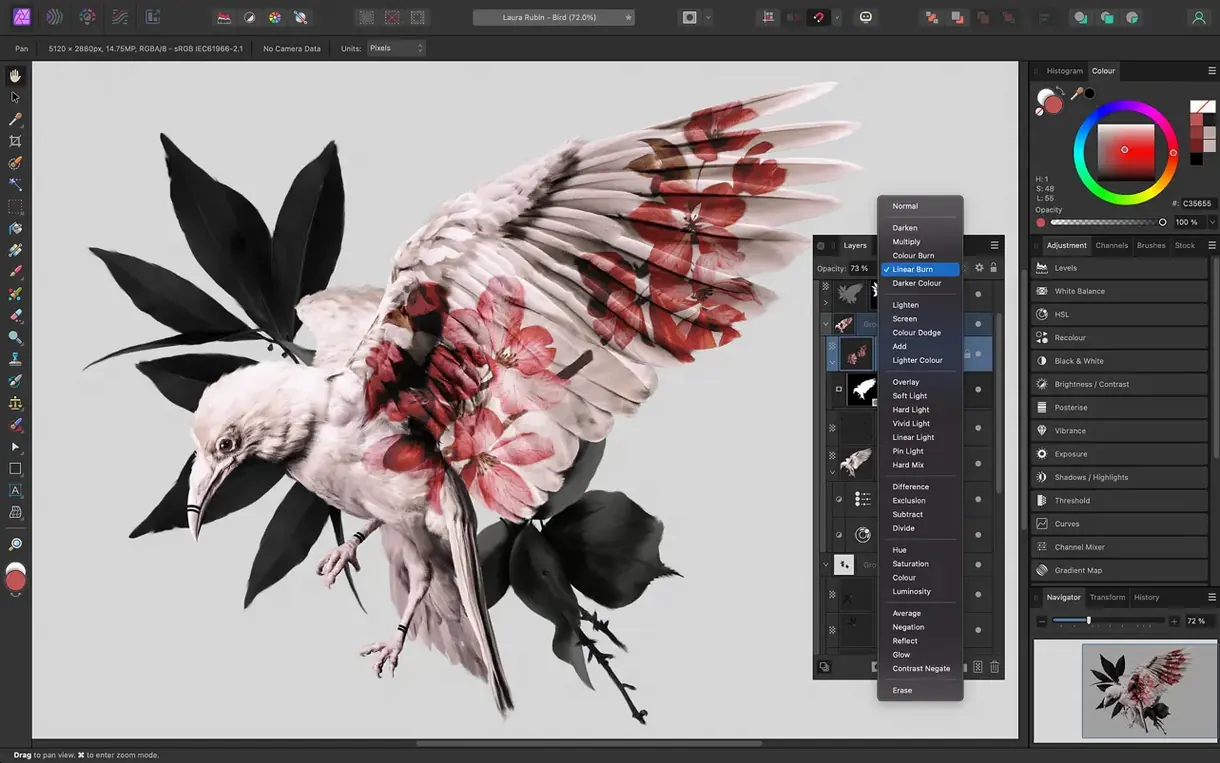
- Set the Texture layer’s blend mode to Linear Light. Group both layers and add a black mask. With a soft white brush at low opacity, paint the mask over the face, skipping eyes and lips.
- Add a live unsharp mask above the group and mask it to lashes and irises for a crisp finish. Drop a live curves adjustment to punch the midtones, and a live vignette to pull focus inward.
Every filter stays editable. No pixels are baked in. The .afphoto file keeps layers, masks, and blend modes alive for the next session, and you can export a flattened 16-bit TIFF or a web-ready PNG when you’re done. The whole stack runs natively on Apple silicon, so painting and filter previews stay real-time even with high-resolution RAWs.
Trim the default toolbar before your first real edit
After the .dmg is mounted and the app sits in /Applications, a few small setup moves save real time later. The default tool layout works, but the toolbar can be trimmed — right-click it, choose Customize Toolbar, and drop the tools you actually reach for onto the bar. Frequency separation and the inpainting brush are good candidates. The rest can stay in the palette.
Open the Preferences and head to Performance. If you're on an Apple silicon Mac, the display renderer defaults to Metal — leave it alone. The RAM usage limit is worth checking; give the app enough headroom for large panoramas or focus stacks, but don't let it fight the system for memory. On a 16 GB machine, setting it to around 12 GB keeps things balanced.
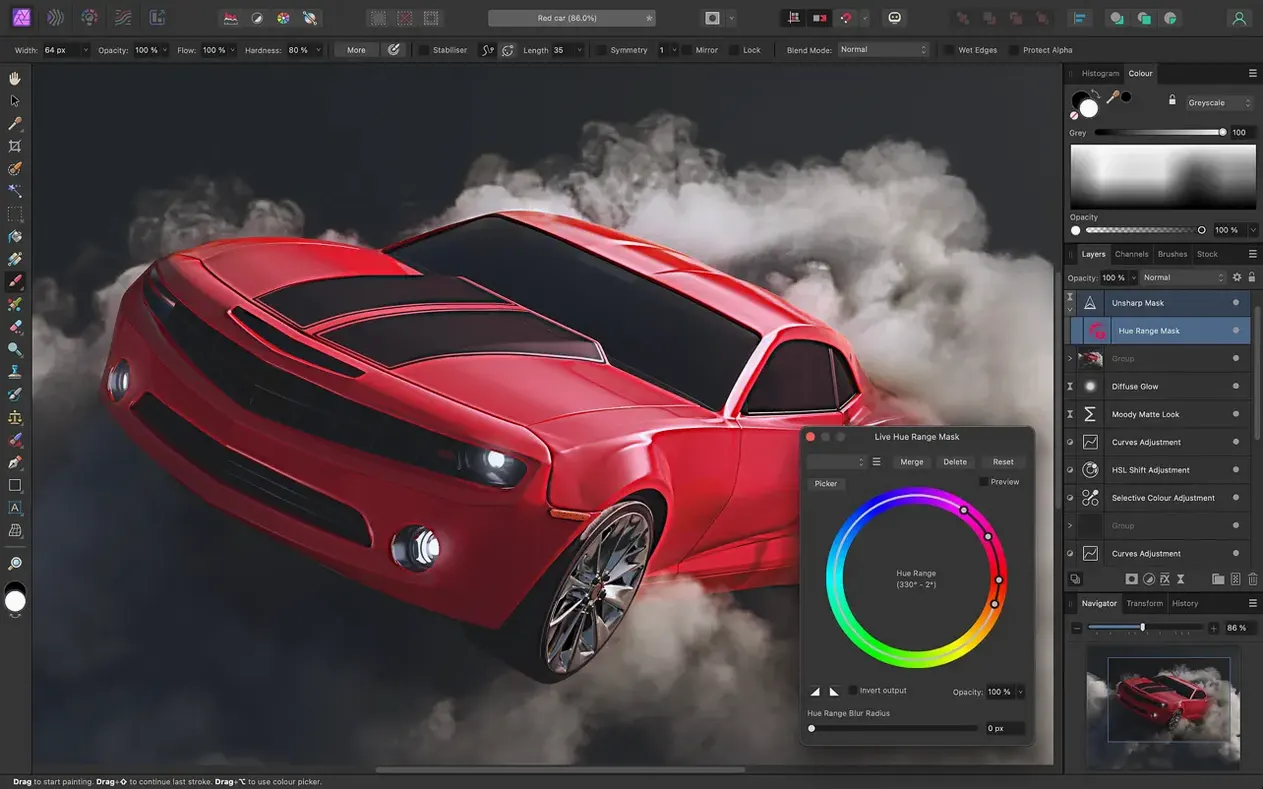
The real power-up is the Library panel on the right. Spend a few minutes dragging your most-used adjustment presets, live filter stacks, and macro actions into it. A skin retouch preset that chains frequency separation with a curves layer and a sharpen mask becomes a single click. Anything you build once and reuse belongs there.
A food photographer's first afternoon with it
Imagine a cookbook contributor who shoots tethered into Capture One, then brings selects into an editor for dust spotting, color grading, and the occasional composite. She opens a raw shot of a berry tart — the crust looks flat under her diffused side light, and there's a crumb on the linen that nobody noticed during styling.
She starts in the Develop persona, nudging clarity up just enough to give the pastry texture some bite, then pulls the black point left to deepen the shadows around the berries. No heavy hand — the client wants natural daylight, not a studio gloss. She develops the image and switches to the Photo persona.
The crumb goes first. She grabs the inpainting brush, sizes it to barely cover the crumb, and paints. The tool samples surrounding linen weave and fills the gap — one stroke, no clone stamp cleanup. She checks the result at 100% magnification. The weave matches in both directions.
For the flat crust, she draws a rough selection around the tart edge with the freehand selection tool, feathers it by 4 px, and adds a live curves layer. A very gentle S-curve lifts the golden tones without touching the white plate behind it. She masks out the edge of the plate with a soft brush so the adjustment lands only on the pastry.
Final step: a live LUT adjustment she built for a previous cookbook project — a subtle warm shift that makes butter-based bakes feel richer without turning the whole scene orange. She saves the .afphoto file with its layers intact, then exports a CMYK TIFF for the printer and an sRGB JPEG for the publisher's web preview. The whole edit, from raw to two deliverables, runs under fifteen minutes.
Where Affinity Photo fits among Mac image editors
Affinity Photo 2.6.5 vs. Pixelmator Pro
Pixelmator Pro leans hard into machine-learning touches — automatic background removal, ML-powered color adjustment, and a streamlined UI that feels more like a photo enhancement app than a full retouching workstation. It reads PSD files but doesn't write them. For quick social-media edits or a fast subject cutout, it's faster to a result. But it lacks macros, focus stacking, HDR merging, and CMYK output. If your work ends at a screen, Pixelmator Pro covers plenty of ground. If it heads to print or needs repeatable batch operations, Affinity Photo's toolset pulls ahead.
Affinity Photo vs. GIMP
GIMP runs on macOS, handles layers and masks, and can be extended with scripts — but it runs through XQuartz or a native GTK build, and it shows. UI responsiveness on a Retina display feels heavy. Color management beyond sRGB takes manual setup. GIMP doesn't offer live filters, non-destructive RAW development, or a built-in frequency separation workflow. What GIMP does well is cost nothing and run everywhere. What Affinity Photo does well is treat the Mac as a first-class platform: native Metal rendering, proper color profiles, and a UI that respects Apple's HIG conventions. For occasional edits, GIMP works. For daily retouching with a deadline, Affinity Photo is the sharper tool.
Affinity Photo vs. Acorn
Acorn shares some DNA — layers, filters, a clean Mac-native interface — but targets a different set of jobs. It's a strong pick for web designers and illustrators who need layered bitmap work alongside vector shapes, and its automation via AppleScript and JavaScript suits people who script their pipelines. It doesn't do focus stacking, HDR merging, or 32-bit per channel editing. RAW support exists but is simpler than the Develop persona. Think of Acorn as a Photoshop-like layer canvas that's light on its feet; think of Affinity Photo as a Photoshop-like layer canvas that also handles the heavy photographic lifting.
Hair and fur selections became more predictable
The jump from the early 2.x releases to Affinity Photo 2.6.5 brought a handful of fixes that affect real editing sessions. Selection refinement — especially for hair and fur — became more predictable. Earlier builds sometimes left fringing artifacts along complex edges when using the Refine Edges brush; the current build resolves most of those halo cases without manual cleanup.
Macro playback stability improved noticeably. Users who recorded multi-step macros involving live filter parameter changes and blend mode switches saw fewer playback failures when running those macros on images of different bit depths. Batch jobs that call macros in sequence now complete more reliably — a practical win for event photographers processing hundreds of frames.
RAW loading under Apple silicon received under-the-hood tuning. Large RAW files from Sony and Nikon bodies open faster, and switching between the Develop persona and the Photo persona no longer triggers a visible re-render pause on M2 and M3 machines. The difference is a second or two per file; in a stack of twenty bracketed exposures for HDR merging, that adds up.
- macOS 10.15 Catalina or later
- Apple silicon and Intel native
$ man affinity-photo | grep -A2 "?"
Can Affinity Photo open RAW files directly?
Yes. A dedicated Develop persona opens RAW images for pre-processing, with tools for exposure, lens distortion correction, chromatic aberration removal, and noise reduction before you enter the main editing workspace.
What color spaces does it support?
You can work in RGB, CMYK, LAB, and grayscale, with editing available on 16-bit and 32-bit images per channel.
Comments 0
Sign in or create an account to leave a comment.
No comments yet. A codec, a slice, a machine — they appear after moderation.