
Aiarty Image Enhancer for macOS
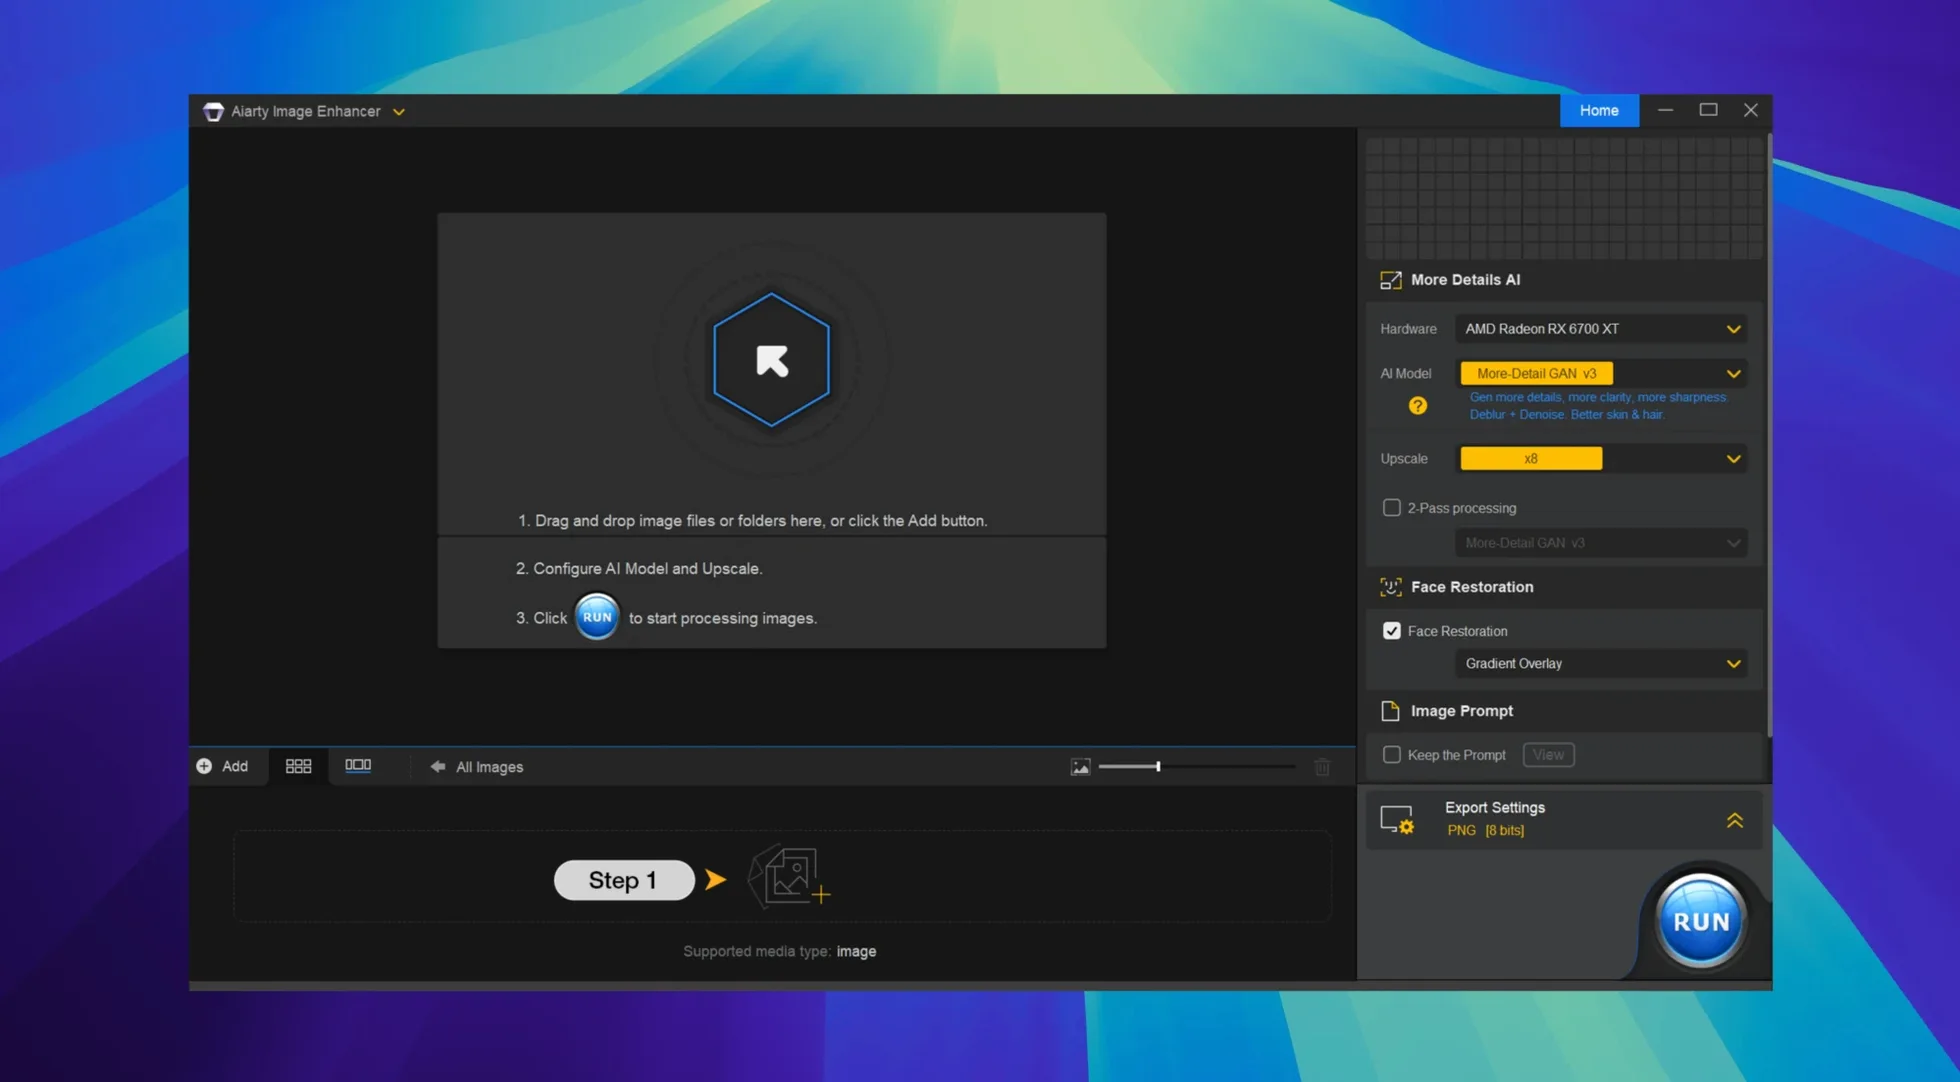
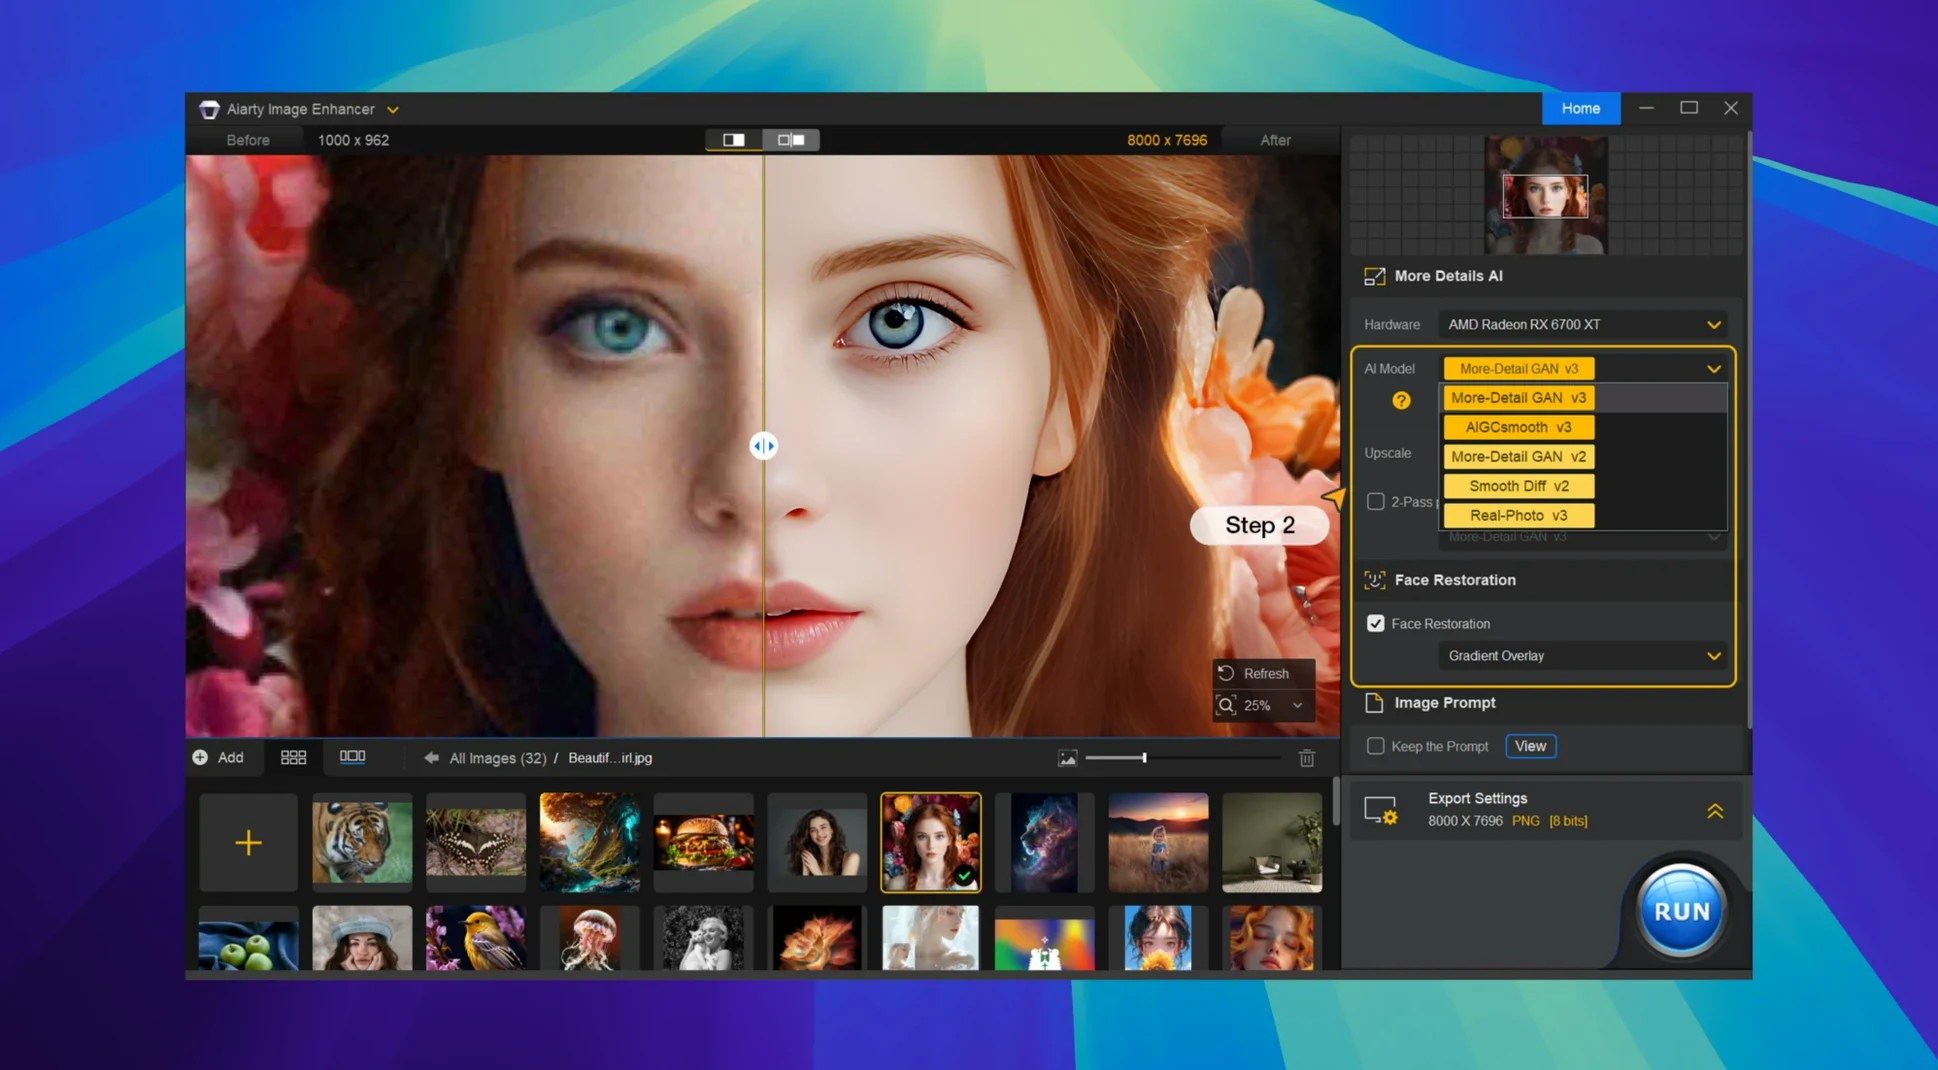
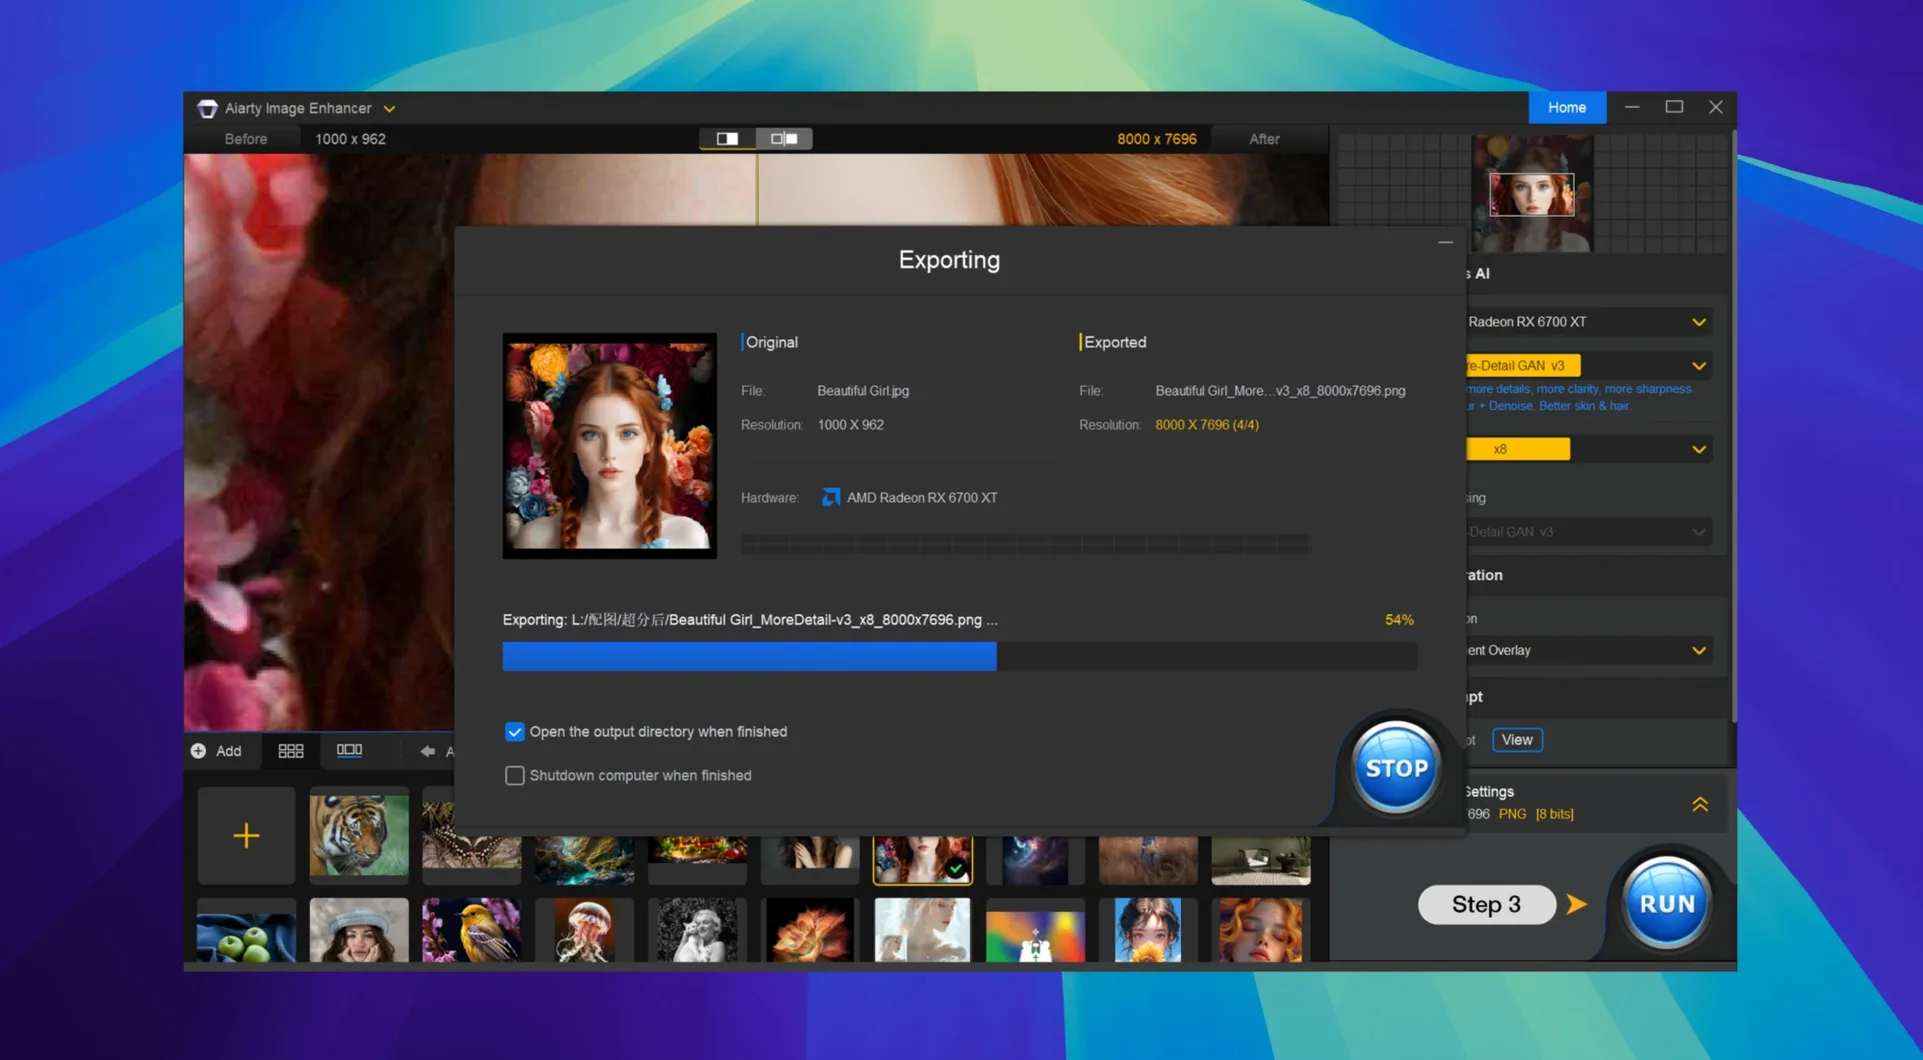
Aiarty Image Enhancer 3.14 runs natively on both Apple Silicon and Intel 64-bit Macs, and it needs macOS 11 or later. The interface comes in English, German, Traditional Chinese, Simplified Chinese, and Japanese.
Denoising grain without the plastic look
The real work happens in two areas. Denoising removes high-ISO grain and sensor noise without turning fine textures into plastic. Deblurring sharpens soft focus and slight motion blur, and a general restore pass pulls faded or compressed photos back toward something printable. All of it works locally on the desktop, so there is no upload queue between you and the result.
JPEG, TIFF, AVIF, and more pass through one pipe
The import list covers JPEG, PNG, TIFF, WebP, BMP, and AVIF. That matters if you keep a mixed library: camera JPEGs, scanned TIFFs, screenshots as PNG, and modern WebP or AVIF exports from the web all go through the same pipeline. Version 3.14 also tightens up the Lightroom Classic workflow, which helps when you want enhancement as part of an existing catalog pass instead of a separate batch job.
Why 32K from a thumbnail still looks fake
The most common one is treating the upscale slider as a magic wand. Cranking a 600-pixel thumbnail straight to 32K output does not give you a billboard — it gives you a large file full of invented pixels the model had no real signal to build from. Start with a modest 2× or 4× upscale and check the preview at 100%. If the result holds, you can stack another pass, but the first pass needs solid source data to work with.
Another slip is feeding already-sharpened images into the deblur model. If a photo went through a heavy unsharp mask in Lightroom or your camera baked in sharpening at ISO 6400, the model sees halos as edges and tries to reinforce them. The result is crunchy and oversharp. Turn off any prior sharpening, export a flat version, and let the app do its own detail reconstruction — the skin, hair, and fabric texture generation in version 3.14 is designed for raw input, not pre-processed output.
People also overlook the denoise model on scans. Film grain is not sensor noise, but the algorithm handles it surprisingly well on old 35mm scans where the grain pattern is consistent. The mistake is running it on prints that already have a halftone screen — the model interprets the dot pattern as texture and tries to enhance it, which makes everything worse. If your source is a magazine page or a newspaper photo, skip denoising entirely and use the general restore pass instead.
From 8 seconds on M1 Max to 25 on Intel
On an M1 Max with 32 GB of RAM, a 24-megapixel RAW file through the full denoise-plus-upscale pipeline at 4× finishes in about 8 to 12 seconds. The same job on an Intel i9 MacBook Pro runs closer to 25 seconds and the fans come on hard. The app leans heavily on the Neural Engine on Apple Silicon — you can watch the GPU history graph in Activity Monitor spike and settle with each batch item, while the CPU stays surprisingly quiet.
Memory pressure is the real bottleneck, not clock speed. A single 45-megapixel TIFF upscaled to 8× can push past 6 GB of allocated RAM during processing. If you queue 20 images at once, expect swap usage on anything with less than 16 GB. The sensible workflow is batches of 5 to 8 images, then let the system breathe. The app does not leak memory in my experience — it releases after each file — but it does not warn you before it grabs what it needs.
Stability has been solid through version 3.14. The TNT build launches cleanly after the Gatekeeper bypass, and I have not seen a single hard crash during batch processing. Occasional freezes happen if you try to preview a 32K output on a 4K display while another job is running — the render pipeline just stalls for a few seconds — but the queue keeps processing in the background and picks up where it left off. Force-quitting has not corrupted an output file yet, and if you're running the Aiarty Image Enhancer crack on a long queue, just let the render pipeline settle between heavy previews.
Round-tripping with Lightroom Classic in version 3.14
The Lightroom Classic workflow improvement in 3.14 is the obvious integration point. You can send a selected image from your catalog directly to Aiarty, process it, and bring the result back as a new TIFF stacked with the original. That sidesteps the whole export-import dance and keeps your catalog tidy. If you use Capture One instead, you are stuck with the manual round-trip: export a 16-bit TIFF, process it, re-import. It works, but it is slower.
On the macOS side, the app respects Dark Mode and writes thumbnails that Quick Look understands, so you can preview results in Finder before deciding which version to keep. EXIF metadata access in version 3.14 means focal length, aperture, and ISO survive the trip — useful if you want to sort processed shots by lens or body afterward. The output files also play nicely with Photos.app and Pixelmator Pro; drag a processed PNG into either and it opens without a color profile mismatch.
One workflow I like: use a Shortcut that watches a folder for new exports, runs a shell script to sort by file type, then opens the batch in the app. It is not a built-in feature, but the app accepts drag-and-drop from Finder, so anything that gets files into a predictable location slots right in.
Bypassing the Gatekeeper quarantine in one Terminal line
The Gatekeeper hurdle trips people on first launch. Mount the .dmg, drag the app to /Applications, and if macOS blocks it, open Terminal and run xattr -cr /Applications/Aiarty\ Image\ Enhancer.app — that clears the quarantine flag in one line instead of digging through System Preferences. After that, it opens like any other app. If you run it under Rosetta for any reason and the performance tanks, a VPN connection sometimes helps the license check complete faster, though on Apple Silicon you should not need Rosetta at all.
Another snag: AVIF files exported from Chrome or Firefox sometimes carry a color profile tag the importer misreads, giving you a washed-out preview. The fix is simple — open the file in Preview, export as PNG, and run the PNG through the pipeline. The underlying pixel data is fine; it is just the profile wrapper that confuses the parser. BMP files over 100 megapixels occasionally fail to load entirely, which I suspect is a buffer limit rather than a format bug. Splitting the image into quadrants and processing separately solves it, though it is tedious.
If the app starts throwing "processing failed" errors mid-batch on a machine with an external GPU, disconnect the eGPU before launching. The model inference runs on the internal Neural Engine or discrete GPU, and version 3.14 does not always pick the right compute device when an eGPU is present. On Intel Macs with an AMD eGPU, you may actually get better throughput by leaving it connected and forcing the app onto the external card, but your mileage will vary depending on the enclosure and Thunderbolt bandwidth.
- macOS 11 or later
- Apple Silicon or Intel 64-bit Mac
$ man aiarty-image-enhancer | grep -A2 "?"
Does Aiarty Image Enhancer run on older Intel Macs?
Yes. It supports both Intel 64-bit and Apple Silicon Macs, as long as they run macOS 11 or later.
Which image formats can it open?
It handles JPEG, PNG, TIFF, WebP, BMP, and AVIF files.
Comments 0
Sign in or create an account to leave a comment.
No comments yet. A codec, a slice, a machine — they appear after moderation.