
VocalNet for macOS
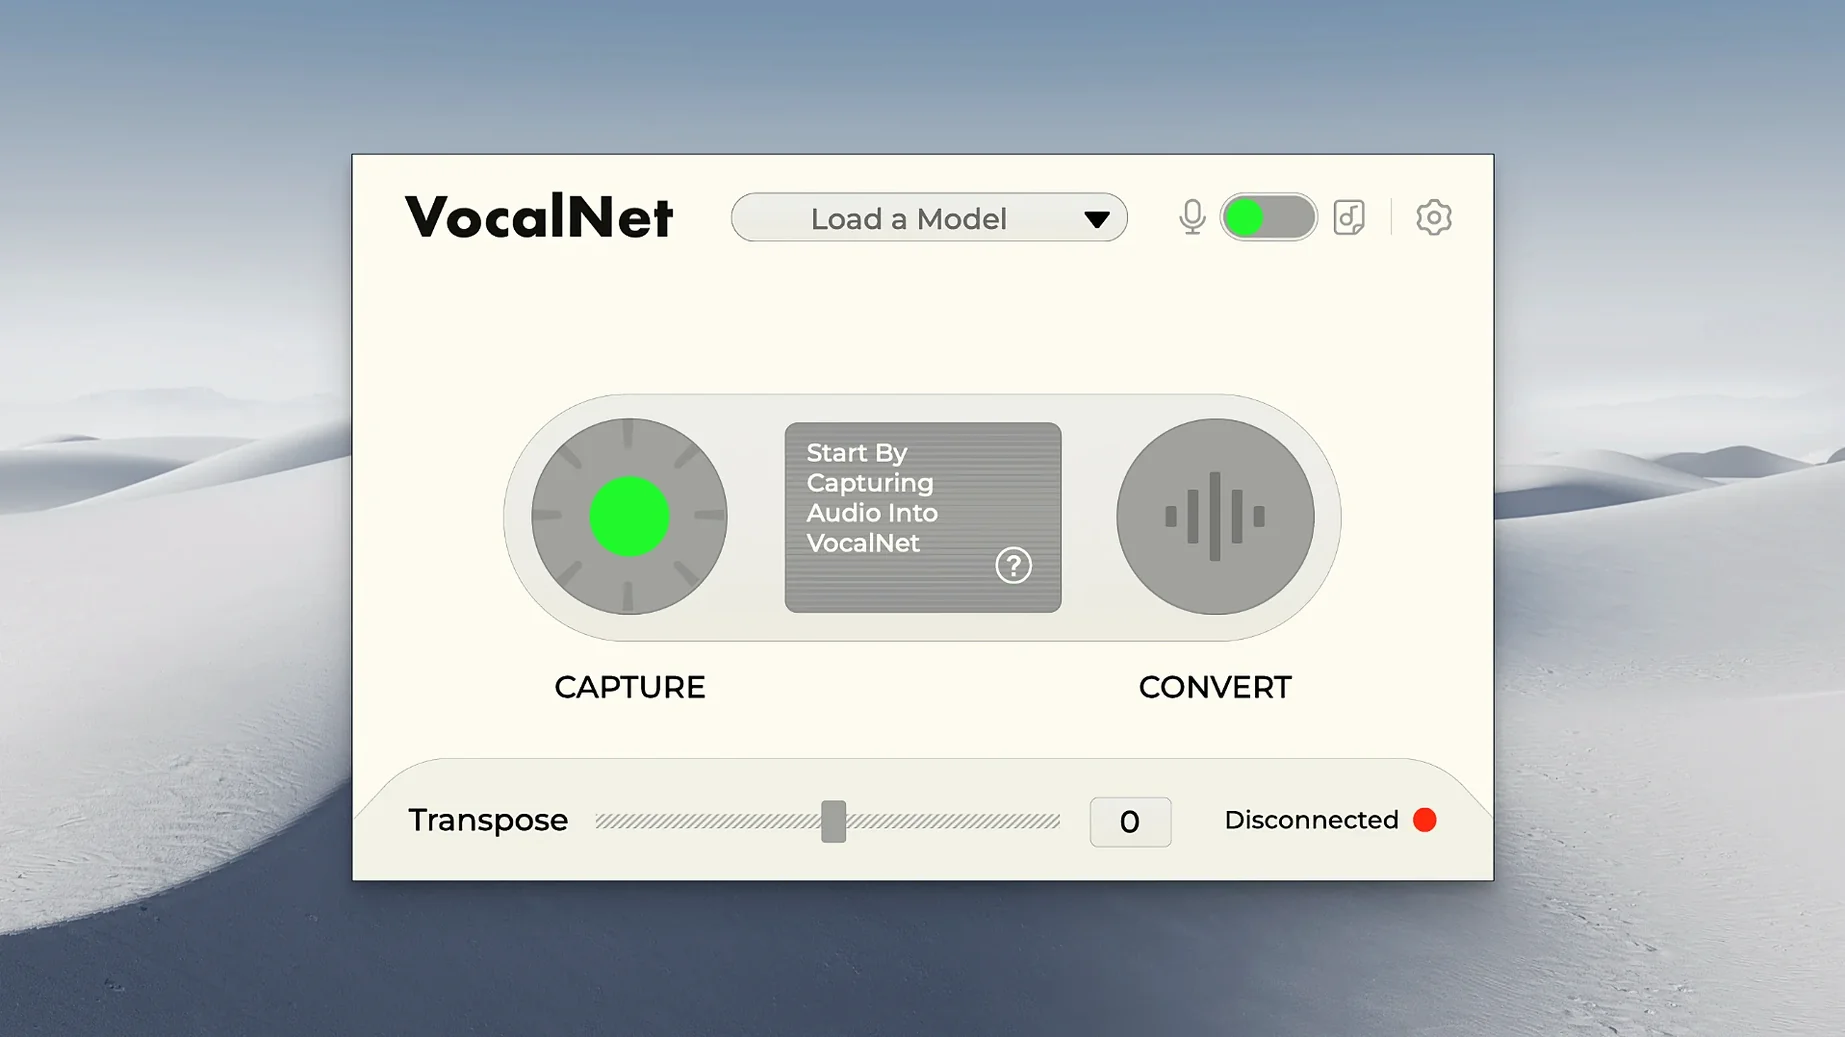
Version 1.0.4 is a stability release rather than a feature drop, so the installer you grab today reflects what the plugin has settled into: a local AI voice transformation tool in VST3, AU, and AAX formats. If you are on the session loops vocalnet community wavelength, this is the build most people are running.
VST3, AU, AAX on Intel and Apple Silicon
- Mac formats: the installer covers
VST3,AU, andAAX. - Hosts: anything that loads those formats — Logic Pro via AU, Ableton Live and Cubase via VST3, Pro Tools via AAX.
- Architecture: the plugin runs on Intel and Apple Silicon Macs.
- OS baseline: macOS 10.15 or newer.
What the processing actually does
VocalNet analyzes an uploaded voice sample and builds a new timbre from it, then applies that character to a vocal take in your DAW. Processing stays on the local machine, so the workflow is more like a specialized re-synthesis chain than a cloud service. In practice that means you can turn one recorded performance into something that sounds like a different vocalist without booking another session. It is a sound-design plugin first: useful for layering backing parts, roughing out alternate vocal directions, or adding textures to a track where a second singer is not an option.
Vocoder, formant-shifter, or real-time voice-to-synth
Three Mac plugins tend to come up when producers talk about real-time voice transformation: iZotope VocalSynth 2, Waves OVox, and VocalNet. They overlap in the DAW but sit on different shelves.
VocalSynth 2 is a multi-engine vocal processor — vocoder, talkbox, harmonizer, pitch-shifted layers — with a glossy interface. It sounds big and polished, but it is not trying to turn your voice into someone else's. It colors and stacks vocals rather than replacing their timbral identity. If you want a choir of robot harmonies, VocalSynth is a fast path. If you want the take to sound like a different person, it does not do that.
Waves OVox leans closer to VocalNet territory because it maps incoming audio to a carrier synth and lets you morph formants in real time. The vocoder engine is flexible, and OVox can get weird quickly. Still, the sound stays synthetic by design; it does not build its character from a reference vocal. VocalNet's difference is the analysis step: feed it audio of a singer, and it attempts to reconstruct that timbre onto your source. OVox gives you a synth engine you shape. VocalNet gives you a target voice and tries to hit it.
Neither alternative does the sample-blending trick that VocalNet manages when you load multiple reference voices and move a slider between them. That hybrid-morph behavior is closer to what a Kontakt library crossfade does, but it happens in real time with your own vocal input. The downside is that VocalNet does not offer the deep modulation and effects chains that VocalSynth and OVox bundle in — you will likely patch in a separate reverb or delay.
Dry verse vocal, USB mic, and a reference folder
Let's walk through a typical first evening with the plugin. You have a dry verse vocal in Logic, a USB mic, and a folder of reference snippets — maybe a few seconds of a singer you recorded last month, plus a spoken-word clip from an old project.
You drop VocalNet onto the vocal track and it opens with a blank analysis pane. The first thing you do is drag one of the reference WAV files onto the plugin window. The analysis takes about five seconds on an M1 MacBook Air; you see a progress ring, then a waveform thumbnail appears. The analyzer has extracted spectral characteristics and built an internal model. Flip the plugin from bypass to active, sing a short phrase, and the processed voice comes through your monitors. It is not a perfect clone — the formants feel shifted, the sibilants behave differently — but the character of the reference singer is unmistakably there.
You load a second reference sample, a higher-pitched voice. VocalNet shows both thumbnails side by side. The blend slider sits between them. Dragging it left pulls the output toward the first voice; dragging right pushes it toward the second. Around 60% toward the brighter voice the take starts sounding like a duet between two strangers, even though only one person is singing. You record that pass to a new track, then double it with your untreated vocal panned center. The blend feels like a small choir cut from two sources.
The session ends with three new vocal layers printed, none of which required a second vocalist. The plugin's latency is low enough that you never switched to a high buffer, which matters when you are singing into it live rather than processing pre‑recorded audio.
From dry voice to hybrid character: a workflow
Here is a concrete task: you have a lead vocal that needs a doubled part with a different attitude — breathier, slightly lower, with a texture that does not sound like the same singer. VocalNet can build that from two reference clips.
- Gather references. Pull a short clip of a breathy female vocal and a second clip of a male baritone speaking voice. Keep them under ten seconds each. Trim silence so the analysis gets only the voiced material.
- Insert VocalNet as an insert effect on a new aux track, not directly on the lead. Route a send from the lead vocal channel to that aux. This keeps the dry signal intact and lets you blend the transformed voice underneath.
- Load the breathy sample into slot A. Wait for the analysis thumbnail to appear. The plugin stores the model in memory — no file gets written to disk, so the references stay where they are.
- Load the baritone sample into slot B. Set the blend slider roughly 70% toward the breathy voice and 30% toward the baritone. The result is a lower, textured version of your lead that still reads as the reference vocalist's timbre.
- Adjust the mix. Pull the aux fader down until the transformed signal sits just behind the lead. Pan the aux opposite the lead, perhaps 30% left while the lead sits center-right. The spread feels wide without obvious doubling artifacts.
- Print the aux. Once the balance feels right, bounce the aux track to audio. You can now remove the plugin from the session to free up CPU. The printed stem becomes a permanent layer you can edit, chop, and re‑pan.
This workflow turns one vocal take into a composite that sounds like a collaboration. Because the processing is local, nothing leaves your machine. The session loops vocalnet community often shares reference-sample packs built from their own sessions, and dropping those into the plugin's analysis slots is a quick way to audition new timbres without endless tweaking.
A two-second vowel clip works better than a long phrase
The plugin behaves predictably once you learn a few quirks. These notes come from watching it in Logic and Ableton on Apple Silicon.
- Reference quality matters more than length. A two-second clip of a singer holding a vowel works better than a fifteen-second phrase full of consonants. The analyzer needs sustained pitch and clear formants. Harsh room reflections in the reference can confuse the model, so pick dry, close‑mic'd samples when possible.
- Watch your gain staging. The processed output can run hotter than the input, especially with bright reference voices. Keep the plugin's output level around -6 dB to avoid clipping downstream effects. The meter inside VocalNet is small — check your DAW's channel meter instead.
- Don't skip the blend slider. New users often load one sample and call it done. The blend between two references is where the plugin gets interesting. Crossfading a male voice with a whisper clip can produce a ghostly third texture that neither sample contains alone. Save combinations that work as DAW presets so you can recall them across projects.
- Latency is low but real. On a buffer of 128 samples, VocalNet feels responsive enough for live monitoring. At 64 samples, even tight vocal rhythms track without perceptible lag. If you are stacking instances on multiple tracks, freeze or print the finished parts early — the AI analysis runs once per load, but the real‑time morph engine still eats a share of the CPU.
- VST3 versus AU on Apple Silicon. If
- macOS 10.15 or later
- Intel or Apple Silicon Mac
- DAW with VST3, AU, or AAX support
- Interface language: English
Comments 0
Sign in or create an account to leave a comment.
No comments yet. A codec, a slice, a machine — they appear after moderation.
More in VST Plugins
cd ../ VocalSynth 2
VST Plugins 259 MB
 WaveLab Pro
VST Plugins
 Valhalla DSP Bundle
VST Plugins 61 MB
 UnderTone Audio UnFairchild
VST Plugins 220 MB
 UJAM Symphonic Elements STRIIIINGS
VST Plugins 4.4 GB
 uJAM Cinedream
VST Plugins 3.5 GB
 XLN Audio Life
VST Plugins 442 MB
 UJAM Beatmaker VICE
VST Plugins 262 MB