CapCut for macOS
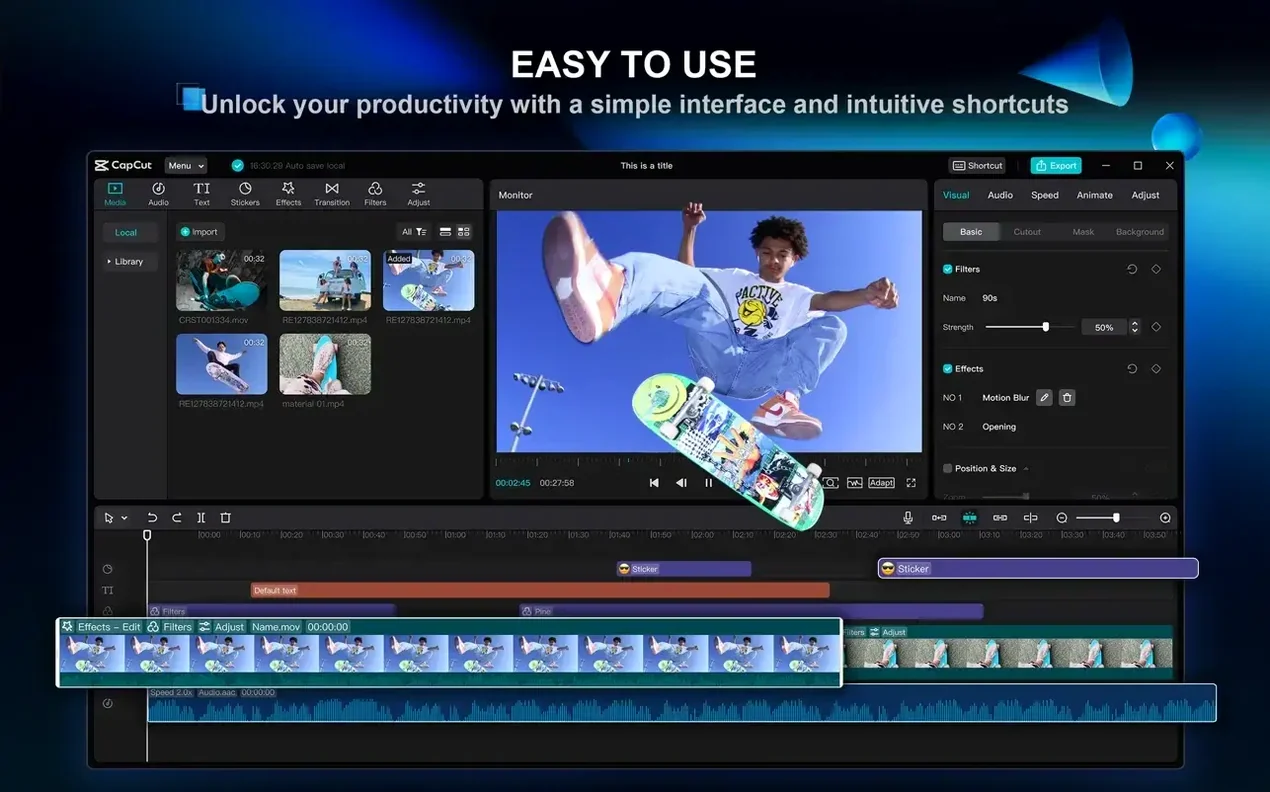
If you've used TikTok's built-in editor, you already know the DNA of CapCut—it's the same engine, pulled out into a standalone Mac app.
macOS — 10.14 or later is the minimum barrier to entry, but the official spec sheet targets 10.15 and above. Apple Silicon Macs run it natively; Intel Macs are still in the mix.
Processor — a 2-core chip gets you through the door.
Memory — 4 GB is the floor for basic cutting and joining. 8 GB or more keeps things fluid when you stack effects and 4K timelines.
Architecture — Universal binary. It won't limp through Rosetta on an M-series machine.
What settings should I change right after installing?
CapCut ships with sensible defaults, but a few tweaks make the timeline behave more like a real NLE and less like a phone app that wandered onto your desktop.
First, open Preferences and look under Project. The default frame rate for new projects is 30 fps. If your source footage is 24 fps or 60 fps, set this to match—mismatched project frame rates cause subtle judder that's easy to miss until you're staring at an export. While you're there, set Preview Quality to "Full" if your Mac can handle it. The default "Medium" saves GPU cycles but hides noise and compression artifacts you'll want to see before you commit to an effect.
Under Performance, toggle hardware acceleration on. It's on by default on Apple Silicon, but Intel Macs sometimes ship with it off. Render cache location matters too—point it at your fastest internal drive, not an external USB spinner. A 2 GB cache fills fast with 4K material.
The timeline snapping behavior is aggressive out of the box. Hold N to toggle it off when you need fine placement between frames. Also worth knowing: right-click any track header and enable Show Audio Waveform. CapCut hides waveforms by default, which makes precise audio cuts a guessing game. Once enabled, the waveform stays visible across projects.
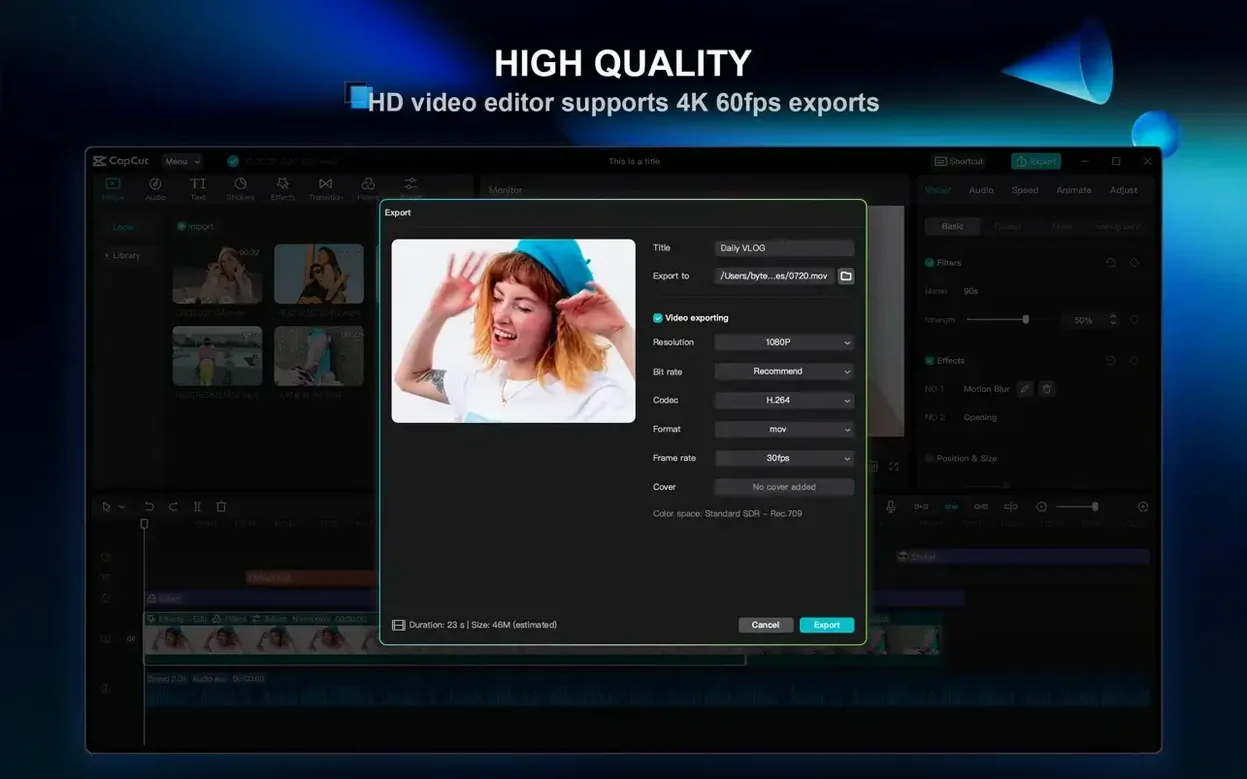
Lastly, visit the Export defaults. CapCut remembers your last export settings, so set your preferred codec and bitrate once—H.264 at 40 Mbps for 4K is a solid starting point—and you won't have to reconfigure every time you bounce a draft.
AI one-click fixes aren't magic bullets
The most common one I see is treating CapCut's AI features as magic bullets. The one-click background removal is genuinely impressive for a free editor, but it falls apart on fine hair, fast motion, and low-contrast edges. Beginners slap it on a talking-head clip, see the cutout shimmer around the shoulders, and assume they did something wrong. They didn't—the matte just needs cleanup. CapCut includes a refine edge brush for exactly this; it's tucked behind a small "Refine" button that most people skip right past.
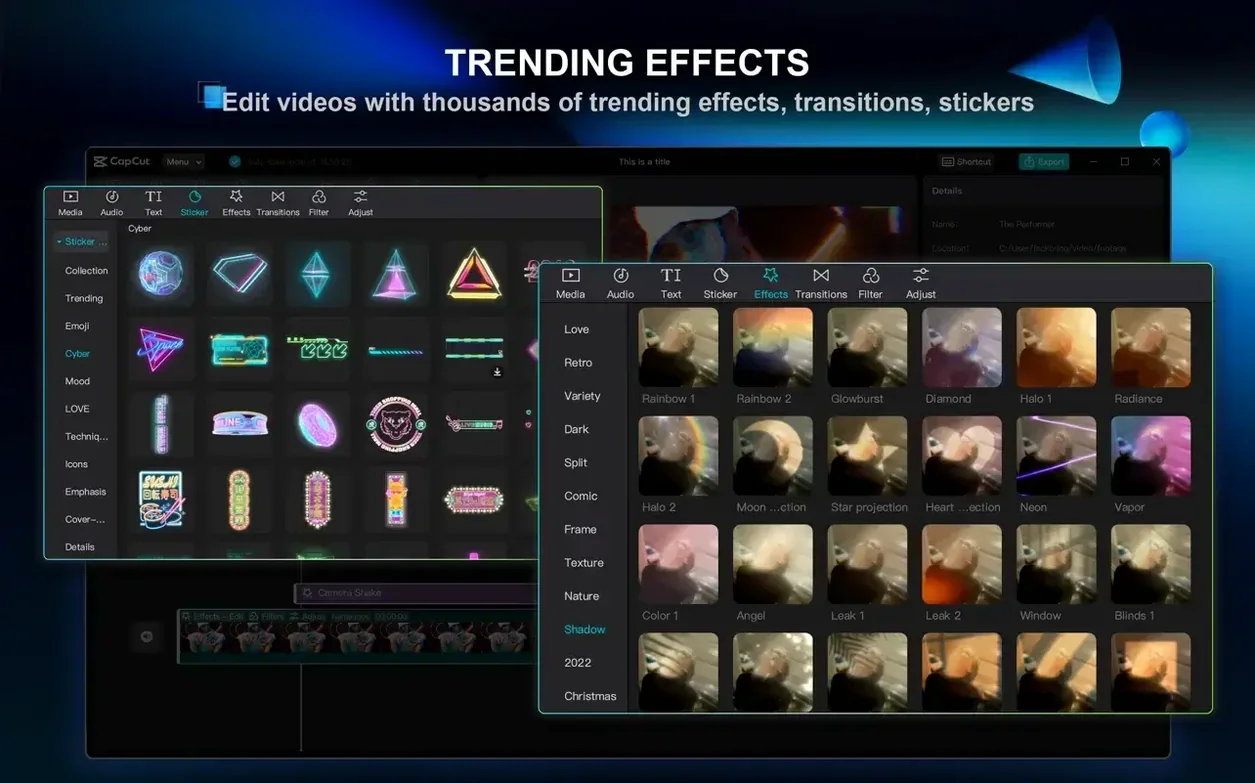
Another classic: piling transitions between every clip. The library has dozens of flashy wipes and glitch effects, and the temptation to use all of them is real. What new editors miss is that a hard cut carries more energy than any dissolve, and CapCut's default crossfade duration of 0.5 seconds is too long for fast-paced content. If you must use a transition, drop it to 0.2 seconds and ask yourself if the cut works without it.
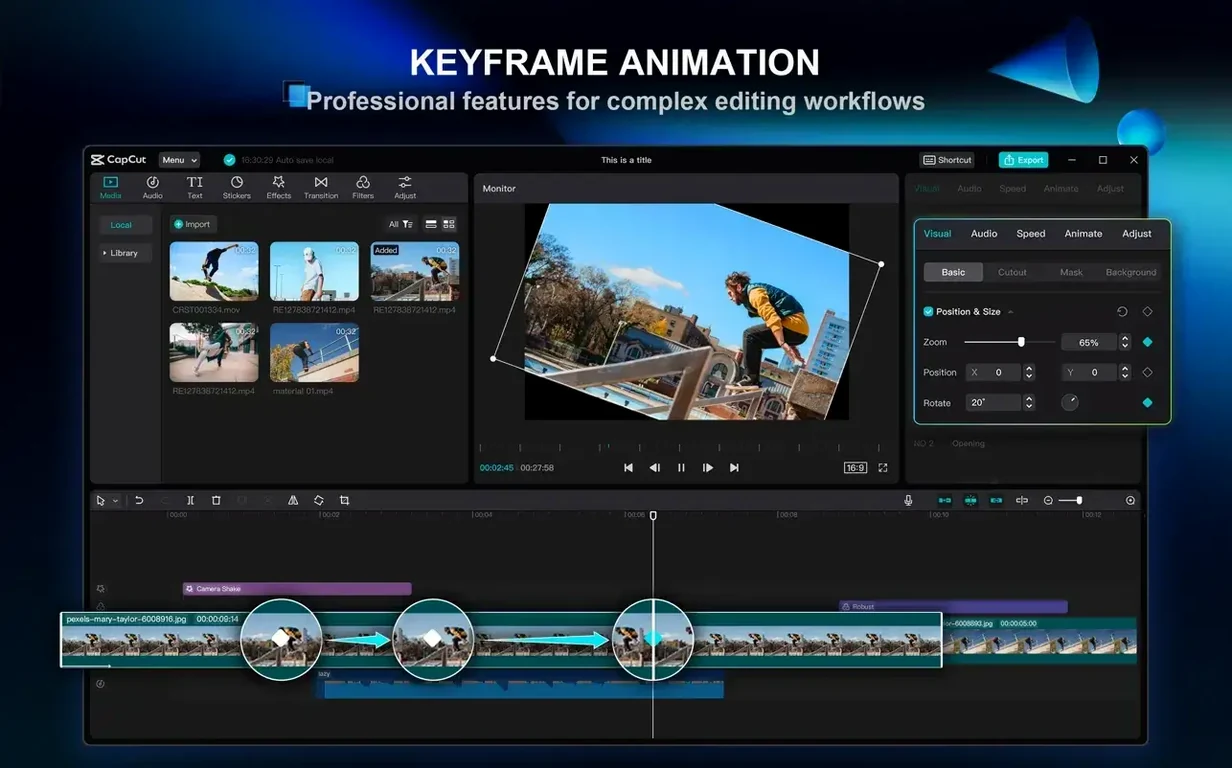
Keyframe animation trips people up consistently. CapCut lets you animate position, scale, rotation, and opacity by dropping keyframes directly on the timeline, but the interface doesn't hold your hand about easing. The default keyframe type is linear—motion starts and stops abruptly. Right-click a keyframe and you'll find ease-in, ease-out, and ease-both options. Ignoring these is why beginner zooms feel robotic.
Audio levels are the silent killer. CapCut normalizes imported audio to -6 dB by default, which is fine for speech, but it doesn't touch background music. Beginners drag in a music track, it plays at full scale, and their voiceover disappears. The fix is trivial—select the music clip, open the Audio panel, drop it to -18 dB—but you have to know to look. The loudness meter in the export dialog is your friend; aim for around -14 LUFS if your video is headed to YouTube.
Is there a catch with watermarks on exports?
Does it watermark exports? No. That's the number one question, and the answer is straightforward: the desktop version of CapCut does not add a watermark to exported videos. The mobile app used to have restrictions on certain effects and transitions, but the Mac build exports clean. The closing logo sting you sometimes see in other people's CapCut videos is an optional template ending—you can delete it from the timeline like any other clip.
Can it edit vertical video natively? Yes. Create a new project, set the aspect ratio to 9:16, and the canvas switches to portrait. The preview window resizes accordingly, and any effects, text, or stickers you add position themselves relative to the vertical frame. Switching a 16:9 project to 9:16 mid-edit works too, though you'll need to reframe every clip. CapCut's auto-reframe tool does a decent first pass using subject detection, but you'll still want to check each shot manually.
Is it really free, or does it lock features behind a subscription? Most of the editing core—multi-track timeline, keyframes, stabilization, chroma key, audio tools—is free with no time limit. A subset of effects, transitions, and AI features (like the script-to-video generator and certain text-to-speech voices) carry a Pro tag. The free toolkit is broad enough that you can produce finished work without hitting a paywall on basic functionality. People grabbing a capcut pro mac torrent can also check that the free version already does what they need while they set up the patched build.
What file formats does it accept? CapCut imports MP4, MOV, MKV, AVI, and WMV for video; MP3, WAV, AAC, and FLAC for audio; JPG, PNG, and BMP for images. It reads H.264 and H.265 natively. ProRes is supported on import but not as an export codec—your export choices are H.264, H.265, or GIF. If your workflow demands ProRes masters, you'll need to transcode after export.
Some users search for a capcut torrent expecting to find the whole effects library unlocked. The reality is that CapCut's free tier already includes the majority of the catalog—the Pro effects are marked with a diamond icon, and there aren't as many of them as people assume. The desktop app installs from a standard .dmg and weighs around 600 MB after the initial asset download. People hunting capcut pro for mac torrent or capcut mac torrent files are usually chasing the Pro features specifically, and the free app serves as a solid baseline to confirm everything runs smoothly first.
A short-form edit workflow, start to finish
Here's how I'd approach a 30-second social clip—talking head with B-roll overlays and captions—using only the tools CapCut gives you.
1. Import and rough cut. Drag your primary footage into the media bin, then onto the timeline. Use I and O to set in and out points in the source monitor, then drag only the good takes to the timeline. Split clips with Cmd+B and delete the dead air. Don't worry about pacing yet—just get the usable material in sequence.
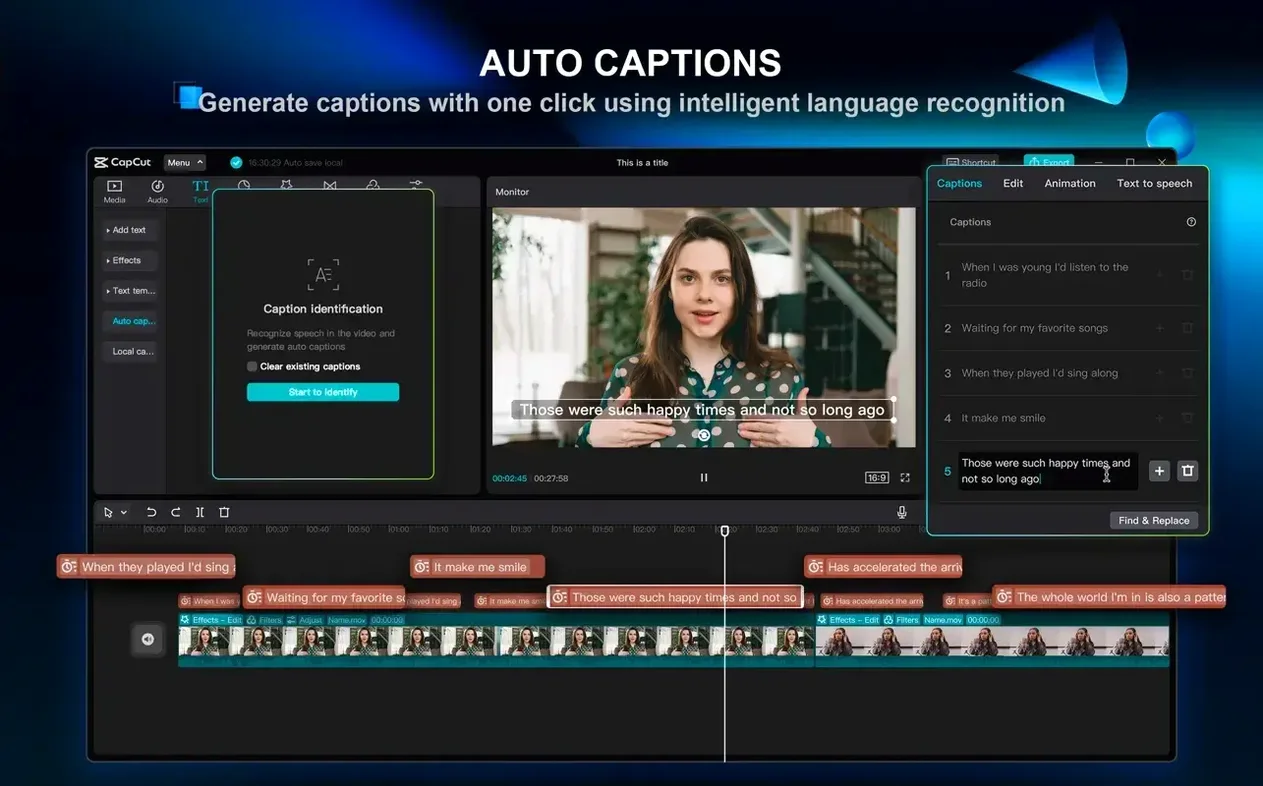
2. Auto-captions. Select the main video track, hit the "Text" tab, choose "Auto captions," and pick your language. CapCut transcribes the speech in about 10–15 seconds for a one-minute clip. The captions appear as individual text clips on a dedicated track above the video. Skim through and correct any transcription errors—technical terms and product names trip it up reliably. While you're in the text panel, pick a caption style. The default white-on-black works, but the "Clean" preset with a subtle drop shadow looks more polished.
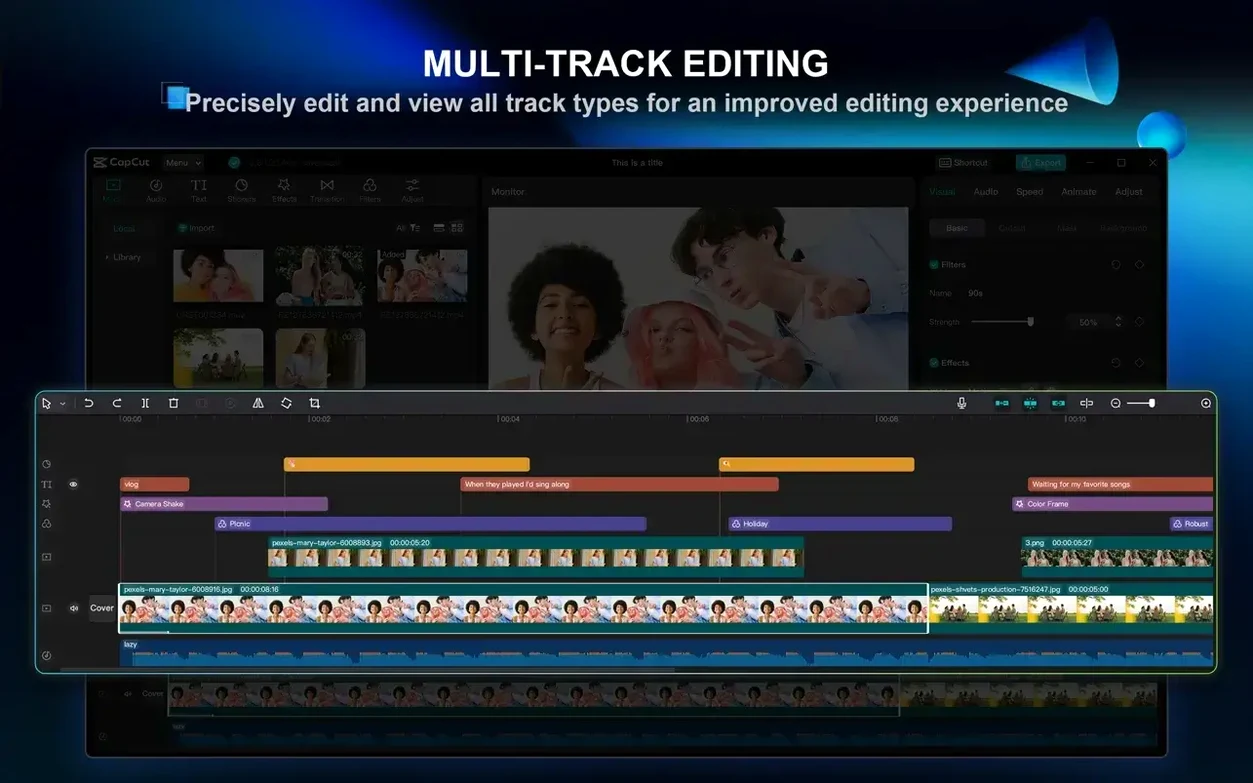
3. B-roll overlay. Drag your secondary footage onto a track above the main video. The caption track should stay on top. Trim B-roll clips to 1–2 seconds each. CapCut's magnetic timeline doesn't work like Final Cut's—it won't ripple connected clips automatically—so hold Shift while dragging to move everything downstream together. Use the opacity handle on each B-roll clip (drag the line that appears when you hover near the top of the clip) to fade overlays in and out without adding transition effects.
4. Audio cleanup. Select the main audio track and open the Audio panel. Enable "Reduce noise"—the default setting is aggressive, so dial it back to around 30% for most recordings. If you recorded in a room with hard surfaces, also enable "De-reverb" at a low setting. For background music, drag a track from CapCut's built-in library or your own collection onto the lowest track, then pull the volume down to -20 dB. Use the fade handles at the start and end of the music clip to avoid abrupt cuts.
5. Color and export. CapCut's color panel gives you basic exposure, contrast,
- macOS 10.14 or later (officially targeting 10.15+)
- Both Intel and Apple Silicon Macs
- 2-core processor minimum
- 4 GB of RAM (8 GB recommended)
$ man capcut | grep -A2 "?"
What video formats can CapCut export?
CapCut can export video at up to 4K resolution at 60 frames per second.
Comments 0
Sign in or create an account to leave a comment.
No comments yet. A codec, a slice, a machine — they appear after moderation.