Capture One for macOS
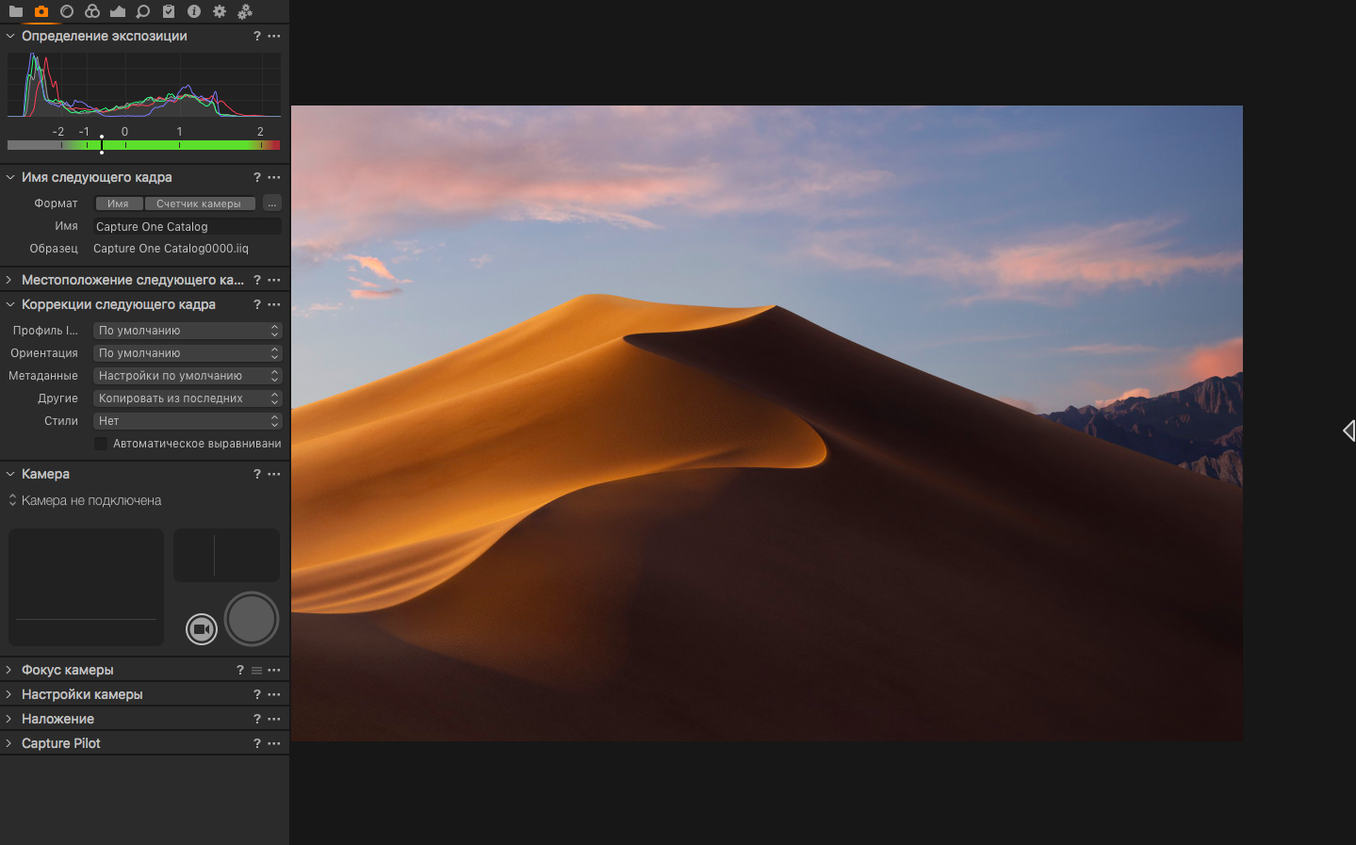
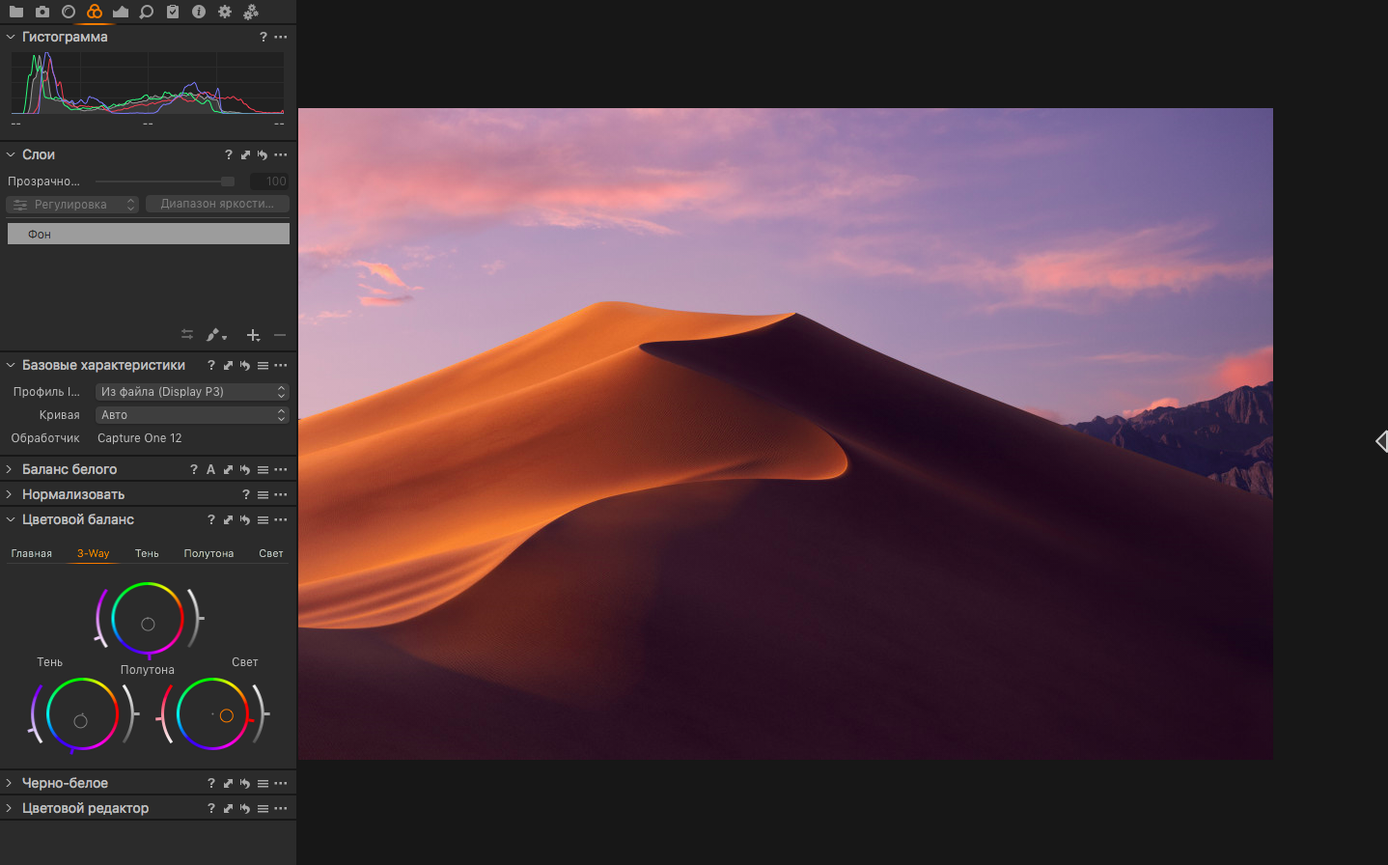
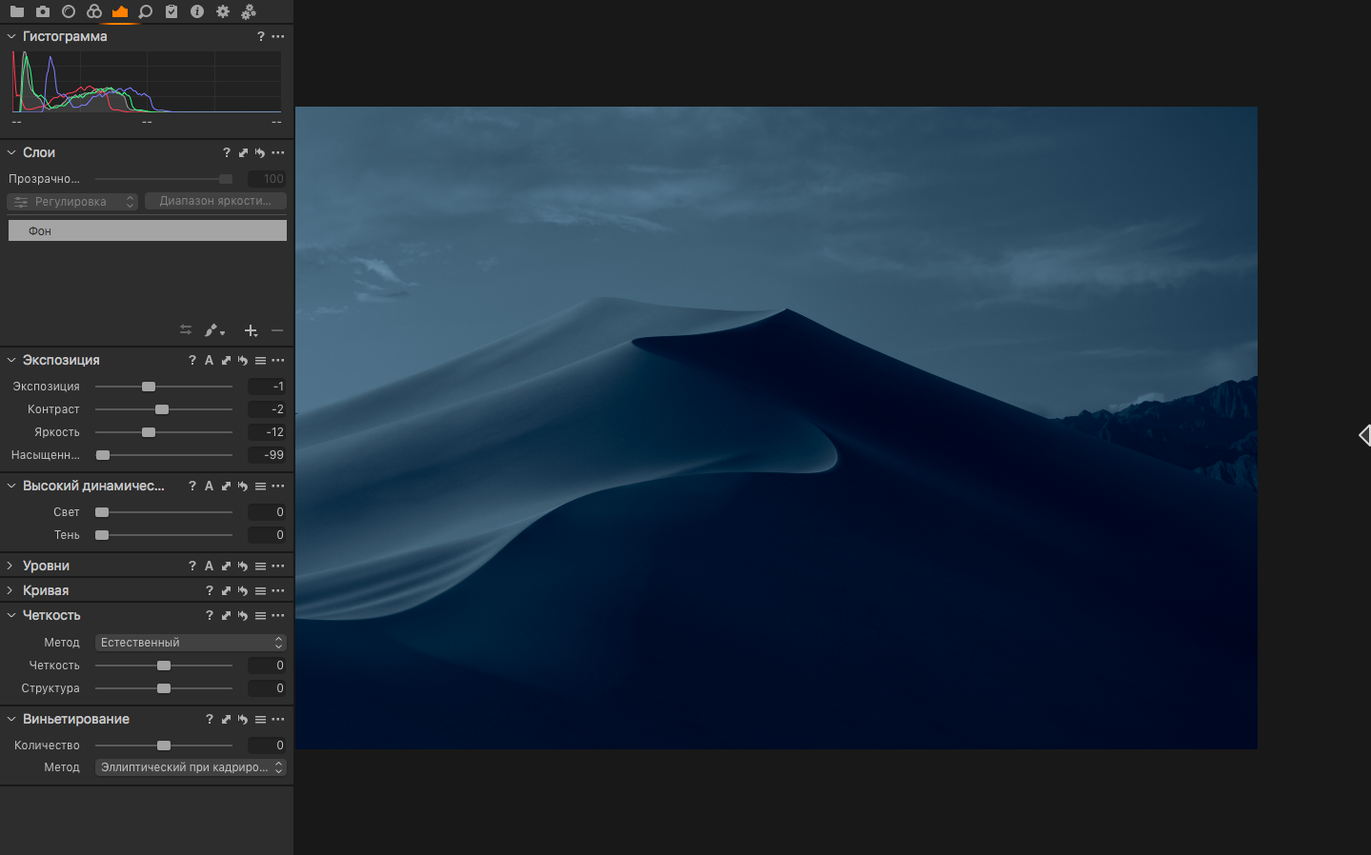
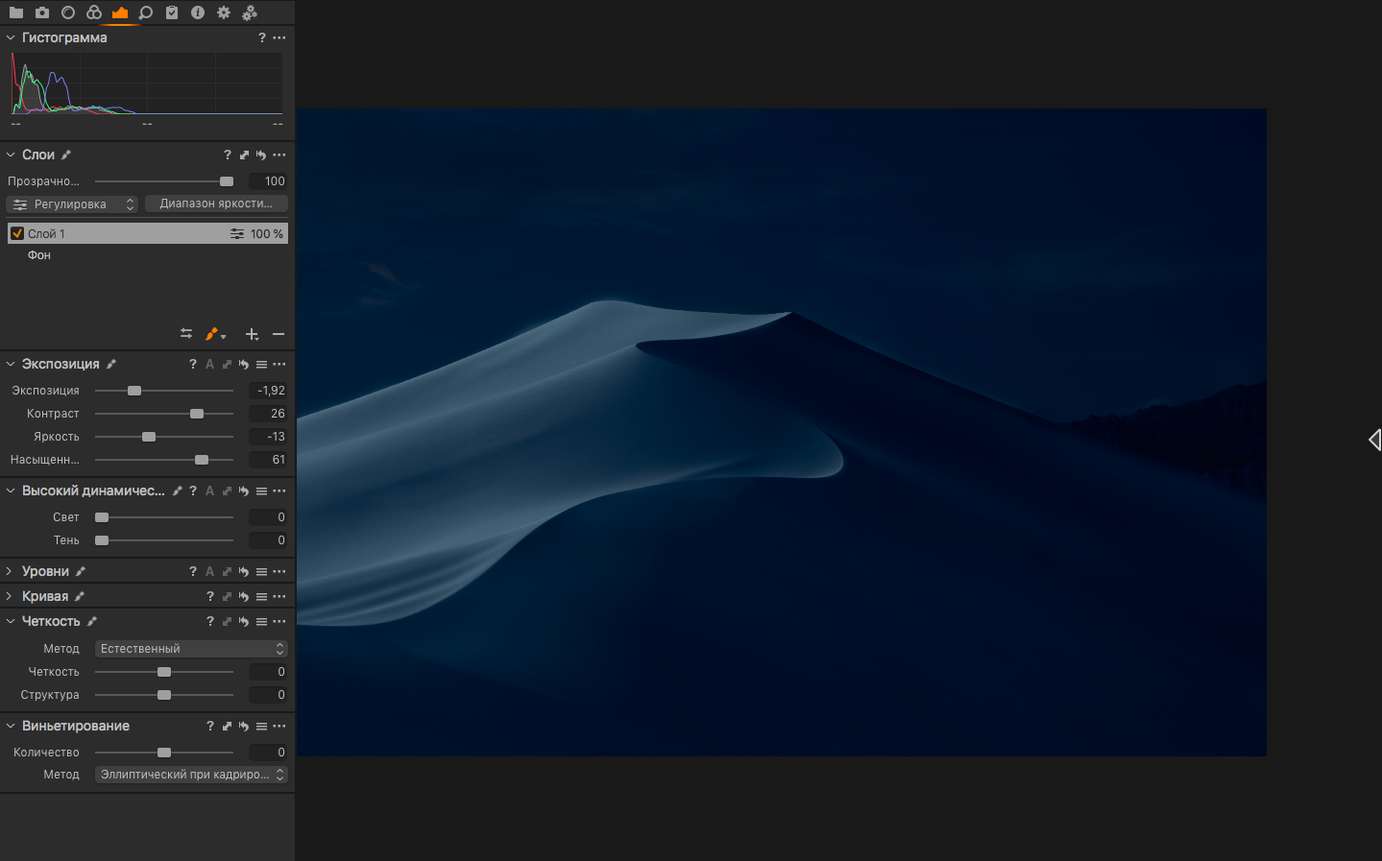
Version 16.8.6.25 rolled out support for the Canon EOS R6 V, the Phase One IXM-RS250, and the Panasonic DC-L10, so the camera compatibility list keeps pace with recent bodies. That matters if your RAW files were just showing as unsupported thumbnails in Finder. Alongside the new profiles, the release added an enhanced denoise step that runs before you touch a single slider—useful when you pull up an ISO 6400 shot and see color noise sitting in the shadows before you even start grading.
The processing model stays anchored to the original RAW. Every variant you create—a punchy black-and-white, a lifted shadow recovery, a portrait with the white balance set via the eyedropper on a neutral gray point—branches from that single source file without baking in destructive edits. That architecture sits comfortably next to a pixel editor you might already use for retouching; you can push exposure and color here, send a TIFF out, and keep the RAW catalog intact.
Assisted review and new contact sheets landed in this release too, which nudges the culling step closer to what a tethered studio session actually needs. You can rate and filter while the files are still writing, and the contact sheet layout now groups bursts more cleanly. For anyone juggling a library that mixes scanned film, drone DNGs, and high-res medium-format frames, the interface switches between eleven languages including Japanese, Korean, and Ukrainian without restarting the app.
Denoise now runs automatically as RAW files load
Enhanced denoise isn't a checkbox you hunt for in a dialog. In 16.8 it runs automatically during RAW loading, before the preview renders. You notice the difference when you zoom into a dim interior shot at ISO 3200 and the color speckling in the dark areas is already tamped down. The luminance noise still needs a slider nudge, but the magenta-green chatter that used to survive default processing is noticeably quieter. For event shooters who batch-apply a style to 800 frames, that means fewer images where you stop and think "I'll need to fix that one later."
Assisted review changes the culling rhythm. Instead of scrolling a filmstrip and tapping flags, you can now let the software group bursts and highlight probable keepers based on focus and eye detection. It's not making creative choices for you—a sharp frame of someone mid-blink is still a reject—but it cuts the mechanical work of separating twenty burst frames into a shortlist of five that are technically sound. Wireless tethering also got more reliable; connection drops mid-shoot are less frequent with the updated protocol, though a cabled session is still the safer bet when you're shooting a paid job.
The contact sheet redesign groups similar frames into stacks with a single thumbnail and a count badge. If you shoot runway or sports where a one-second burst produces a dozen near-identical images, the browser stops looking like a swarm of duplicates. You expand a stack only when you're ready to compare.
Cold launch in four seconds, smooth 40,000-image catalogs
On an M1 or M2 machine with 16 GB of RAM, the app launches cold in about four seconds. A catalog with 40 000 images scrolls without thumbnails going gray while they catch up—a frustration older versions were known for. The GPU acceleration path on Apple Silicon now offloads more of the preview rendering pipeline, so brushing a localized adjustment mask across a 50-megapixel file doesn't feel like dragging a cursor through mud.
Memory pressure stays moderate under typical editing: around 2–3 GB with a dozen open variants, rising toward 6 GB if you batch-process a hundred TIFF exports while the denoise engine is chewing on new imports. The app doesn't leak memory across long sessions the way earlier 16.x builds occasionally did. I've left it open overnight with a 5 000-image catalog loaded and came back to the same RAM footprint.
The one resource spike worth knowing about is the enhanced denoise pass. On an Intel Mac with an AMD GPU, processing a batch of high-ISO RAWs pegs the GPU for several minutes. On Apple Silicon the Neural Engine handles that workload more efficiently, so battery drain on a MacBook Pro stays reasonable. If you're on an Intel machine and importing a wedding's worth of low-light shots, expect the fans to spin up.
Why cropping one variant can alter the original frame
The most common one isn't a button you press wrong—it's misunderstanding variants. A new user often creates a variant, crops in tight, and then wonders why the original frame looks cropped too. The crop tool in Capture One applies per-variant unless you specifically copy adjustments, but the thumbnail preview doesn't always make that obvious. You solve it by checking the Base Characteristics tool to see which adjustments belong to which variant, not by duplicating the file.
Another recurring stumble: treating the Levels tool like the one in a pixel editor. Capture One's Levels work on the linear RAW data before the tone curve, so dragging the midpoint slider behaves differently than in Photoshop. Beginners push shadows up with Levels, get a flat, washed-out look, and then fight it with contrast sliders. The cleaner path is to leave Levels alone for exposure range clipping and shape tone with the High Dynamic Range sliders and the curve tool.
Sharpening trips people up too. The default sharpening preset in Capture One is tuned for a specific output intent—print, usually—and applying it to a file destined for Instagram produces halos on fine detail like hair or fabric. Turning off the default sharpening in the export recipe and using the Diffraction Correction and Sharpening tabs only when needed prevents that crunchy oversharpened look.
Finally, there's the catalog-versus-session confusion. A new user who imports everything into one catalog and never creates a session ends up with a monolithic database that's slow to back up. Sessions keep the adjustments file, trash folder, and output folders self-contained inside a single folder per shoot. If you shoot tethered or work project-by-project, sessions are the safer default.
Tethered overhead shooting with live client adjustments
Consider a product photographer shooting ceramic tableware for an online store. The setup is an overhead camera on a copy stand, strobes with softboxes at 45 degrees, and a Surface Pro running Capture One in tethered mode over USB-C. Each plate and bowl gets twelve frames: four angles, three exposure brackets per angle to catch specular highlight detail on the glaze.
The photographer opens a new session called 2026-01-15_ceramic-set on a Mac Studio back at the desk. As frames land, the assisted review flags the sharpest exposure from each bracket group. The contact sheet stacks the bracketed trios so the browser stays navigable instead of becoming a wall of nearly identical thumbnails. The photographer rates the flagged frames green, applies a style that lifts shadows slightly and adds a gentle clarity bump, then switches to the White Balance eyedropper to click a gray card shot from the top of the set. That temperature and tint value gets copied across all rated variants in one batch operation.
Export is a single recipe: full-size TIFF in Adobe RGB for the retoucher, and a 2048-pixel JPEG in sRGB with the store's naming convention for the web team. The whole session—from first frame to delivered folders—runs inside three hours, and the session folder is small enough to archive on the studio NAS without bloating a monolithic catalog. The enhanced denoise pass on the darker mood shots saved the photographer from painting out chroma noise by hand, which on a 40-product shoot adds up to real time.
Built for tripod shooters who tweak white balance mid-session
Tethered studio photographers are the obvious fit. If your shooting day involves a camera on a tripod, a client monitor, and an art director asking for a slight white balance tweak before the next frame, Capture One's live view and overlay tools make that conversation happen in seconds. The session model means each job stays portable, and the color editor's ability to shift a single hue without affecting the rest of the palette matters when the product is a specific shade of brand blue.
High-volume wedding and event editors benefit from the variant system and the batch-export reliability. You can build a base look on one frame from the ceremony, apply it to 600 images, and then dip into individual shots only when the lighting changes. The export queue doesn't stall when you queue 1 200 full-resolution JPEGs, which isn't true of every RAW processor.
Fine-art and landscape photographers who print their own work lean on the soft-proofing and CMYK export paths. The ability to send a 16-bit TIFF directly to a RIP without an intermediate application removes one step where color management can go wrong. And because adjustment layers don't touch the source RAW, you can revisit a file two years later with a different paper profile and re-export without rebuilding edits.
Users who push low-light work—concert photographers, astrophotographers, documentary shooters working in available darkness—will notice the enhanced denoise engine more than anyone. An ISO 12 800 frame from an older full-frame body that used to need a trip through a separate denoise plugin now comes out of Capture One clean enough for web delivery with only minor luminance smoothing. That collapses the workflow by one application and keeps the RAW catalog intact.
- Enhanced denoise added, tackling color noise early in the pipeline.
- Assisted review for rating and filtering during culling.
- New contact sheets with cleaner burst grouping.
- macOS 12 or later
- Runs natively on both Apple silicon and Intel Macs
Comments 0
Sign in or create an account to leave a comment.
No comments yet. A codec, a slice, a machine — they appear after moderation.