Motion for macOS
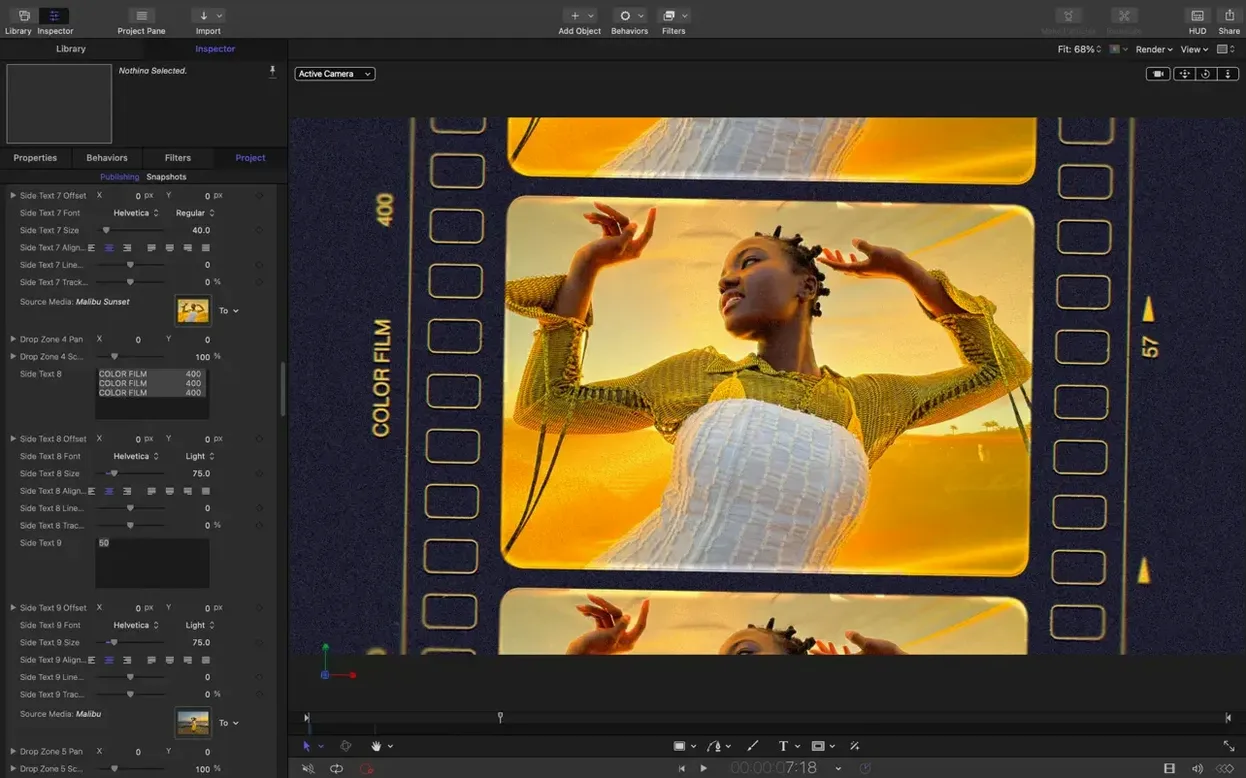
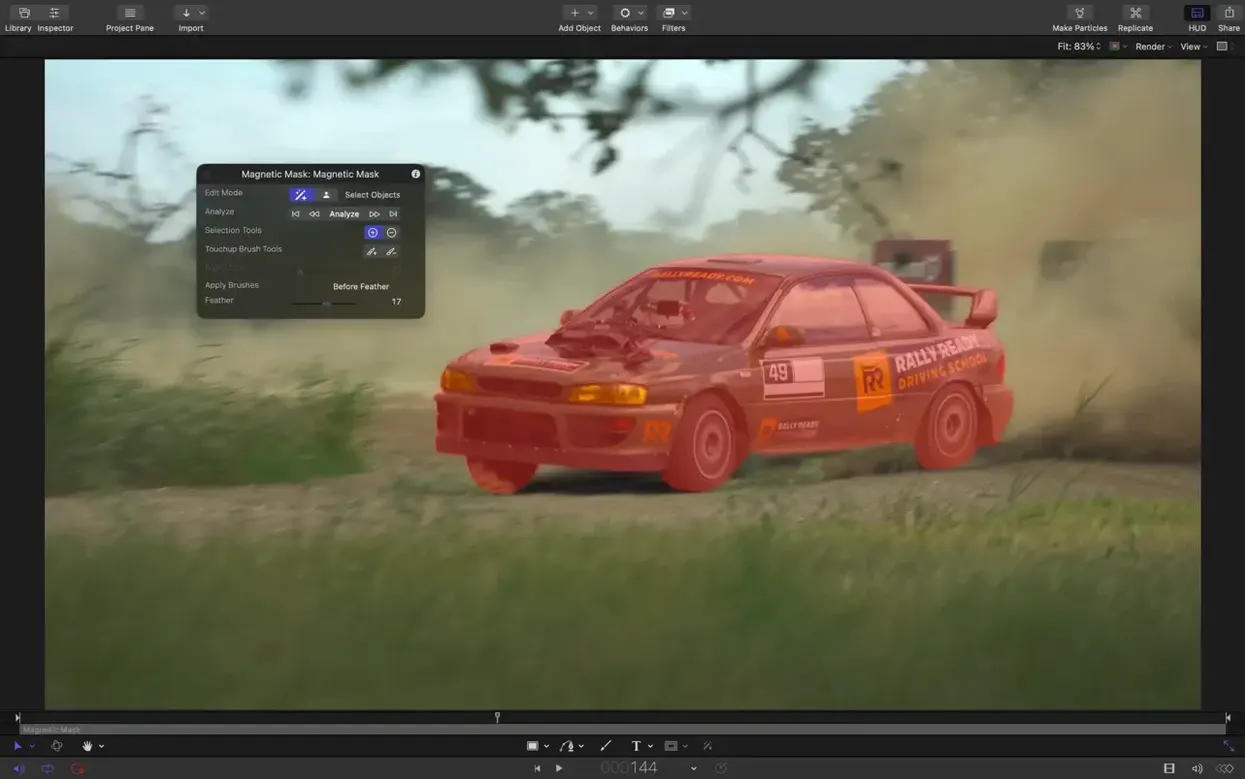
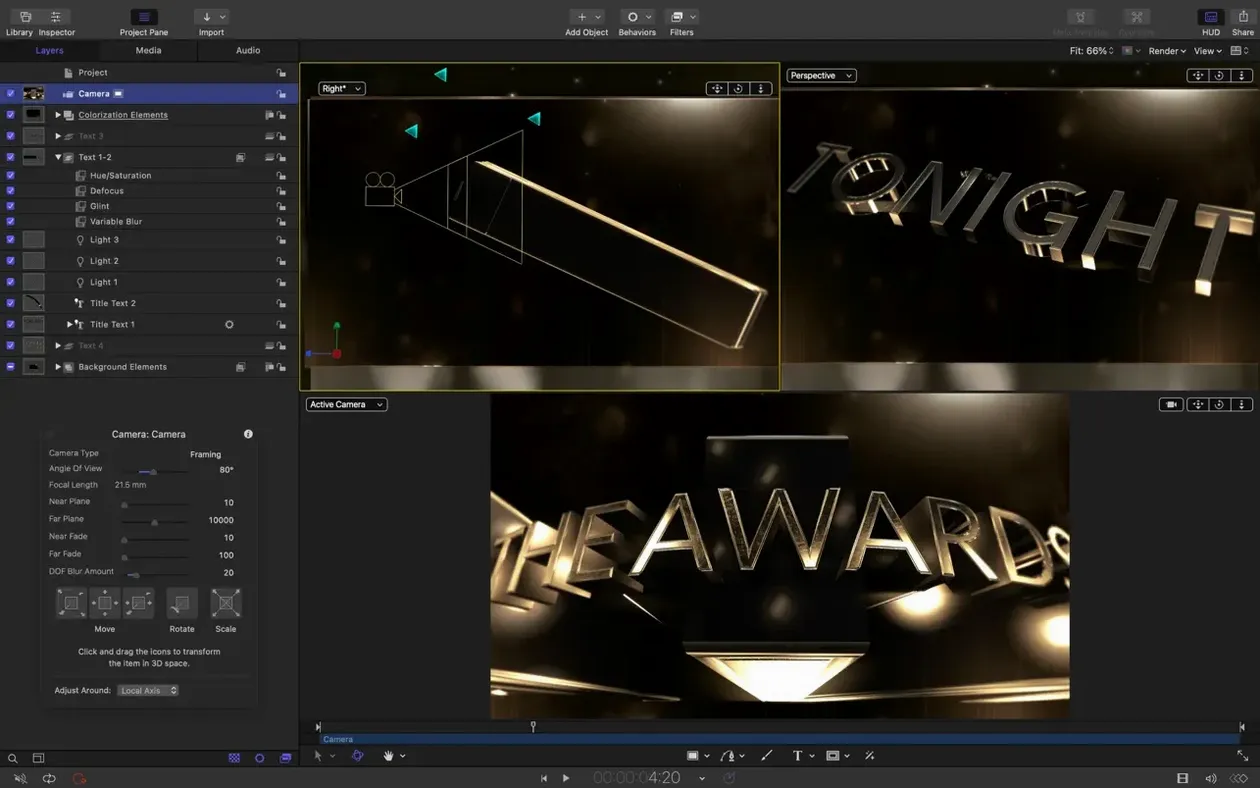
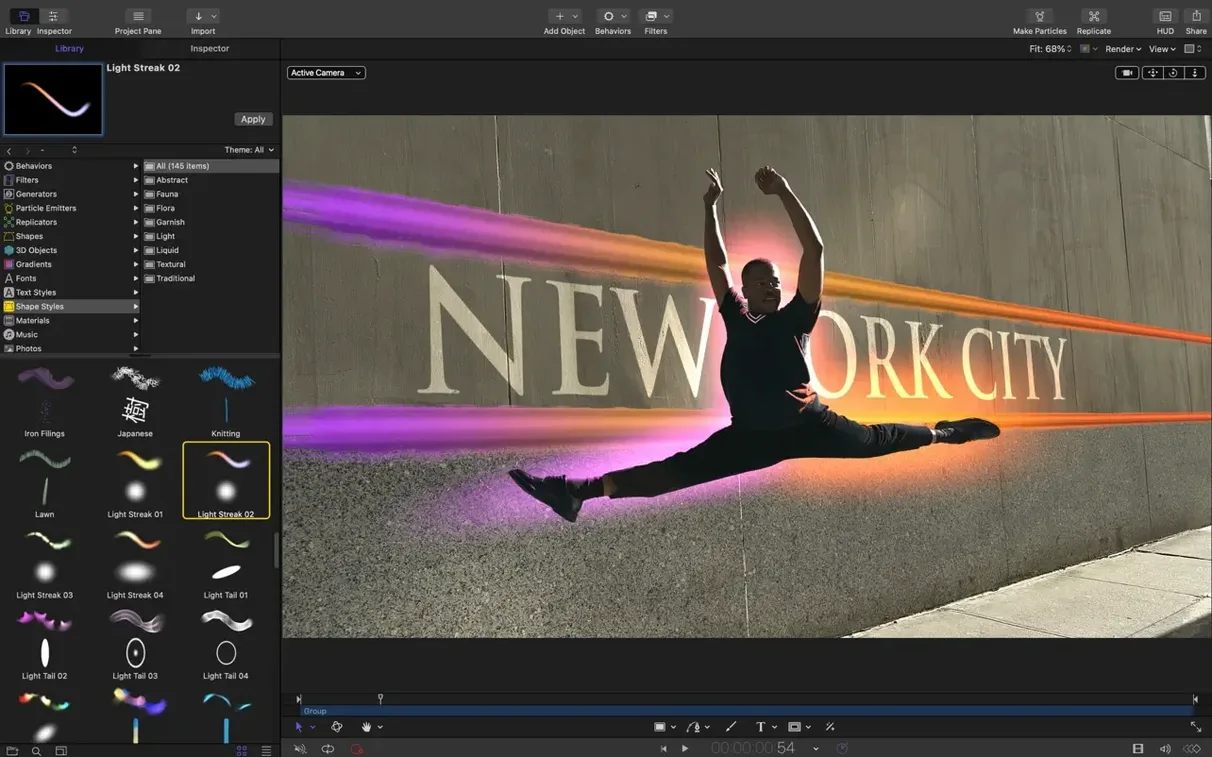
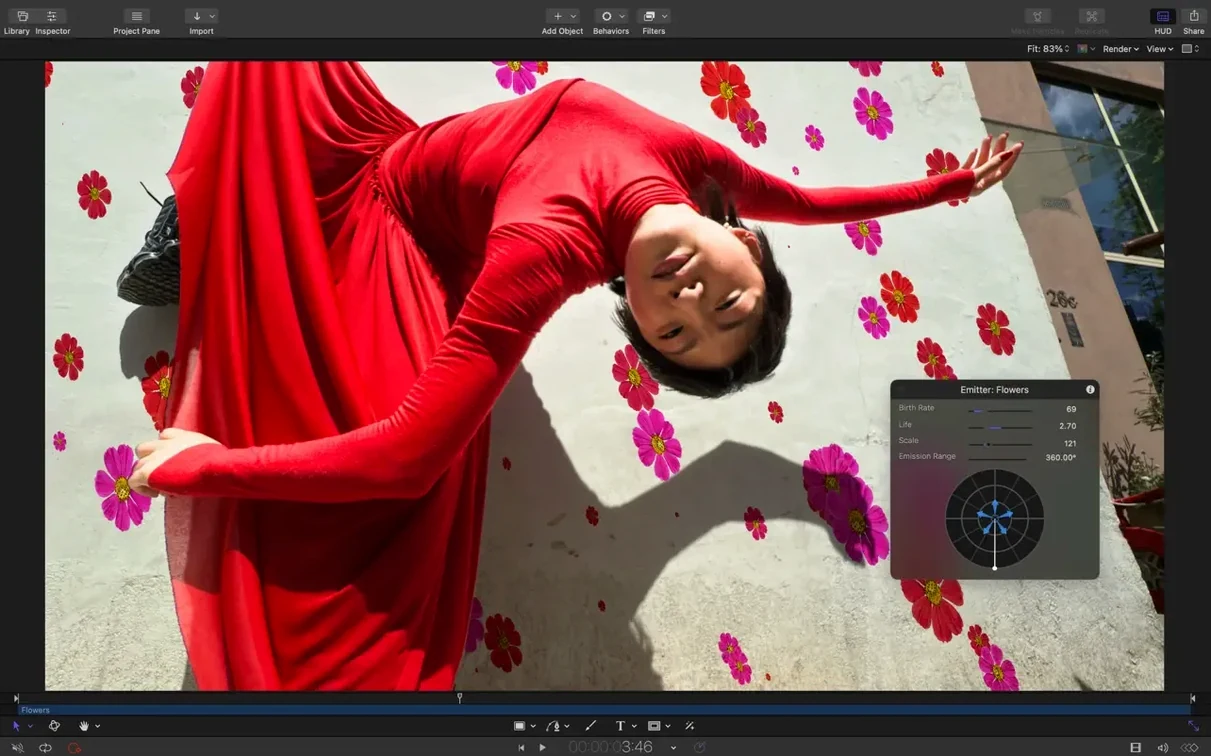
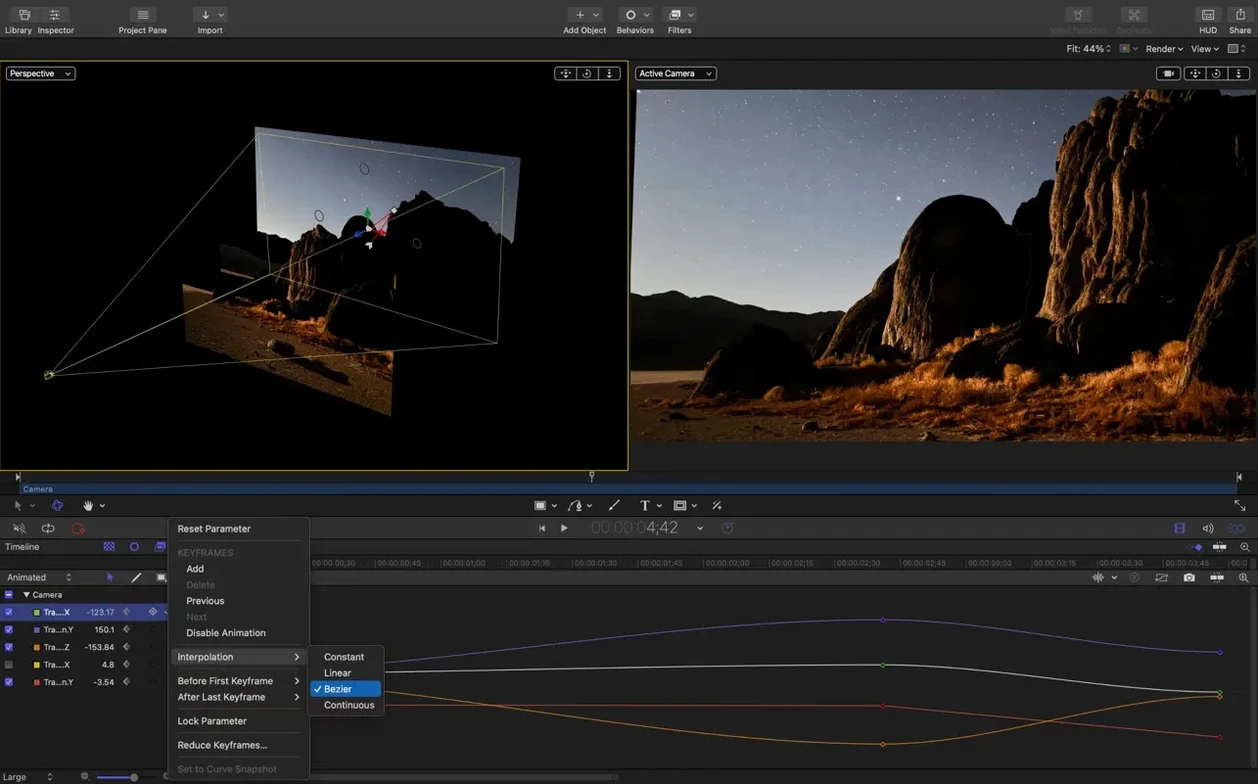
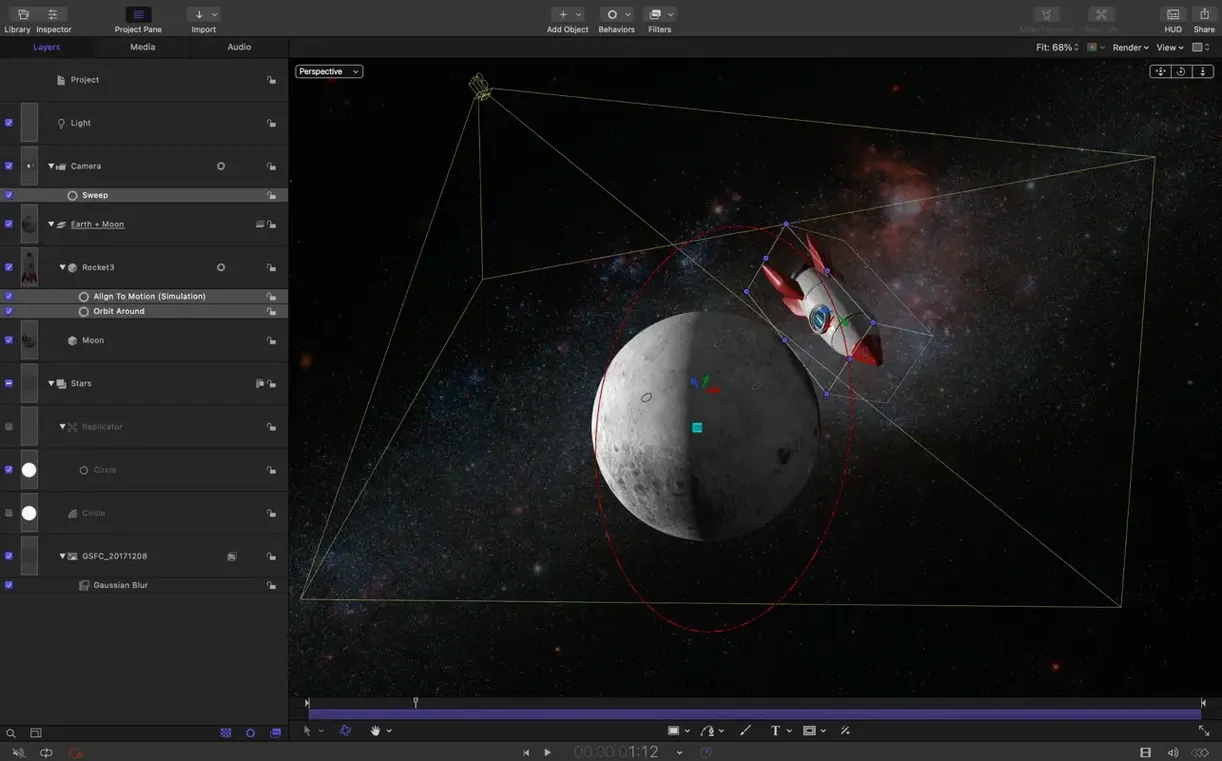
Motion 6.3 runs on Apple silicon and Intel Macs with macOS 15.6 or later. If your machine handles Final Cut Pro X comfortably, Motion will feel familiar — it shares the same rendering pipeline and media handling. Here is a sensible first workflow.
- Start with a template. Open Motion and pick a Final Cut Title or Transition template. These are built for real production work, and they show how layers, behaviors, and keyframes fit together.
- Edit text in 3D. Double-click a text layer and switch to a 3D material. Move the camera a little. Motion updates in real time, so lighting and reflections adjust as you drag.
- Try staggered clips. Import two or three short clips into a group. Use the new stagger, cascade, and reverse controls to offset their timing. This is where transitions stop feeling like crossfades.
- Import an SVG. Drop in an SVG logo or shape. It scales cleanly to any resolution, which matters when you render for 4K or for a presentation screen.
- Send it to Compressor. When the timeline looks right, export through Apple Compressor for a proper codec pass. Motion and Compressor share settings, so you do not re-enter frame rates or color space.
Motion is aimed at video editors rather than 3D specialists. The real-time preview engine means you judge effects by watching them move, not by waiting for a render. Once the first title or transition works, Final Cut Pro X picks up the result directly from the Motion Templates folder.
Do I need Final Cut Pro to run Motion?
One question comes up more than any other: "Do I need Final Cut Pro X to use Motion?" The short answer is no — Motion runs as a standalone application. You can build a full project from scratch, animate text, composite layers, and export directly to a video file without ever opening Final Cut. That said, the integration is a big part of why editors choose it. A template saved from Motion appears inside Final Cut as a native title, transition, or effect. You do not export anything; you just save and switch apps. If you work mostly in Premiere or DaVinci Resolve, you can still use Motion, but the round-trip is manual — render out a ProRes file and import it.
Another common question: "Will it slow down my older Intel Mac?" Motion's real-time engine is GPU-heavy. On an Intel Mac with integrated graphics, complex 3D text and heavy particle emitters will drop frames during playback. The app still works — you can lower the preview quality or disable lighting temporarily — but the fluid experience people talk about depends on a discrete GPU or Apple silicon. On any M-series chip, even the base M1, the timeline stays responsive with multiple 3D layers.
People also ask about SVG import limits. Motion reads standard SVG 1.1 files with paths, fills, and basic gradients. It does not support SVG filters, embedded CSS, or animation data. If your file comes from Illustrator or Affinity Designer and uses clean vector paths, it imports without trouble. Text converted to outlines works; live text inside the SVG does not — you will need to set type inside Motion instead.
Why SVG import changes title design
Version 6.3 brought SVG import, and for anyone who builds title sequences or lower thirds, that shift is practical. Before this, scalable graphics meant importing a layered Photoshop file or rebuilding shapes inside Motion. Now an SVG logo lands on the canvas as a fully editable group of vector layers. Resize it for an 8K timeline and the edges stay sharp. Combine it with 3D camera moves and the vectors render cleanly at any depth.
The stagger, cascade, and reverse controls for clips solve a timing problem editors had been working around manually. Before, if you wanted five clips to ripple onto the timeline one after another, you nudged each one by hand. Now you select the group, pick a stagger amount, and Motion offsets every clip by the same number of frames. Cascade does the same but with overlapping fades. Reverse flips the order. These are small mechanical changes, but they remove friction from the kind of rapid compositing that broadcast editors do under deadline.
A quieter fix matters for color work: some color correction filters on macOS 26 rendered brighter than intended due to a rendering mismatch. The 6.3 update corrected that, so grades set on an earlier macOS version now match on the newer system. If your pipeline spans multiple Macs running different OS releases, this keeps the look consistent.
Switch this playback setting for faster previews
Motion ships with defaults that favor visual smoothness over editor speed. A few changes make the first days more productive.
Switch the playback frame rate match. Under View > Playback, uncheck "Limit playback to project frame rate" while you are working. Motion will push as many frames as your GPU can deliver, which makes scrubbing and real-time previews feel faster. Re-enable it before final export to check true timing.
Set the default keyframe interpolation. Motion defaults to smooth Bezier keyframes for most parameters. If you prefer linear moves — common when animating lower thirds or technical overlays — open Preferences > General and change the default interpolation to Linear. You can still override it per keyframe, but the starting point matches your style.
Turn off depth of field in the default 3D scene. New 3D projects enable depth of field by default. It looks cinematic, but it slows preview performance and makes precise positioning harder. Switch it off in the Camera inspector while you block out the scene; bring it back once layers are placed.
Organize the media folder early. Motion does not collect media into a project bundle the way Final Cut does. Before you start dropping files into the canvas, create a folder structure on disk and keep everything there. Moving media later breaks links, and relinking in Motion is more manual than in Final Cut.
Animate with behaviors before touching a keyframe
Spend an hour with behaviors before you touch a keyframe. Motion's behavior system — throw, orbit, attract, repel — animates layers parametrically. You tell a layer to drift left, and it does; you adjust the speed with a slider. The first instinct for anyone coming from After Effects is to set keyframes for every movement. Resist it. Behaviors handle the physics of motion, and they stay editable without diving into a graph editor. Keyframes are there when you need absolute control, but many everyday animations work with a single behavior and two parameter tweaks.
Build one Final Cut template on day one, even if you do not plan to use Final Cut immediately. The process teaches you the template-authoring logic: which parameters get published, how drop zones work, and where the template file actually lives on disk (~/Movies/Motion Templates/). Once you have published a single title template with an editable text field and a drop zone, the whole model clicks. From there, generators and transitions follow the same pattern.
Watch the canvas resolution indicator while you layer effects. Motion scales the preview resolution down automatically to maintain real-time playback. If you see the resolution drop to half or quarter, you know the current effect stack is pushing the GPU. Temporarily disable the heaviest filters — 3D lighting, blurs, and particles are the usual suspects — while you adjust timing. Enable them again for the final preview pass.
When working with particle emitters, start from a preset in the Library and modify it rather than building from scratch. Emitter parameters interact in ways that are not always obvious — birth rate, life, speed, and spin all affect each other. A preset gives you a balanced starting point, and you learn the parameter relationships by pulling one slider at a time to see what breaks.
How Motion compares with similar Mac apps
Motion and After Effects. After Effects does more — expressions, a broader plug-in ecosystem, character animation tools, and a longer list of export formats. But it is a timeline-first compositor that encourages pre-rendering and RAM previews. Motion renders in real time on the canvas, which changes how quickly you iterate. For title design and broadcast graphics that need to move fast, Motion's real-time feedback shortens the loop. For complex, multi-layered compositing with third-party plug-ins, After Effects remains the broader tool. The two are not direct substitutes so much as different approaches to motion design.
Motion and DaVinci Resolve Fusion. Fusion lives inside Resolve (or as a standalone app) and works node-based. That is powerful for complex composites — you see the whole effect flow at once — but the learning curve is steeper. Motion uses layers and a timeline, which video editors pick up faster. Fusion's tracker and keyer are more advanced; Motion's 3D text and real-time preview are smoother. If you already grade in Resolve, Fusion is right there. If you cut in Final Cut and need titles and transitions that integrate without rendering, Motion is the natural fit.
Motion and Apple's free tools. Some editors look for an apple motion free download or search for ways to try the app before committing. Motion is not a free application, and there is no standalone trial outside of the bundled Apple Creator Studio suite. People searching for an apple motion torrent or a motion torrent are often comparing it against free alternatives like Blender's video sequence editor or Keynote's animation tools. Keynote handles basic animated titles for presentations, but it does not export Final Cut templates or support particle emitters. Blender does real 3D motion graphics, but its compositor is not built for the quick title-and-transition workflow that Motion targets. The apple motion download route most editors take is straightforward: it comes with Final Cut Pro X in the education bundle or as part of Apple Creator Studio, and it installs like any other Mac app — open the disk image, drag to Applications, launch from Launchpad.
- Imports
.svgfiles that scale to any size and keep graphics sharp at any resolution. - Adds controls to stagger, cascade, or reverse clips.
- Fixes Bezier Mask vertex selection.
- Fixes incorrect texture media during playback for some 3D text and particle emitters.
- Fixes brighter rendering for some color correction filters on macOS 26.
- Includes performance updates.
- macOS 15.6 or later
- Apple silicon or Intel Mac
- Languages: English, German, Spanish, Simplified Chinese, French, Japanese
$ man motion | grep -A2 "?"
Does Motion work without Final Cut Pro?
Yes. Motion is a standalone app, though it integrates closely with Final Cut Pro X for titles, transitions, and effects. It also works with Apple Compressor for export.
Can Motion open SVG files?
Motion 6.3 can import SVG files. They scale to any size and keep graphics sharp at any resolution.
Comments 0
Sign in or create an account to leave a comment.
No comments yet. A codec, a slice, a machine — they appear after moderation.