Movavi Video Editor for macOS
A friend just sent you a dozen 4K clips from a weekend shoot. They need to be cut down to a single two-minute highlight, with a title card at the front and the background hum cleaned up. You grab Movavi Video Editor 22.4.1.
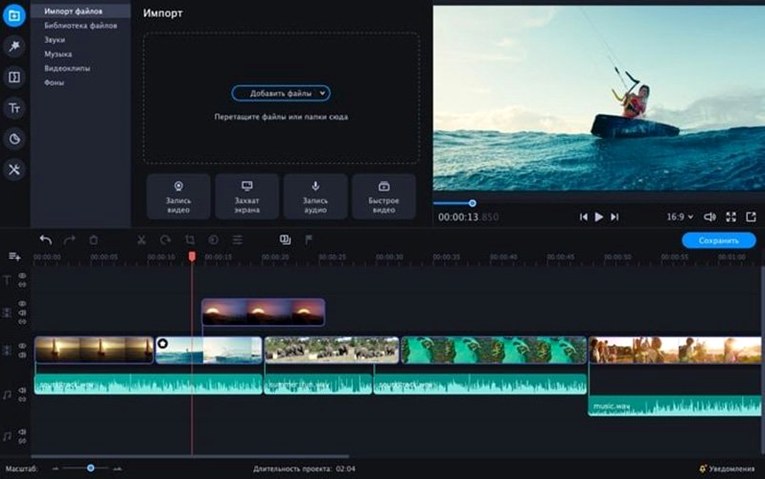
- Drag the clips onto the timeline. The interface stays out of your way — a simple two-track layout with a preview pane.
- Split and trim with the blade tool. Ripple delete pulls the remaining segments together so you don't leave gaps.
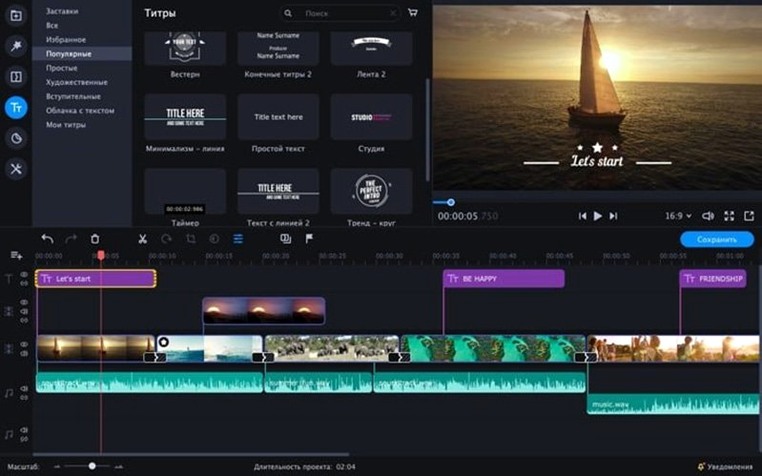
- Drop a ready-made intro from the built-in library onto the first track. No timeline keyframing required.
- Select the audio track, open the sound tools, and let the one-click polish filter even out the levels and reduce background noise in a few seconds.
- Export the timeline as a single
.mp4file.
This is the standalone Mac version, not a port of the Windows build. It runs on Intel Macs back to macOS 10.13 and brings its own set of built-in effects and AI-driven tools — noise reduction, color adjustment — that Movavi bundles directly into the editor rather than requiring separate plug-in downloads.
The install step where people open a disk image but skip the drag
Most snags in Movavi Video Editor come down to two things: where the app is launched from, and how much free space the export drive has. The install step is specific — you open the downloaded disk image and drag the app into Applications. People who launch the app while it's still mounted on the .dmg sometimes find their projects vanishing after a reboot, because the disk image got unmounted and the app with it.
Export stalling near the end is usually disk space, not a codec problem. A six-minute 1080p timeline can balloon into a multi-gigabyte working file during rendering. If the destination volume has under ten gigabytes free, the exporter will crawl or throw an error that says nothing useful. Clear space first, then re-run the export.
Audio that plays fine in preview but comes out muted in the exported file is another classic. Nine times out of ten, a clip's audio track got disabled on the timeline but the waveform preview still renders. Check the little speaker icon on each track before blaming the encoder.
Stacking chroma key, color correction, and stickers on a single four-second clip
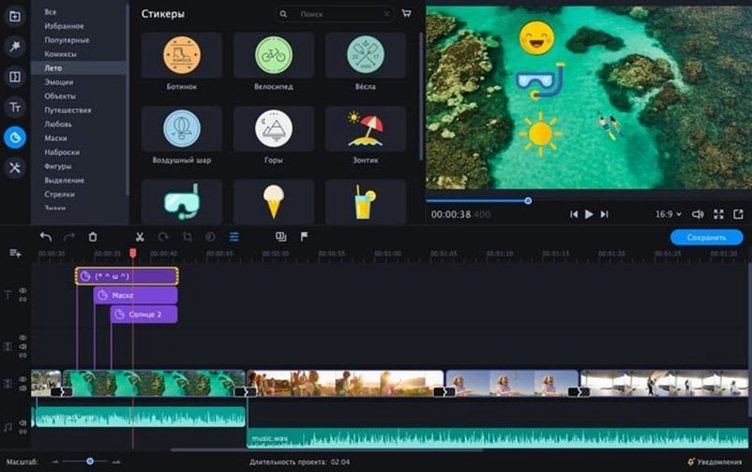
The most common beginner mistake is stacking effects on every single clip. Chroma key plus a color correction plus a sticker on a four-second segment looks interesting in the preview pane, but the timeline gets sluggish fast on older Intel Macs. Apply a green-screen background removal once, duplicate the clip if you need the same treatment elsewhere, and only then add overlays.
Another is ignoring the project framerate setting before importing. Mixing 30 fps phone footage with 60 fps camera clips causes judder on the timeline, and beginners often think it's a bug in the app. Set the project to match the majority of your source clips before you drop anything in.
Slow motion and reverse playback are simple tools here, but people forget they work best on segments you've already trimmed. Apply them to a thirty-second raw clip and you'll wonder why the preview stutters. Cut first, then apply the effect to the short piece.
Track-based overlay placement versus iMovie’s magnetic timeline
Against iMovie, Movavi splits the difference between speed and flexibility. iMovie's magnetic timeline is easier for absolute first-timers, but it fights you when you want precise manual placement of overlays. Movavi's track-based layout lets you put a sticker or animated text exactly where you want it, frame by frame, without the timeline reorganizing itself.
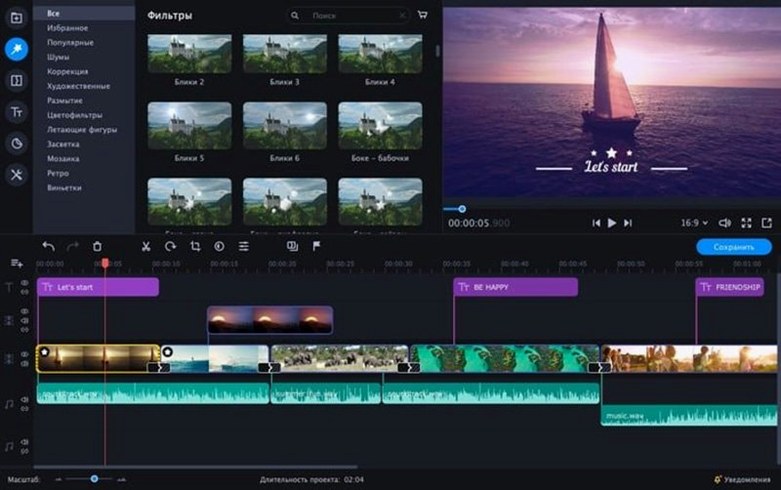
Against Shotcut, the comparison flips. Shotcut offers finer manual control over filters and encoding parameters, but its interface is dense and the learning curve is real. Movavi gets you from raw clips to a finished export with fewer clicks, and the built-in effects — intros, stickers, chroma key — are preassembled rather than parameter panels you configure from scratch.
Against OpenShot, Movavi is the more stable option on older Intel Macs. OpenShot's preview can stutter on machines that handle Movavi's timeline fine, simply because the rendering pipeline is different. If all you need is quick social clips or family movies with effects, Movavi removes a layer of friction that the open-source editors leave in place.
Shooting on a phone and exporting a social-ready .mp4 the same day
Vloggers who shoot on a phone and need a finished upload the same day benefit the most. The flow from trimming raw footage to dropping in a ready-made intro to exporting a social-ready .mp4 is short enough that you don't lose the thread halfway through.
Small business owners making product clips or promo videos are a close second. The chroma key support means a plain wall behind you becomes a clean background without needing a studio setup, and the animated text overlays handle callouts like pricing or feature highlights without external design work.
Family movie editors get a lot of value from the polish tools. The one-click sound cleanup handles the kind of background hum that ruins birthday-party footage, and reverse playback turns a diving-into-the-pool shot into something the kids actually ask to rewatch.
People on older Intel Macs — machines that struggle with heavier NLEs like DaVinci Resolve or Premiere — are a natural fit. The system requirement of macOS 10.13 means hardware from a decade ago can still run this version, and the 64-bit Intel build doesn't demand a discrete GPU to feel responsive.
A full workflow: green-screen product clip
Here's a realistic start-to-finish run for a thirty-second product promo shot in front of a green bedsheet.
- Set the project first. Match the framerate to your phone's recording — typically 30 fps — and set the resolution to 1080p. Don't drop any clips in yet.
- Import the raw footage. Drag your green-screen clip and a background image or clean video into the media bin. Keep the background file separate; you'll place it manually.
- Build the base layer. Drag the background image onto the lower track first. Then drag the green-screen clip onto the track above it.
- Apply chroma key. Select the green-screen clip, open the color tools, and use the eyedropper to pick the green in the preview. Adjust the tolerance slider until the edges stop flickering. A cheap bedsheet rarely keys perfectly on the first pick.
- Trim the edges. Use the blade tool to cut dead air from the start and end of the clip. Ripple delete the gaps.
- Add an intro and text. Drop a ready-made intro onto the top track before the product clip. Add an animated text overlay with the product name over the first visible second of the product shot.
- Clean the audio. Select the audio track from the product clip, run the one-click polish, and bring the background music level down under the voice.
- Export. Choose
.mp4as the format, verify the destination has free space, and render. The result is a clean thirty-second clip with a replaced background, title, and evened-out sound.
The whole thing takes about twenty minutes once you know where the chroma key tolerance lives. That's the trade this editor makes: fewer fine-grained controls in exchange for a path from messy raw footage to a finished clip without opening a single external tool.
- macOS 10.13 or later
- Intel processor
$ man movavi-video-editor | grep -A2 "?"
Which languages does the interface support?
The app ships with English, German, Spanish, Italian, French, Portuguese, Polish, Dutch, Turkish, Japanese, Korean, Traditional Chinese, and Simplified Chinese localizations.
Comments 0
Sign in or create an account to leave a comment.
No comments yet. A codec, a slice, a machine — they appear after moderation.