Absynth for macOS
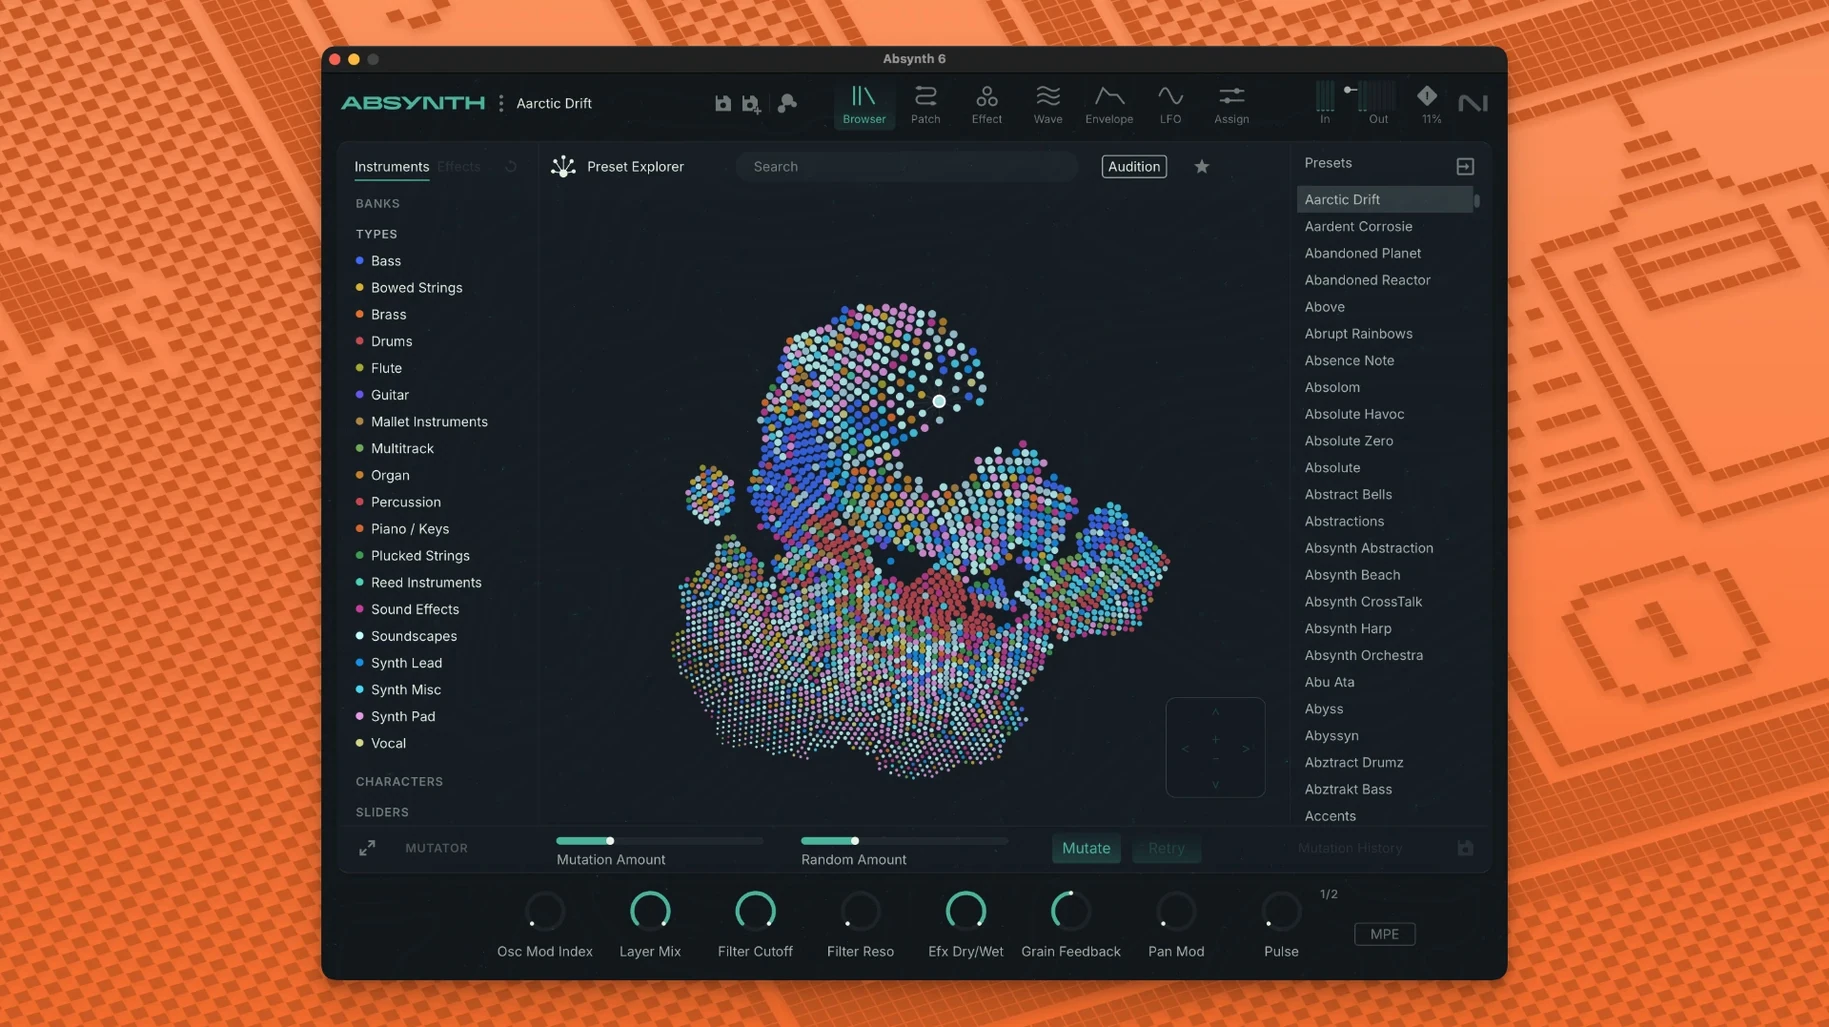
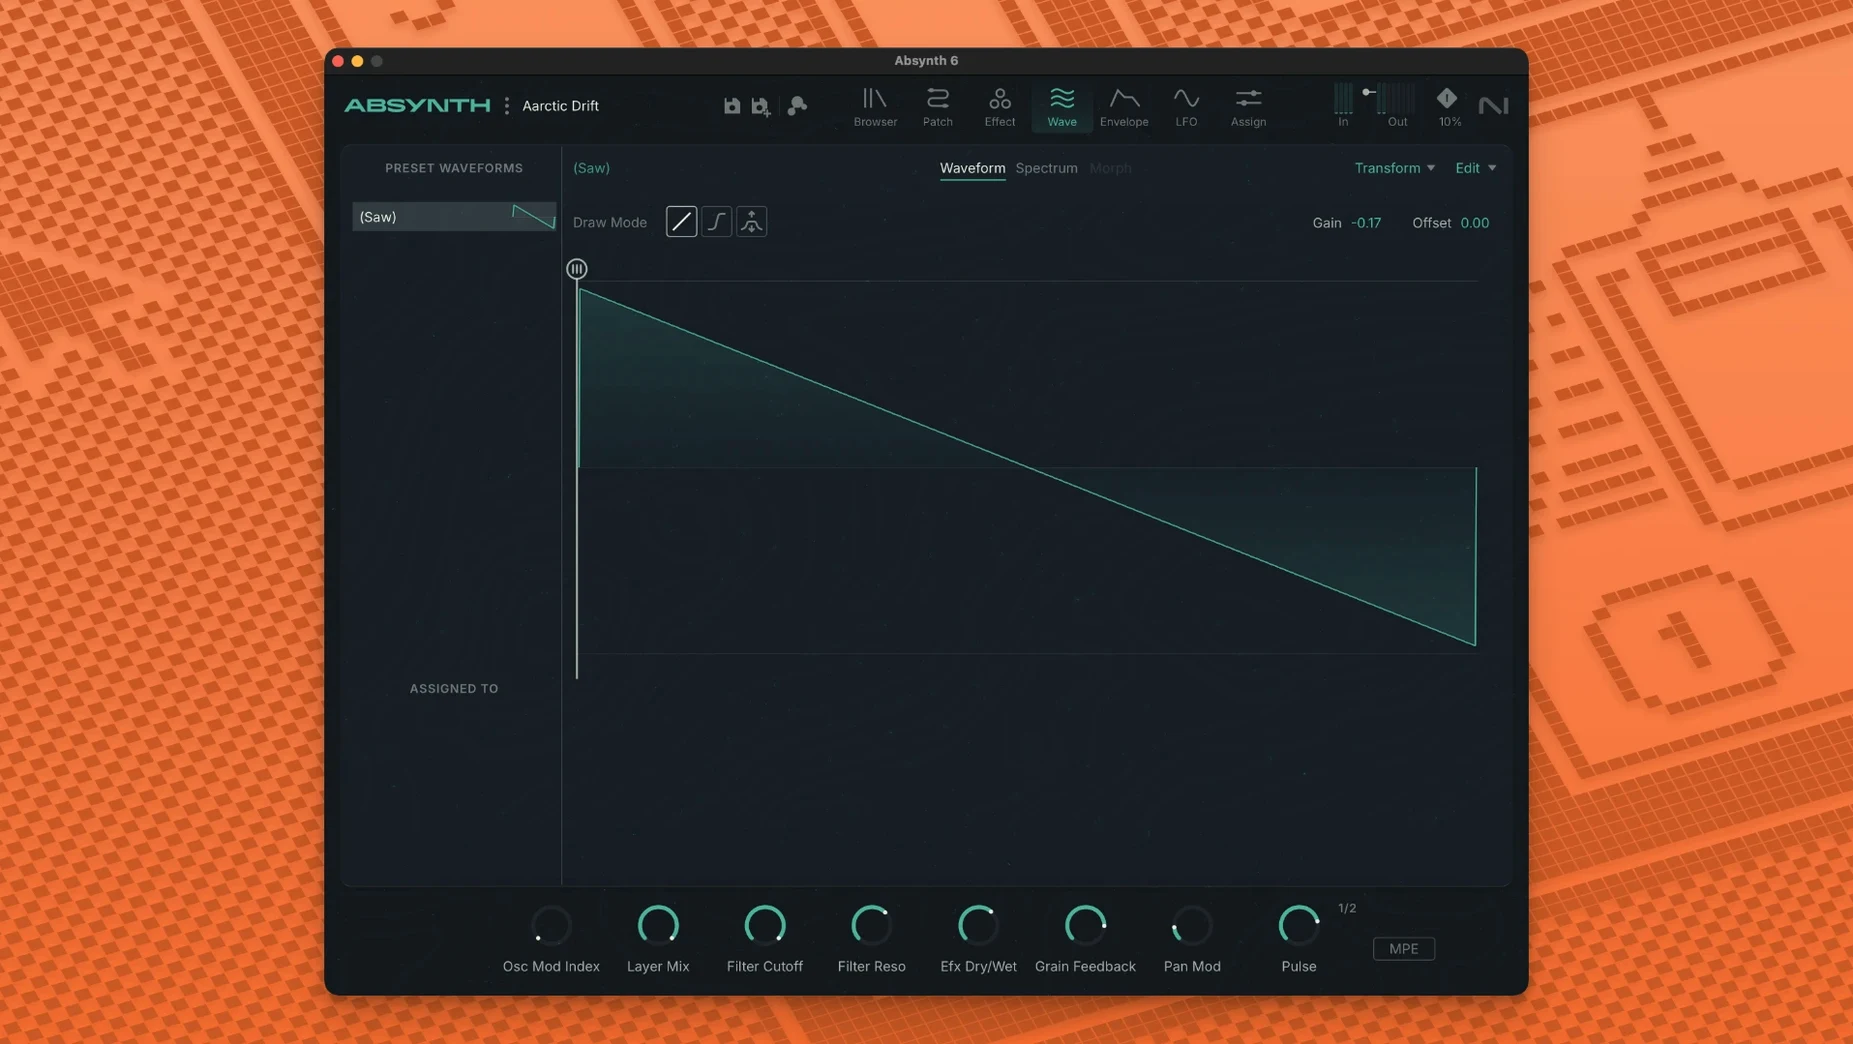
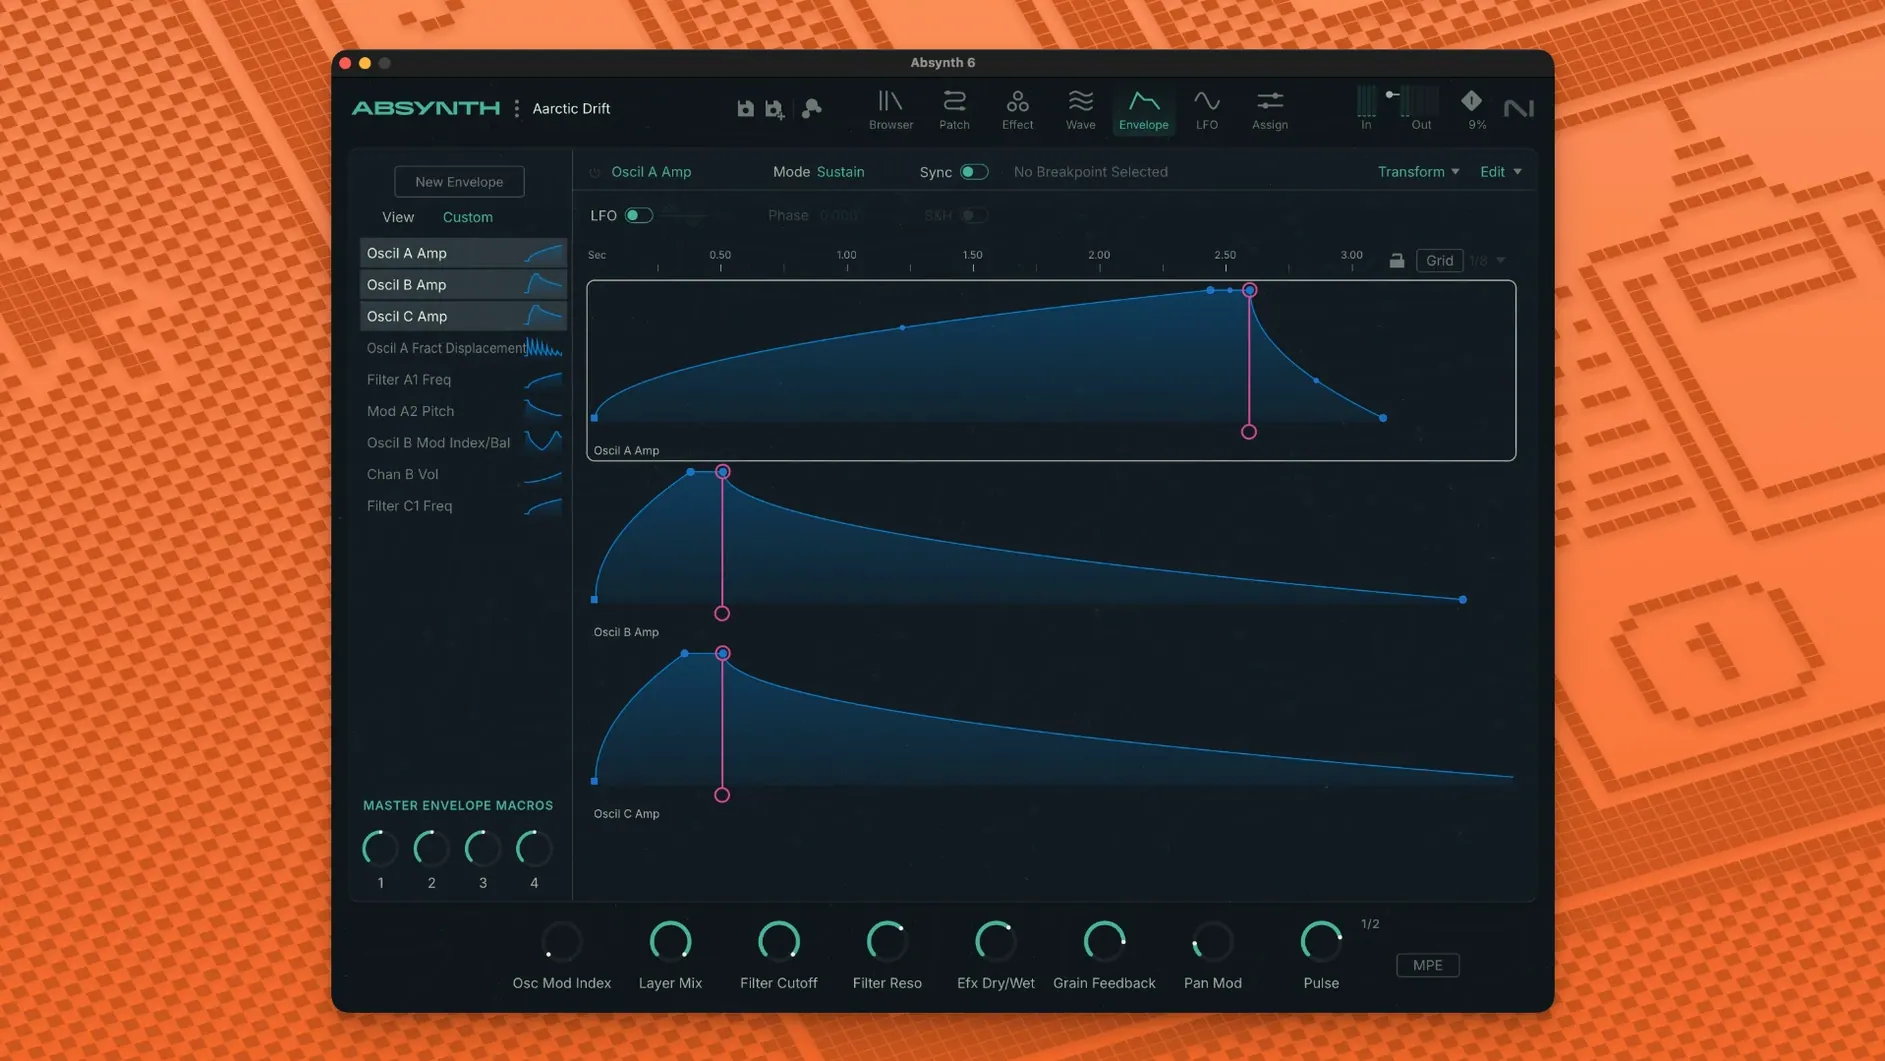
Absynth 6.1.0 brought the semi-modular synthesizer back, adding surround support for up to eight channels alongside full MPE and polyphonic aftertouch. For experienced users, the real draw is how those additions integrate with the existing architecture.
What makes the signal flow click now?
- The three-channel oscillator section lets you blend and mutate sources far beyond basic waveforms, and MPE controllers can address each channel independently.
- Envelope control stays at 68 breakpoints per segment, synced to the polyphonic aftertouch data a controller sends—useful for evolving textures that respond per finger.
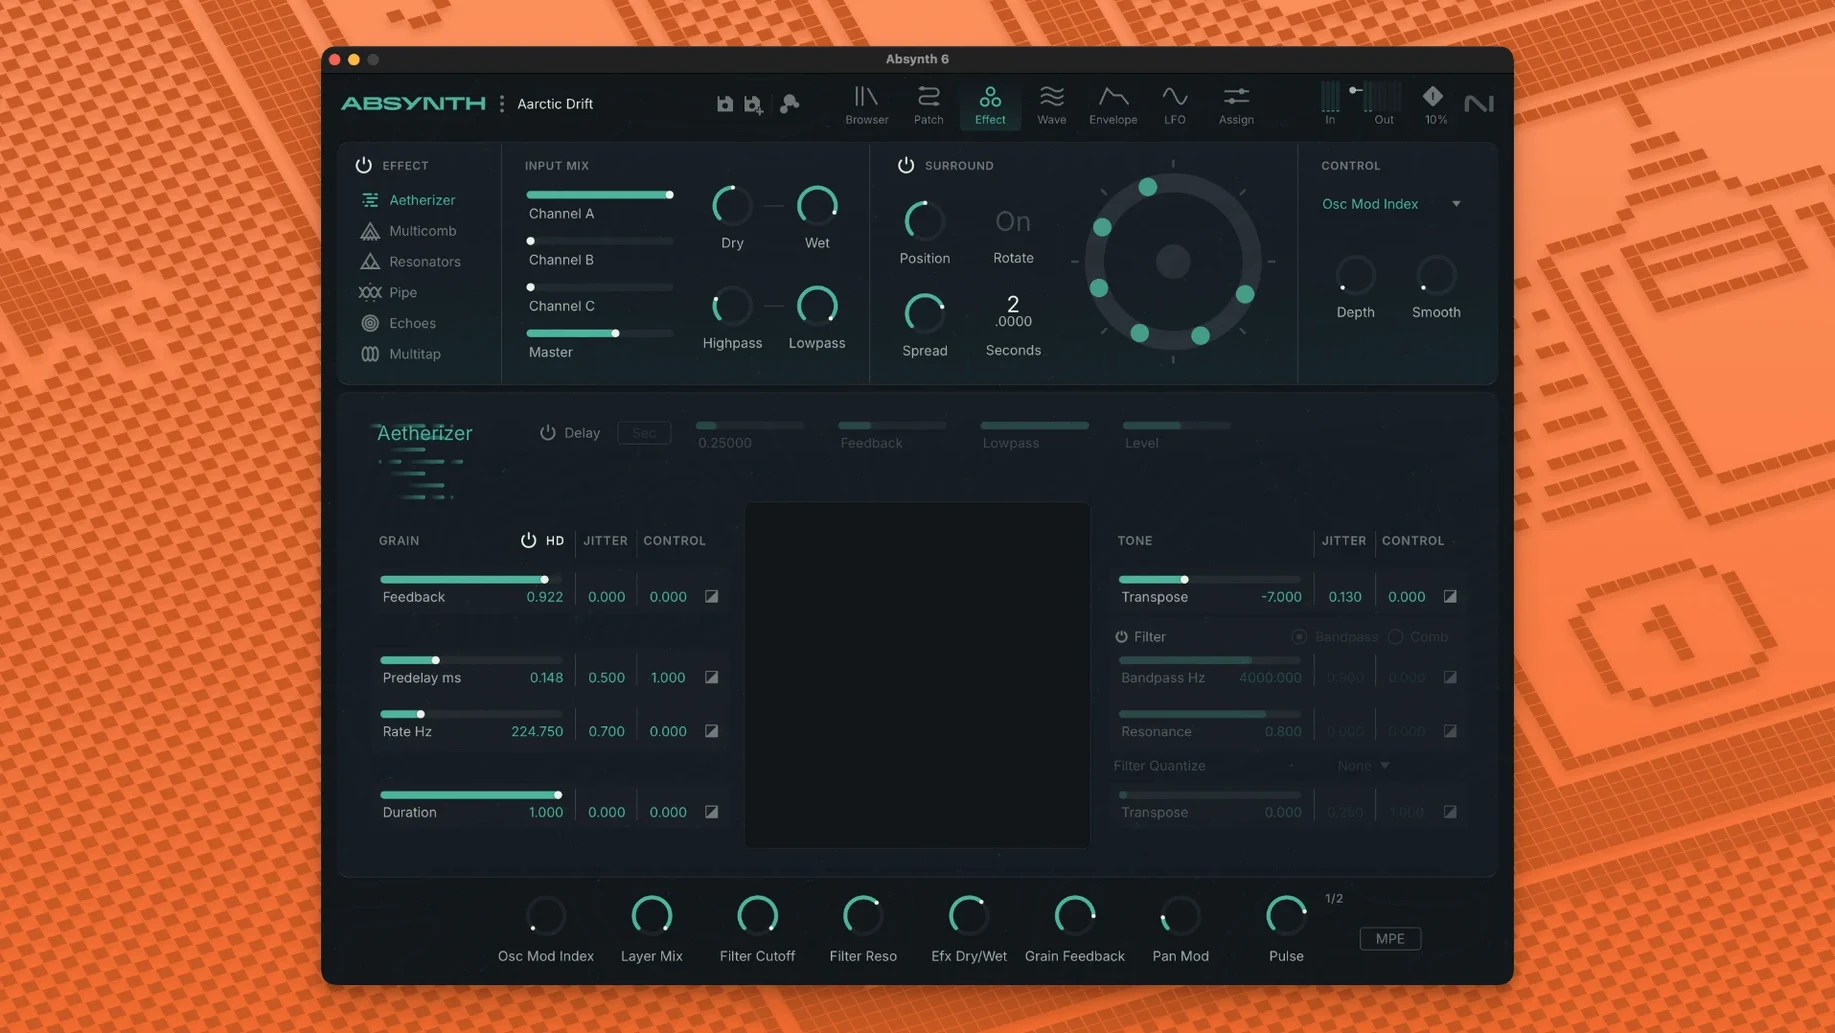
- The effects rack includes the Aetherizer, Cloud Filter, and Supercomb, all routable in semi-modular fashion. With multichannel surround pans, you can place those granular clouds and comb-filtered tails in a real space.
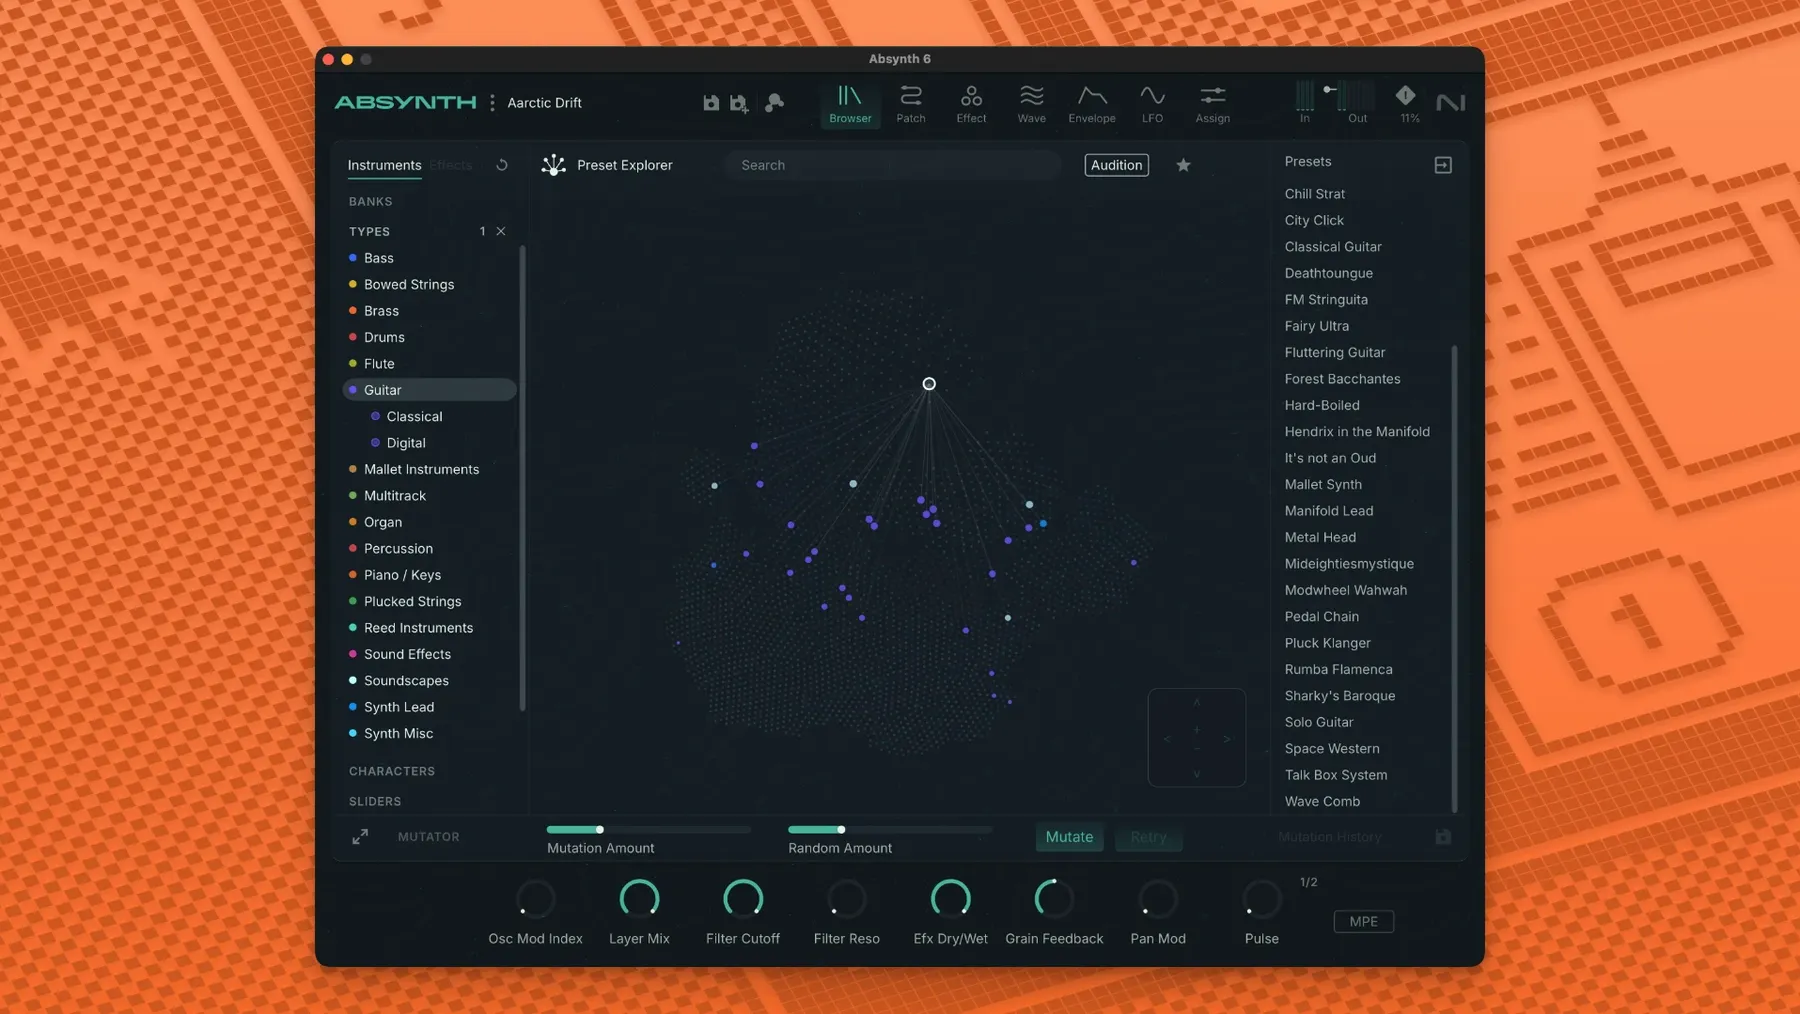
How the preset browser holds up for power users
The preset browser isn't just a convenience feature. When building complex patches that use surround outputs and MPE modulation, being able to tag and recall specific oscillator-and-effect chains saves you from rebuilding routing maps. The browser indexes your own saved templates alongside the factory library, so a tuned Supercomb feedback path you built last month is searchable by attribute, not just name.
Building a morphing surround pad from scratch
Here's a workflow that uses three of Absynth 6.1.0's newer features in one patch — MPE input, the Sound Mutator, and an eight-channel surround output — to create a pad that shifts timbre depending on where your fingers land on the controller.
Start with an Init patch. In Channel A, load a wavetable oscillator and pick something with clear harmonic movement — a slow sweep through a formant table works well. Set Channel B to a simple FM pair with a 2:1 ratio, just enough to add a glassy edge. Leave Channel C set to a noise source for now; you'll use it later for texture. Route all three channels through a single filter slot, something gentle like a 12 dB low-pass, to keep the raw oscillators from clashing before you shape them.
Open the Sound Mutator and drop in two contrasting presets as source material — grab a breathy vocal pad for the first and a metallic pluck for the second. Set the mutation amount to roughly 40% and apply it only to the wavetable channel. What you get is a hybrid waveform that inherits the pad's slow movement and the pluck's upper partials. It sounds slightly broken in a good way, exactly the kind of unstable harmonic behavior that responds well to per-note modulation.
Now assign MPE sources. Map Channel Pressure to the mutation amount so harder presses pull the timbre closer to the metallic source. Map Slide (the Y-axis on most MPE surfaces) to the filter cutoff, and map the per-note pitch bend range to ±24 semitones. For the FM channel, tie Pressure to the modulation index — light touches stay clean, firmer presses introduce sidebands. The noise channel stays dry for now, but route it to a separate output pair later if you want independent processing in your DAW.
Switch to the effects section. Insert the Aetherizer on the first slot and set its grain size to something long, around 200 ms, with a wide random spray. Follow it with the Cloud Filter on slot two, tuned to a resonant band-pass that tracks the note pitch. The cloud grains pick up the pitch information from the filter, which means the granular tail follows your harmonies instead of smearing into noise. On the third slot, add a Supercomb tuned to the root note of your project, with feedback around 60% — enough to build a ringing tail without self-oscillation.
Open the surround panner. Assign the main oscillator output to the front left and right channels. Send the Aetherizer's wet signal to the rear pair, and pan the Cloud Filter output across the side channels. If your audio interface supports 7.1, route the Supercomb to the center channel for a mono-compatible anchor point. Play a four-note chord with light pressure and slide one finger up — the note moves in pitch, the timbre shifts toward metallic, and the rear channels bloom with granular spray while the center rings out the tuned comb.
Save this as a template with descriptive tags: mpe-surround-pad, mutator-source, octaphonic. Next time you need a complex evolving texture, you start from a working routing map instead of an empty rack.
Details you might miss in the first week
A few small behaviors in Absynth 6.1.0 are easy to overlook but change how quickly you dial in a sound.
The envelope breakpoint grid snaps to a finer resolution when you hold Shift while dragging a point vertically. It's not mentioned in any tooltip, but it gives you sample-accurate timing on percussive transients — useful when you're designing a pluck where the first 10 milliseconds determine the attack character. Holding Option while dragging a breakpoint horizontally moves all subsequent points by the same amount, preserving the relative shape of the decay stage.
Right-clicking any knob in the effects rack reveals a MIDI Learn entry that also accepts MPE dimensions as sources. You can assign Slide to the Aetherizer's grain density or Pressure to the Supercomb's damping, and the assignment is per-instance, not global. That means two instances of Absynth in the same project can have completely different MPE routings without conflicts.
The Sound Mutator has an undocumented behavior: if you hold Command while clicking the Mutate button, it applies the same mutation seed to all three oscillator channels simultaneously. Without the modifier, each channel gets an independent random seed. For sounds where you want the channels to feel like a single coherent source — a mutated piano body, for instance — the linked seed keeps the harmonic relationship intact.
First-day settings to change
Right after installing, open the preferences and switch the Default Surround Format from Stereo to whatever your monitoring setup uses. Absynth recalls this per-project, but the global default determines what happens when you load an older patch that was saved in stereo — it maps to the new format without asking. If you work in 5.1, set it now and avoid silent rear channels on your first few sound design sessions.
Check the MPE Pitch Bend Range setting. It ships at ±48 semitones, which matches the MPE spec but can feel extreme on a Seaboard or LinnStrument if you're used to a narrower range. Dropping it to ±24 makes slides more controlled, and you can always override it per-patch in the oscillator section.
Turn on Load Samples in Background if you plan to use Absynth inside a large project. The sampler channels load audio files asynchronously, which prevents playback glitches when you switch presets during a session. It's off by default and easy to miss.
Beginner traps that cost you time
The most common mistake is treating the three oscillator channels as independent layers that all feed the master output equally. That works for basic subtractive patches, but it wastes the semi-modular routing. If Channel B is set to FM and Channel A is a wavetable, try using Channel A as the modulator for Channel B instead of sending both to the filter. The routing panel is in the oscillator section, a small matrix icon that beginners often skip. The tonal range you get from cross-modulation inside a single Absynth instance is wider than stacking three independent voices.
Another trap: loading a surround patch while your DAW track is set to a stereo output. Absynth won't warn you — it silently sums the rear and side channels to the front pair. Your carefully panned Aetherizer tails collapse to mono-ish, and you'll assume the preset sounds thin. Always check the track channel configuration in your host before judging a surround preset.
When browsing absynth presets from community sources — packs that get shared as absynth 6 torrent or absynth torrent archives — the file format is still the same .absynth extension, but patches saved in 6.1.0 won't load in older versions of the plugin. If you're collaborating with someone on an older setup, export the oscillator and effect settings individually using the preset browser's export function, or bounce stems. The surround and MPE data simply don't exist in the older format, and trying to backport a patch by renaming it doesn't work.
Finally, don't sleep on the noise oscillator in Channel C. It seems like a basic source, but its sample-rate control and envelope follower make it a useful sidechain modulator for the Aetherizer. Route Channel C's envelope output to the Aetherizer grain trigger input and you get rhythmic granular bursts that follow the noise amplitude, not the note onset — a completely different feel from key-synced grains.
A confirmed fix list specifically for 6.2.1 hasn't been published, but here's what arrived in the 6.2 cycle. Focus Mode pulls a channel's parameters and the sound-editing tools into a single workspace. Dedicated editors are now in place for oscillators, envelopes, LFOs, macros, and the keyboard, with the ability to hop between parameters and their assignments. You can save and load individual channels, modules, oscillators, and envelopes as sub-presets. Modulation assignment handling, macros, and expression parameters all got a polish, too.
- macOS 14 or later
- Apple Silicon or Intel 64-bit
$ man absynth | grep -A2 "?"
Does Absynth 6.1.0 run natively on Apple Silicon?
Yes, it runs natively on Apple Silicon and Intel Macs with macOS 14, 15, or 26, requiring at least an Intel Core i5 or equivalent.
What plug-in formats does Absynth 6.1.0 use on Mac?
It runs in 64-bit VST3, AU, and AAX hosts.
Comments 0
Sign in or create an account to leave a comment.
No comments yet. A codec, a slice, a machine — they appear after moderation.