

RipX DAW Pro for macOS

You've got a promising field recording, but the HVAC drone underneath the vocal is making it unusable. Pulling it into RipX DAW Pro turns that noise into something you can actually grab and delete.
Cleaning up a noisy recording, step by step
- Import the audio file. The software unpacks it into individual colored blobs — notes, harmonics, and unpitched noise — spread across a piano roll.
- Open the Restoration panel. The spectrogram-style view highlights the steady hum across several frequency bands.
- Select the drone's fundamental and its harmonics. Right-click and choose to separate them onto a new layer so the vocal stays untouched.
- On the isolated noise layer, use the Reduce Tones & Noise tool. Drag the reduction amount until the hum drops away without chewing into the transient clicks you want to keep.
- Switch to the cleaned vocal layer. Use the Note Editor to tweak a couple of wobbly pitches: just click a blob and drag its center up or down in fine increments.
- Apply a gentle Smooth Regions pass to quiet some mouth noise between phrases.
- Export the corrected stem as a 24-bit WAV.
What's happening is that the software isn't treating the file as a waveform. It's decomposing the audio into discrete sonic objects you can move, tune, or delete independently. The Restoration panel gives you non-destructive sliders for foreground artifacts and broadband noise, so the original file stays safe on disk. The whole session runs as a virtual instrument layer stack, which keeps every edit reversible.
Stuff gets messy fast when you drop a full mix into the timeline and see hundreds of little blobs staring back at you. A few interface tricks save a ton of clicking around.
Navigation shortcuts worth memorizing
- Scroll-wheel over the piano roll zooms vertically. Hold
Shiftwhile scrolling to zoom horizontally — way faster than hunting for the zoom controls in the toolbar. - Middle-click and drag anywhere in the note area to pan the view. No need to aim for scroll bars.
- Double-click a layer name to rename it. Layers multiply quickly when you're isolating stems, and "Layer 7" stops being helpful after about ten minutes.
- Right-click a blob and hit
Gto group selected notes. Groups then move and edit as one unit, which is essential for keeping multi-mic drum hits phase-coherent. - Hold
Altwhile dragging a note boundary to stretch or compress its timing without affecting pitch. This isn't obvious from the interface, but it's in the key bindings and it's the quickest way to fix a rushed snare hit.
Why start by switching export from 16-bit to 24-bit?
Out of the box, RipX DAW Pro makes a couple of choices that make sense for demos but less sense for actual work. Head to Preferences before you do anything else.
Switch the default export format from 16-bit to 24-bit or 32-bit float. The higher bit depth means you can send stems to a mixing engineer without dithering artifacts piling up. While you're there, set the sample rate to match your project — if you work at 48 kHz or 96 kHz, the software needs to know before it starts splitting audio into objects, because the separation algorithm's frequency resolution depends on it.
Turn on auto-backup and point it somewhere sensible. Session files are small relative to raw audio, but an hour of stem editing across twelve layers represents real labor. Set the interval to five minutes. The backup format saves the full undo history, so restoring gets you back to the exact editing state you lost.
In the Display tab, increase the waveform brightness for quiet notes. The default can make low-level harmonics nearly invisible against a dark background. A small bump here makes the difference between accidentally deleting a breath sound and leaving it in place.
Who clicks with RipX DAW Pro fastest
Remixers and mashup producers get an immediate win. Pulling a vocal from a 128 kbps MP3 where no clean instrumental exists is basically the software's home turf. Because the separation operates at the note level rather than the FFT-bin level, the result doesn't have that underwater gargle you get from phase-cancellation tricks.
Post-production editors cleaning dialogue and field audio benefit from the Restoration panel's non-destructive workflow. You can dial back broadband noise on a lav mic recording without committing to a destructive render, then hand the session off to someone else who can adjust your settings later. The overtone editing tools also let you reduce mic proximity effect on a boomy voice without high-passing the fundamental — a move that's fiddly with standard EQ but straightforward here when you can see the harmonic series as separate objects.
Sound designers who build textures from found sounds get mileage from the Draw Sound and Clone Characteristics tools. You can grab the spectral fingerprint of a struck metal object, clone it onto a synthesized tone, and draw in harmonic content by hand. It's a weird halfway point between a sampler and an additive synth.
People who primarily mix other people's tracks in a conventional linear DAW will find the standalone workflow an adjustment. RipX DAW Pro isn't trying to replace Logic or Ableton — it's a deep editing environment you bounce stems into and out of. The lack of VST plug-in hosting makes sense once you realize the whole session is essentially a real-time resynthesis engine, but it does mean you're committing to a round-trip.
Why start with a 30-second solo clip?
Start with something short. A 30-second clip with one instrument trains your eye for how the software represents audio far faster than a five-minute full band mix. Learn what a cleanly separated piano note looks like before you try to untangle distorted guitars.
Use the RipScripts panel early. Even if you don't write code, the built-in scripts shipped with version 8.0.3 handle common tasks — batch-renaming layers, stripping silence below a threshold, exporting all layers as separate files in one pass. Run them on a test session so you know what's available before you need it on a deadline.
Keep your layer naming strict from the first import. "Vox_lead_clean," "Bass_DI," "Drums_OH_L" — whatever system you use, apply it before editing starts. The undo history remembers everything, but it doesn't remember what you meant by "Layer 4 copy 2."
If you're pulling stems for a remix and the separation sounds phasey in the upper mids, try running the extraction at a higher FFT size from the import dialog. The tradeoff is slower processing, but the frequency resolution improvement above 5 kHz is real. For archival cleanup of old cassette transfers, the built-in restoration sliders do more than you'd expect on baked-in tape hiss, especially when you work on small selections rather than the whole file at once.
- macOS 10.15 or later
- Runs natively on both Intel and Apple Silicon Macs
$ man ripx-daw-pro | grep -A2 "?"
Can I edit individual notes inside a chord?
Yes. The software extracts each note as a separate visual blob on a piano roll, so you can change the pitch or timing of one note inside a polyphonic recording without affecting the others.
Is the audio cleanup destructive?
No. The Restoration panel works non-destructively, meaning the original source file is never altered and you can reset any cleanup slider at any time.
What stem separation tools are included?
RipX DAW Pro includes tools to separate mixed audio into stems such as vocals, bass, drums, and other instruments, plus the ability to isolate pitched and unpitched sounds for cleanup.
Comments 0
Sign in or create an account to leave a comment.
No comments yet. A codec, a slice, a machine — they appear after moderation.
More in VST Plugins
cd ../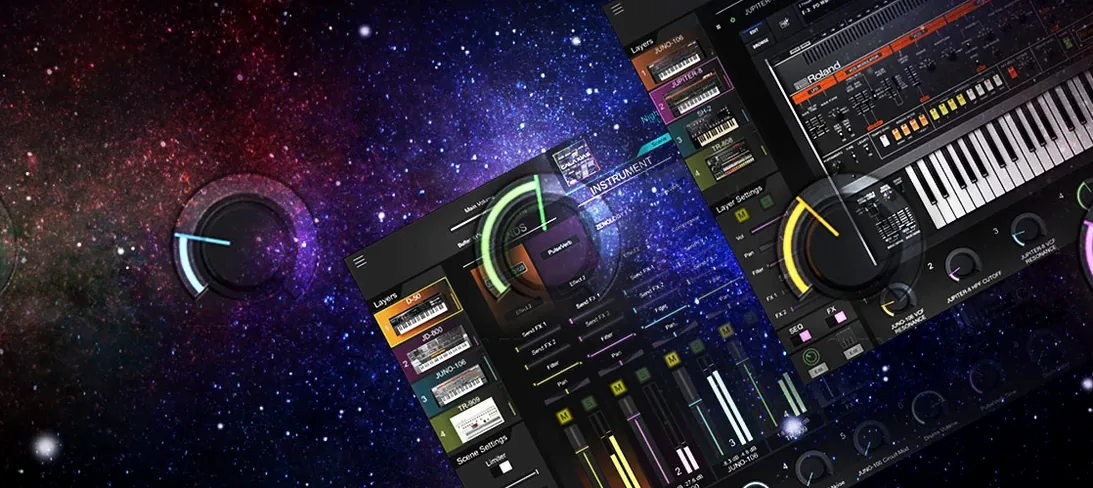 Roland Cloud Legendary Series
VST Plugins 1.3 GB
 Revoice Pro
VST Plugins 39 MB
 Roland ZENOLOGY Pro
VST Plugins 1.8 GB
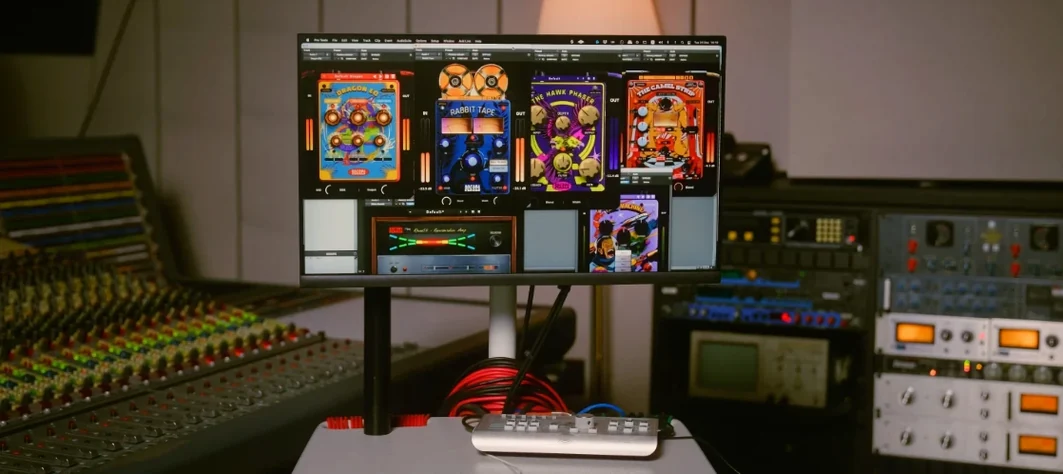 Safari Pedals Everything Bundle
VST Plugins 628 MB
 reFX Nexus
VST Plugins 72 MB
 Sauceware Audio Scorch 2
VST Plugins 2 GB
 Scaler 3
VST Plugins 1.4 GB
 RC-20 Retro Color
VST Plugins 170 MB