Beauty Box Photo for macOS
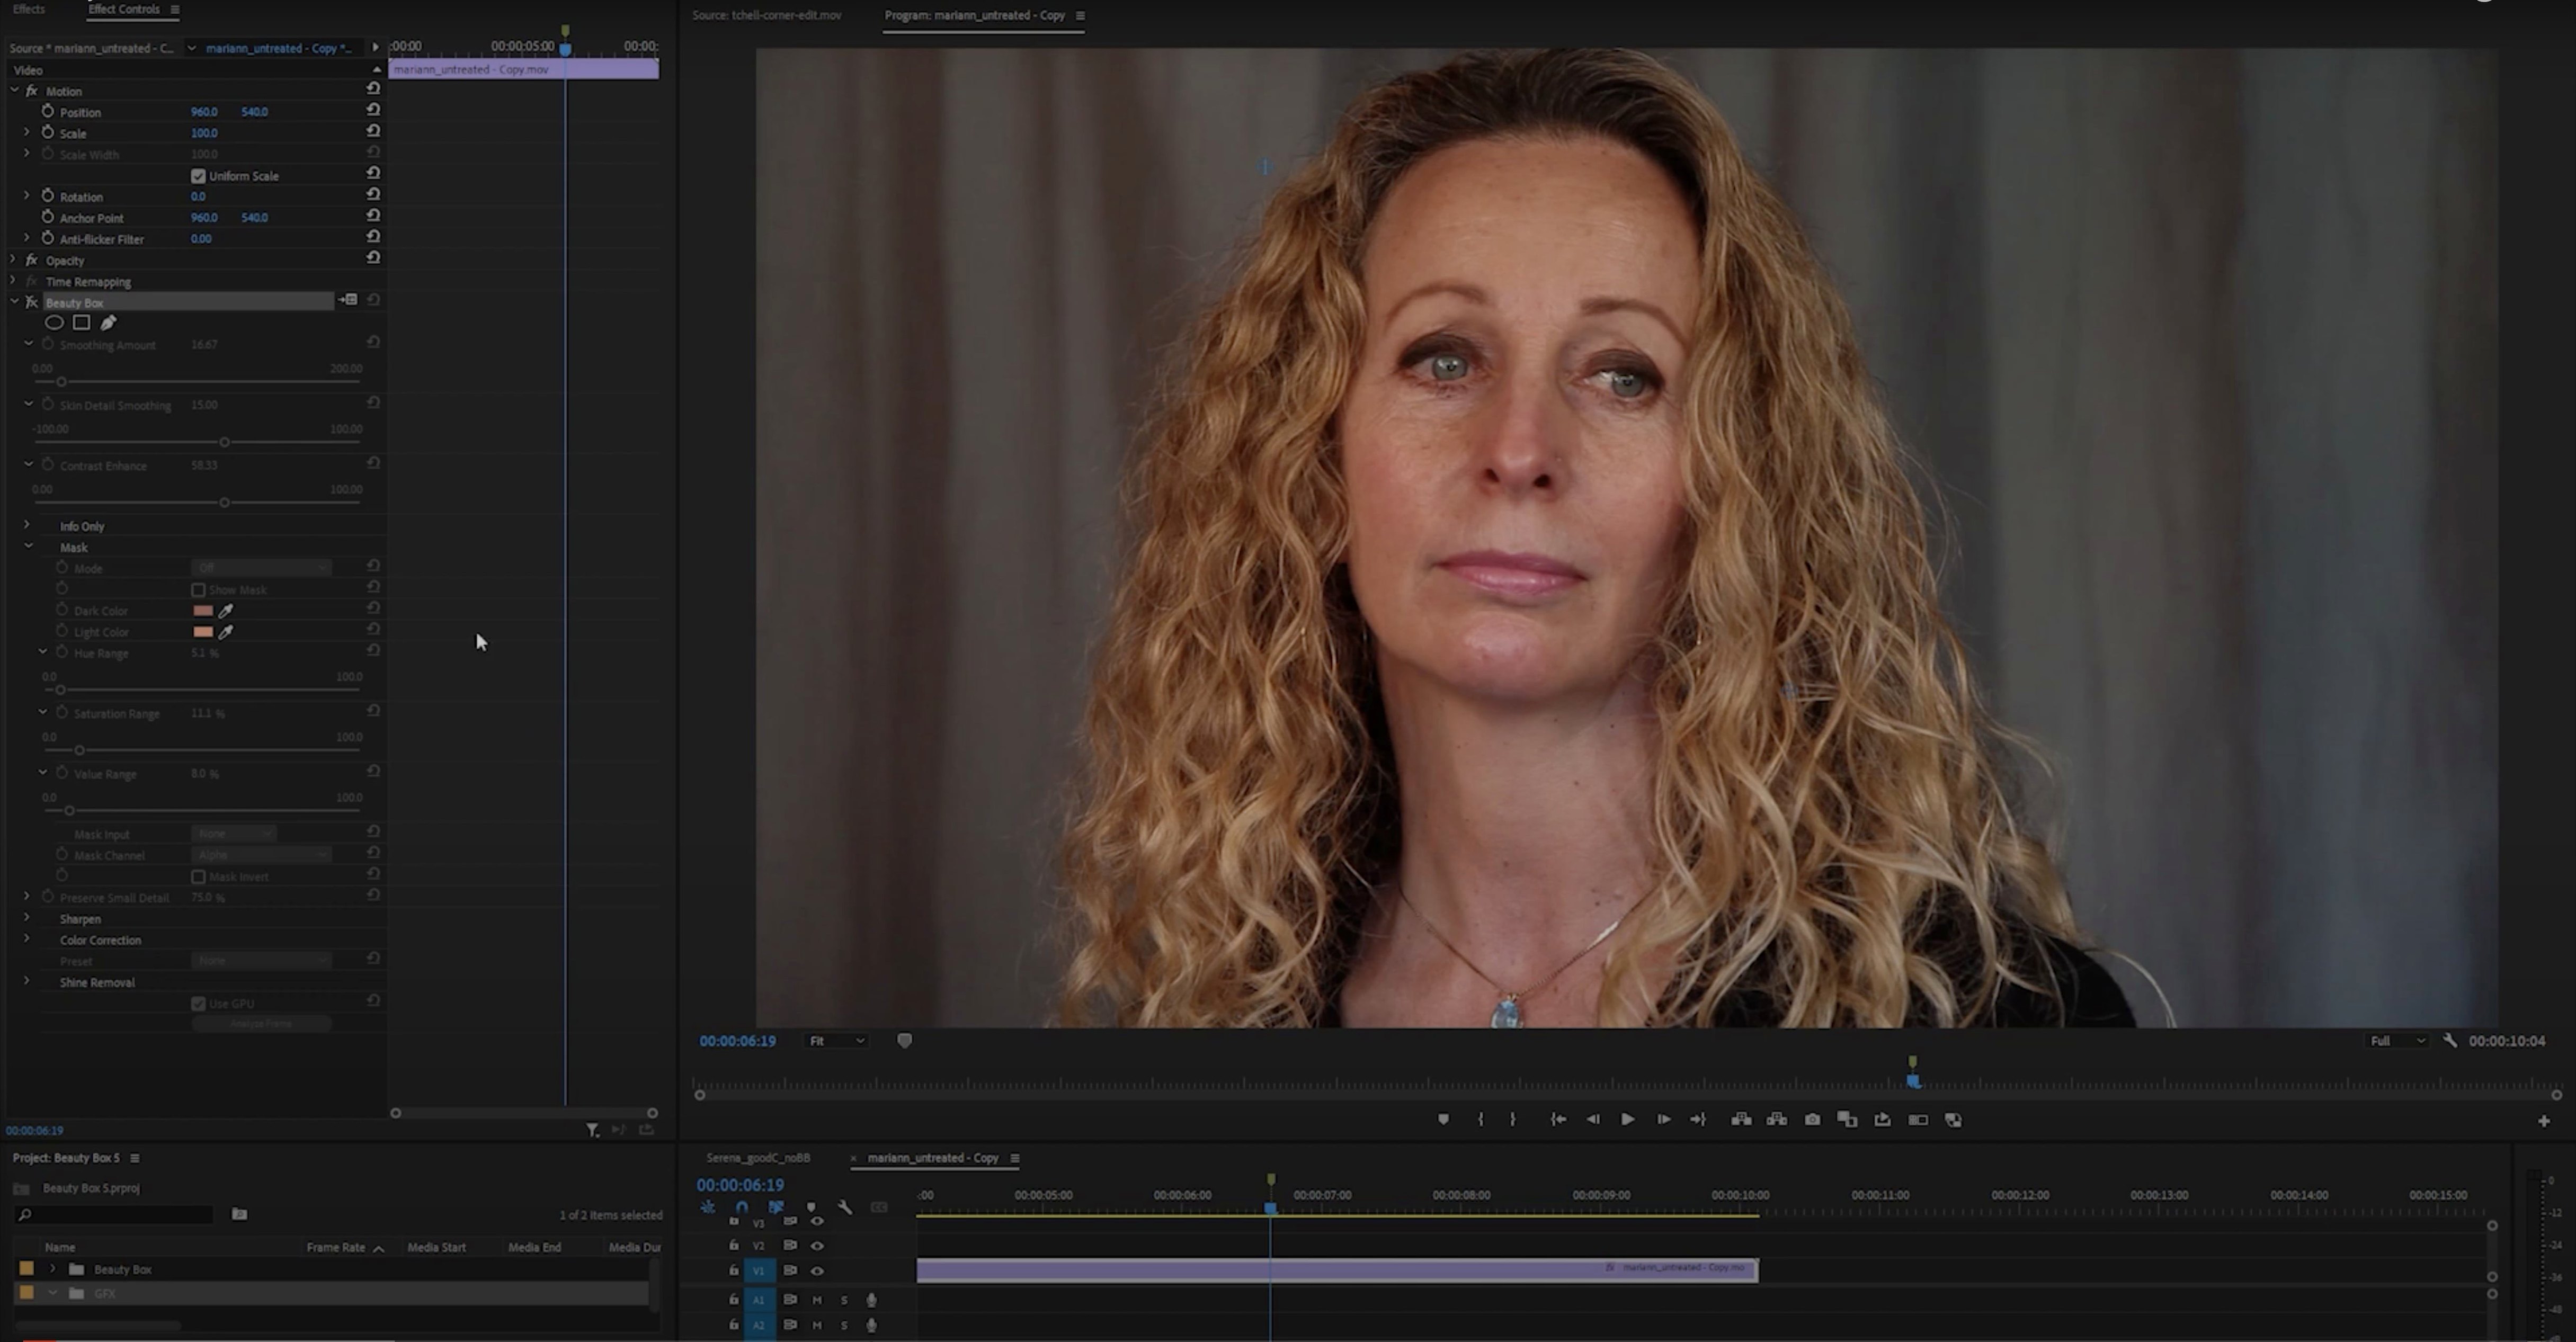
Retouching skin frame by frame is tedious, and heavy blur filters make people look like plastic. Beauty Box Photo solves that by separating skin tones from facial details so you can smooth out blemishes and wrinkles without losing pores, eyelashes, or the natural texture that keeps a face looking real.
Pull the Smoothing slider and watch skin even out instantly
Open a portrait and let the automatic masking do its work. The plugin identifies skin tones immediately, so your first step is simply pulling the Smoothing slider to the right. Watch how the skin evens out while eyes, hair, and lips stay sharp.
How do I keep the skin from looking fake?
Use the Detail controls. Once you have the smoothing level you want, raise the Texture slider to bring back fine pores and the subtle micro-contrast that makes skin look human. It is the difference between a retouch and an airbrushed mannequin.
What is the performance like?
The plugin uses CUDA and OpenGL for real-time rendering. On a Mac with a supported GPU, you see the smoothing adjustments happen live on the image, with no lag while you drag the sliders. The build runs natively on both Apple Silicon and Intel 64-bit Macs.
Walk through a portrait edit and you will see why the automatic masking matters. You open a headshot in Photoshop, call up Beauty Box Photo from the Filter menu, and the plugin immediately paints an orange overlay across every patch of skin it finds. The forehead, cheeks, nose, chin — all masked in a fraction of a second. If the mask grabbed an eyebrow or a strand of hair, you grab the Subtract brush, paint over the mistake, and the orange disappears. No selections to draw by hand, no channels to fiddle with.
From here the session splits into two instincts: fix the big stuff first, then refine. You pull the Smoothing slider to about 60 and watch the fine lines around the eyes soften. The blemishes on the cheek go next — the plugin treats them as texture variation and flattens them into the surrounding skin tone. But the eyelashes are still sharp. That is the masking engine keeping non-skin pixels locked.
Now the refinement. You push the Texture slider up until the pores on the nose reappear as tiny specular highlights. A little goes a long way — usually somewhere between 20 and 40 on the slider, depending on the sensor resolution and how close the subject is. You toggle the Before/After preview a few times, squint at the jawline, and decide the chin could use a touch more smoothing while the forehead is already right. A quick pass with the Add brush applies extra processing only where you paint, so the forehead stays as it was.
You hit OK, Photoshop renders the result onto a new layer, and you have a retouched portrait that still looks like the person who stood in front of your lens. Total time: under three minutes.
Surgical control versus one-slider convenience for skin retouching
If you already own Photoshop, the most direct comparison is the built-in Frequency Separation technique. That method splits an image into color and texture layers, and you manually heal or clone on each. It gives you surgical control, but setting it up takes several minutes per image and demands a solid grasp of Gaussian Blur and Apply Image math. Beauty Box Photo collapses that workflow into sliders you learn in one sitting. For batch work — say, 50 headshots from a corporate shoot — the plugin saves hours.
Portraiture by Imagenomic is the other heavyweight in this space. It works on similar principles: automatic skin masking, smoothing with texture preservation, and a set of sliders rather than manual cloning. Portraiture gives you a slightly deeper set of tone-range controls and ships with more preset looks out of the box. Beauty Box Photo counters with a cleaner interface and a masking engine that some photographers find more accurate on darker skin tones and unevenly lit faces. Both run as Photoshop plug-ins, both support Apple Silicon natively, and both handle 16-bit images. The choice often comes down to which preview window feels faster on your particular Mac and GPU.
Retouch4me Heal is an AI-driven alternative that works as a standalone app and a plug-in. It identifies blemishes and heals them with one click — no sliders, no masking. That speed is incredible for acne or stray hairs, but it does not give you the broad smoothing control that Beauty Box Photo offers. Many retouchers use both: a one-click heal pass in Retouch4me for spot removal, then Beauty Box Photo for the overall skin texture and tone evening.
What does a full corporate headshot workflow look like?
A typical session starts in Lightroom. You import two hundred frames from an office shoot, pick the selects, and apply a base color profile and a slight exposure bump. Then you open the first select in Photoshop as a Smart Object — this keeps the Beauty Box Photo filter non-destructive and re-editable.
- Duplicate the Smart Object layer and rename it
Skin Retouch. - Run Filter > Digital Anarchy > Beauty Box Photo.
- Let the automatic mask generate, then subtract any areas that bled into clothing or background.
- Set Smoothing to 50–65 for a natural office look — less than you would for a beauty campaign.
- Raise Texture to about 30 so shirt collars and skin pores retain their structure.
- Hit OK and add a black layer mask. Paint with a soft white brush only on the skin areas that need it.
Step six is the secret. By masking the filter to specific zones, you keep the sharpening on the eyes, the fabric texture on the suit, and the original light falloff on the background untouched. The retouch sits invisibly on the cheeks and forehead. You save the PSD, move to the next headshot, and because the plugin remembers your last settings, each subsequent face takes about ninety seconds.
Native Apple Silicon support cuts preview rendering times
Version 6 brought native Apple Silicon support, which cut preview rendering times noticeably on M1 and M2 machines. The real-time CUDA and OpenGL pipeline stayed intact, but the Metal-compatible path on newer macOS builds smoothed out a stutter that used to appear when dragging the Smoothing slider quickly across a high-megapixel file.
The 6.0.5 update refined the automatic skin detection for profiles with strong color casts — think tungsten-lit event shots or golden-hour portraits where skin tones skew orange. Earlier versions sometimes missed patches of skin in deep shadow or overexposed highlights; the current masking engine handles those edge cases better. It also fixed a rare crash when running the plugin on a document with multiple layer masks active, which was a headache for compositing-heavy retouchers.
One small but practical change: the installer now bundles everything into a standard .dmg that places the plugin in the correct Photoshop plug-ins folder without manual dragging. If you have been using an older version and your beauty box plugin for premiere pro mac searches keep turning up the video edition, note that this is the photo-specific build — the interface is tuned for stills, not timelines, even though the underlying skin-smoothing technology shares DNA with the video counterpart.
- macOS compatible host (Adobe Photoshop or After Effects)
- Apple Silicon or Intel 64-bit processor
$ man beauty-box-photo | grep -A2 "?"
Can I use Beauty Box in Premiere Pro on a Mac?
This particular build is Adobe-only, so it works inside Photoshop and After Effects. For video work in Premiere Pro, you would need the dedicated Beauty Box Video plugin.
Does it run natively on Apple Silicon?
Yes. Version 6.0.5 includes a universal binary that supports both ARM and x86 64-bit architectures, so it runs without Rosetta translation on M-series Macs.
Comments 0
Sign in or create an account to leave a comment.
No comments yet. A codec, a slice, a machine — they appear after moderation.