Clip Studio Paint for macOS
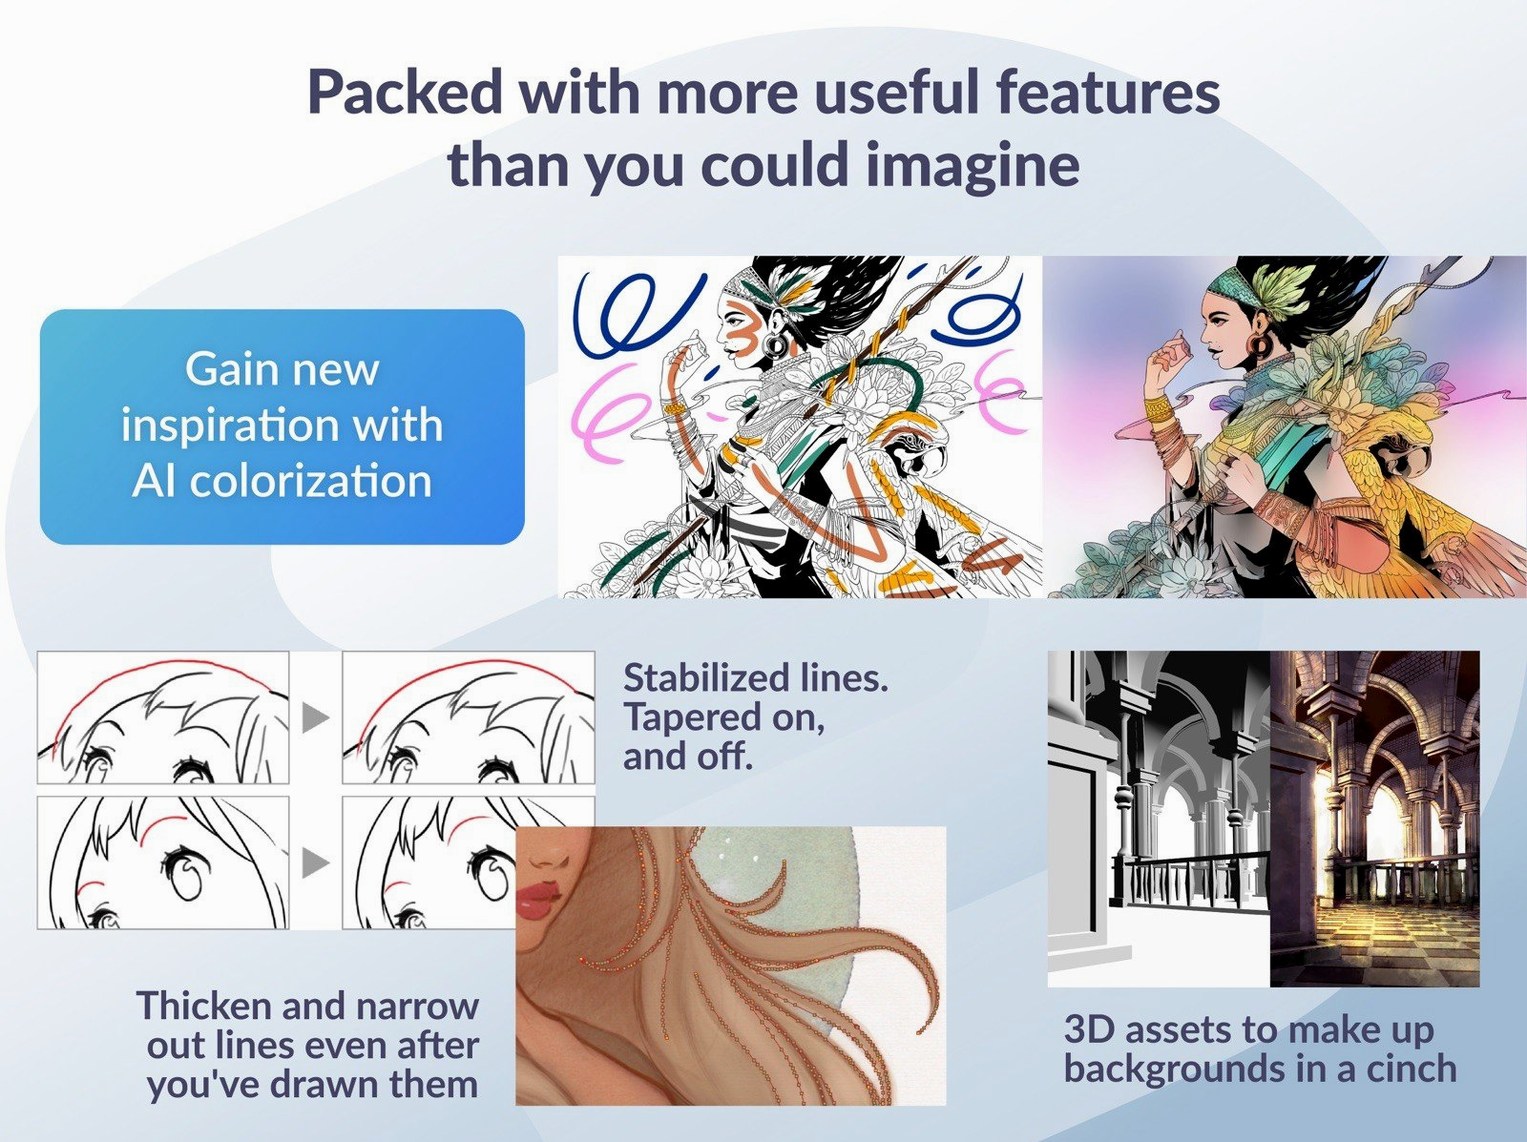
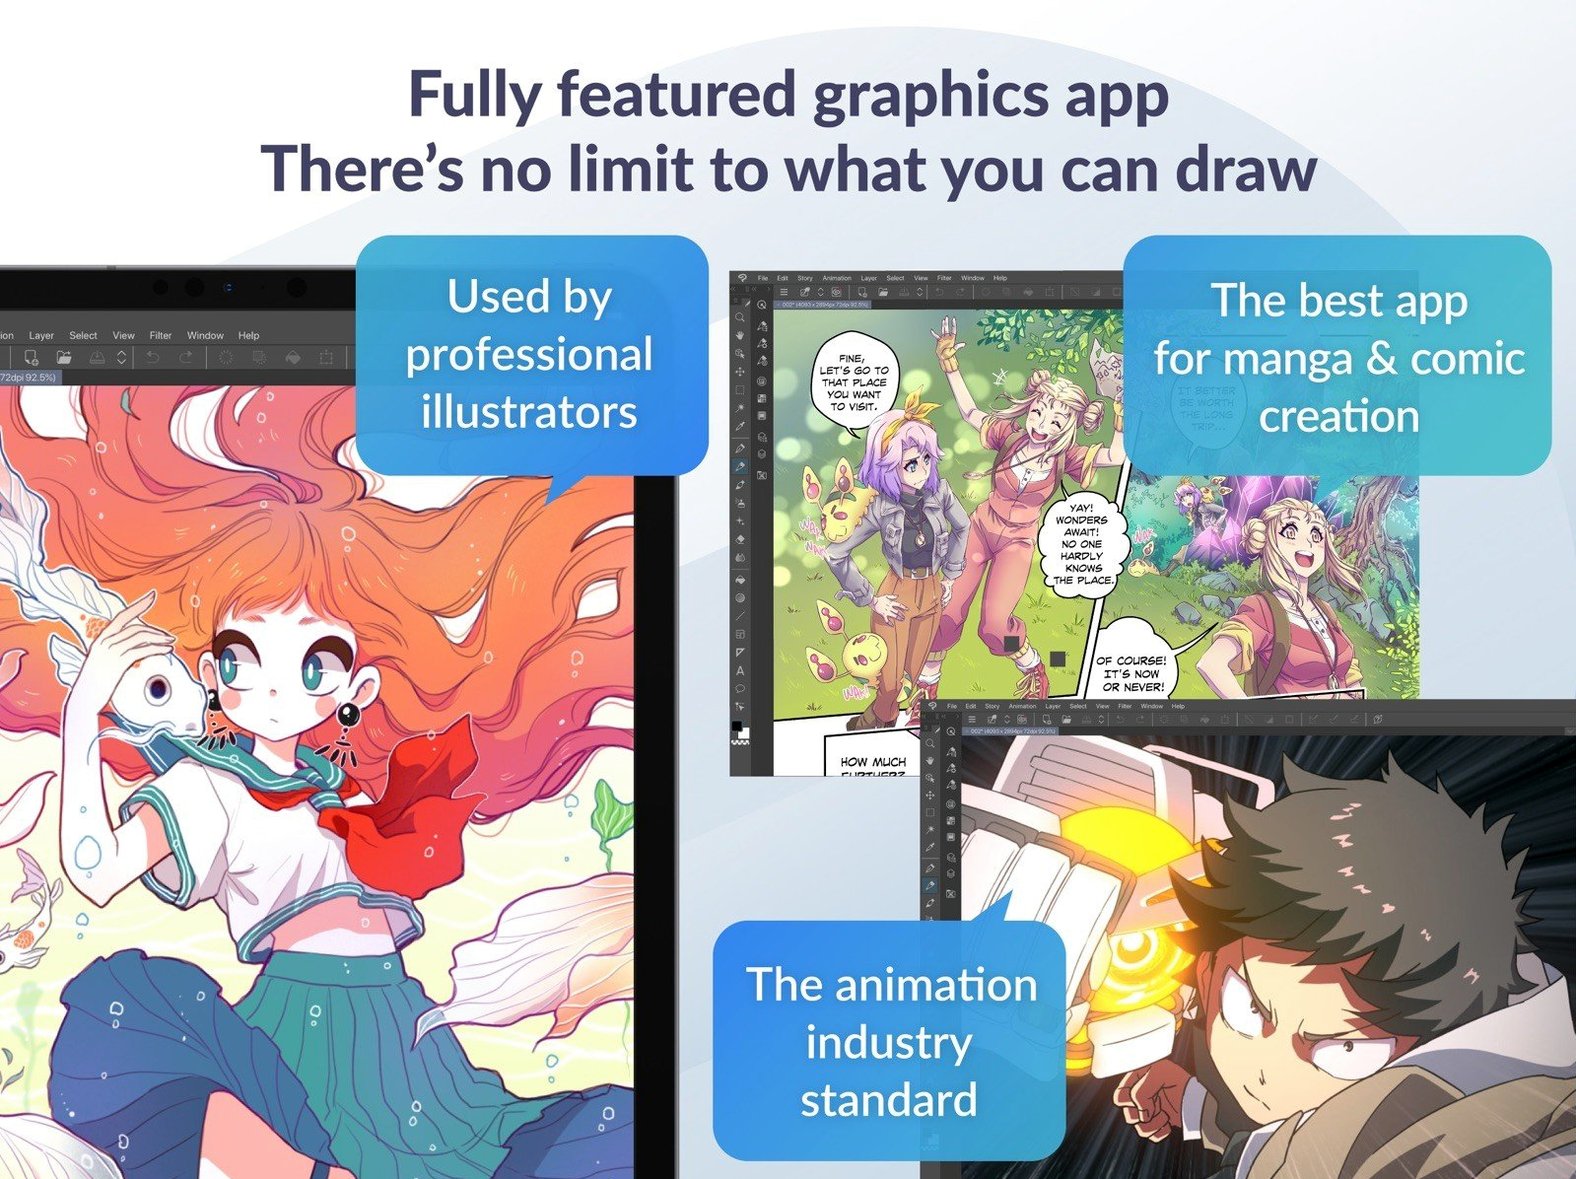
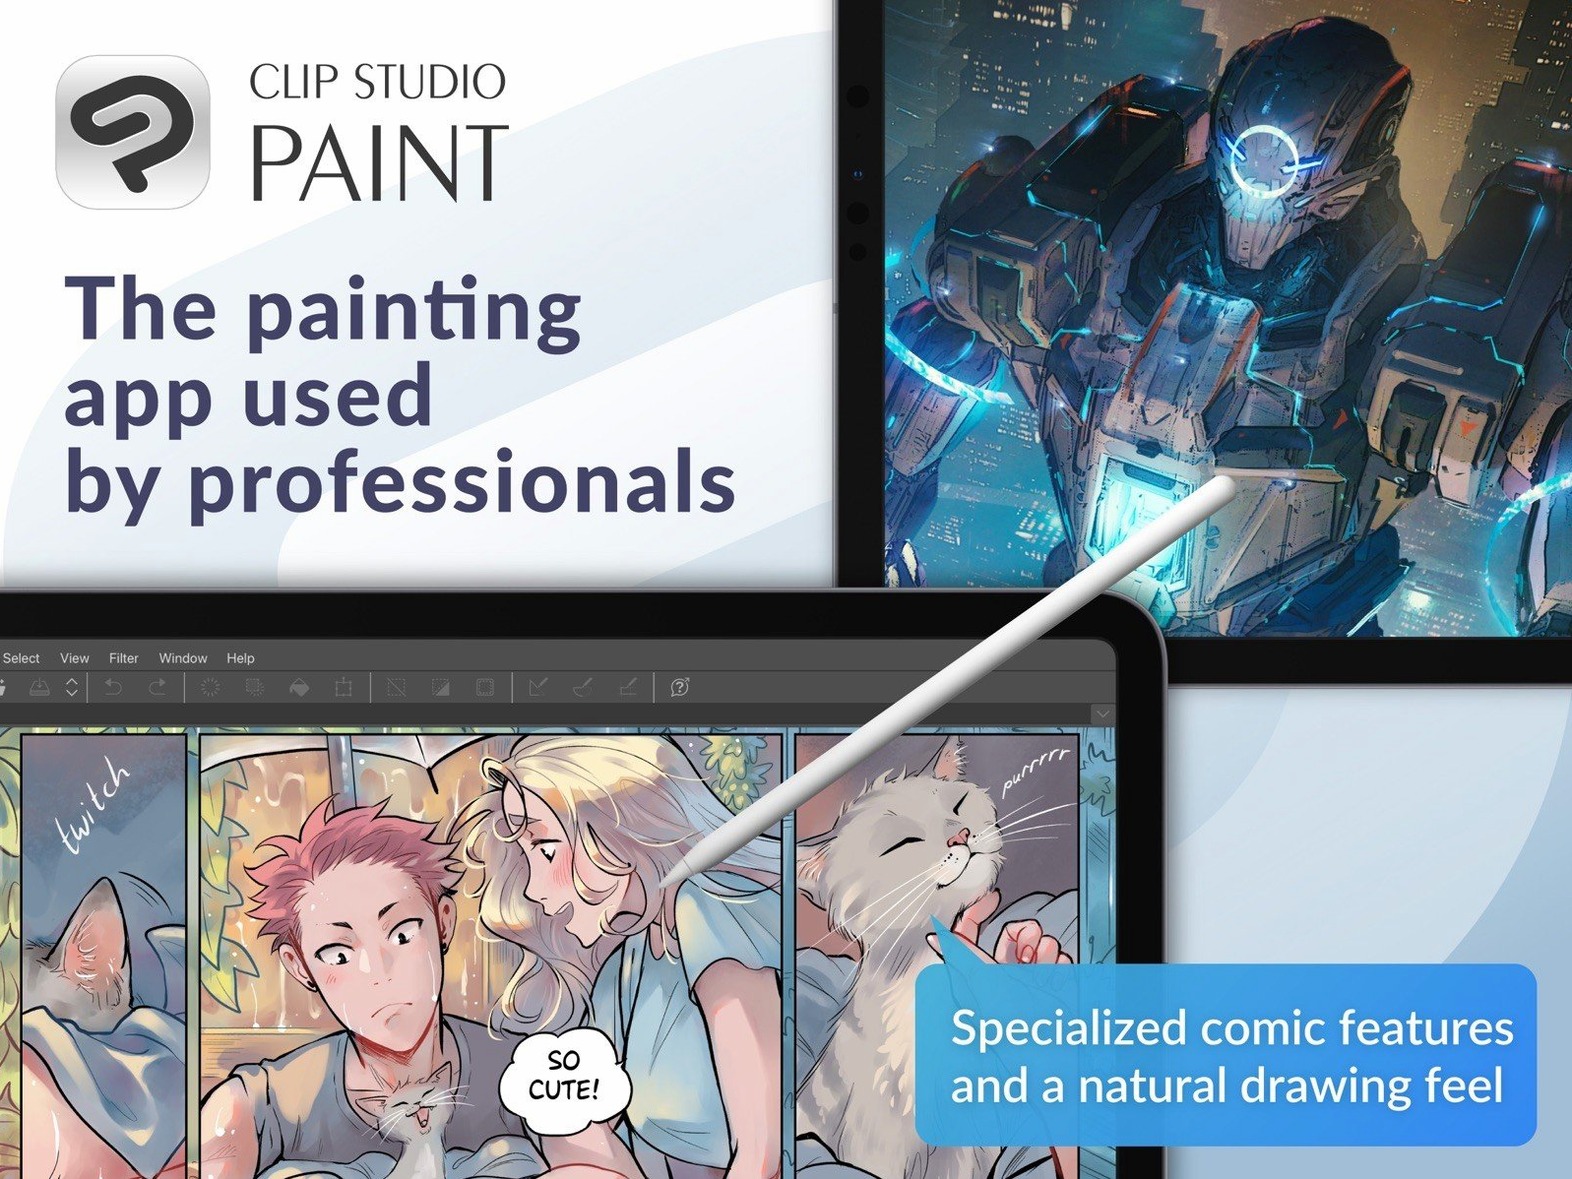
If you’ve spent any time in Photoshop or After Effects, Clip Studio Paint will feel like a specialized wing of your toolkit rather than a foreign island. Its layered PSD import and export slots directly into a pixel-pushing workflow, while the timeline for animation timing control borrows concepts any After Effects user will recognize—keyframes, cels, and onion skin display for seeing through frames. The app is built around the needs of illustrators and comic artists first, so where general-purpose tools offer a one-size-fits-all brush engine, Clip Studio Paint dials in pen tablet support and pressure sensitivity from the first stroke.
| What | Details |
|---|---|
| Version | 4.1.4 |
| Developer | CELSYS Inc. |
| Editions | PRO, EX |
| Architecture | Apple Silicon & Intel |
| Min macOS | macOS 14 |
The EX edition extends the canvas into multi-page story layouts, pulling in professional story creation tools that go well beyond single-illustration work. Both editions read legacy Manga Studio 4 EX and 4 Debut files, so archives from that era remain openable. On the rendering side, version 4.1.4 tidied up a few loose ends: a filter edge artifact that crept into Quick Filters and Quick Effects previews is gone, and the Quick Look previewing of .clip files in macOS 15 now shows what you’d actually expect. Drag-and-drop behavior for 3D materials was reined in when a 3D layer lives outside a frame folder, so you spend less time puzzling over where your object landed.
Can you push a .psd to Pixelmator Pro and back without losing layers?
Clip Studio Paint doesn’t live in a bubble. Its .psd round-trip is solid enough that I regularly push a layered illustration into Pixelmator Pro for final color grading, then pull it back without losing my folder structure. The EX edition’s multi-page story files export as a stack of flat images that Preview or Quick Look can thumb through instantly—version 4.1.4 tightened that up on macOS 15 so Finder shows clean previews of .clip files without the old flicker.
On the animation side, you render a sequence of PNGs or a movie file from the timeline, drop them into a Final Cut Pro project, and keep working. No intermediate transcoding step. The light table function produces semi-transparent reference layers that feel like a digital version of tracing paper; if your workflow already uses Sidecar with an iPad, those reference layers become a pinned guide on the tablet while you draw on the Mac screen.
Drag-and-drop plays nicely with the system too. You can pull a 3D model from Finder straight onto the canvas, and 4.1.4 fixed the odd behavior where dropping it outside a frame folder would park the object in some unintended coordinate space. For color work, the system color picker integrates without fuss, and if you’ve calibrated your display through the Displays preference pane, Clip Studio Paint reads that profile for on-screen accuracy. One thing to watch: the app wants an internet connection to verify its license, so first launch on a Mac without Wi-Fi will stall until you tether briefly.
Why does my pen pressure feel off on a Mac?
Out of the box, the pen pressure curve might not match your hand. Open the Pen Pressure settings and draw a few test strokes—CELSYS ships a linear curve that tends to require too much force on some Wacom and Xencelabs tablets. Dial it softer, then save that as part of your default workspace. Next, go into Preferences and switch the canvas display to OpenGL rendering if your GPU supports it; the 4.1.4 build expects an OpenGL 3.3-compatible chip, and with Apple Silicon Macs that’s handled by Metal translation, so leaving it on the software renderer only costs you zoom responsiveness.
The UI language selector now includes Simplified Chinese alongside the existing English, German, Spanish, Korean, French, and Japanese options. If you’re coming from Manga Studio, set that early—version 4 opened my old Manga Studio 4 EX files without a hiccup, but the default brush set won’t match your legacy presets until you import them manually from the Materials palette.
Two housekeeping moves save headaches later: set your auto-save interval to five minutes (the default is ten), and define your export presets for PSD and PNG now. When a deadline hits, you won’t want to fiddle with color profiles. While you’re at it, bind the Quick Look preview shortcut—the 4.1.4 fix for .clip thumbnails in macOS 15 is genuinely useful when you’re hunting through a folder of concept sketches.
How do you turn a 600 dpi pencil scan into crisp vector line art?
Imagine you’ve scanned a rough pencil sketch at 600 dpi. The goal is a crisp, inked panel ready for flat colors in another app. Here’s a workflow that uses vector layers, the light table, and the animation-adjacent tools in a purely still-image context.
First, drag the scan onto the canvas—Clip Studio Paint interprets it as a new raster layer. Drop its opacity to 30% and lock the layer. Create a vector layer above it. The vector tools here aren’t an afterthought; they store stroke data you can edit point-by-point later, which matters when you want to adjust line weight without redrawing. Grab the G-pen or a custom inking brush with anti-aliasing off, and start tracing. The light table function, normally used for animation, works equally well here: toggle it on, set the scan as the reference image, and you get a ghosted underlay that doesn’t interfere with your new strokes.
When a line wobbles, switch to the Control Point tool and drag the offending anchor. No erasing, no redoing. For symmetrical elements—say, a character’s face or a patterned border—enable the Symmetry ruler on the vector layer; every stroke mirrors across the axis you set. Once the inks are complete, hide the scan layer, group your vector layers into a folder, and export as a layered PSD. The PSD export in 4.1.4 had a bug where certain canvas sizes displayed incorrectly in Finder on macOS 15; that’s patched now, so the exported file looks right in Quick Look before you hand it off.
If the panel needs screen tones, add a new raster layer beneath the vector ink folder, use the selection tools to isolate areas, and drag tone patterns from the Materials library. The whole stack—raster tones, vector inks, reference scans—stays intact when you save as .clip. That’s your master file. Export a flat PNG for socials and a layered PSD for colorists, and you’re done in under an hour once the workflow settles in.
Why does the interface feel more native than Procreate on desktop?
Set Clip Studio Paint next to Procreate, and the difference is architectural. Procreate is an iPad app first, ported to the Mac with a touch-centric UI that never quite feels at home with a mouse. Clip Studio Paint is a desktop application—its timeline, multi-window support, and customizable palettes assume you have a keyboard and a pointing device. Procreate’s brush engine is fluid, but it stops at raster; vector layers, frame-by-frame animation with a proper timeline, and multi-page story management are Clip Studio Paint territory. If your work ends at single-canvas digital painting, Procreate is fine. If you export layered PSDs to a team or storyboard a 40-second cut, Clip Studio Paint EX is the tool that doesn’t break stride.
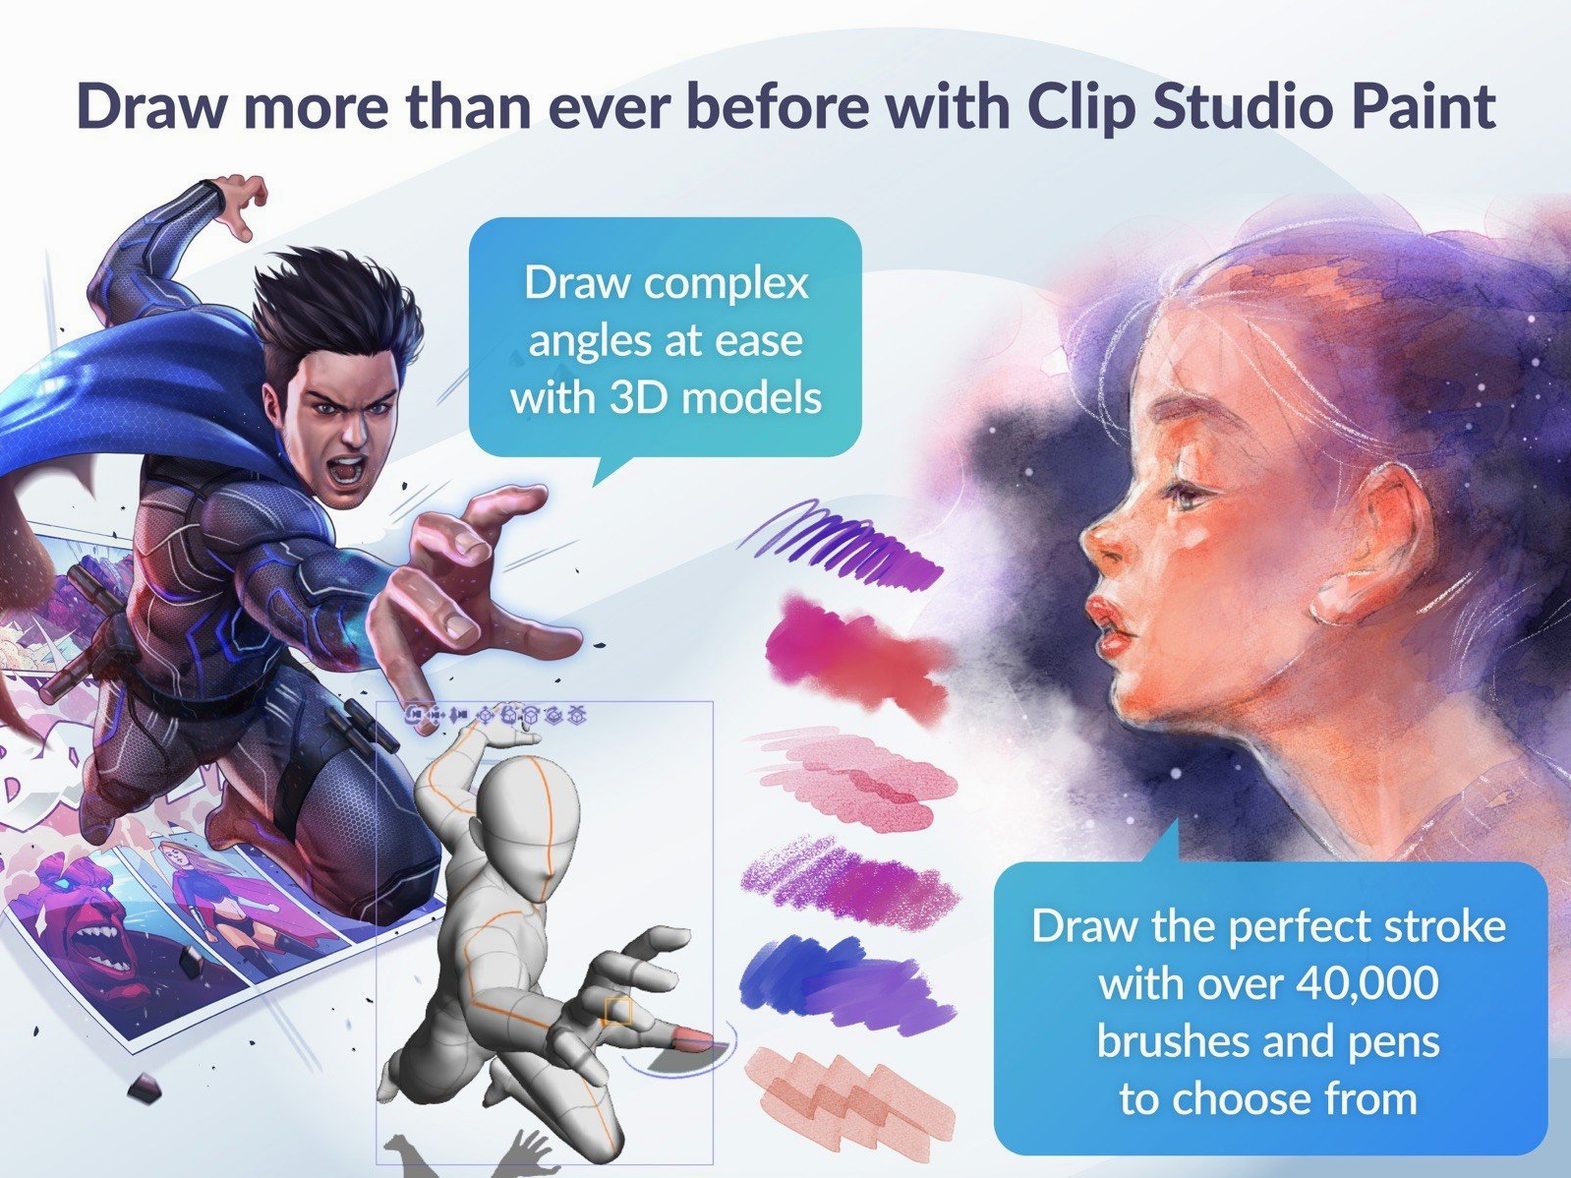
Affinity Designer 2 shares the vector-plus-raster approach, and its typesetting is far stronger for graphic design work. But it has no animation timeline, no onion skin display, and no 3D figure posing. Clip Studio Paint’s 3D mannequins are poseable reference aids you drag into a scene for perspective checks; Affinity would send you to a separate app for that. For manga and comic production, Clip Studio Paint’s frame folders, speech balloon tools, and tone libraries are purpose-built in a way Affinity’s general-purpose canvas isn’t.
Krita overlaps the most—open-source, frame-by-frame animation, vector tools, pen tablet support. Krita’s brush engine rivals Photoshop’s, and its wrap-around canvas mode is clever for tiling textures. Where Clip Studio Paint pulls ahead is in the comic-specific toolchain: panel layout, perspective rulers that snap to vanishing points automatically, and the EX edition’s story management for multi-page projects. Krita can do comics, but it asks you to build that workflow yourself. Clip Studio Paint ships with it pre-assembled.
Does the app work on an air-gapped studio Mac?
Does it need a constant internet connection? Only for license verification and some Material downloads. The app itself runs offline once activated. If your studio Mac lives on an air-gapped network, you can activate once via a tethered connection and work offline indefinitely—just don’t expect to browse the asset library without a line out.
Will it open my old Manga Studio files? Yes. Version 4 reads Manga Studio 4 EX and 4 Debut formats directly. Layers, frame folders, and tone settings come through intact. If you’ve been hoarding a decade-old backup, it’s still accessible.
How does the PRO versus EX choice affect daily work? PRO handles single-page illustrations, animations up to 24 frames, and basic comic panels. EX adds multi-page story files, longer animation sequences, and the ability to export an entire book as a single file. If you’re drawing single illustrations or short animations, PRO is the right fit. If you’re laying out a 32-page chapter with consistent gutter widths and page numbers, EX is the one.
Is the 3D figure poser a gimmick? It’s surprisingly practical for reference. You pose a humanoid figure, set the camera angle, and rough-sketch over it. The 4.1.4 drag-and-drop fix means dropping a 3D material into a scene with an active 3D layer behaves predictably now, so you can swap out a default figure for a custom model without losing your camera position. It won’t replace a life-drawing session, but for checking foreshortening at 2 a.m., it earns its place in the toolbar.
What about the format support? Layered PSD import and export is bidirectional. Animation exports go to sequential images (PNG, TIFF, BMP), animated GIF, or movie files. The timeline handles frame rate changes gracefully—4.1.4 fixed a bug where leftover cels stuck around after resizing clips or adjusting the frame rate, so scrubbing through an export now shows exactly what you keyed.
- Simplified Chinese joined the display language list.
- Quick Look previewing of
.clipfiles in macOS 15 was improved. - Fixed an edge artifact that could appear in canvas previews with Quick Filters and Quick Effects.
- Fixed an issue where deleted cels or keyframes could linger after resizing clips or changing timeline frame rate.
- Changed 3D material drag-and-drop behavior when a 3D layer is selected outside a frame folder.
- macOS 14 or later
- Apple Silicon or Intel processor
- 2 GB memory (8 GB or more recommended)
- OpenGL 3.3 compatible GPU
- Pen tablet and stylus with pressure sensitivity supported
- Internet connection required for some functions and license verification
$ man clip-studio-paint | grep -A2 "?"
What file formats does Clip Studio Paint work with on macOS?
It handles layered PSD import and export natively, its own.clip format, and can open legacy Manga Studio 4 EX and 4 Debut files.
What's the difference between Clip Studio Paint PRO and EX?
EX adds professional story creation tools and multi-page story layouts on top of the illustration and basic animation features found in PRO.
Comments 0
Sign in or create an account to leave a comment.
No comments yet. A codec, a slice, a machine — they appear after moderation.