
Complete Anatomy for macOS
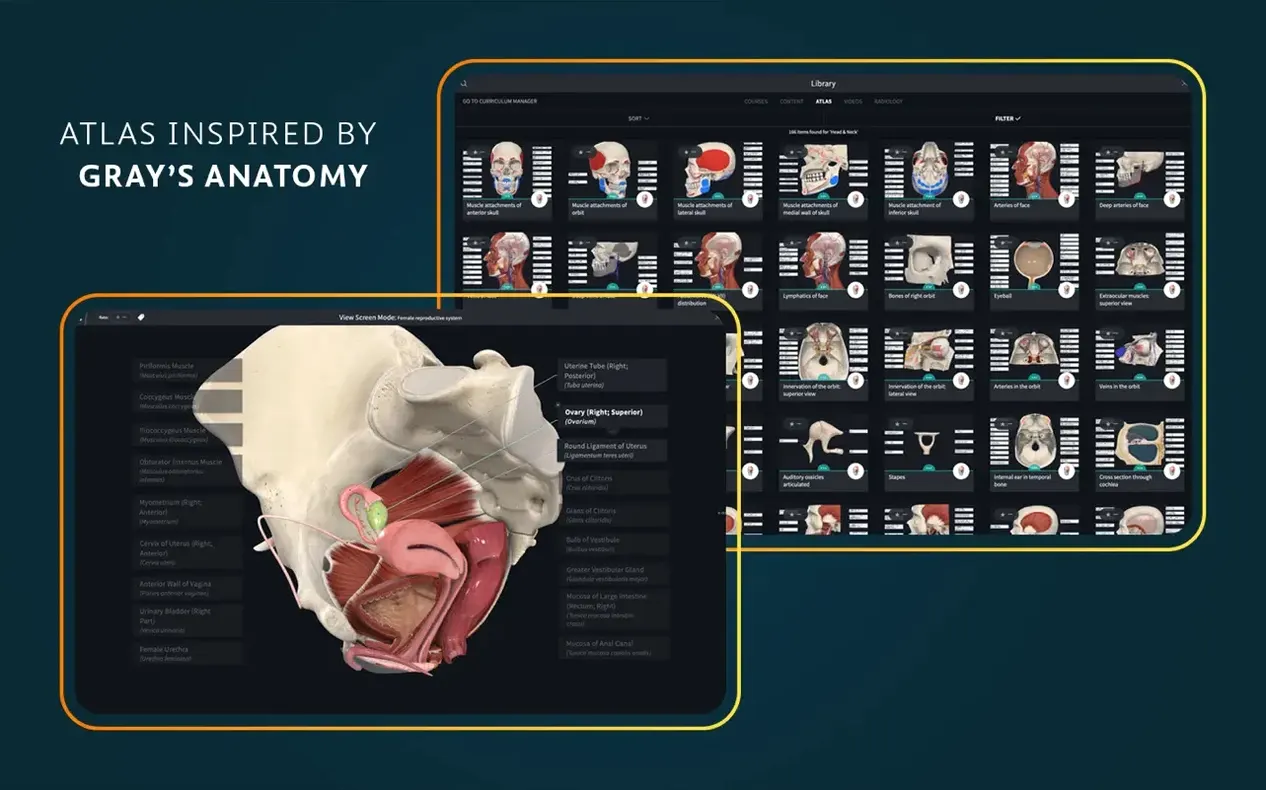
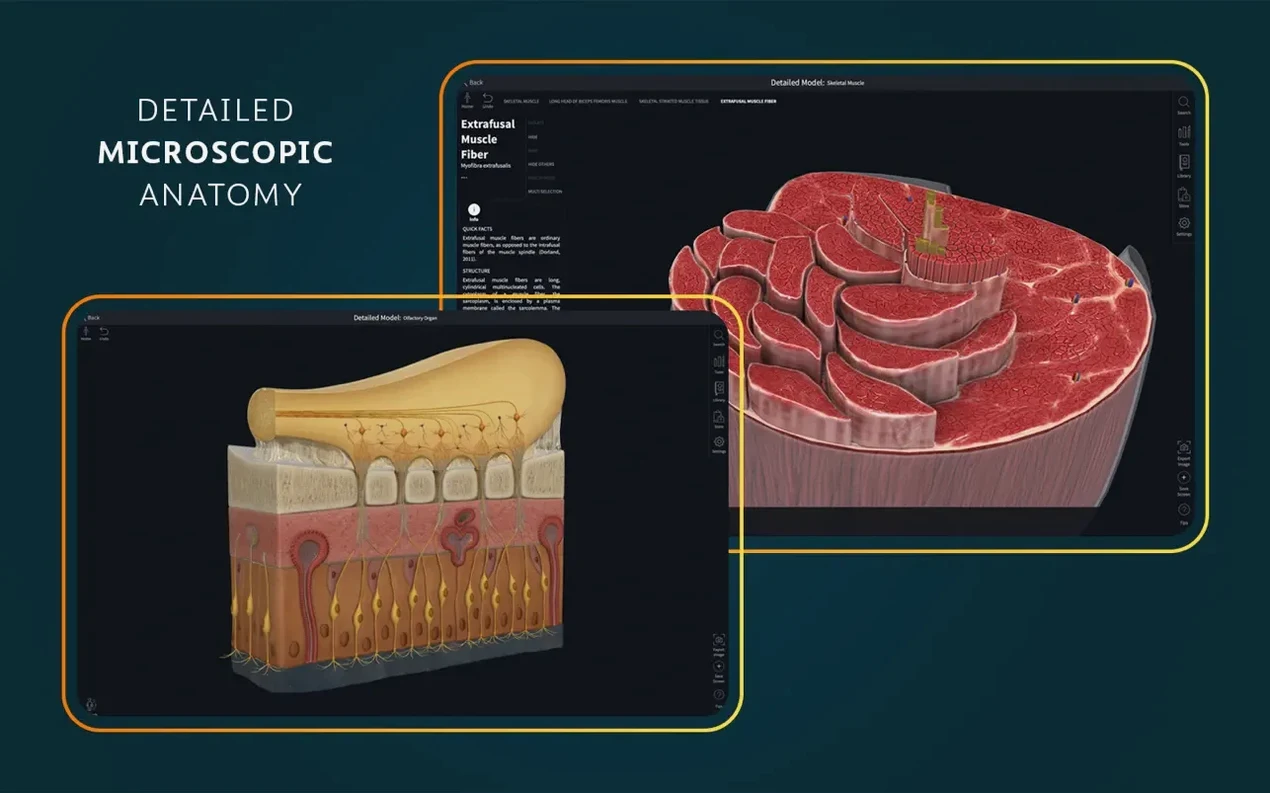
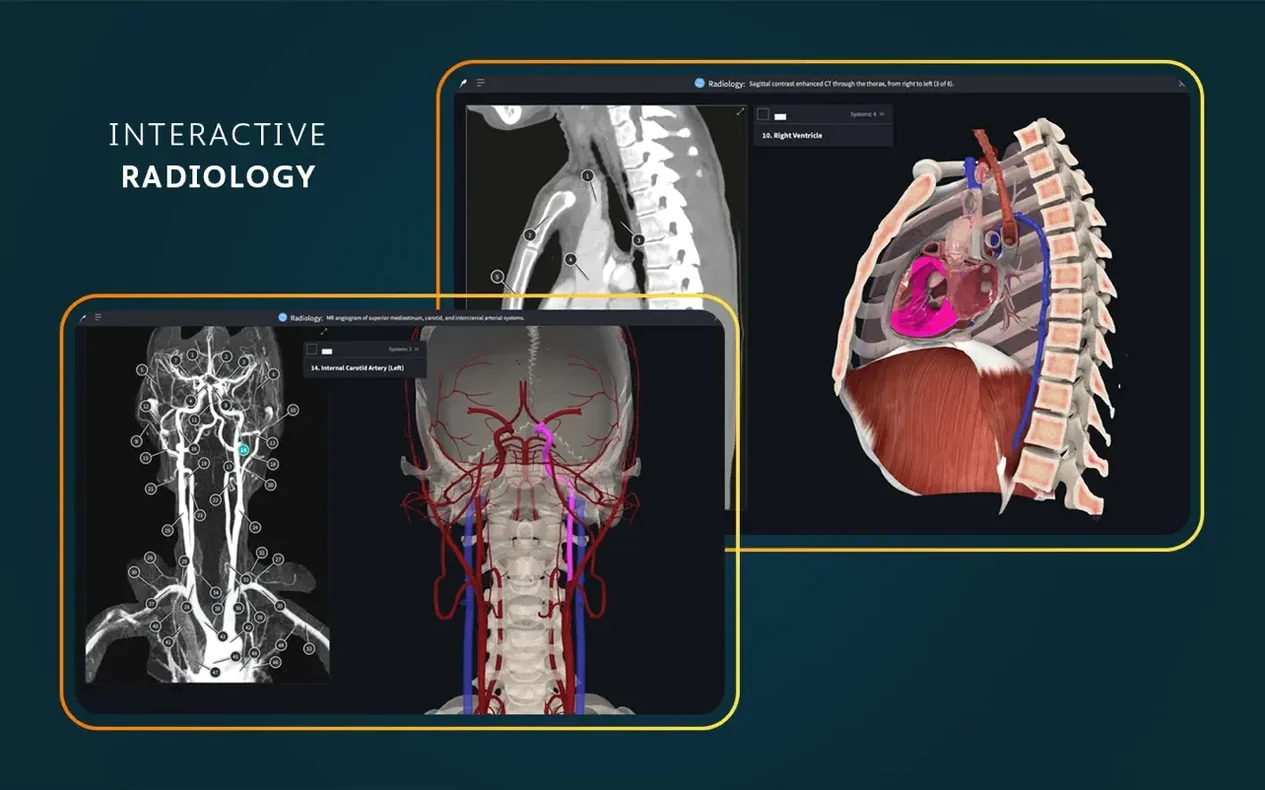
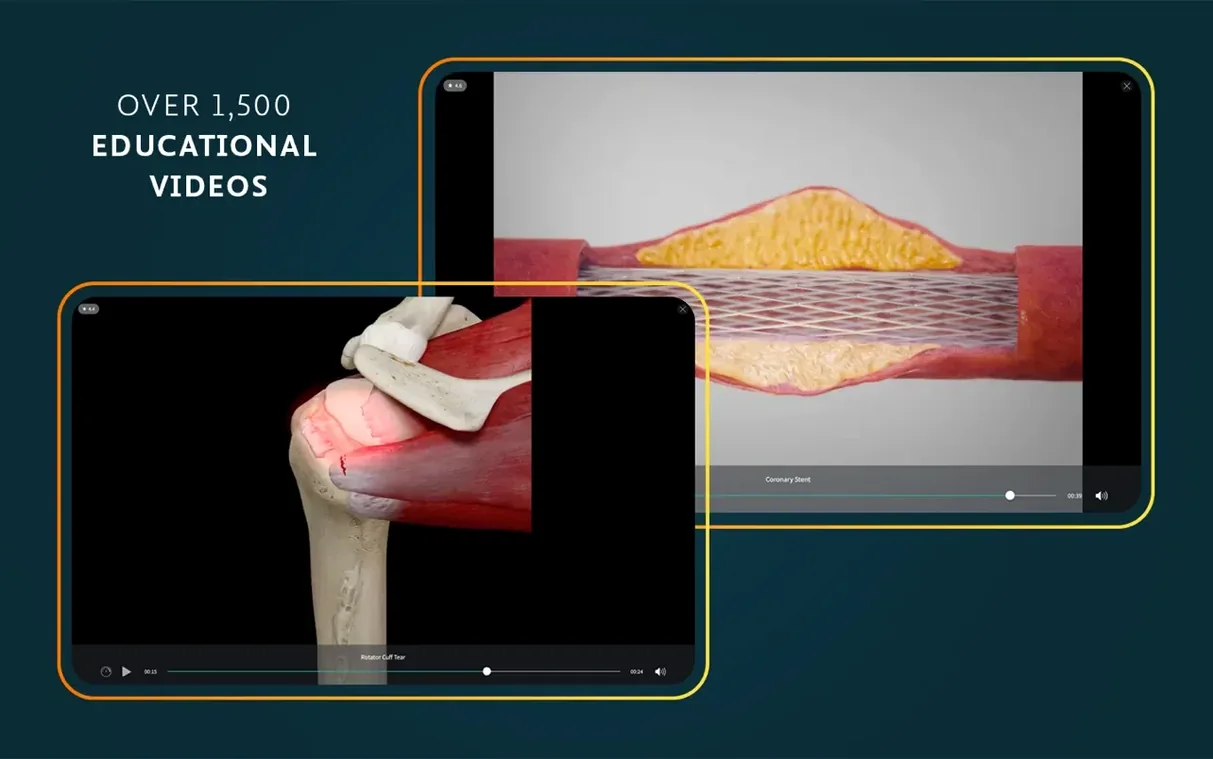
Medical students hit a wall when 2D diagrams can't explain a spatial relationship. A rotating 3D model of the middle ear or a real dissection video fills that gap instantly. Complete Anatomy puts that library on your Mac, but getting it running raises a few practical questions.
Setting up the app
- Mount the downloaded
.dmgfile. A Finder window opens with the app icon. - Drag the app bundle into your
Applicationsfolder. Wait for the copy to finish — the bar shows progress. - Press F4 or click Launchpad in the Dock, find the icon, and click to open.
- Sign into your account. Full content access needs authentication; without it, you see a limited set.
Over 700 dissectible models and 1,500 clinical videos
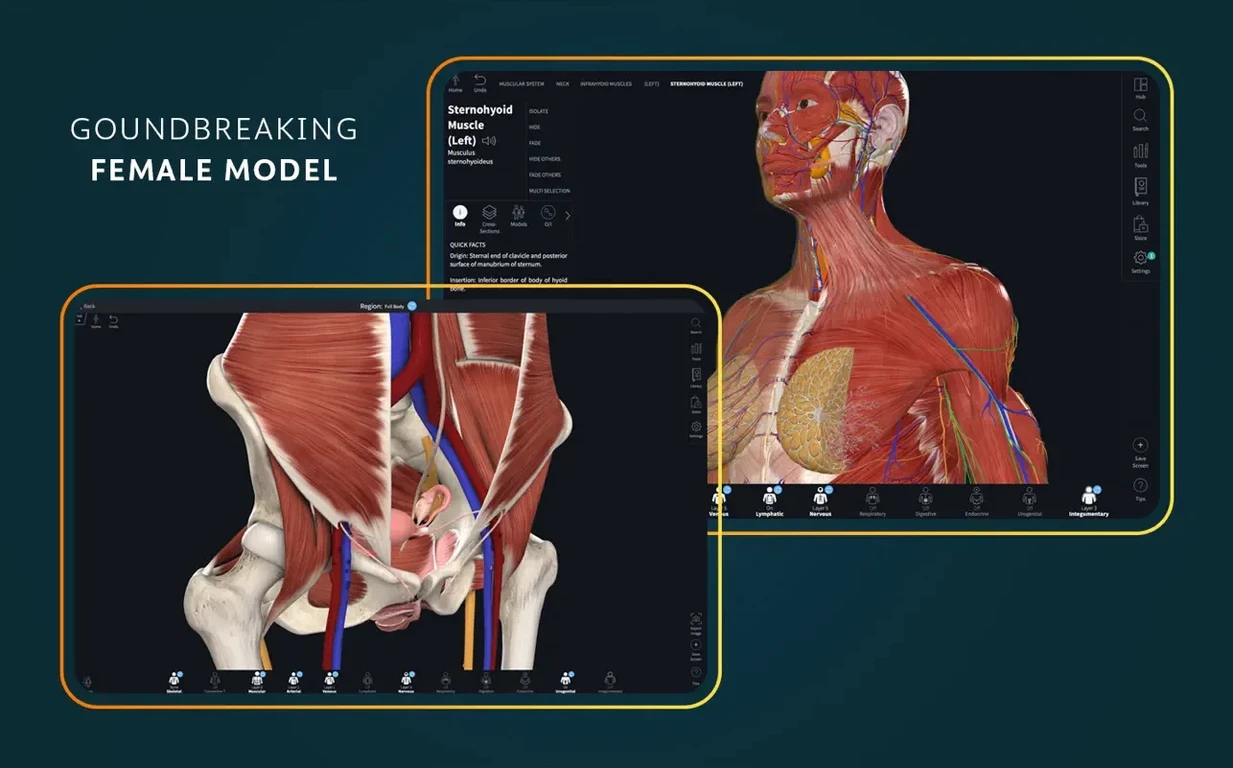
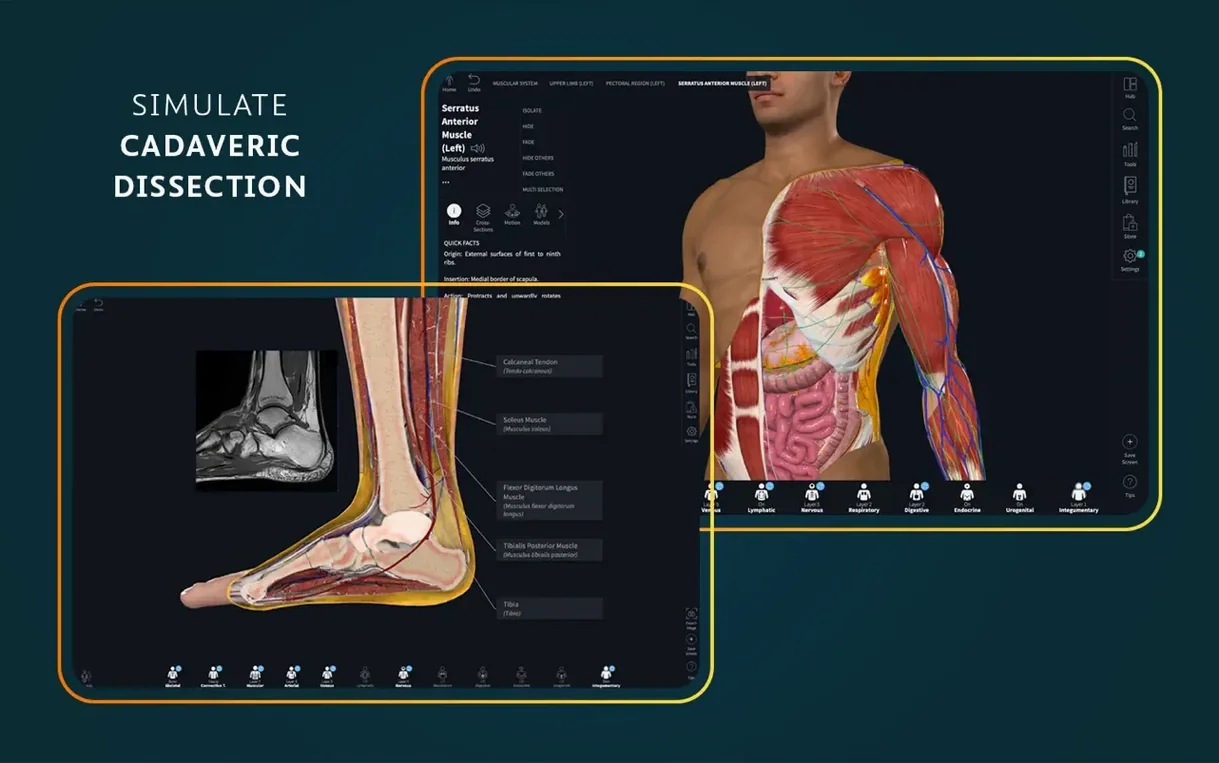
After launch, the atlas presents over 700 screens and interactive models you can rotate, layer, and dissect. More than 1,500 clinical videos cover everything from point-of-care ultrasound to dissection courses, with female anatomy and clinical correlations built in. An AR mode is included for placing models in your actual space.
The app runs as a universal binary — native on both Apple silicon and Intel x86_64 machines. It asks for macOS 11.0 or later. Version 11.5 is a maintenance update with optimized support for iOS 26 and the usual round of bug fixes. The interface ships in English, German, Spanish, Simplified Chinese, and French.
Working through a shoulder dissection, step by step
Say you're prepping for a musculoskeletal exam and the rotator cuff keeps tripping you up. Here's a path through the app that makes the relationships stick.
- Open the shoulder model from the main library. Tap the Systems layer and switch off the skin, then the superficial fascia, so you're looking at muscles directly.
- Isolate supraspinatus. Click it once to highlight, then use the Isolate tool — everything else fades to a ghosted outline. Rotate the view slowly with a two-finger drag on the trackpad; watch the tendon pass under the acromion.
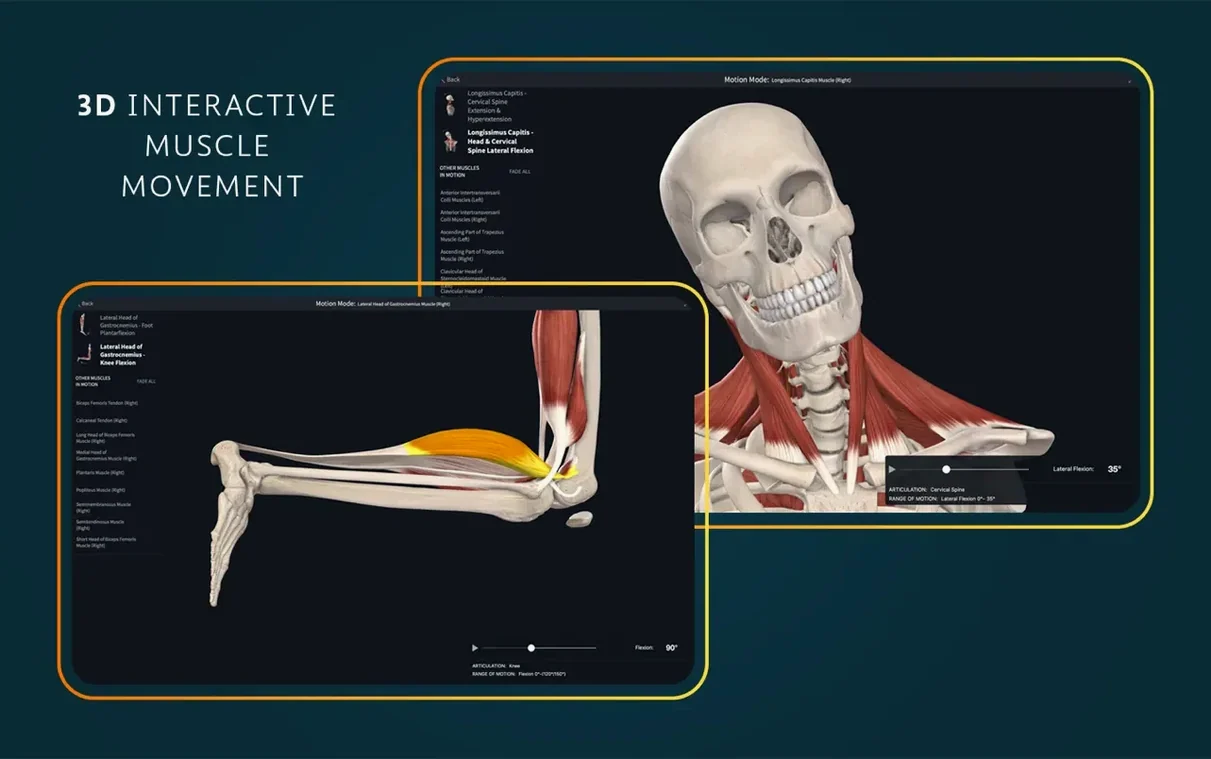
- Turn on Muscle Motion. The app animates abduction through the full range. Pause at about 60 degrees and rotate the model posteriorly — that's the impingement zone. Seeing it move beats a static Netter plate every time.
- Pull up the related radiology view from the side panel. A shoulder MRI slice appears alongside the model, synced to roughly the same plane. You can drag a cross-section line through the 3D model and watch the MRI slice update in real time.
- Mark the key landmarks with the Label tool, then add a note — something like "painful arc starts here." The note stays attached to the model at that precise angle and position.
- Export the labeled view as a screenshot. Drop it into your Anki deck or share it with your study group.
The whole workflow from opening the app to a saved screenshot takes under ten minutes once you know the tools. The real win is that the spatial relationship between supraspinatus, the acromion, and the subacromial bursa becomes something you've seen rotating in three dimensions, not something you're memorizing from a table of origins and insertions.
Start with a region you know instead of full models
New installs throw a lot at you. A few habits make the first days productive instead of overwhelming.
Day one: resist diving into full models. Start with a region you already know reasonably well — say, the knee. Stripping it down layer by layer teaches you the interaction model without fighting unfamiliar anatomy at the same time. Learn what Systems, Regions, and Layers each control; they're not redundant.
Day two: find the 39 microscopic anatomy models. They're tucked away in the library but worth seeking out early. Pick one — a nephron, a sarcomere — and notice how the app handles scale transitions. The navigation gestures are the same, but the relationship between the model and the surrounding context shifts. Getting comfortable with that jump now pays off when histology blocks hit.
Day three: make the cross-section tool your default view for one study session. Load any model, turn on dynamic cross-sections, and drag the plane through slowly. Radiologists think in slices; building that mental habit early — even as a first-year — makes imaging courses less jarring later. The tool pairs well with the radiology view, which shows a matching clinical scan beside your section plane.
Also worth doing early: check that your account has synced properly. If models load but videos don't play, a sign-in refresh from the preferences pane usually fixes it.
A physiotherapy student's morning
Lena's in her second year, preparing for a clinical placement in an orthopedic outpatient clinic. Her supervisor has asked her to review shoulder anatomy before Monday, and she knows patients will ask why certain movements hurt.
She opens Complete Anatomy on her M1 MacBook Air, still running macOS 12, and loads the full male model. She's not interested in every system — she taps straight to the musculoskeletal preset, which strips away everything except bones, muscles, tendons, and ligaments. The beating heart model is fascinating, but today it's a distraction; she hides the cardiovascular system entirely.
Lena selects the supraspinatus, clicks Origin & Insertion, and the app highlights both attachment points while dimming the rest of the body. She rotates the model so she's looking from above, through the top of the shoulder. Then she triggers muscle motion and watches the tendon glide. At the narrowest point under the acromion, she pauses and screenshots — that's the image she'll show a patient when explaining impingement.
She spends another fifteen minutes working through the clinical videos tagged with "shoulder." One covers the Hawkins-Kennedy test; another walks through an ultrasound exam of the cuff. Neither replaces hands-on practice, but arriving at placement already knowing what the probe should show — and what structures sit underneath — means she can focus on technique instead of orientation during her first supervised scan.
When she's done, she saves the session. The model reopens exactly where she left it, labels and cross-section positions intact. Monday morning, she'll review over coffee in five minutes instead of starting from scratch.
Switch to dark mode so muscles and nerves pop
The defaults are reasonable, but a handful of tweaks make the app feel like it was set up for you specifically.
- Switch the background to dark mode. Muscles and nerves pop against a dark backdrop; on the default light background, pale structures like tendons can wash out. Find the toggle in the View preferences — it's not in the main toolbar.
- Turn off automatic animations. The app likes to animate transitions between views. It's smooth, but when you're flipping rapidly between models during a study session, the half-second delay adds up. Disable it in the Performance section of preferences.
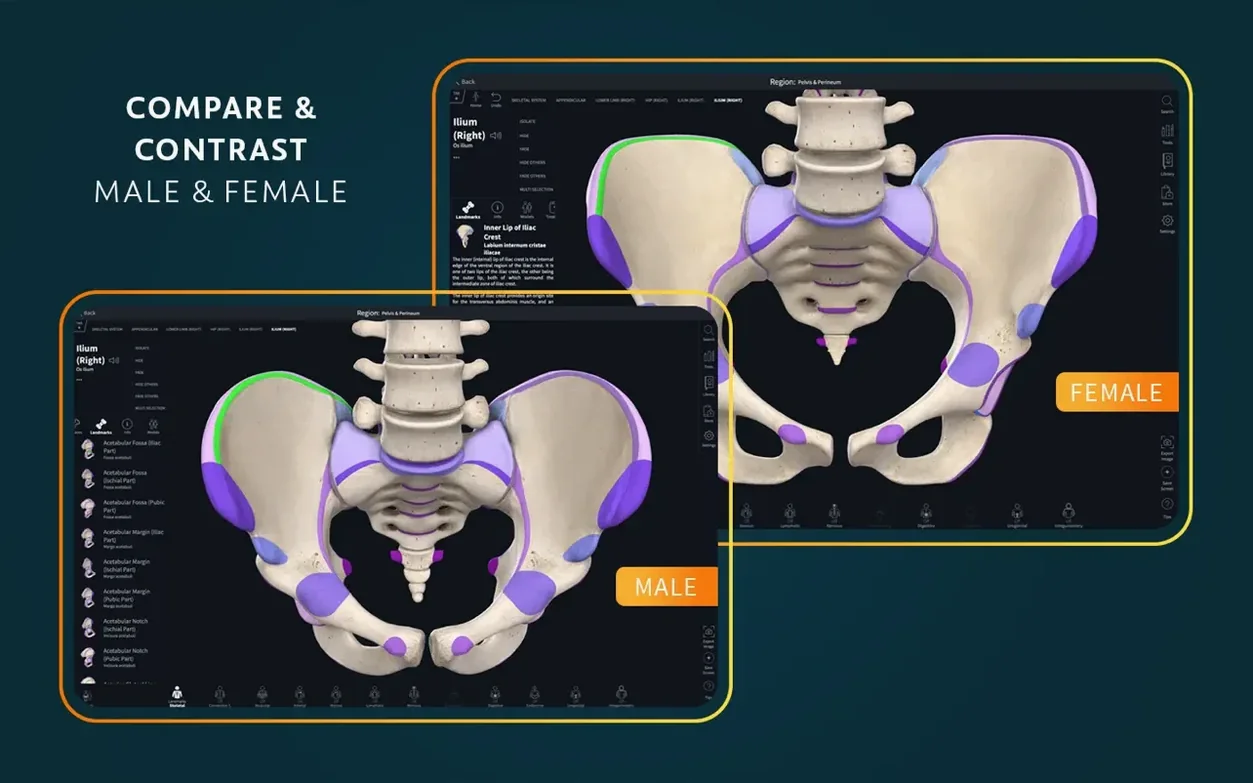
- Set the default model sex. The library defaults to male anatomy unless you tell it otherwise. If your coursework emphasizes female pelvic anatomy — obstetrics, gynecology — switching the default saves a few clicks every session. The female pelvis model includes detailed pelvic floor musculature that the male model simply doesn't show.
- Adjust the trackpad sensitivity. On a MacBook, the default rotation speed can feel sluggish; on an external Magic Trackpad, it can feel twitchy. Spend two minutes dialing it in under Input settings. A comfortable setting means you rotate models with muscle memory instead of conscious effort.
- Cache frequently used models. The app streams content by default. If your Wi-Fi is spotty — lecture halls are notorious — preload the models you'll need for the week. Look for the download icon next to each model in the library browser. Local copies load instantly and don't care about signal strength.
None of these settings are buried, but the app doesn't push you toward them during onboarding. Five minutes in the preferences pane on day one saves a surprising amount of friction over a semester.
12.6.0 ships the usual round of under-the-hood polish — general bug fixes and stability improvements across the board. No new anatomical regions or tools this time, just a cleaner build.
- macOS: 15 or later
- Architecture: Apple Silicon, Intel 64-bit
Comments 0
Sign in or create an account to leave a comment.
No comments yet. A codec, a slice, a machine — they appear after moderation.