Cursor Pro for macOS
How do I stop losing my pointer in presentations?
You are sharing your screen, explaining a complex UI, and your audience cannot see where you are clicking. The default macOS cursor is subtle, and enlarging it system-wide is a blunt instrument. Cursor Pro lives in your menu bar and gives you two precise tools: a pointer highlight and a magnifier. You enable what you need, when you need it.
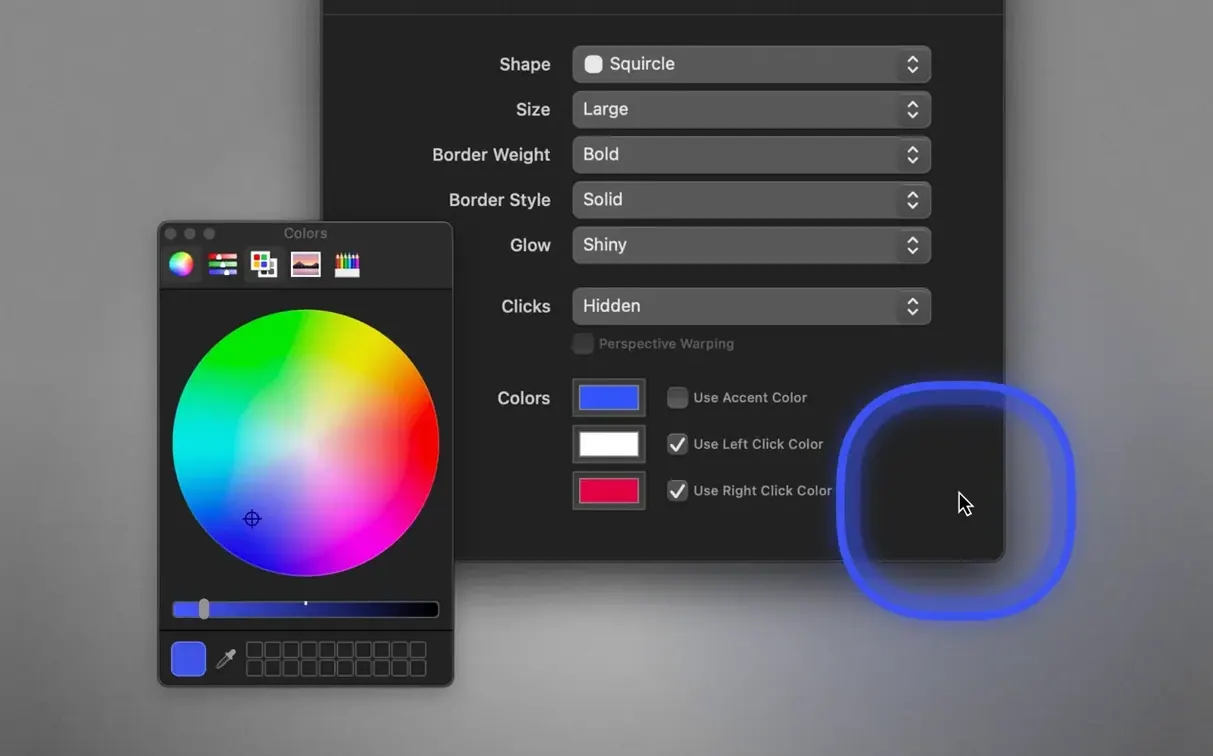
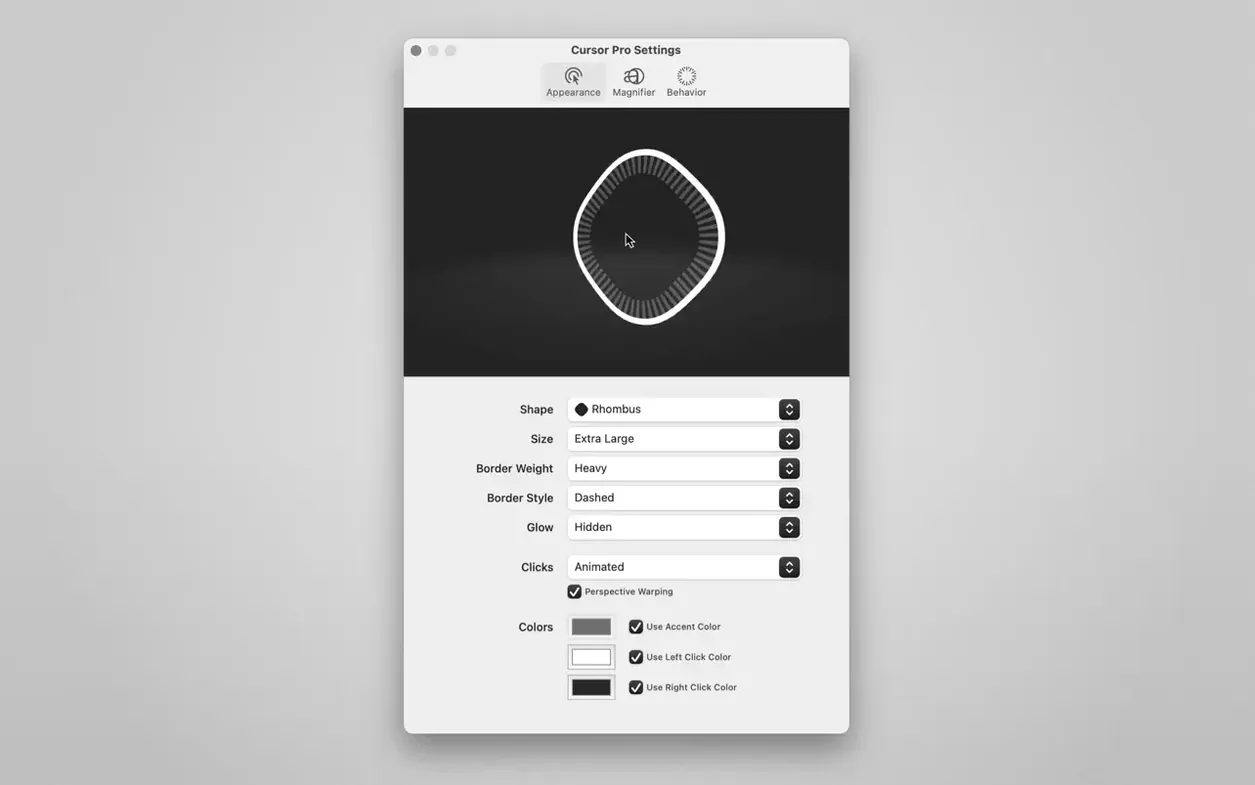
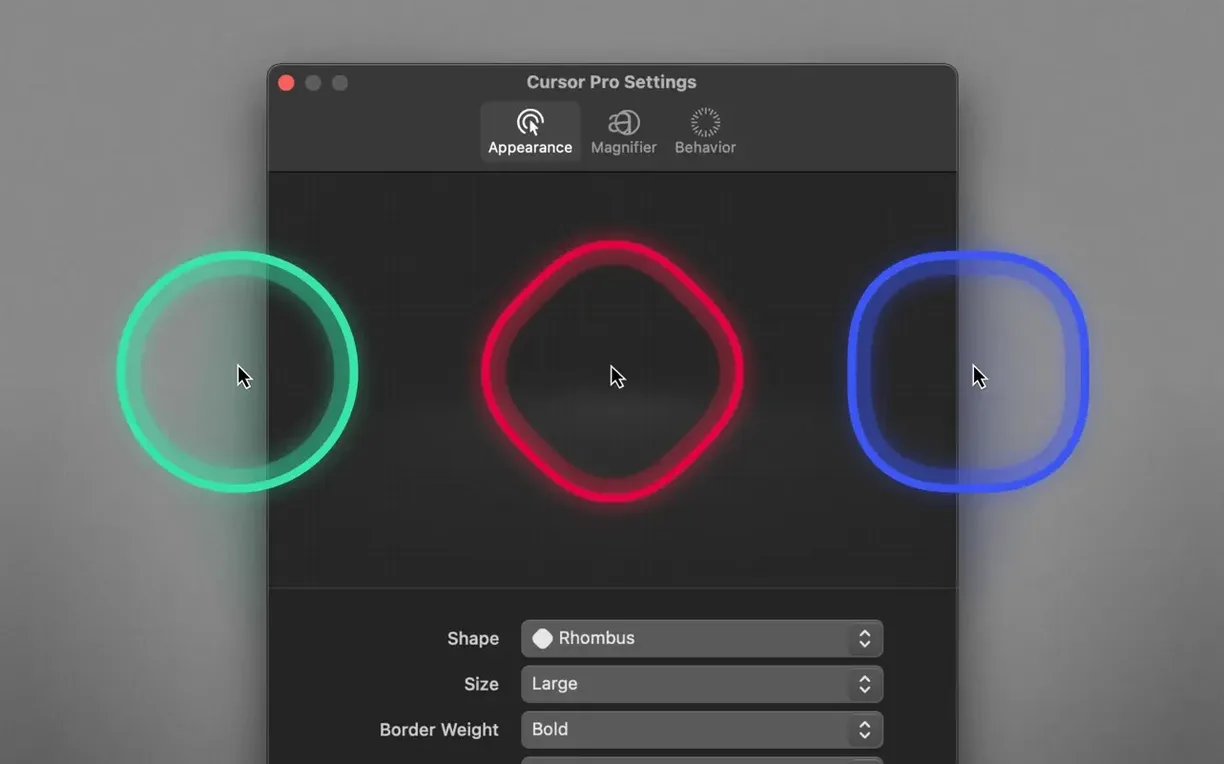
- Click the menu bar icon and choose your highlight shape — a colored circle or diamond that follows every click.
- Pick a color that contrasts with your slides or IDE. The highlight is a visual anchor, not a full-screen capture tool.
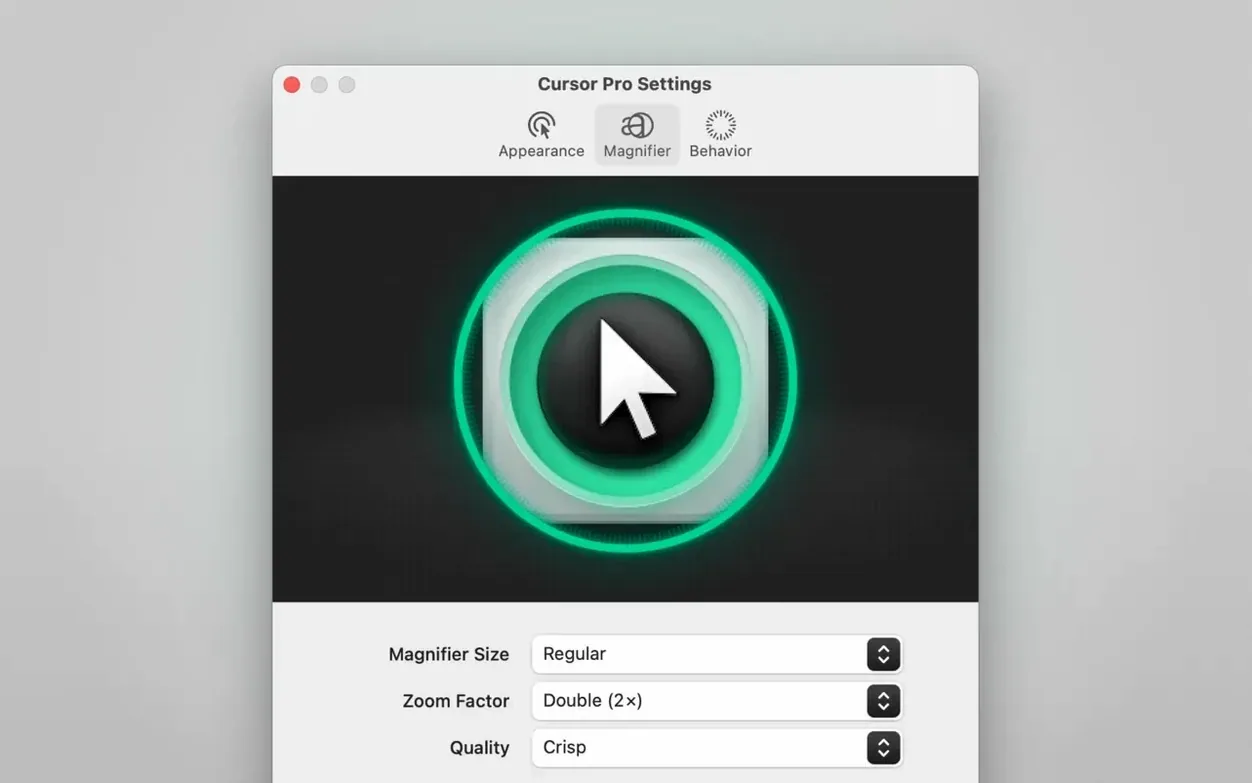
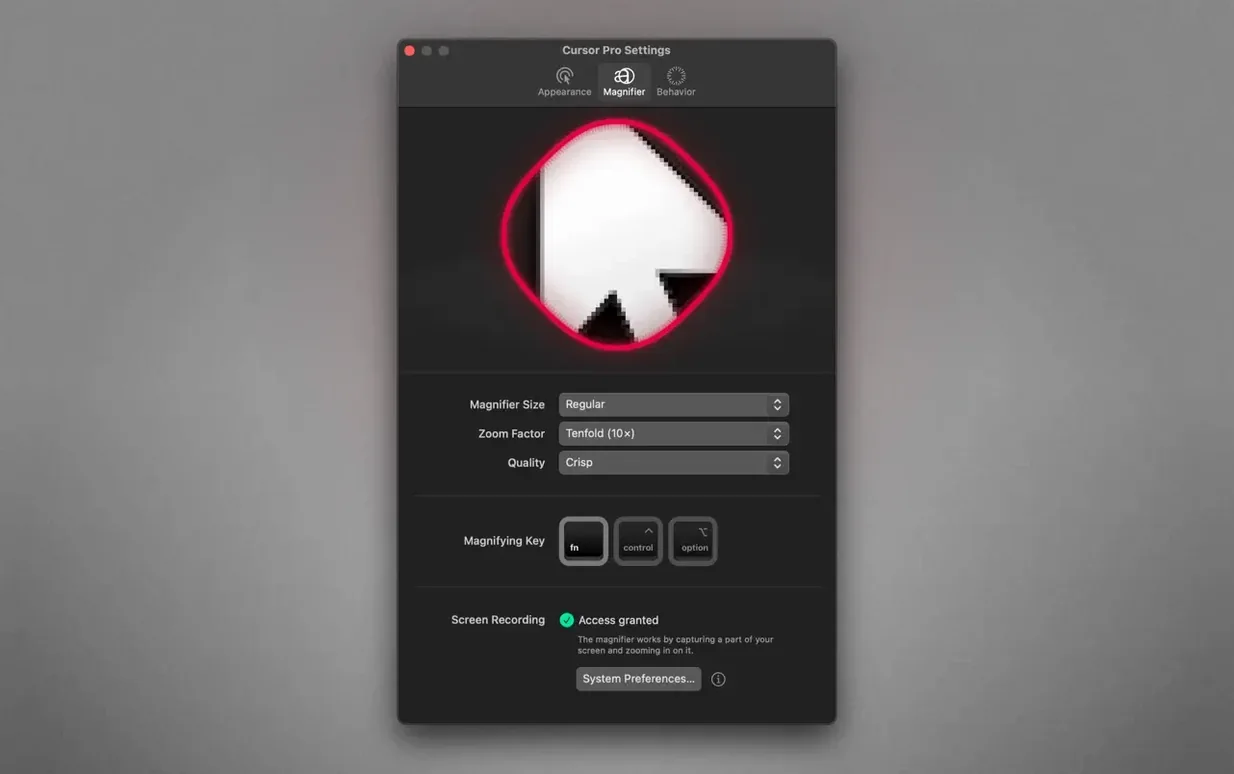
- When you need detail work, engage the magnifier and set the zoom factor. It enlarges the area around the pointer without altering the actual screen resolution.
- Share your entire screen. The overlay renders correctly in Zoom, Teams, and similar apps because it draws on the framebuffer, not just a window layer.
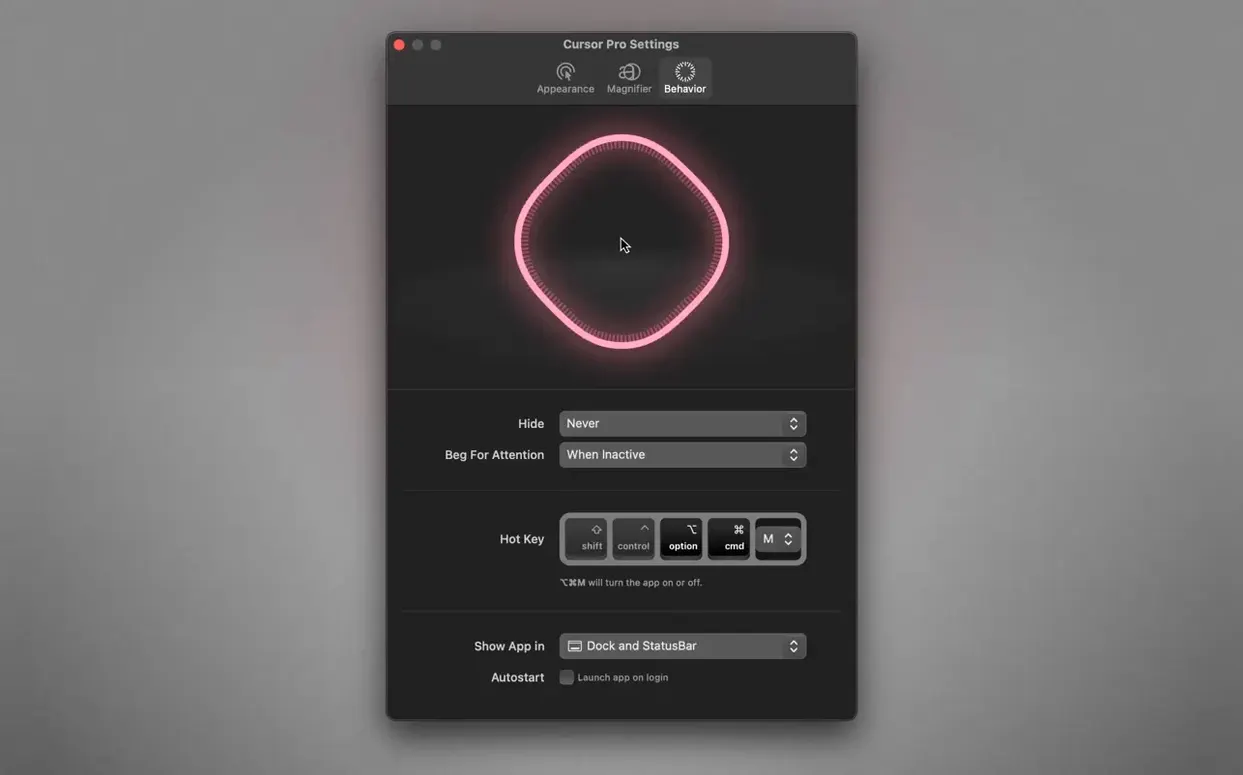
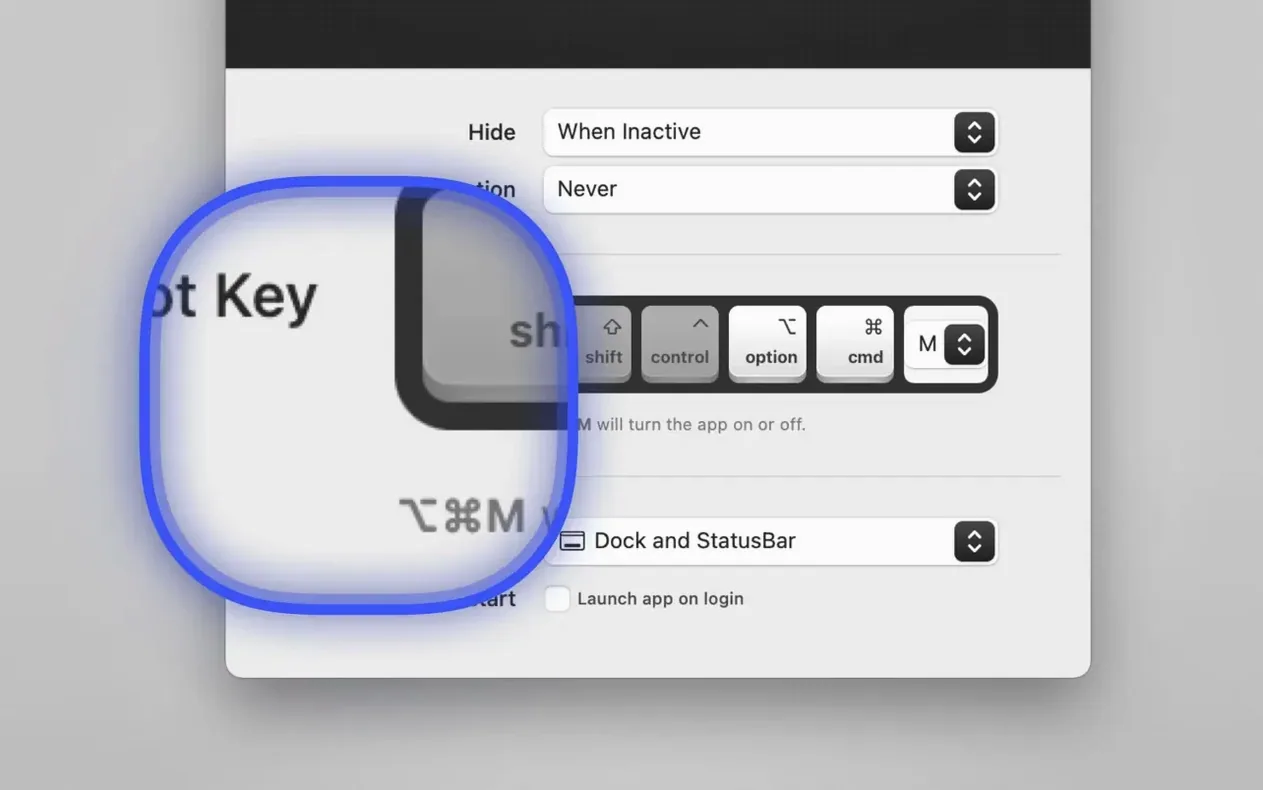
You can set the highlight to auto-hide after a moment of inactivity, so it stays out of the way during quiet reading. The app can also launch at login, ready for your first meeting.
What did the latest releases actually change?
Version 2.4 refined how the overlay behaves during screen sharing and added Japanese localization. For everyday use, the most practical change is subtler: the highlight now plays more reliably with apps that use hardware-accelerated overlays, reducing the flicker some users saw when moving the pointer quickly across certain Electron-based apps. The magnifier’s rendering pipeline was also updated to reduce the brief blur that could appear at higher zoom factors on Apple Silicon machines. It is a maintenance release, not a feature drop — but a smoother overlay changes how confident you feel when you flick between a code editor and browser tabs with an audience watching.
What small conveniences are easy to miss?
There are a few behaviors you might never stumble on unless you read the release notes or experiment.
- Global hotkey with no on-screen confirmation. You can bind a key combination to toggle the highlight or magnifier, and there is no distracting popup. Press it mid-sentence; the tool switches state instantly. Presenters who talk while demoing appreciate this more than any UI polish.
- Dock and menu bar coexistence. You can keep the app in the Dock, the menu bar, or both. If you hide the Dock icon but keep the menu bar item, Cursor Pro becomes a tiny faceless utility that you configure with two clicks — perfect for machines used in classroom recordings where visual clutter matters.
- Glow with custom color. The glow option adds a soft halo around the highlight shape. Set a dark highlight color and a lighter glow, and the pointer reads clearly on both light terminal backgrounds and dark-mode IDEs without reconfiguring between windows.
- Auto-hide timing. The auto-hide is not just on/off. You can set a delay so the highlight vanishes after you stop moving the mouse, but reappears the instant you nudge it — useful when you want the pointer visible only during active interaction, not during static explanation.
How does it compare with similar Mac apps?
Cursor Pro vs Mouseposé
Mouseposé takes a different approach: it dims the entire screen except for a spotlight around the pointer. That is ideal for drawing the eye to a small UI region, but it also hides the surrounding context your audience might need. Cursor Pro leaves the screen fully visible and marks only the pointer. For live coding or design walkthroughs where context matters, Cursor Pro’s lighter touch wins. For hiding distractions during a slide deck, Mouseposé’s dimming might serve you better.
Cursor Pro vs Cursorcerer
Cursorcerer is a free utility that hides the pointer entirely after a period of inactivity — the opposite goal. It has no highlight, no magnifier, and no screen-sharing awareness. The two apps solve different problems, but they share a minimalist system-tray philosophy. Some users run both: Cursorcerer hides the pointer during reading, and Cursor Pro makes it impossible to miss during sharing.
Cursor Pro vs Keynote’s built-in pointer
Keynote has a virtual laser pointer for presentations, but it works only inside Keynote. Cursor Pro spans every app: browsers, terminals, IDEs, Figma. If your screen sharing includes more than slides, Keynote’s tool disappears the moment you switch windows.
Which kinds of Mac users get the most out of it?
Teachers recording asynchronous lessons benefit from the magnifier combined with a bright highlight. You can pause on a small UI element, zoom in, and students see exactly which button you are describing — no post-production zoom-and-pan required.
Remote pair programmers and code reviewers get a clear pointer trail during fast switching between files. When you say “look at line 43” and click, a colored circle lands right there, even on a compressed stream. The glow option helps on dark editor themes where a single-color highlight can blend into syntax highlighting.
Designers sharing Figma or Sketch artboards use the diamond shape and a muted color to mark click targets without overpowering the visuals. Because the overlay renders on the framebuffer, it appears in the shared stream even when you are zoomed into a canvas, something window-level annotations cannot do.
Anyone working on a large high-resolution display — a 5K or 6K monitor — finds the default macOS pointer truly hard to track. Enlarging the system cursor helps, but Cursor Pro’s highlight draws a persistent landmark that does not change size when you adjust system preferences. It is a small set of features applied to a specific pain point, and that is why it sticks.
- macOS 11 or later
- Apple Silicon or Intel 64‑bit
$ man cursor-pro | grep -A2 "?"
Does the highlight show up when I share only a single window?
No, the overlay is pixel-based and only appears when you share your entire screen, not an individual application window.
Can I use this instead of the built-in macOS cursor enlargement?
Yes, and it is more targeted. The system setting enlarges the pointer everywhere; Cursor Pro adds a colored shape and magnifier you toggle from the menu bar for presentations and demos.
What shapes can the highlight take?
You can choose between a circle and a diamond, and customize the color to suit your background.
Comments 0
Sign in or create an account to leave a comment.
No comments yet. A codec, a slice, a machine — they appear after moderation.