Deep Glow for macOS
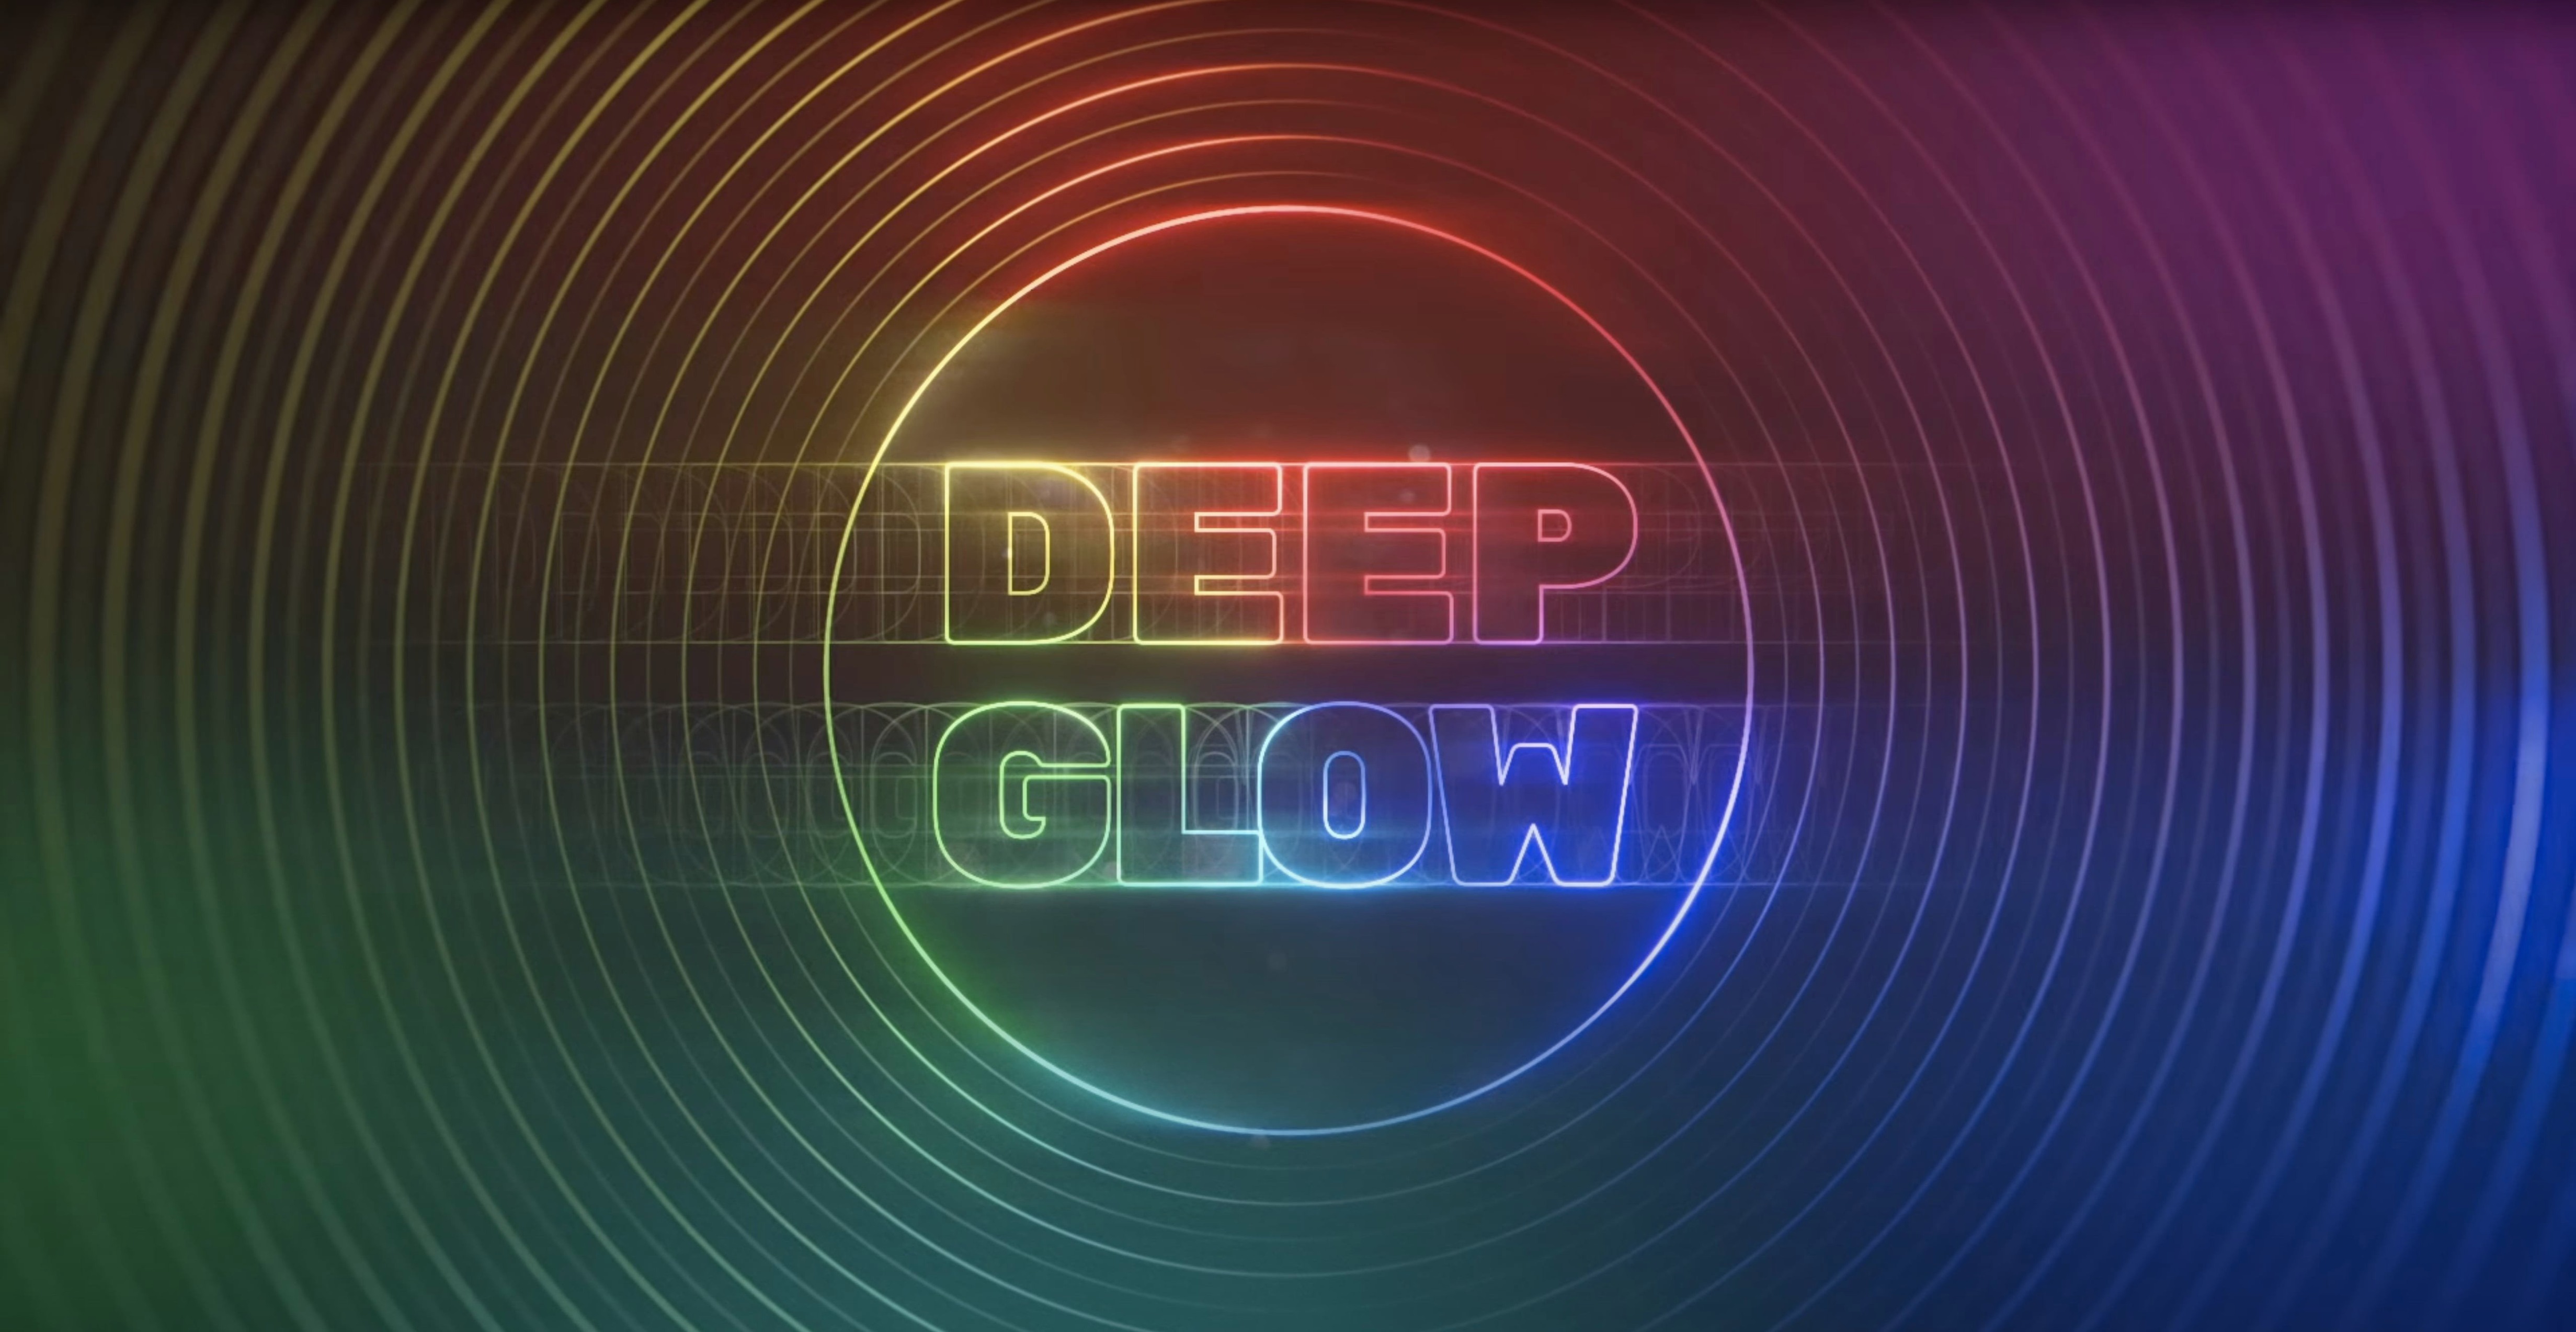
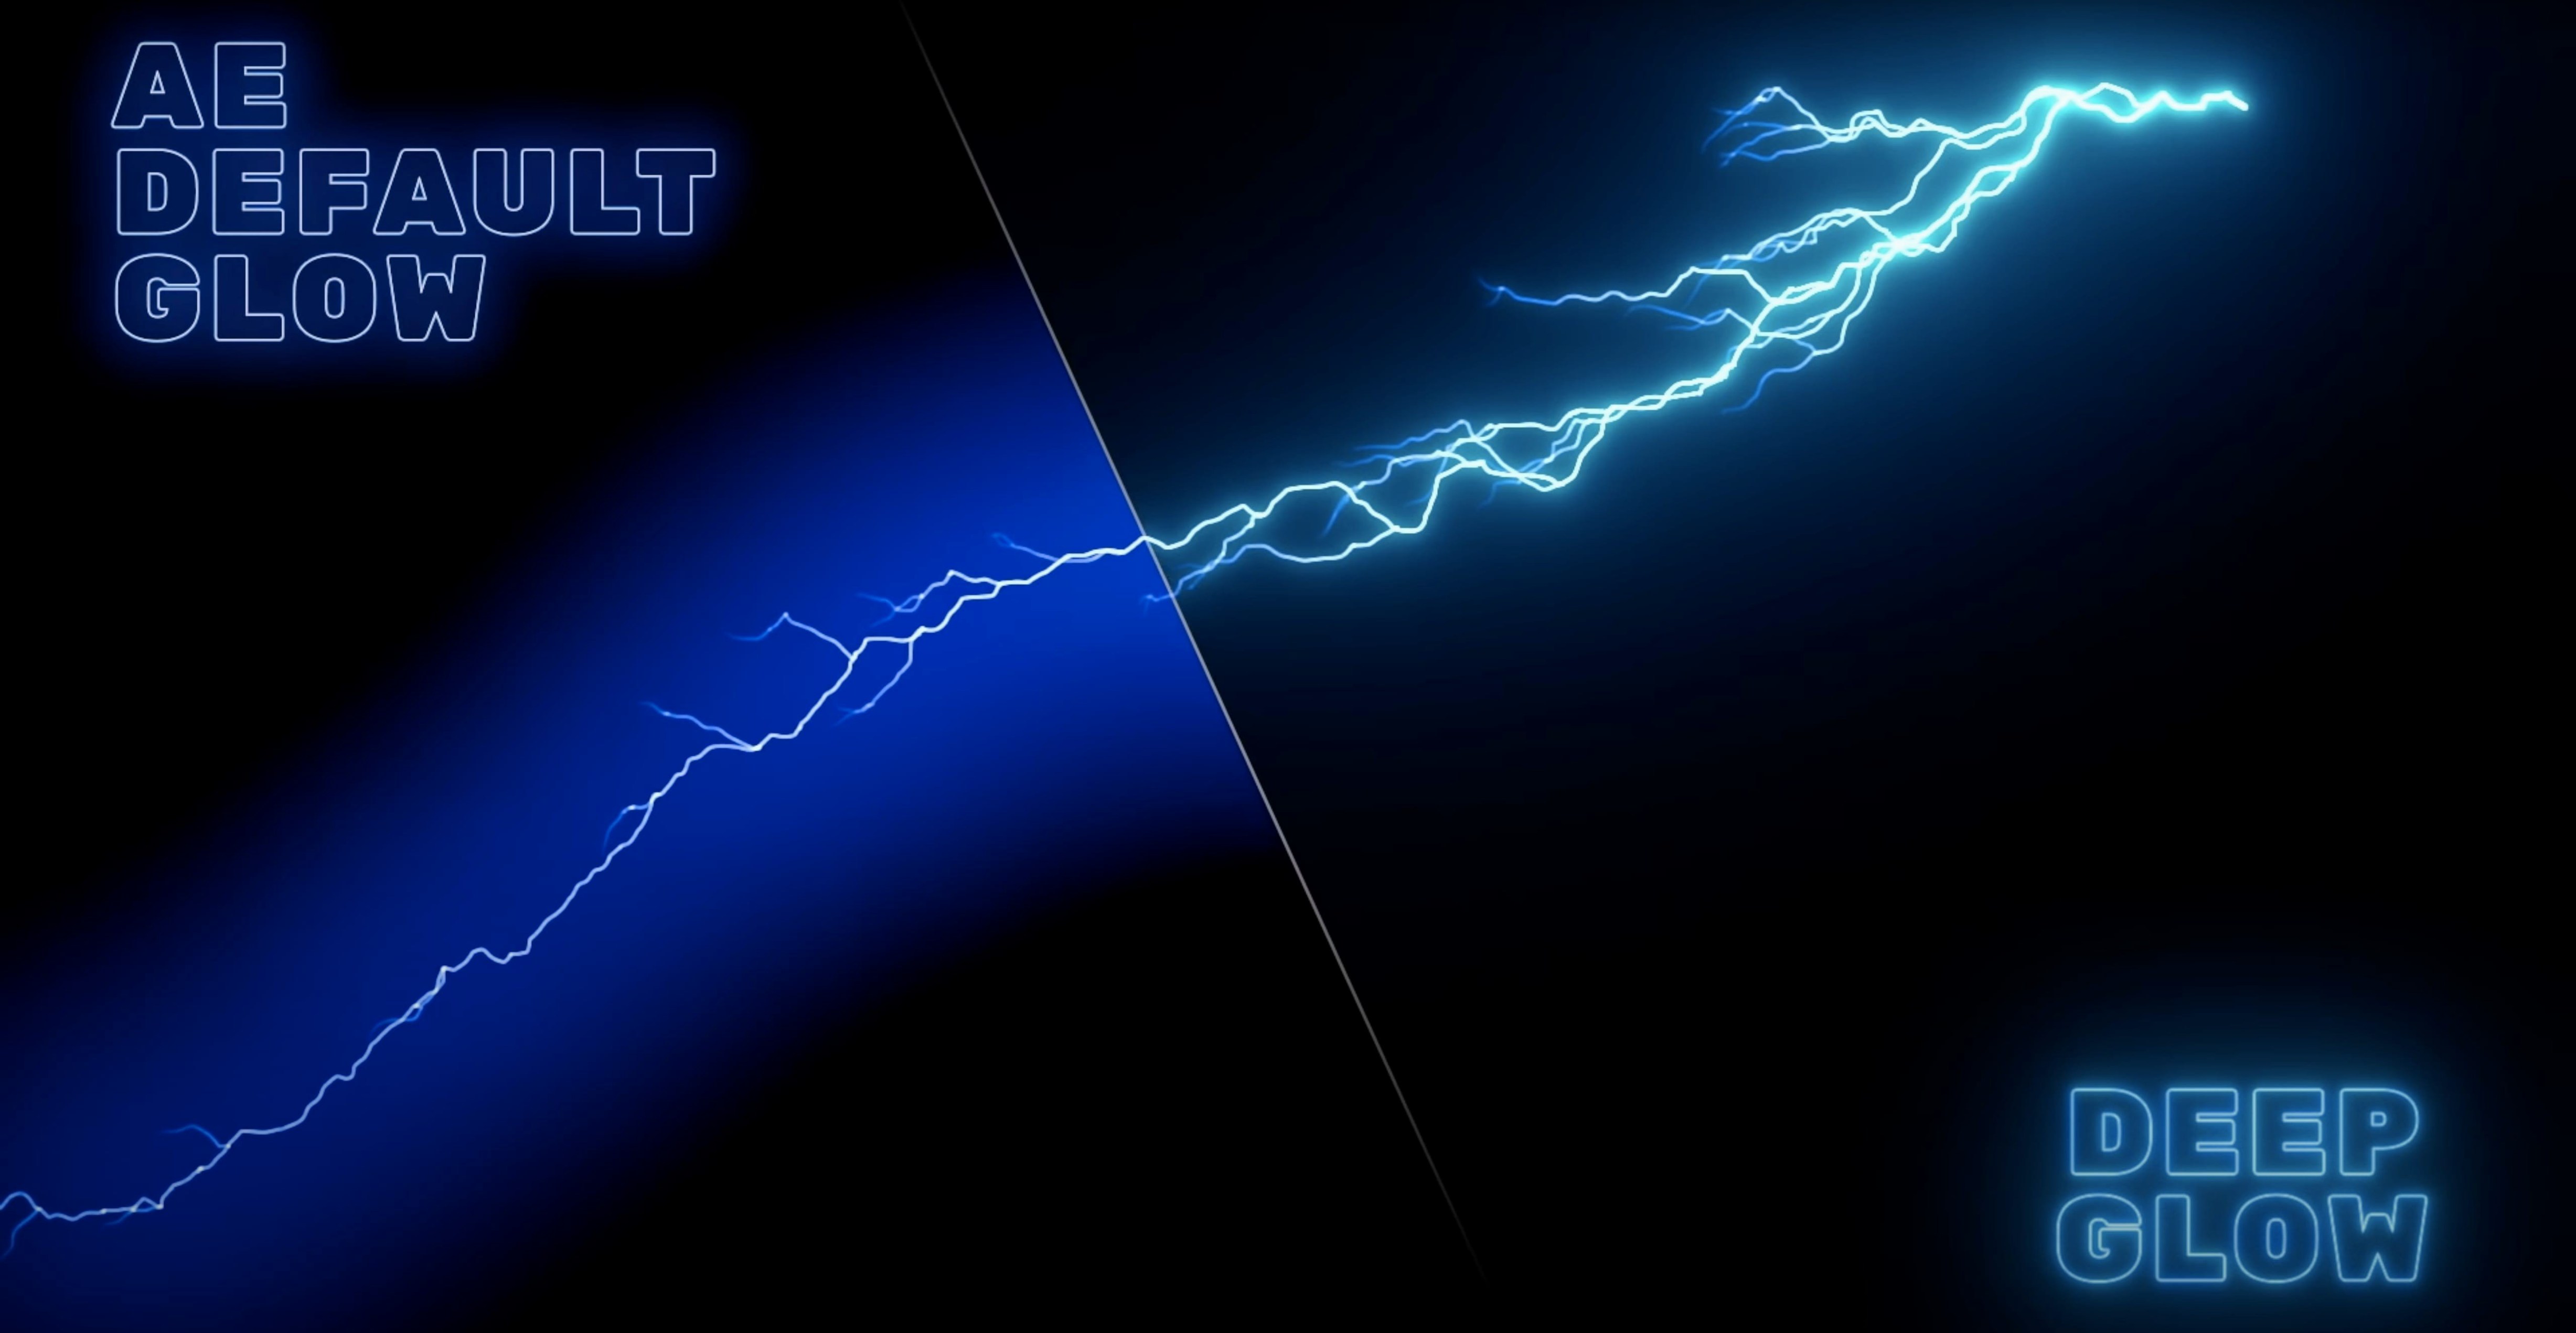
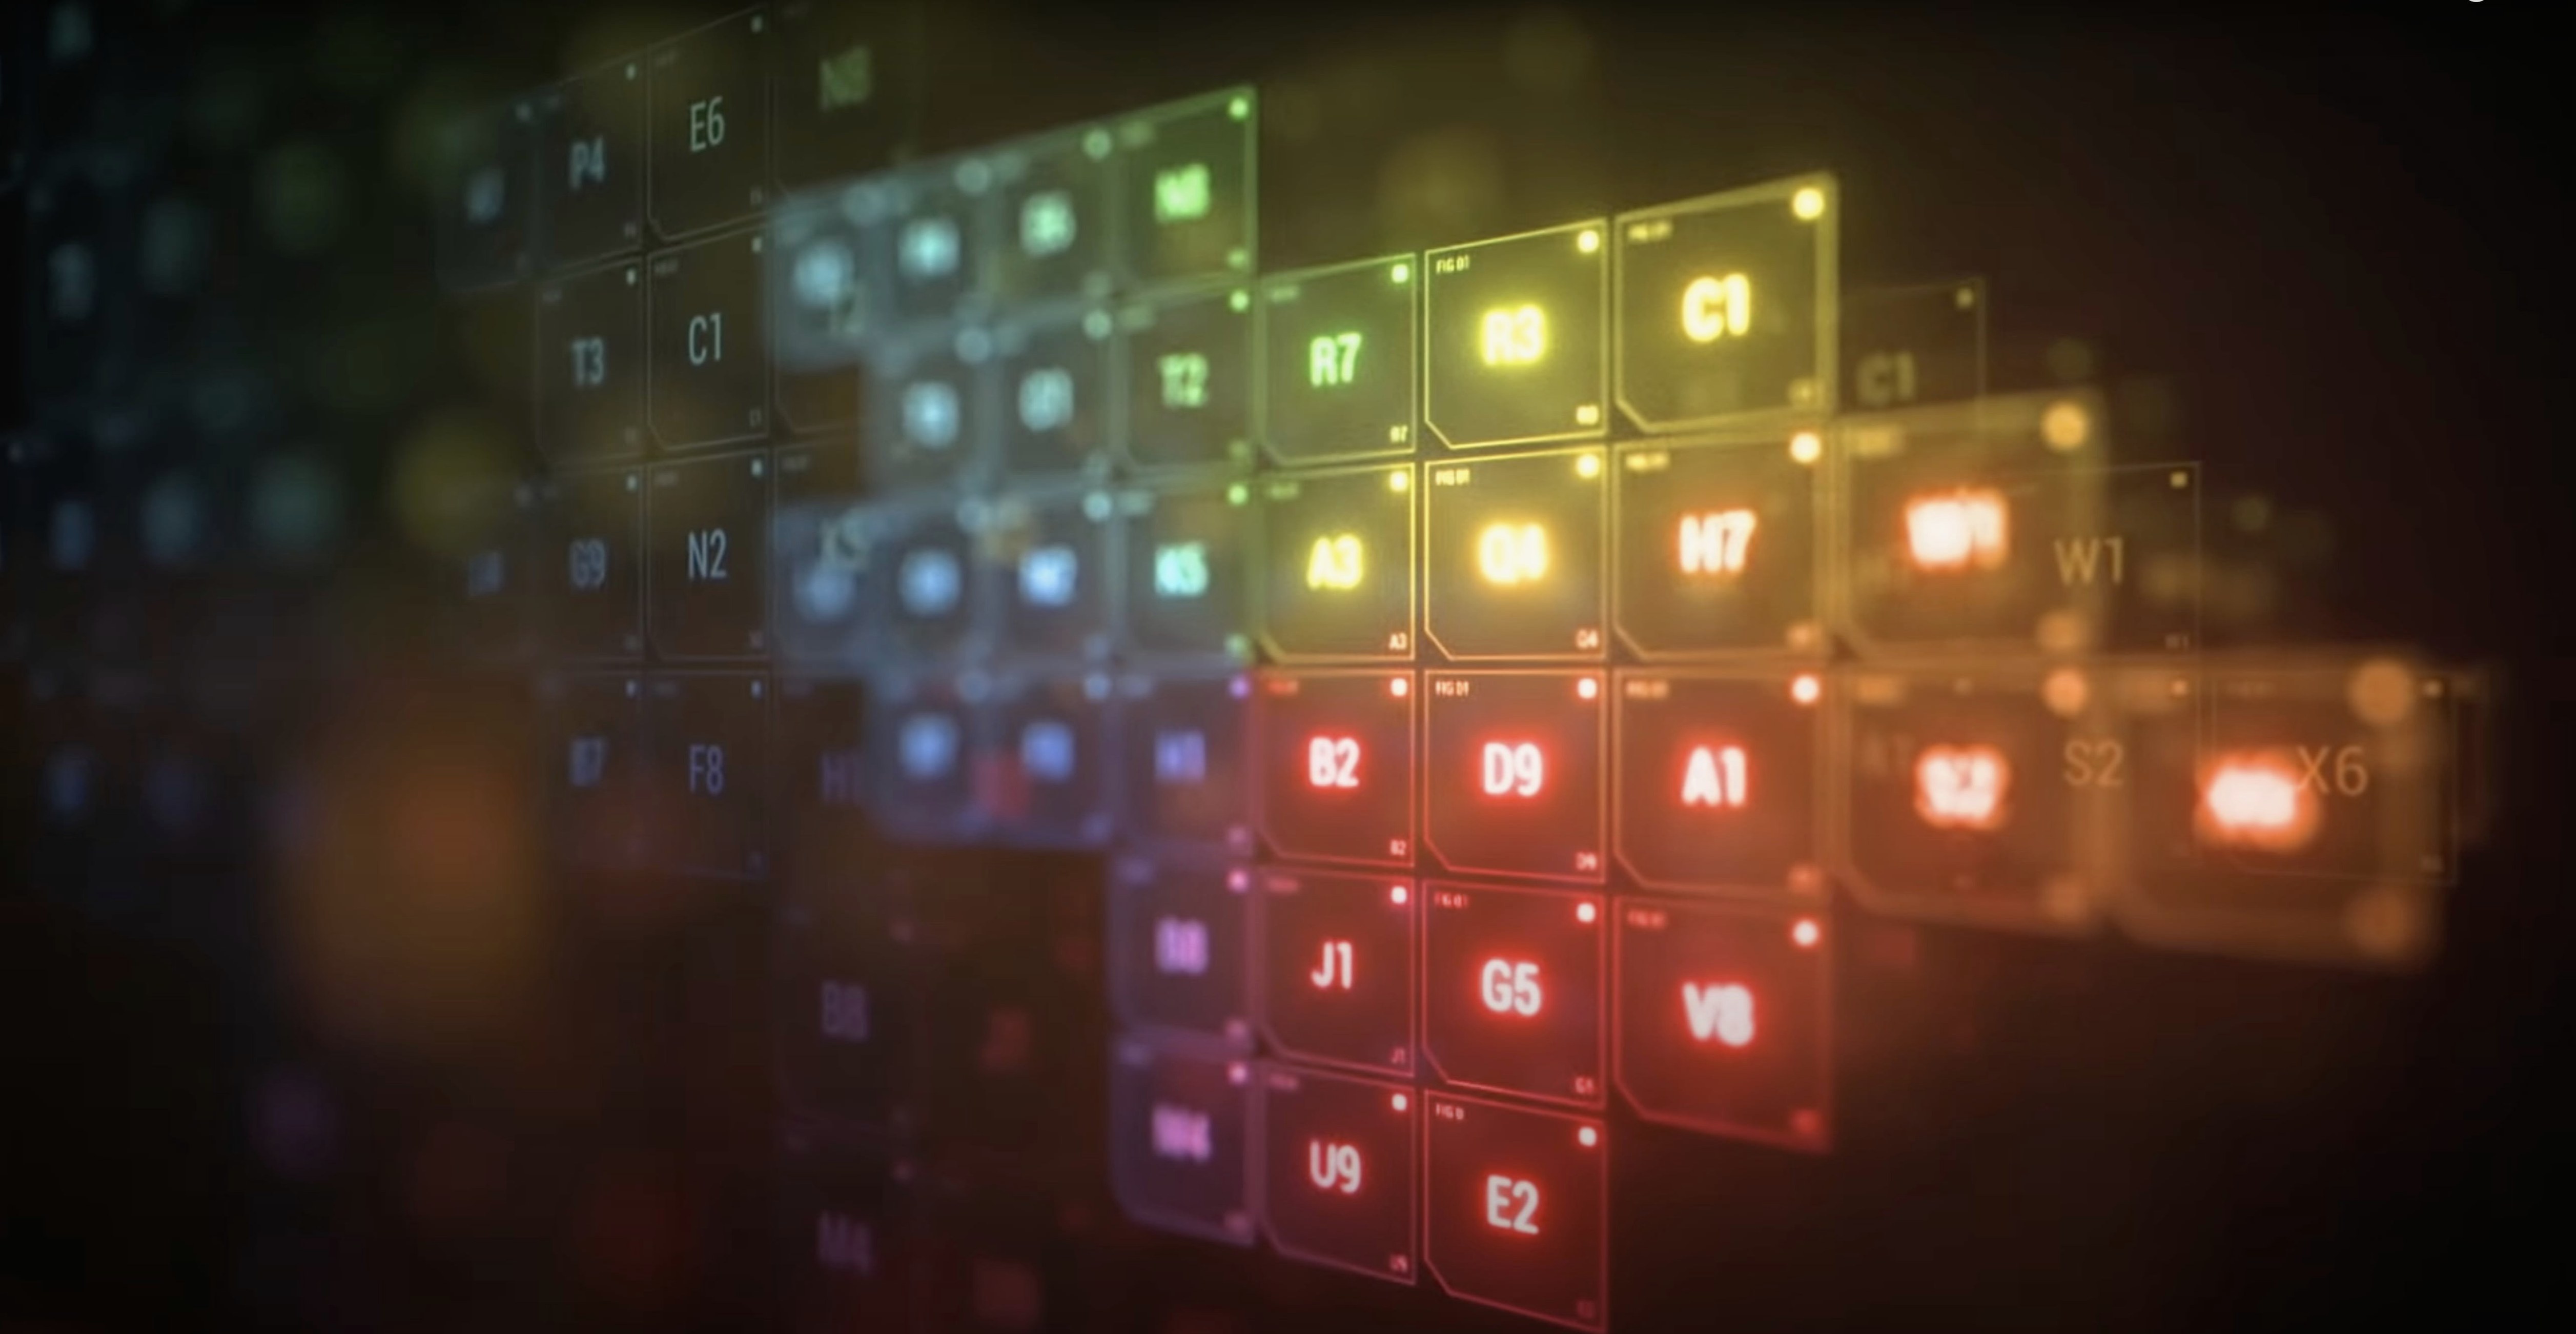
Deep Glow is a video effects plugin that generates physically plausible glow directly inside Adobe After Effects, using an inverse-square falloff model instead of simple blurred masks.
Add grain and stylized glow
The plugin gives you downsampling and quality controls that let you push results from clean, subtle blooms into noisy, grainy territory without leaving the host app.
Work in a real color pipeline
Deep Glow is designed to operate correctly in non-linear color spaces, so your glows behave as expected even when your project uses a scene-referred or log working space.
Control falloff like a light source
What the performance actually feels like day to day
On a modern Apple Silicon Mac, Deep Glow is genuinely fast in a way that changes how often you reach for it. The GPU acceleration isn't marketing fluff — it means you can stack multiple instances on adjustment layers, tweak the radius while RAM previewing, and still scrub through a comp at half or quarter resolution without After Effects grinding to a halt. The plugin leans on the GPU for the heavy lifting, so what would traditionally be a "render and go make coffee" operation becomes something you iterate on interactively.
There's a deliberate trade-off built into the quality controls that's worth understanding. The downsampling setting — controlled by the Quality slider or the discrete Low/Medium/High options — directly governs the internal resolution the glow calculations run at. At Low quality, the plugin renders the glow at a reduced resolution and then scales it back up. This is fast and often completely invisible when you're adding a broad, soft bloom behind text. The moment you push glow size down into tight, bright sources with small radii, the difference between Low and High becomes obvious: High keeps the edges tight and prevents that muddy upscale blur.
Memory usage is modest by motion-design-plugin standards. A single instance rarely pushes the needle on unified memory in a meaningful way on systems with 16 GB or more. Where you'll notice resource pressure is when Deep Glow sits on multiple layers with large radius values and High quality simultaneously — the GPU has to hold several full-resolution internal buffers. On a Mac Studio or a MacBook Pro with a Max chip, this is fine. On a base M1 or M2 MacBook Air, it's fine for one or two instances but you'll want to keep the Quality at Medium while designing and only switch to High before final render. The plugin doesn't crash under that pressure — it just gets slower and the After Effects UI might hitch.
Stability has been one of the quiet strengths of this plugin through the 1.6 cycle. It's rare to see a render failure attributed to Deep Glow, and the plugin plays nicely with other GPU-accelerated effects in the stack — something that couldn't always be said for older glow solutions that fought over the same resources. The installer places the plugin as a standard .plugin bundle in the After Effects plug-ins directory, and it shows up reliably in the Effects menu under Plugin Everything. No license manager daemon, no background processes, no phone-home behavior that could trip up offline render nodes.
When your vector blooms need to feel part of the scene
The obvious audience is motion designers who build title sequences, logo reveals, and broadcast graphics. If you regularly animate text or vector layers and need luminous blooms that feel part of the scene rather than slapped on top, Deep Glow clicks immediately. The inverse-square falloff means a neon sign looks like a neon sign, not like someone duplicated the layer and applied a blur.
Compositors working on live-action plates get a different set of advantages. The non-linear color space support means you can apply Deep Glow to a log-encoded EXR, work in a linearized comp, and the glow doesn't break or clip in weird ways. The compositing controls — blend mode, source opacity, glow opacity — let you dial the effect into the plate without pre-composing or building elaborate matte workflows. You can set the glow to Screen, Add, or Normal blending right inside the effect, and the Render Mode dropdown lets you isolate just the glow pass or composite it over the source.
Users who push into stylized, lo-fi territory — music video editors, glitch-art experimenters, title designers going for a Super 16 film-print look — will get mileage out of the grain and chromatic aberration controls. Deep Glow's grain isn't just a uniform noise overlay; it's tied to the glow intensity, so brighter areas pick up more grain and darker areas stay clean. This sounds like a small detail, but it makes the effect feel integrated with the image rather than processed on top.
If you're still stacking multiple instances of CC Radial Blur and Glow with layer styles and pre-comps to fake a decent bloom, Deep Glow replaces that entire setup with one effect and better results. The time savings alone justifies the switch.
Switch to Glow Only while you dial in the radius
The defaults are reasonable, but there are three controls I'd recommend adjusting immediately after applying the effect for the first time on a project.
1. Switch View to "Glow Only" while dialing in the radius. The default composite view shows the source plus the glow, which makes it hard to see what the glow itself is doing, especially on bright footage. The View dropdown — set to Composite by default — has a Glow Only mode that shows the isolated glow pass. Use it. You'll see the true falloff shape, any banding, and exactly where the glow terminates. Switch back to Composite once the radius and threshold feel right.
2. Lower the Quality during layout and animation work. This is the single biggest time-saver that new users miss. There's no reason to run at High quality while you're blocking out timing and position. Set it to Low or Medium, get your animation locked, then flip to High before final render. The glow shape remains directionally correct at lower quality settings; you're just trading some edge precision for interactivity.
3. Adjust the Threshold with the exposure of your source in mind. Deep Glow's Threshold slider determines which luminance values trigger the glow. On a dark scene with a single bright element, a low threshold works fine. On a scene with lots of midtones — say, a daylight exterior with specular highlights — a higher threshold prevents the entire frame from blooming uncontrollably. The trick is to set it just above the brightest non-source areas. Holding Option while scrubbing the Threshold doesn't show a matte view (this isn't built into the plugin), so I keep a Levels effect temporarily above Deep Glow to check exactly where my clipping point sits, then remove it.
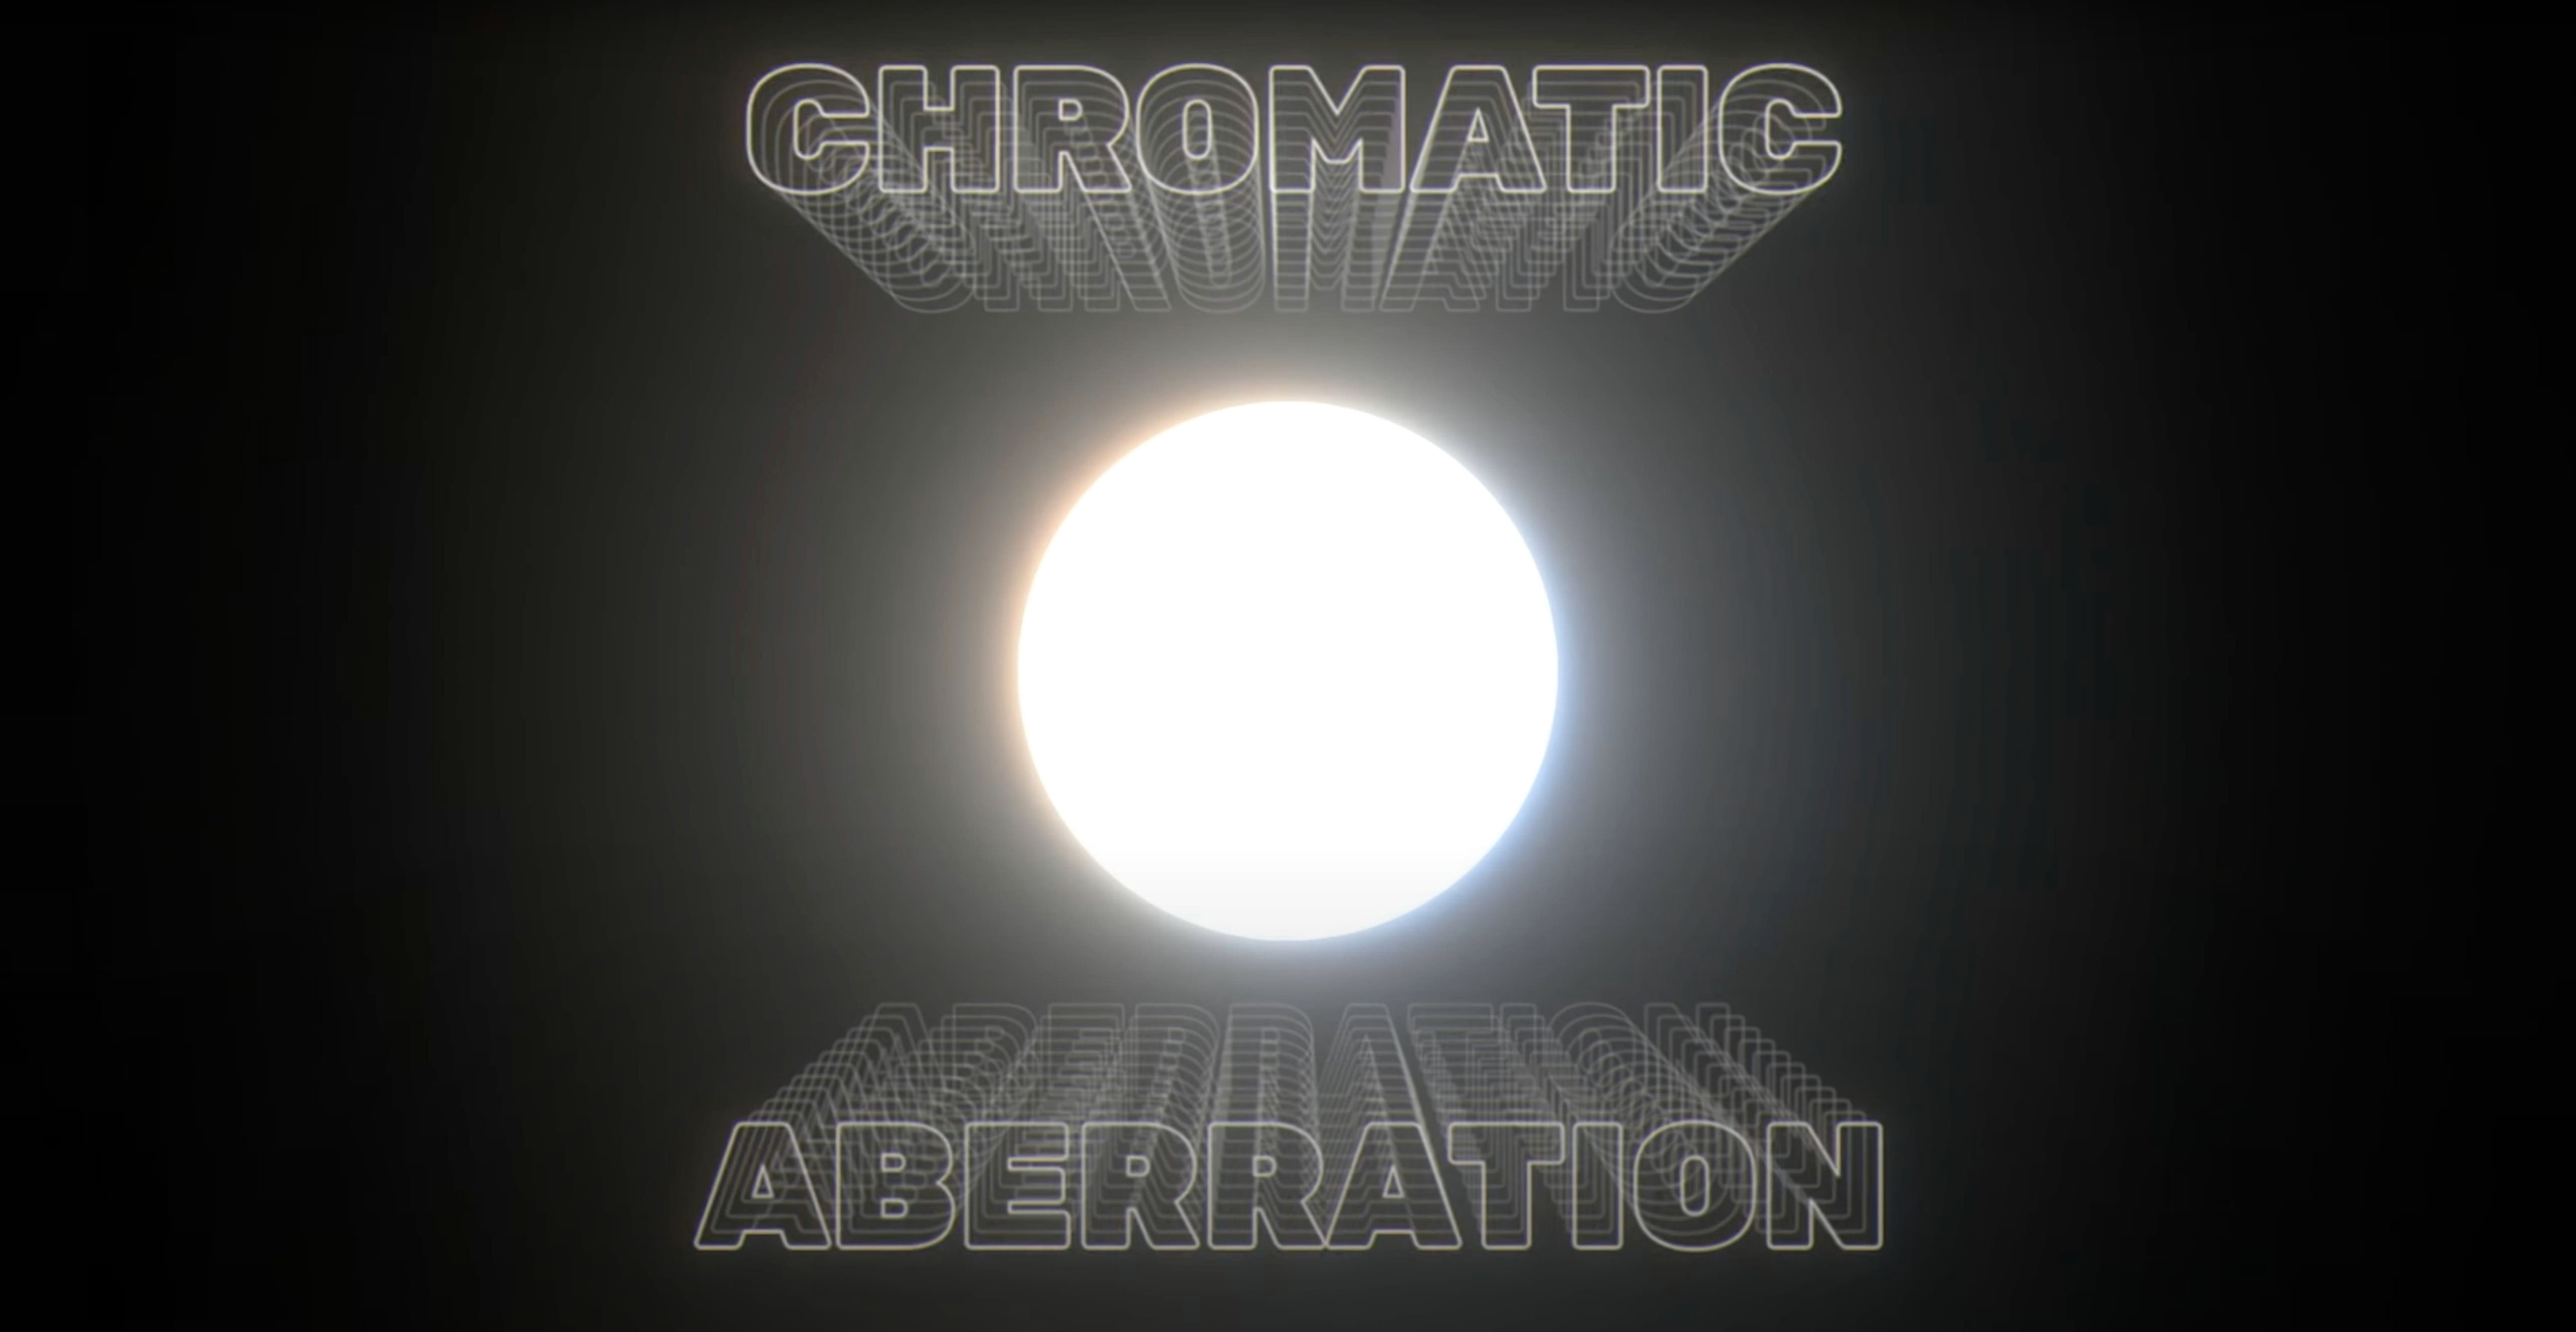
Beyond those three, the Chromatic Aberration section is worth exploring for subtle realism. A tiny amount of red/blue separation — keeping the offset under 2 or 3 pixels — mimics the way actual lenses bloom highlights with slight color fringing. Too much looks like a happy accident from a 90s camcorder; just a hint sells the shot.
Fitting into a real workflow
Deep Glow sits comfortably alongside the standard motion-design toolchain. It respects After Effects adjustment layers, so you can apply it globally to a comp and use masks or track mattes to limit where the glow appears. The effect reads layer opacity and blending modes correctly from upstream layers, which means a text layer set to Screen at 70% opacity feeds into Deep Glow with that attenuated brightness — the glow responds to what the layer actually outputs, not what it would output at full opacity.
With other plugins, especially color correction tools, the order of operations matters. Deep Glow is designed to work after color correction — you want the glow to bloom from the final graded image. Placing it before a Curves or Lumetri Color adjustment will cause the glow to be affected by the grade, which is usually not what you intend. Put Deep Glow at the end of the effect stack, or on a separate adjustment layer above everything else.
For render-farm and network-render setups, the plugin is straightforward. Because there's no license manager phoning home, a studio can install the same .plugin file across multiple machines and After Effects will load it without complaint. The GPU dependency means you'll want consistent hardware across render nodes if you're targeting frame-identical output — different GPU architectures can produce imperceptibly different downsampled results at Low and Medium quality, though at High quality the output is deterministic.
Integration with macOS features is uneventful in the best way. The plugin respects macOS display color profiles, doesn't override system-level GPU scheduling, and works correctly when After Effects is assigned to the high-performance GPU on dual-GPU MacBook Pro models. If you use Spaces to separate your After Effects workspace, the effect controls panel behaves normally when dragged between displays — no redraw glitches or parameter-reset bugs.
Double-click any slider label to reset to a sensible default
A few behaviors aren't obvious from the UI but make daily use smoother once you know them.
- Double-click a slider label to reset it to default. This is standard After Effects convention, but Deep Glow's defaults are sensible enough that resetting individual parameters is genuinely useful while experimenting. Double-click "Radius" to snap back to the starting value without touching anything else.
- The Glow Intensity slider goes above 100. There's no hard cap at 100 — you can push it to 200 or beyond for stylized, overdriven blooms. Combined with the Screen blend mode, this lets you push glow into near-white saturation without clipping the source layer.
- Downsampling at 0.5× with a large Radius creates a free softness. If you want a hazy, dreamlike bloom that spreads far from the source, try setting Quality to Low (which internally downsamples more aggressively) and increasing Radius beyond what looks correct at High quality. The lower internal resolution naturally softens the falloff edge in a way that's hard to replicate cleanly at full resolution.
- The Reveal Matte option in the Compositing section. This small checkbox — hidden in plain sight — limits the glow to the alpha channel of the source layer. For text layers, this means the glow blooms only within the text boundaries, not spilling onto the background. It's a one-click way to get an inner-glow look that still follows inverse-square falloff.
- Copying the effect between layers preserves custom quality settings. If you've fine-tuned a glow on one text layer and want the exact same behavior on another, copy the effect instance rather than applying it fresh from the Effects menu. The Quality setting, grain parameters, and chromatic aberration offsets all carry over intact.
If you've been searching for a deep glow download or a deep glow plugin after effects download to replace a stack of blur-and-blend workarounds, the 1.6 release delivers a stable, GPU-friendly option that slots into an existing After Effects workflow without friction. The plugin doesn't try to be a full compositing suite — it does one thing, the glow, and does it with physical accuracy that holds up across color spaces and resolutions.
Because the engine simulates real inverse-square light falloff, the brightness decays naturally from the source edge—far more convincing than a default Gaussian blur stack.
Version 1.6 is listed in the previous-versions archive on the developer's releases page; the current download offered by Plugin Everything remains Deep Glow 1.4.
- macOS (exact version not specified)
- Apple silicon and Intel native
- Adobe After Effects
$ man deep-glow | grep -A2 "?"
What host application does Deep Glow need?
Deep Glow runs inside Adobe After Effects as a native effect plugin.
Does Deep Glow work in linear or log color spaces?
Yes, it is designed for non-linear color spaces and handles scene-referred or log working spaces predictably.
Can I make the glow look grainy or rough?
Absolutely. The downsampling and quality controls let you push the output into grainy, stylized looks when you want texture instead of smooth bloom.
Comments 0
Sign in or create an account to leave a comment.
No comments yet. A codec, a slice, a machine — they appear after moderation.