Element 3D for macOS
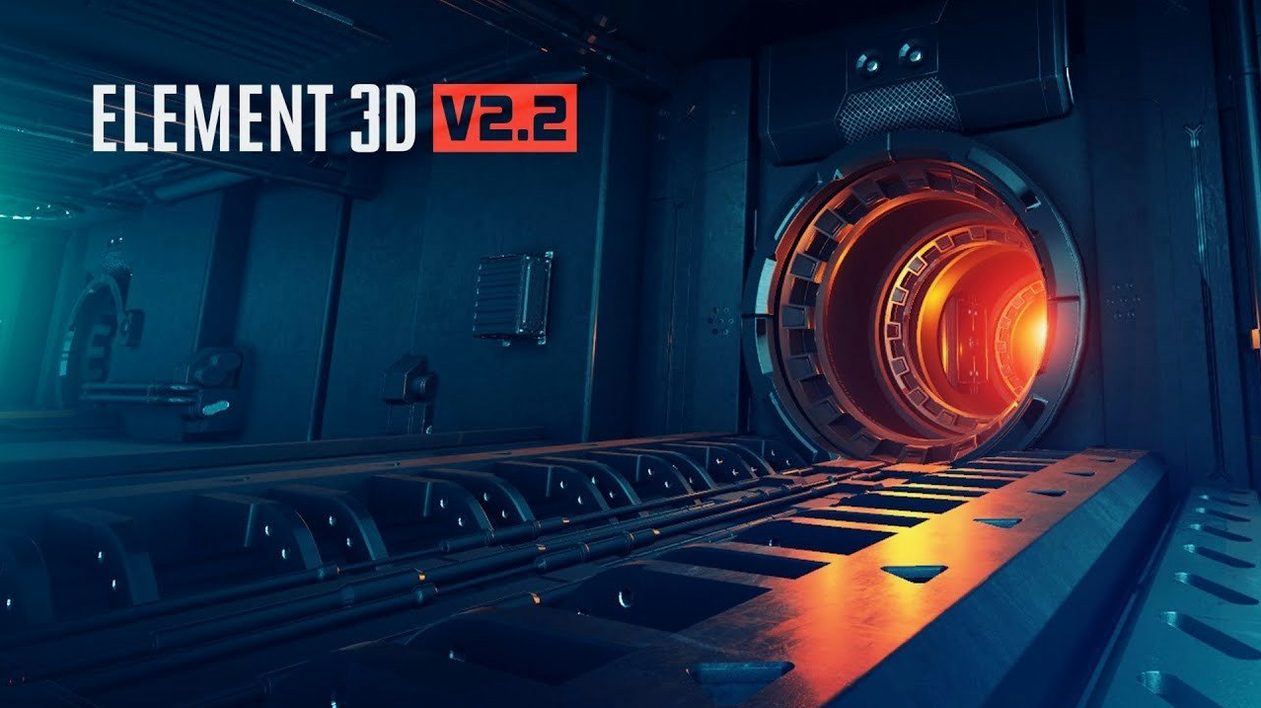
Building a complex 3D scene traditionally means hopping between a full 3D application and After Effects, waiting for CPU-based ray-traced frames that kill your iteration speed. Element 3D sidesteps that by placing a real-time OpenGL renderer right on your timeline. You work with 3D objects, materials, and particle replicators inside AE's comp viewer, seeing displacement, reflections, and ambient occlusion update as you tweak.
What it does well
- Imports 3D objects directly from Cinema 4D, so existing model libraries come across cleanly.
- The
3D Object Groupscontrol lets you drive replicator settings—think scattering debris, populating cities, or building motion graphics arrays from specified 3D models. - Hardware-accelerated engine keeps the viewport responsive even with thousands of instances.
It only runs inside After Effects on Intel Macs with English menus
- It lives exclusively inside Adobe After Effects—you'll need a separate host license.
- The current build targets Intel Macs; performance on Apple Silicon relies on Rosetta 2.
- All interface labels and documentation are English-only.
Dropping footage, creating a solid, and launching the renderer inside AE
You launch After Effects, drop in a piece of footage that deserves some destruction, and create a new solid. Apply Element 3D from the Effect menu and the plug-in loads its renderer immediately—there's no separate application window to switch to. The scene view sits right inside your comp, and a single button click opens the full interface where the real work happens.
First move: hit the Scene Setup button. The window that opens is part material editor, part particle array controller. You drag an OBJ model into the Objects panel—say a concrete slab from your C4D library, exported as .obj with its MTL references intact. The model appears in the preview, flat-lit and untextured. You assign a concrete material from the built-in Pro Shaders pack, tweak the bump depth to 0.8, and tick the Ambient Occlusion checkbox. Instantly the cracks catch shadow.
Now the replicator. A 3D Object Group already holds your slab, so you switch to the Particle Replicator tab and set the type to Layer Grid. The preview fills with a wall of slabs—too orderly. You increase scatter on the Y axis, rotate a few instances by 15 degrees, and add a Random transform that breaks the grid apart just enough. The viewport stays fluid the whole time. You scrub the timeline, and the array responds in real time, no caching needed.
Back in the After Effects comp, you map the camera to a null, push in slowly, and add an invisible point light that rakes across the surface relief. Element 3D's renderer picks up the AE lights natively—no expression linking, no duplicated keyframes. You render a quick RAM preview; a wall of fractured concrete rolls past in three seconds instead of thirty minutes. That speed defines the plug-in's value: you try things you'd otherwise skip.
How a broadcast designer builds a show open
A motion designer tasked with a sports broadcast open needs a stadium floor that forms from hundreds of metallic shards. She starts with a single hexagon OBJ she modeled in Cinema 4D and brings it into Element 3D via the Import 3D Object dialog. The plug-in respects the object's UVs and pivot point, so alignment is predictable from the first frame.
She creates three Object Groups: one for large shards, one for small debris, and one for a central logo plate. Each group gets its own replicator settings—the large shards spawn in a tight radial burst, the debris fills a wider sphere, and the logo sits centered with zero scatter. She assigns a reflective chrome material to everything, tweaks the environment map to pick up the studio's virtual lighting rig, and dials the reflection blur down to 0.3 for a polished but grounded look.
The animation comes from AE's native particle controls mapped to the Object Groups. She keys the Particle Size from zero to one over eight frames, and the shards assemble from nothing into a gleaming arena floor. A secondary comp adds volumetric lights behind the shards for god rays. The whole sequence—3D objects, materials, animation—never leaves After Effects, which means she can hand off project files without a C4D dependency.
Checking your GPU appears in the Scene Setup Renderer dropdown
Element 3D rewards a little housekeeping before you start a real project. The first thing to confirm is that the plug-in sees your GPU: open the Options panel inside Scene Setup and check that the Renderer dropdown shows your dedicated card, not a software fallback. On Intel Macs with discrete graphics, the engine leans on the GPU hard for displacement and shadow maps, so a missing driver or wrong selection tanks performance.
Next, build a model folder you can reference fast. The plug-in's import dialog remembers the last directory but doesn't maintain a library browser, so collecting your OBJ and C4D files under Documents/Element3D_Models saves hunting. The bundled Pro Shaders pack is solid for most looks, but if you have custom textures, drop them in the same folder tree so relative paths stay intact when you move projects between machines.
Finally, assign a keyboard shortcut to Scene Setup. You will open that panel dozens of times per hour, and the default access through the Effect Controls tab costs momentum. Set it to something you can hit blind—Shift+F3 or similar—and the loop between tweak, preview, tweak tightens noticeably.
Building a product reveal loop, step by step
A product close-up that rotates 360 degrees while particles trail off its edges is a staple of tech promos. Here is the workflow from an empty comp to a render-ready shot.
- Import the product model as an OBJ. Place it in Object Group 1 with scattering turned off and scale matched to comp size using the
Transform Scaleslider in Scene Setup. - Assign a two-layer material: a brushed metal base with a soft specular map, and a second material channel set to Matte Shadow that catches the ground plane occlusion.
- Create Object Group 2 and load a small glowing sphere model. Set the replicator shape to Sphere, distribution to Surface, and spawn count to 200. Reduce particle size to 4% and enable random rotation along all three axes.
- Animate the product group's Y rotation with two keyframes: 0° at frame 0, 360° at frame 120. Add a subtle overshoot expression that bounces the rotation before settling.
- Parent the particle group to the product group's Y rotation, then offset the particle birth rate so new particles stream out as the surface catches light—keyframe
Particles/secfrom 50 to 300 between frames 10 and 30. - Add an AE camera with a slight orbit. Since Element 3D renders through AE's 3D space, the camera move affects both the product and its trailing particles as a single coherent shot.
- Enable 16-bit color in the After Effects project and switch Element 3D's output to 16-bit in the Options panel. The glow particles benefit noticeably from the extra headroom during color grading.
The entire setup—model import, material assignment, two replicator groups, camera integration—stays inside one plug-in instance. When the client asks for a different rotation speed, you adjust two keyframes and RAM preview. No re-exporting from a 3D package, no re-linking file sequences, no waiting.
- Version 2.2.3 ships as an update to the V2.2 line, maintaining the fast OpenGL 3D rendering pipeline and 3D object-based particle system.
- macOS (version details not specified; Intel architecture)
- Adobe After Effects
- Interface language: English
$ man element-3d | grep -A2 "?"
Can I bring my Cinema 4D models into Element 3D?
Yes, the plug-in can import 3D objects created in Cinema 4D and use them within its high-performance OpenGL rendering engine in After Effects.
Comments 0
Sign in or create an account to leave a comment.
No comments yet. A codec, a slice, a machine — they appear after moderation.