
Final Draft for macOS
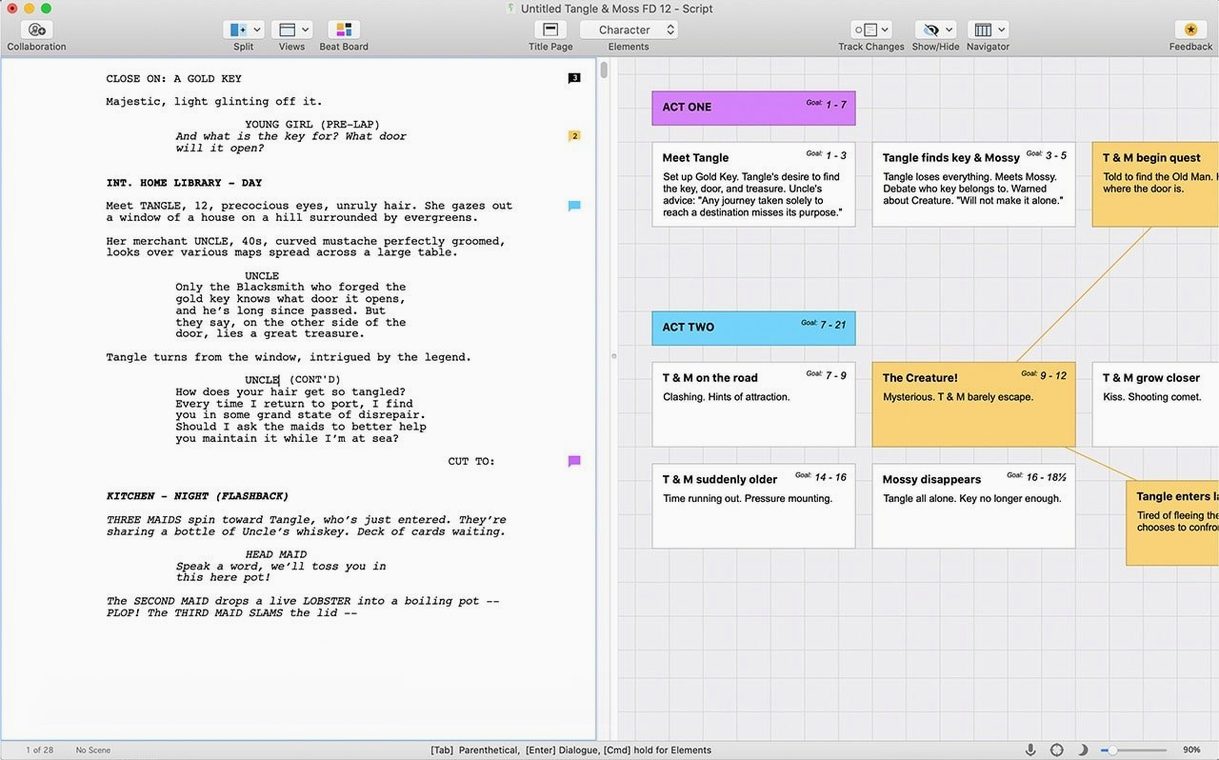
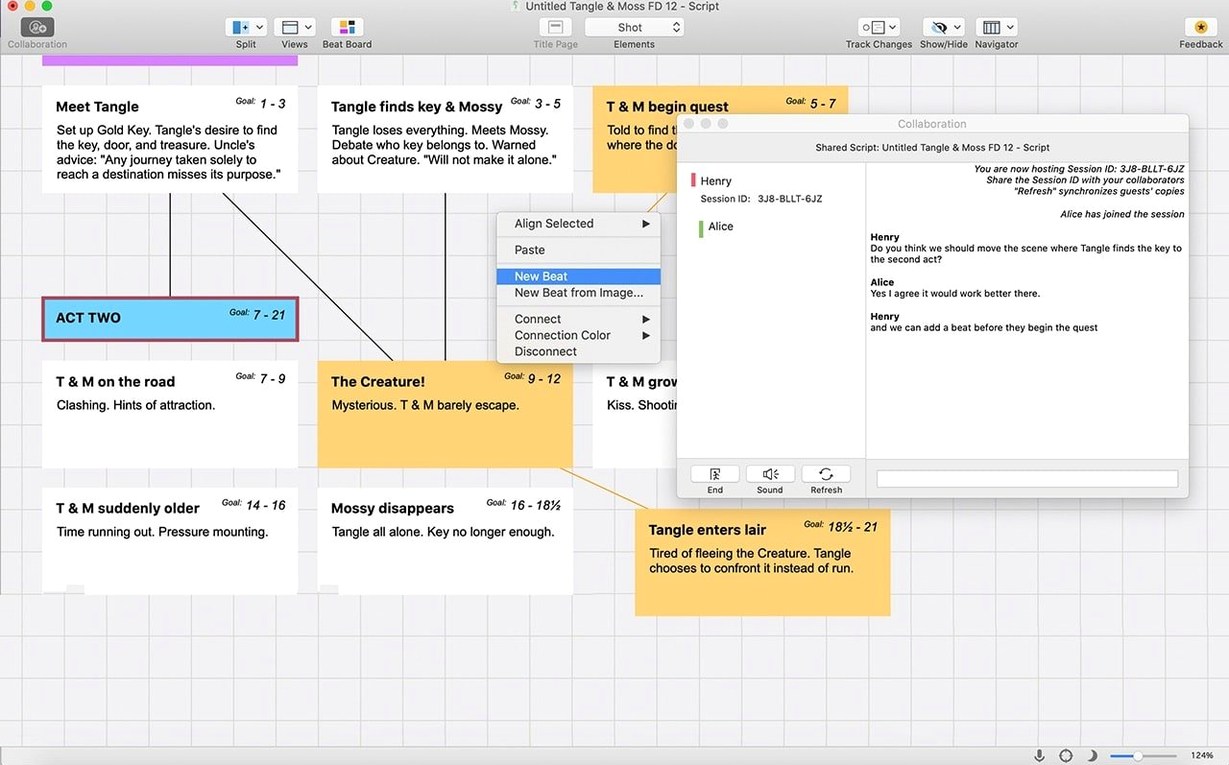
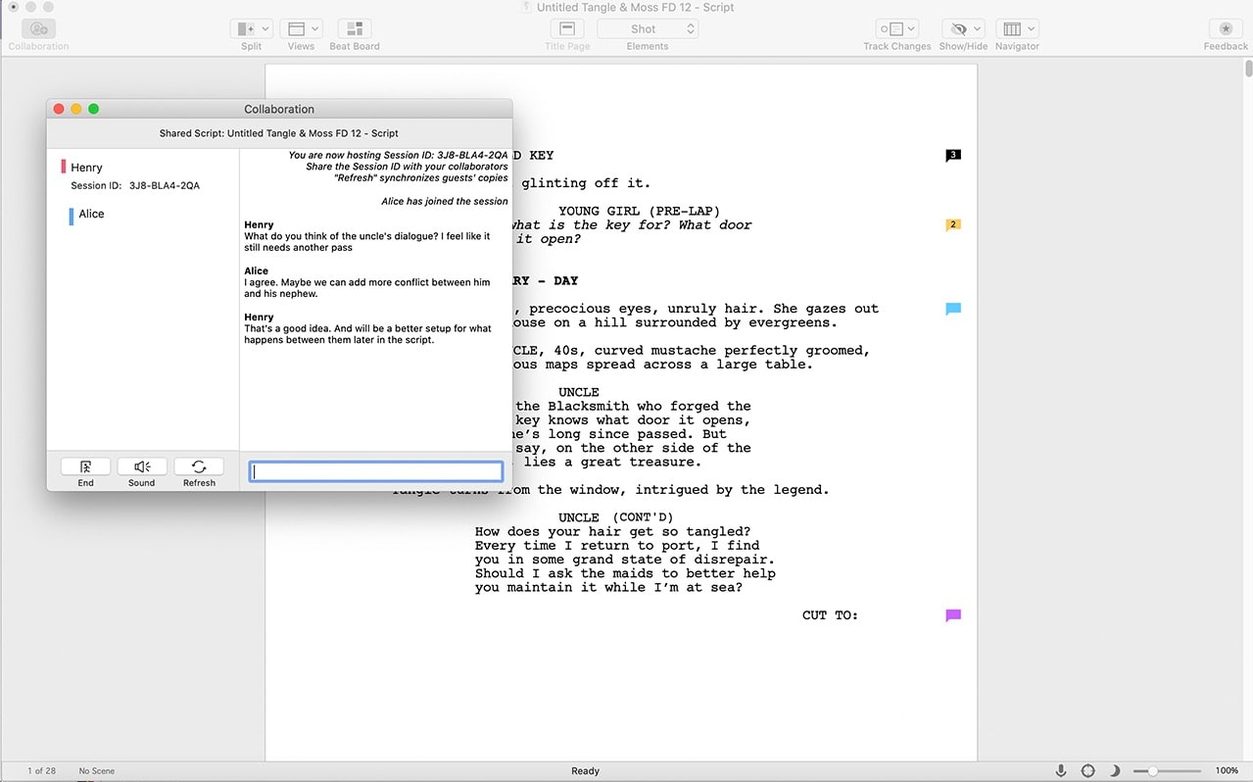
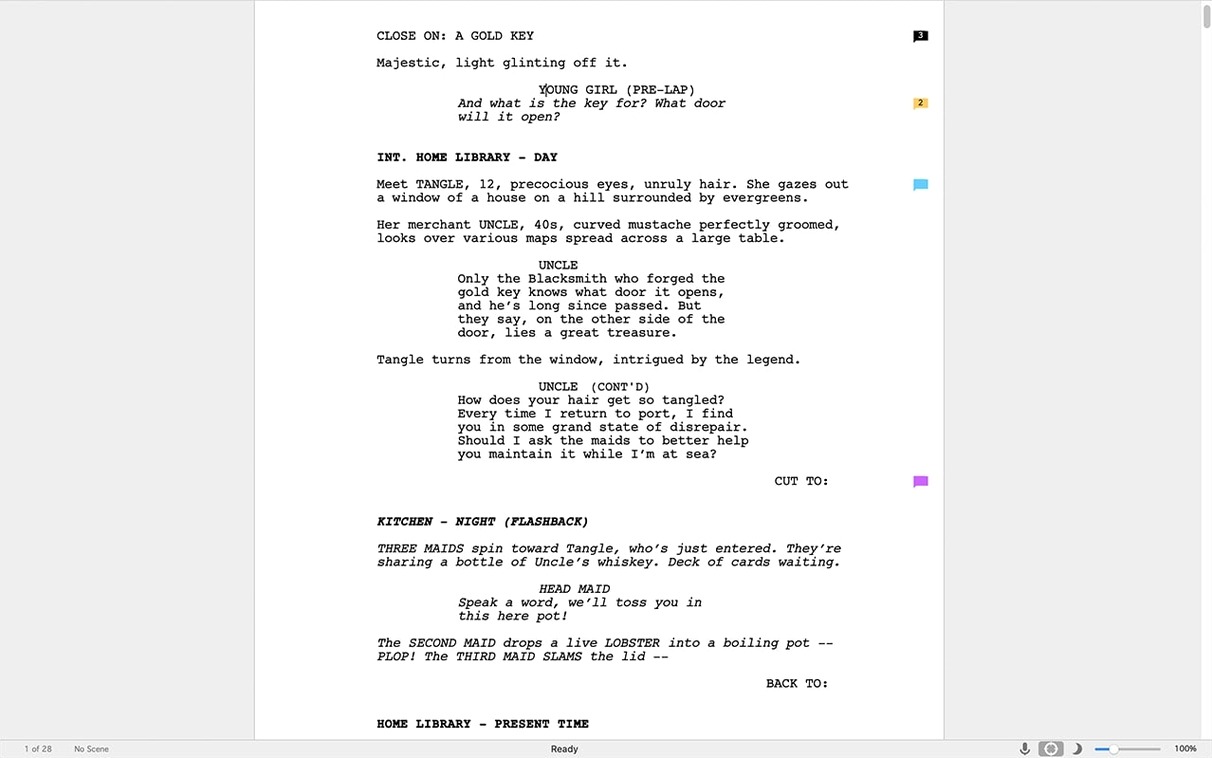
The current .fdx file format has been the native project container since version 8, replacing the older .fdr format back in 2009. I put together a short walkthrough of what a first script setup looks like with this tool.
- Pick a template. The new script dialog offers pre-formatted templates for film, TV, and stage plays. Each one sets up the correct margins, element styles, and page numbering without manual tweaking.
- Navigate with Tab and Enter. The script editor switches between scene headings, action, and character elements predictably. Press Enter from a character name and you land on dialogue; Tab moves you to the next logical element.
- Check the Navigator panel. The left-hand panel shows scenes and synopses as an instant outline. Click any scene to jump there. It pulls its structure from your scene headings, so consistent formatting matters.
- Run the Format Assistant. Under the Tools menu, it scans for common formatting drift — stray spaces, missing scene numbers, dialogue alignment issues — and fixes them in one pass.
- Export to PDF. The production PDF option embeds scene numbers, revision marks, and the correct page count format that studios expect.
The app runs under Intel architecture and requires macOS 12 Monterey or later. You will need an active internet connection for the initial sign-in before any offline writing can happen.
Treating the script like a Word doc breaks auto-formatting
Screenwriting software that auto-formats sounds forgiving, but Final Draft makes quiet assumptions about how you work. The most common mistake I see in student labs is treating the script like a word processor document. People click into a scene heading, backspace a few times to adjust something, and suddenly the element type changes to Action without them noticing. The app assigns element types by position — when you delete the whole line and start typing, Final Draft guesses what you meant and often guesses wrong.
The fix is muscle memory for Ctrl+1 through Ctrl+7 on Mac. Those switch the current paragraph to Scene Heading, Action, Character, Dialogue, Parenthetical, Transition, or Shot. When the auto-formatting drifts, tap the shortcut instead of fighting the text. It is faster than reaching for the dropdown menu and keeps your hands near the keyboard where they belong during a draft.
Another early mistake: ignoring the SmartType memory. Final Draft remembers character names and scene headings you have already typed and suggests them as you start typing again. New writers sometimes type the same heading slightly differently each time — "INT. KITCHEN" then "INT. KITCHEN - DAY" — and the Navigator panel treats those as two different scenes. Let SmartType do the recall work and the outline stays clean.
Cmd+Up and Cmd+Down switch elements without breaking flow
Every screenwriting app handles element switching. The shortcuts you actually want to embed in your fingers are the ones that work while you are in flow, not before you start typing.
- Cmd+Up / Cmd+Down jumps to the previous or next scene. This is faster than scrolling or using the Navigator for quick back-and-forth between two scenes you are drafting in parallel.
- Cmd+Shift+[ and Cmd+Shift+] collapse and expand individual scenes in the main editor. Collapse a scene you have finished and the view tightens to a single heading line — useful for keeping your bearings during a long second act.
- Option-drag a scene in the Navigator to reorder it. The script reflows immediately, and if you have scene numbers locked, they update too.
- Right-click any character name and choose "Find Character" to jump through every instance of that character's dialogue. Handy when you need to check voice consistency across 40 pages.
- Shift+Enter inside a dialogue block inserts a soft return without breaking the dialogue element. Standard for formatting poetry, song lyrics, or a character reading something aloud.
The one I wish more people knew: Cmd+Option+T opens the Title Page editor. You do not need to dig through menus when a draft is ready to share — the title page fields map directly to what appears in a production PDF.
Blank sign-in window hides the cursor for up to fifteen seconds
A recurring headache is the disappearing cursor during sign-in. The initial activation requires an internet connection, and on some Intel Macs running Monterey the sign-in window can appear blank for ten to fifteen seconds before the cursor renders. Let it sit. Force-quitting and restarting the app usually triggers the same delay again. Once the sign-in completes, offline mode works without further prompts.
The format assistant whiplash is another one. Running Format Assistant on a script that mixes intentional stylistic choices with actual formatting errors can "fix" things you wanted to keep — extra line breaks before a transition, for example. Before you run it, save a snapshot under File > Take Snapshot. That gives you a point-in-time version you can roll back to without undoing an hour of clean-up work.
If the Navigator panel shows scenes out of order despite the script reading correctly, check for invisible scene breaks. A blank Action line between two scenes can confuse the parser. Turn on View > Show Invisibles temporarily — stray paragraph returns show up as pilcrow symbols and you will spot the gap immediately.
One more oddity: the app stores auto-save data in ~/Library/Application Support/Final Draft/. If a crash recovery prompt does not appear on relaunch, look there for timestamped .fdx recovery files. I have rescued four pages of dialogue from that folder more than once.
Round-trip outlining with Scrivener before final formatting
Final Draft is not an island. The most practical integration is with Scrivener — the two apps share a round-trip workflow where you outline and research in Scrivener, then export to Final Draft format for script formatting and production output. The .fdx import in Scrivener preserves scene structure, and Final Draft opens Scrivener-exported .fdx files without mangling the element types.
On the macOS side, Spotlight indexes .fdx files and can search inside them, including dialogue text and scene headings. Press Cmd+Space and type a character name — every script with that character shows up in the results. No need to open the app just to find which draft has a specific exchange.
Full Screen mode (Ctrl+Cmd+F) works well on a single-display laptop setup. The toolbar auto-hides correctly on Monterey and later, and the page view centers without the left-panel clutter. Combine it with View > Hide Navigator for a clean draft view that mimics what the page looks like in a PDF export.
For dialogue-heavy writing sessions, macOS Dictation (double-press the Fn key if you have it configured) drops spoken lines directly into a Dialogue element, provided the cursor is sitting in a Dialogue block. The accuracy depends on your mic, but it is usable for getting a first pass down without typing.
The companion app Final Draft Go on iOS syncs scripts via iCloud, but the Mac version writes to the same iCloud folder. Any .fdx file saved there appears on the phone or tablet with the scene outline intact. You can write a scene on the train, and when you open the Mac later the Navigator reflects the new material — no import step needed.
A specific workflow: breaking a TV episode from outline to production draft
Here is a real path I walk students through when they tackle a half-hour comedy script. Assumptions: you have a rough story broken into scenes, and you need to deliver a properly formatted draft with scene numbers and a title page.
- Create from the TV template. File > New from Template, choose "TV Half-Hour." The template sets act breaks, page-number style, and multi-camera dialogue margins if you pick the sitcom variant. Do not start from a blank document — retrofitting act breaks later is tedious.
- Dump the outline into the Navigator. Open the Navigator panel and use the Scene View to type one-line scene synopses for every scene in your outline. Do not write script yet. Just the synopses. This populates the left panel as a clickable map.
- Assign a goal to each scene heading. Click each placeholder scene in the Navigator, and in the main editor write the full scene heading line. SmartType learns the locations as you go, so "INT. APARTMENT" only needs typing once.
- Draft in passes. First pass: write the dialogue for the whole script with minimal action lines. Concentrate on voice and rhythm. Second pass: fill in action and parentheticals. Third pass: tighten — use Cmd+Up/Down to jump between scenes and spot-check pacing.
- Lock scene numbers. Production > Lock Scene Numbers. This is the step people skip until a script coordinator asks why their revision marks broke. Locking keeps numbers stable through rewrites.
- Run Format Assistant. Tools > Format Assistant. Accept the fixes for stray spaces and element alignment, but reject anything that changes intentional line spacing unless it violates the template.
- Add revision marks. Production > Revisions. Set the revision color for this draft (blue for first draft is common). Any changed lines get a colored mark in the margin on the production PDF.
- Export the production PDF. File > Save As PDF > Production. Check that scene numbers, revision marks, and the title page all render before you send the file anywhere.
The whole workflow from blank template to locked draft takes about two afternoons if the outline is solid. The time sink is never the formatting — it is the passes over dialogue. Which is exactly how it should be.
Version 13.5.0 is out with the developer's latest fixes and improvements.
- macOS 10.15 (Catalina) or later
- Intel 64-bit processor
$ man final-draft | grep -A2 "?"
Does Final Draft 13 run natively on Apple Silicon?
No, version 13.4.0 uses x86 64-bit architecture and relies on Rosetta 2 when running on Apple Silicon Macs.
Can I move a project between the Mac app and the iOS companion?
Yes, Final Draft Go on iOS can open.fdx files, though formatting features are reduced compared to the desktop version.
What macOS version is required for the current release?
Final Draft 13 for Mac requires macOS 12 Monterey or later, and runs on Intel-based Macs with an active internet connection needed only for the initial sign-in.
Comments 0
Sign in or create an account to leave a comment.
No comments yet. A codec, a slice, a machine — they appear after moderation.