
Garden Planner for macOS
You've just measured the side return and the old patio needs replacing. The idea is a long bed of ornamental grasses backed by a slatted fence, but you want a plant count before ordering.
Object report — A tally of every symbol in the drawing. The report can be printed, or saved as .csv or .txt. It pulls quantities from your plan so you can hand a list to a nursery.
User-defined settings — A modifier you apply to library elements. Change the mature height of a tree, adjust the foliage color, or set a custom spacing value. The change lives in your local library and does not overwrite the stock object.
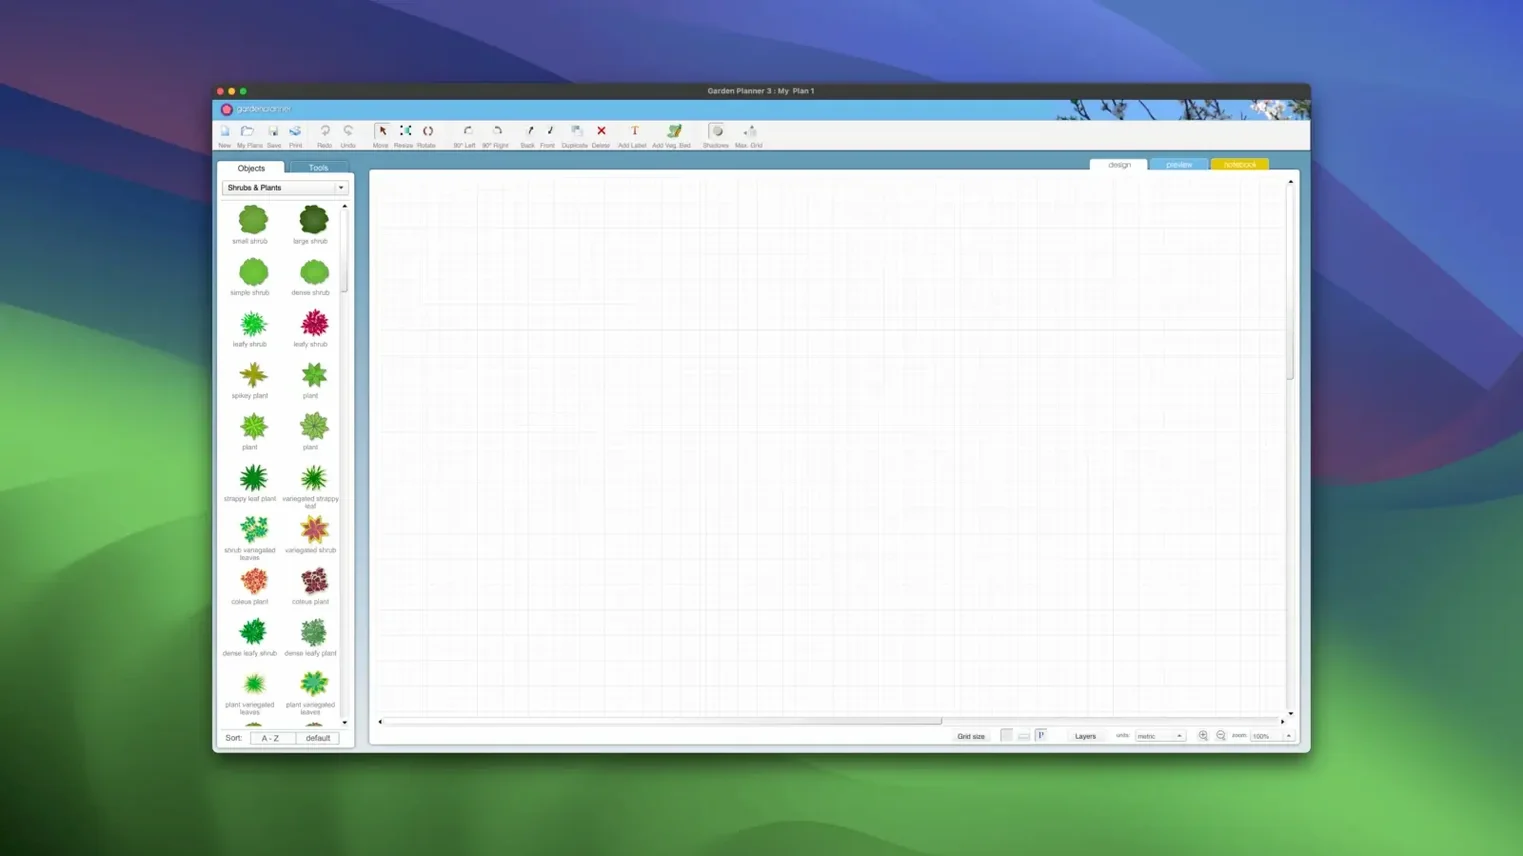
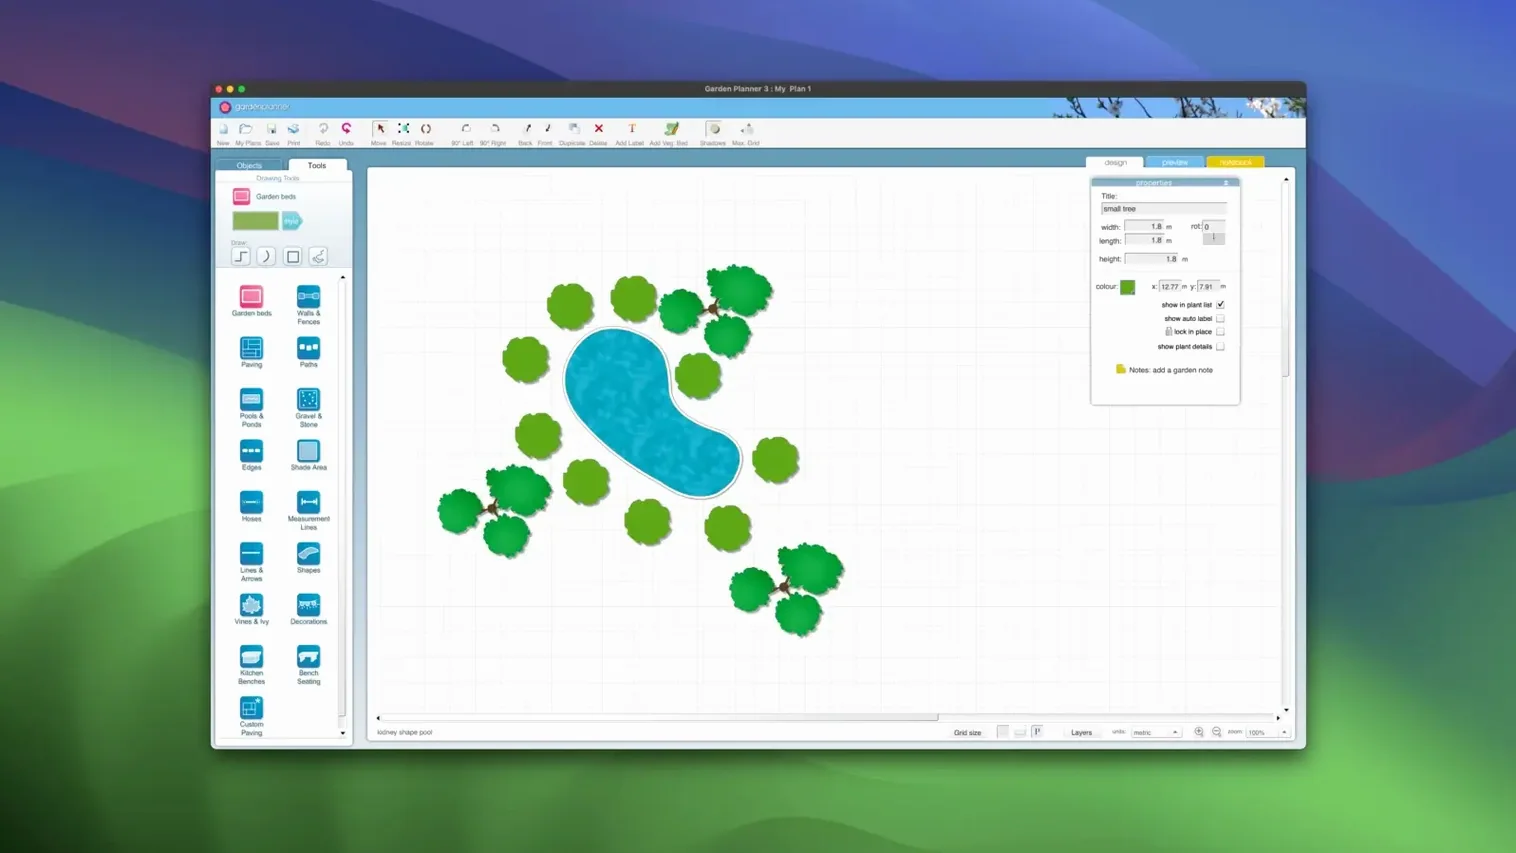
Drag-and-drop placement — You pull plants, trees, buildings, and hardscape objects from the palette onto the canvas. The library holds more than 1,200 items across categories. Layers of paths, paving, walls, fences, pools, and ponds stack under the symbols.
Text description tool — An annotation layer, not a label block. You type notes directly onto the plan — good for soil prep instructions or contractor comments that stay with the file.
Path styles — Version 3.8 expanded the paving library with new patterns. Each path segment can take a different style, so a gravel main path can split into a stepping-stone spur.
What are the small conveniences people tend to miss?
The rotate-and-duplicate gesture isn't documented anywhere obvious. Hold Option while dragging a selected object and you get a copy at the new position. Combine it with the rotation handle — a little green dot that appears when an item is selected — and you can populate a curved border with alternating shrubs in seconds instead of dragging each one from the library.
The scale slider works on anything with a bounding box, not just plants. Select a pond shape or a section of paving and drag the corner handle while holding Shift to keep the proportions. For precision, double-click any object and type the dimensions directly into the inspector panel. That panel also holds the user-defined settings you applied earlier, so you can copy a modified plant — a lavender set to half its default spread, for example — across multiple beds without re-entering the numbers each time.
If you're working on a large site plan, the zoom-to-fit shortcut is Command-0. And Command-G groups selected items so you can move a whole planting scheme as a block. Ungrouping later preserves the individual object properties.
A real-world morning with a landscape planner
A designer I know takes on small courtyard projects — the kind where every square foot counts. She opens Garden Planner after a site visit with a handful of measurements scribbled on a clipboard. The first thing she does is draw the boundary walls to scale using the wall tool, snapping to a grid set at 100 mm increments. Then she drops in the immovable objects — the existing manhole cover from the hardscape library, the back door swing arc marked with a faint path segment, the neighbour's overhanging sycamore as a placeholder tree with a wide canopy value dialed up in user-defined settings.
She works in 2D for the layout phase because it's faster for blocking out zones. The client wanted a seating area, a water feature, and enough planting to soften the fence line without losing usable floor space. She drags a rectangular pond into the corner, scales it down, then runs a curved path from the house to the bench. A quick switch to the 3D view confirms the sightline — the water catches light from the south-east and the bench isn't staring straight at the compost bin. She exports a JPEG of the 3D view for the client email, prints the plan with the object report so the contractor knows exactly how many linear metres of steel edging to buy, and saves the .txt report for her own planting schedule.
Cobble paths now make plan surfaces readable without relying on color alone
Version 3.8 brought new path styles, and that has a knock-on effect on how plans read at a glance. Before, you might use colour alone to distinguish a gravel path from a paved one. Now you can assign a cobble pattern to the main walkway, a loose stone texture to the secondary path, and a timber decking style to the terrace — all within the same drawing layer. The visual difference is immediate, which matters when you're presenting a concept to someone who doesn't read plan symbols fluently.
The 3.8.86 release cleaned up a handful of bugs that used to trip people up during longer sessions. The most noticeable fix is around the object report refreshing correctly after bulk-duplicating items — previously the count could lag until you manually triggered a redraw. For anyone who builds planting plans iteratively, dragging and copying dozens of perennials while checking the report panel, that small fix removes a persistent friction point.
Set your default grid spacing to 300 mm or 1 m before you draw anything
Start by setting your default grid spacing. Open a blank plan, go to the grid settings, and match it to the scale you work at most often — 300 mm for domestic gardens, 1 m for larger sites. Save that as a template file so every new project inherits the grid without extra clicks.
Spend ten minutes personalising a handful of library items. Pick the five plants you use most — box, lavender, hornbeam, whatever shows up in your region — and adjust their mature spread, height, and colour to match local growing conditions. The modified versions sit alongside the originals in the library panel with a small indicator, and you can drag them into any plan instantly. It's tedious to do mid-project; doing it up front makes the library feel like yours.
Test the print preview early, even if you're not ready to print. The preview screen shows you what will fit on the page at your chosen scale, and it reveals layout problems — a plan that sprawls off the edge of A4, for instance — before you've placed every last shrub. Adjust the scale or switch to landscape orientation, and you'll save yourself a rework session later.
If you're migrating from another tool, don't expect direct file import. The app opens its own .gdn files and exports images or reports — that's the pipeline. Set up a folder for exports right away: a Client Proofs directory for JPEG previews and a Plant Lists directory for the CSV reports. It keeps the desktop from turning into a mess of oddly-named exports after the first week.
- New path styles added to the paving library.
- General improvements and bug fixes across the drawing tools.
- OS X 10.7 or later
- Apple Silicon and Intel native
$ man garden-planner | grep -A2 "?"
Can I export the plant list for a real order?
Yes, the object report can be printed or saved as a CSV or TXT file with quantities from the current plan.
Does the library let me save my own plant settings?
You can apply user-defined settings to any library element, adjusting height, color, or spacing without overwriting the original object.
Comments 0
Sign in or create an account to leave a comment.
No comments yet. A codec, a slice, a machine — they appear after moderation.