HitPaw Univd for macOS
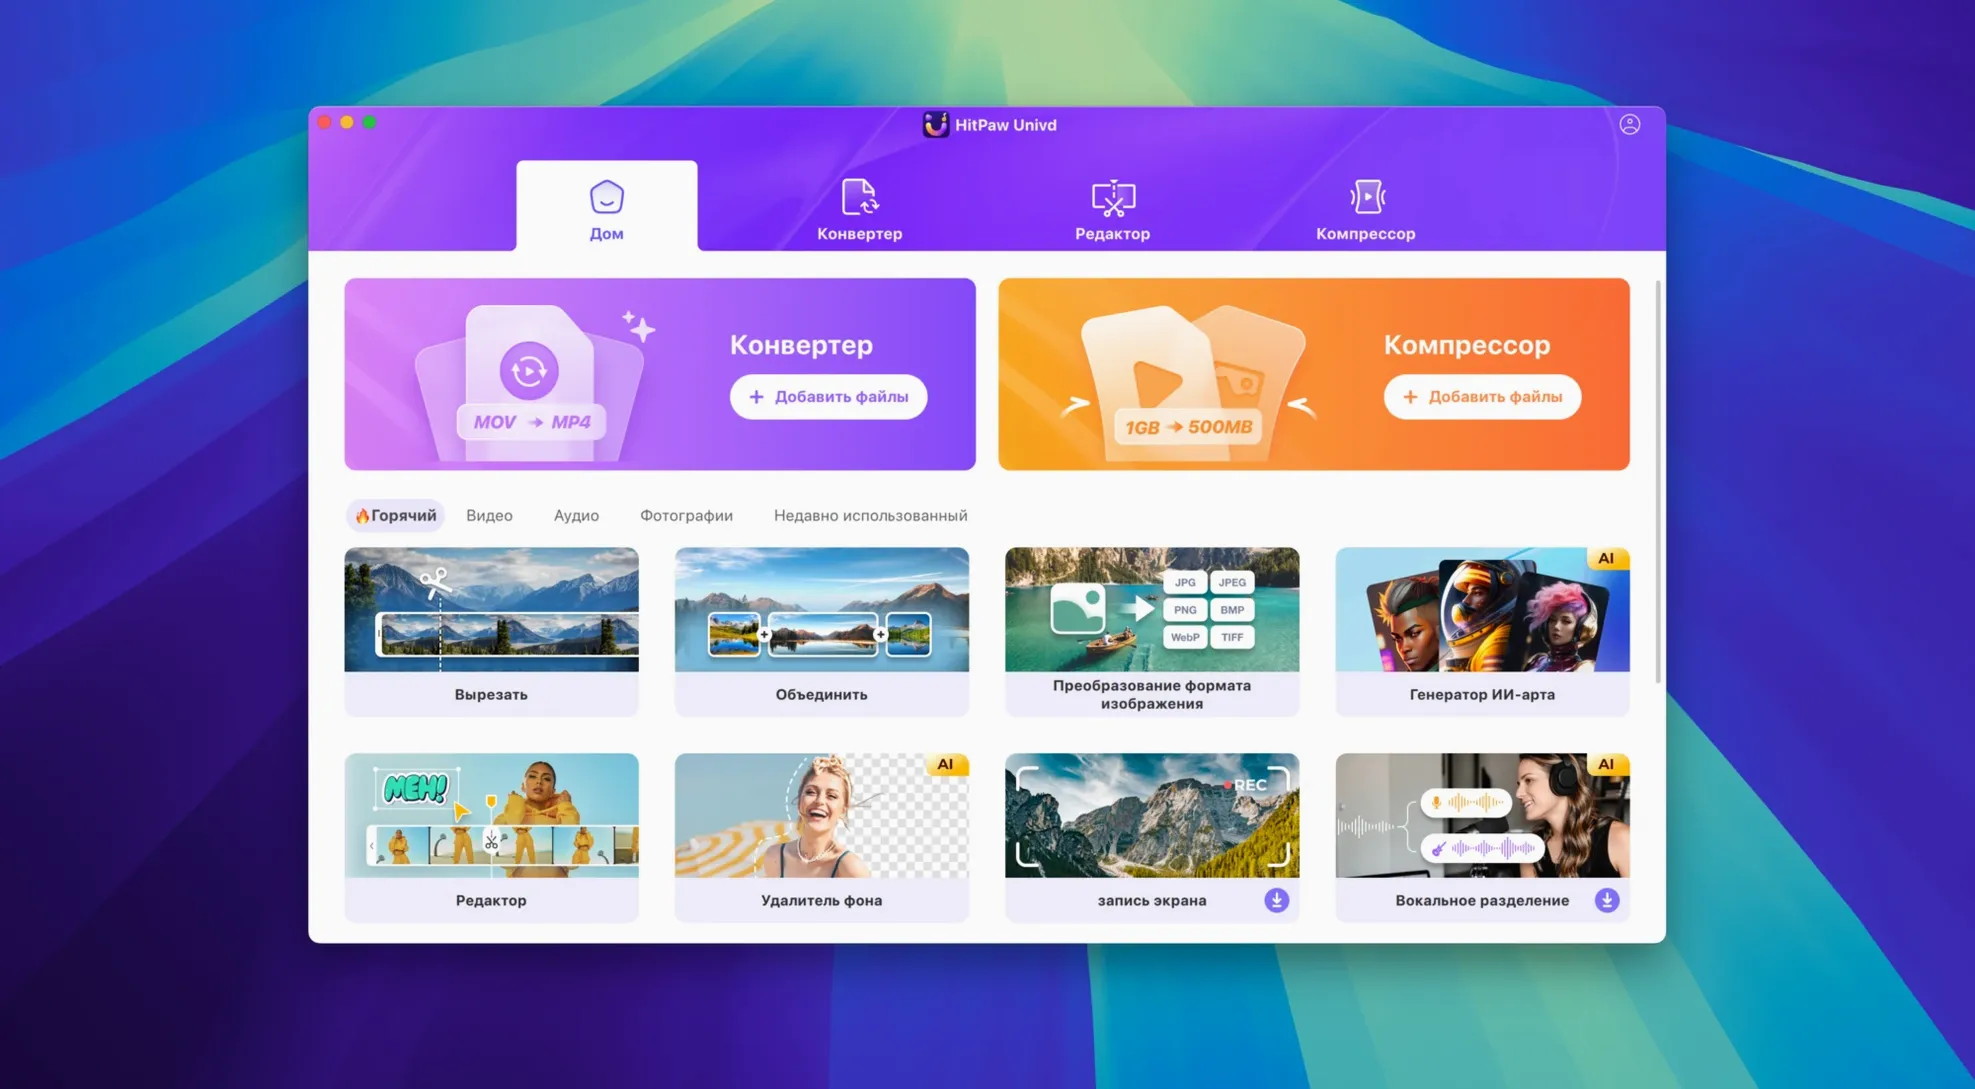
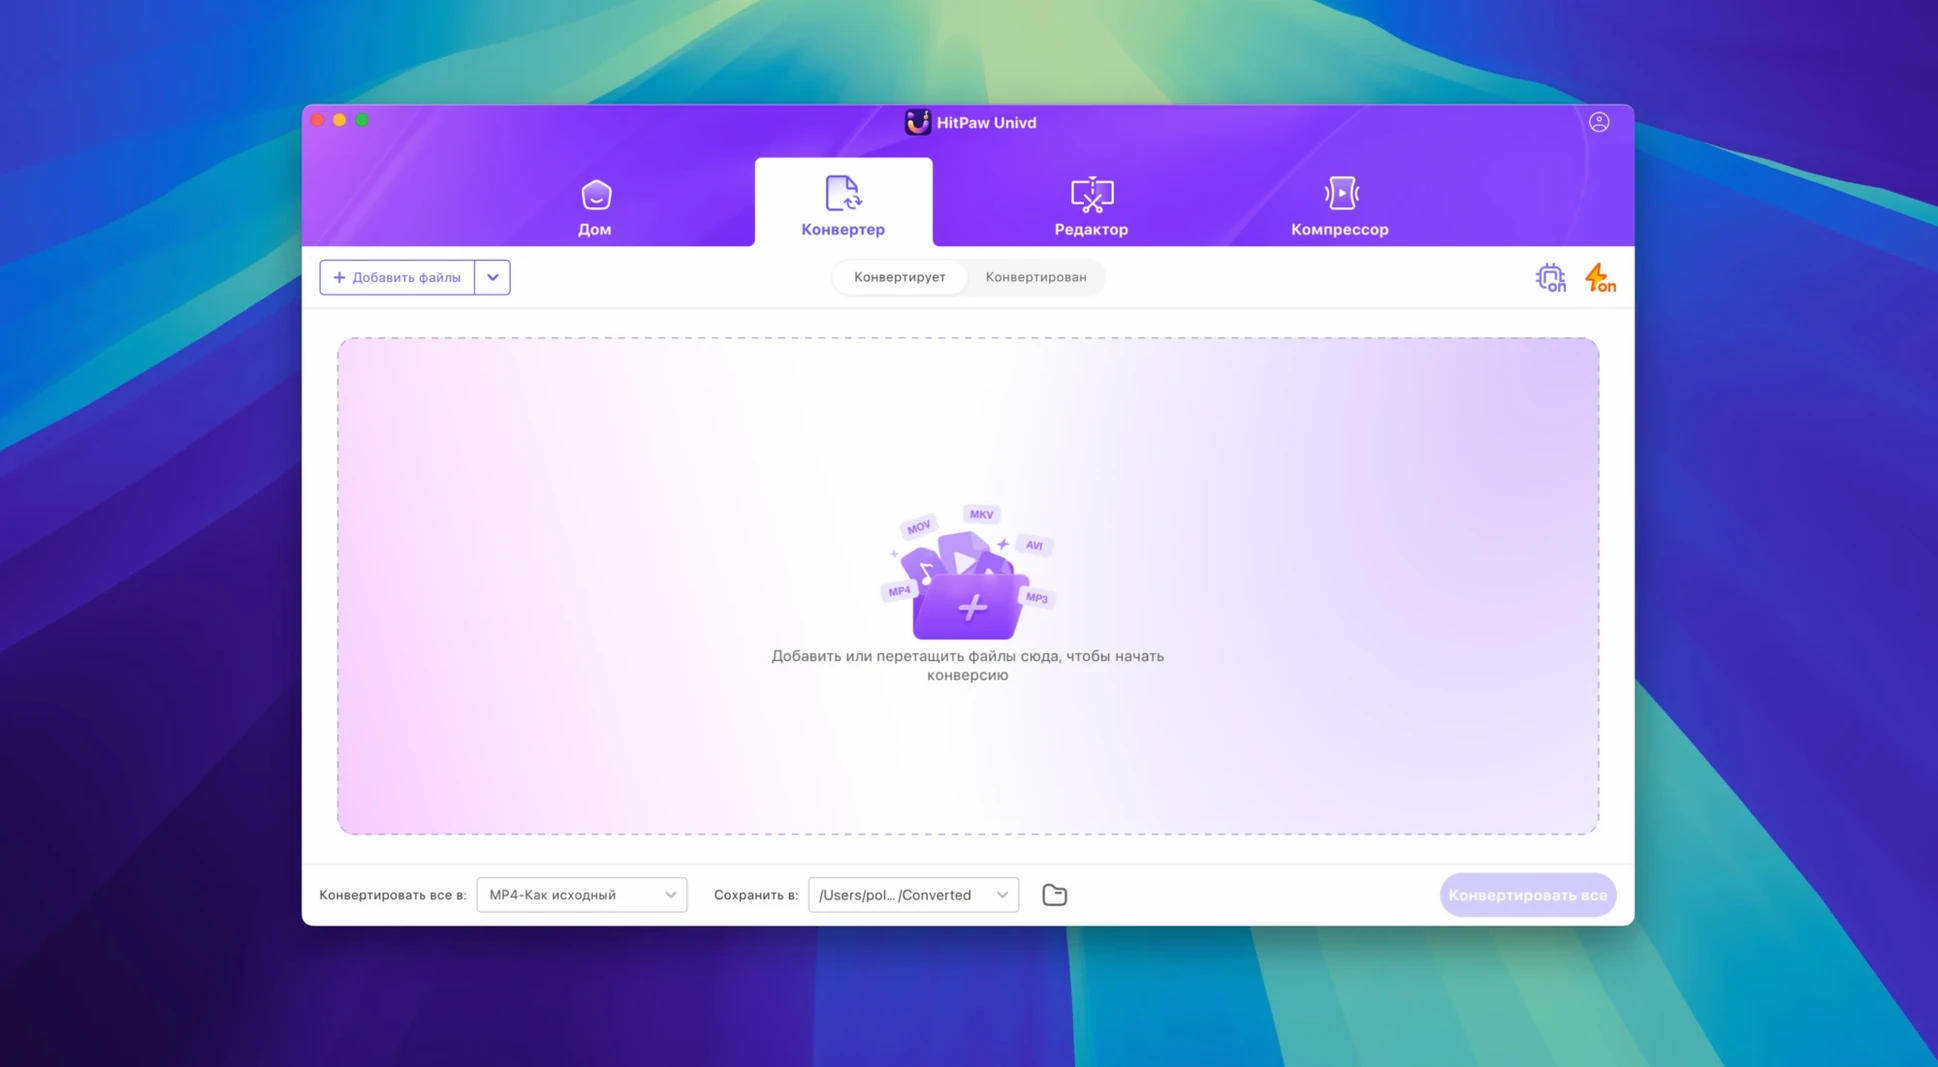
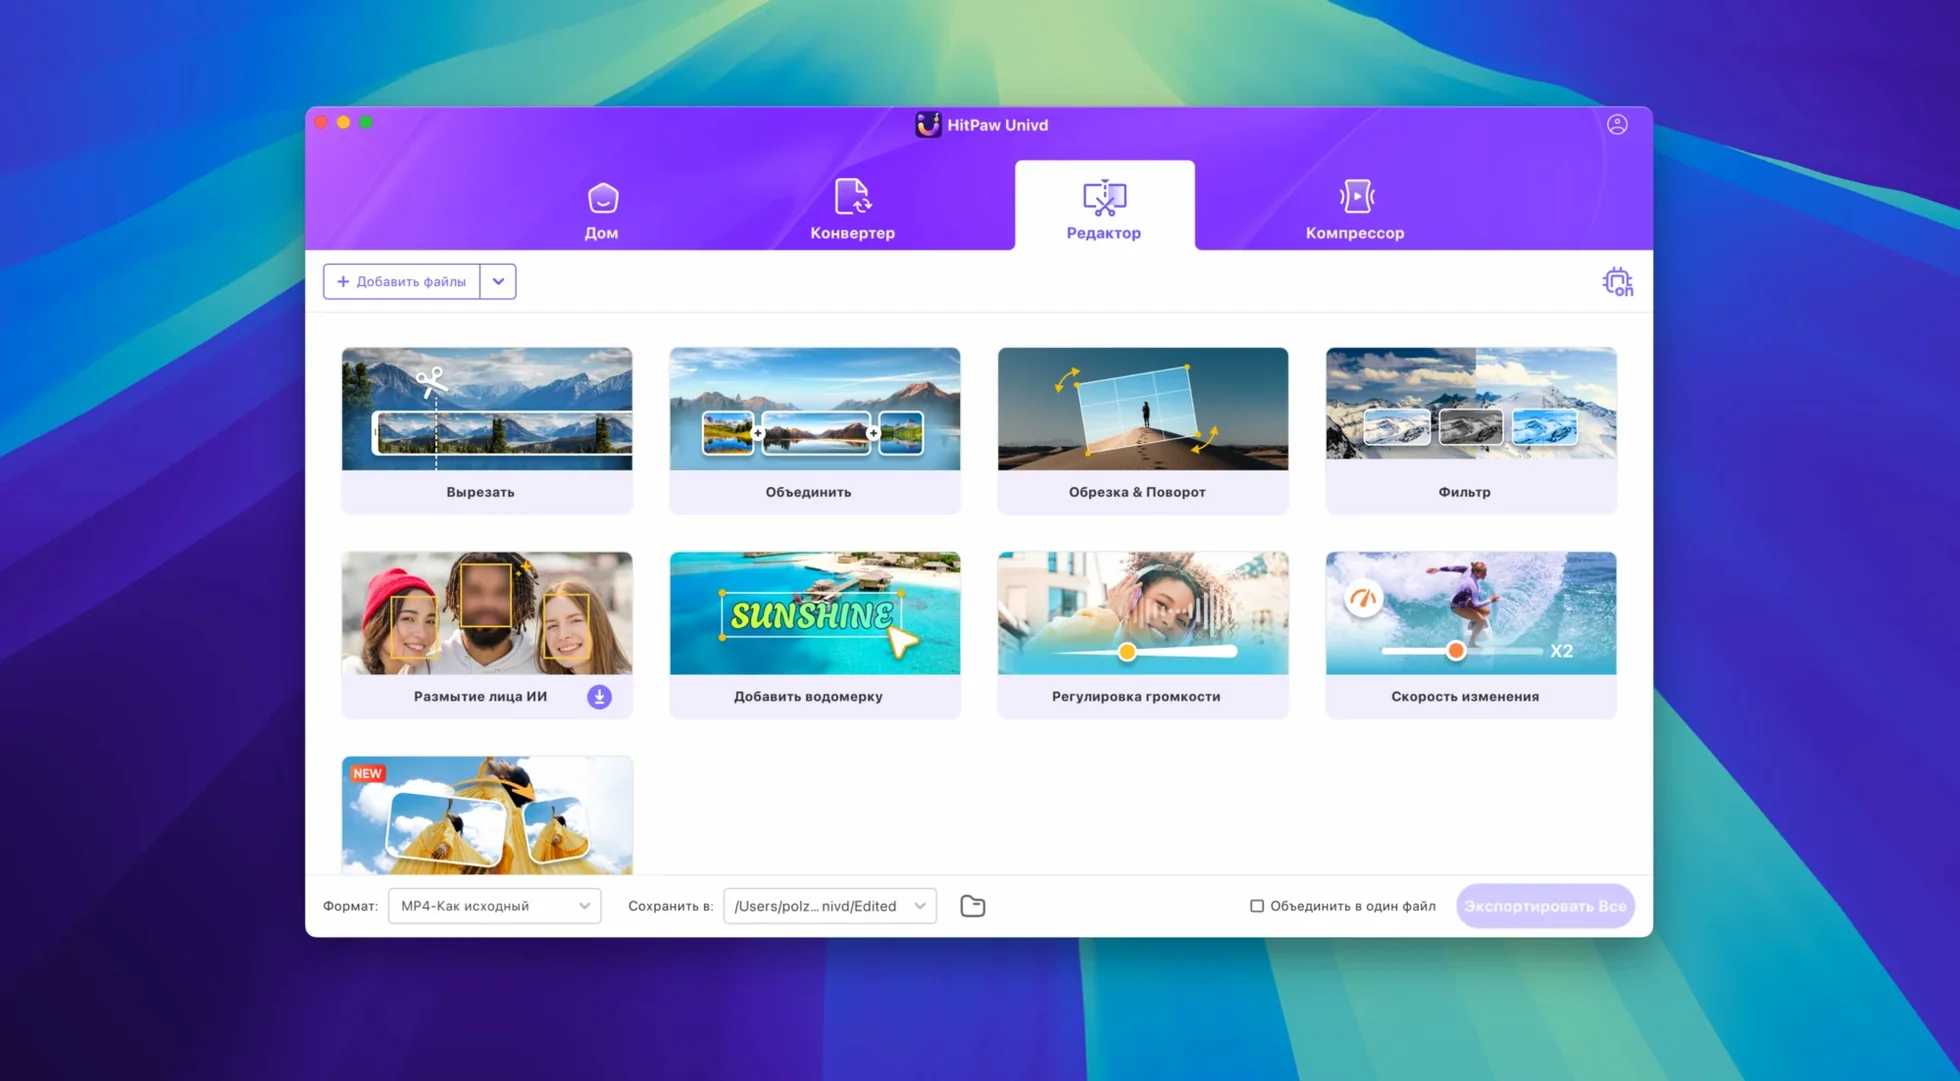
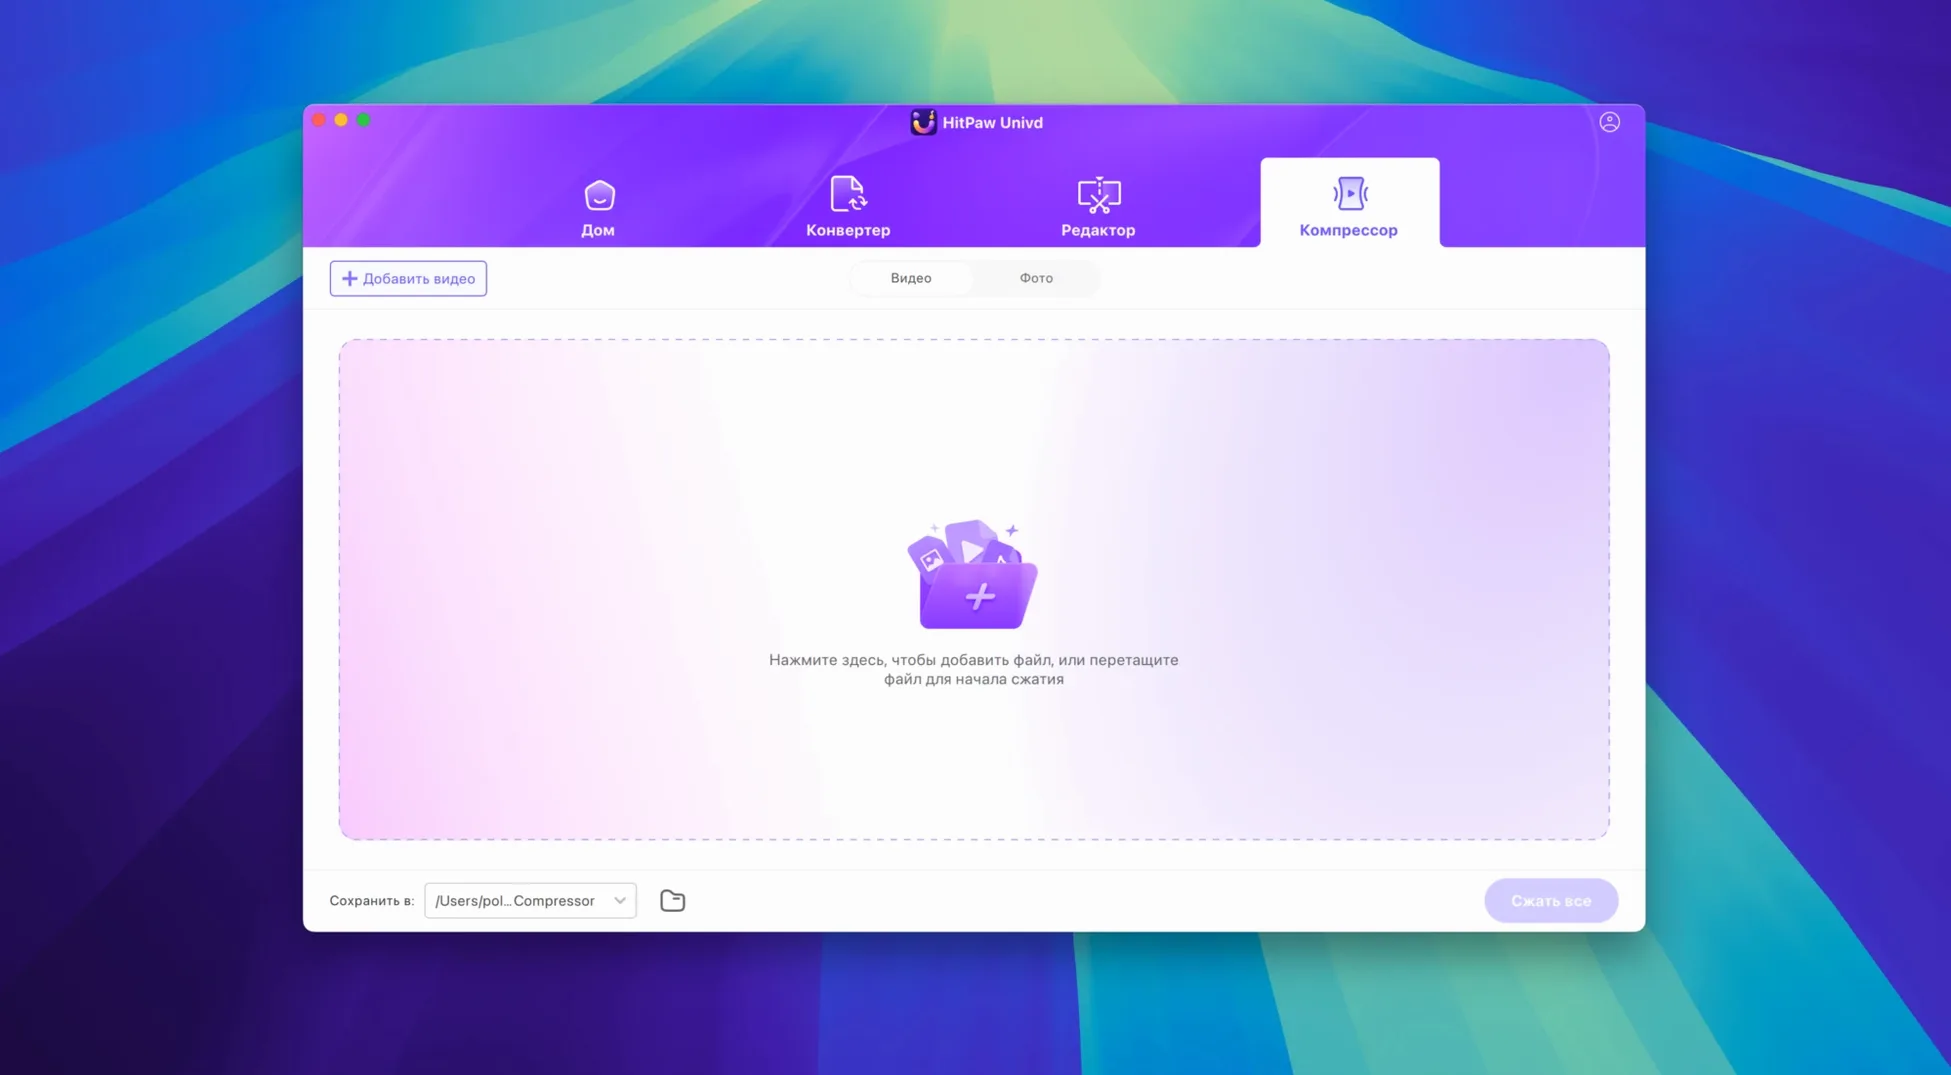
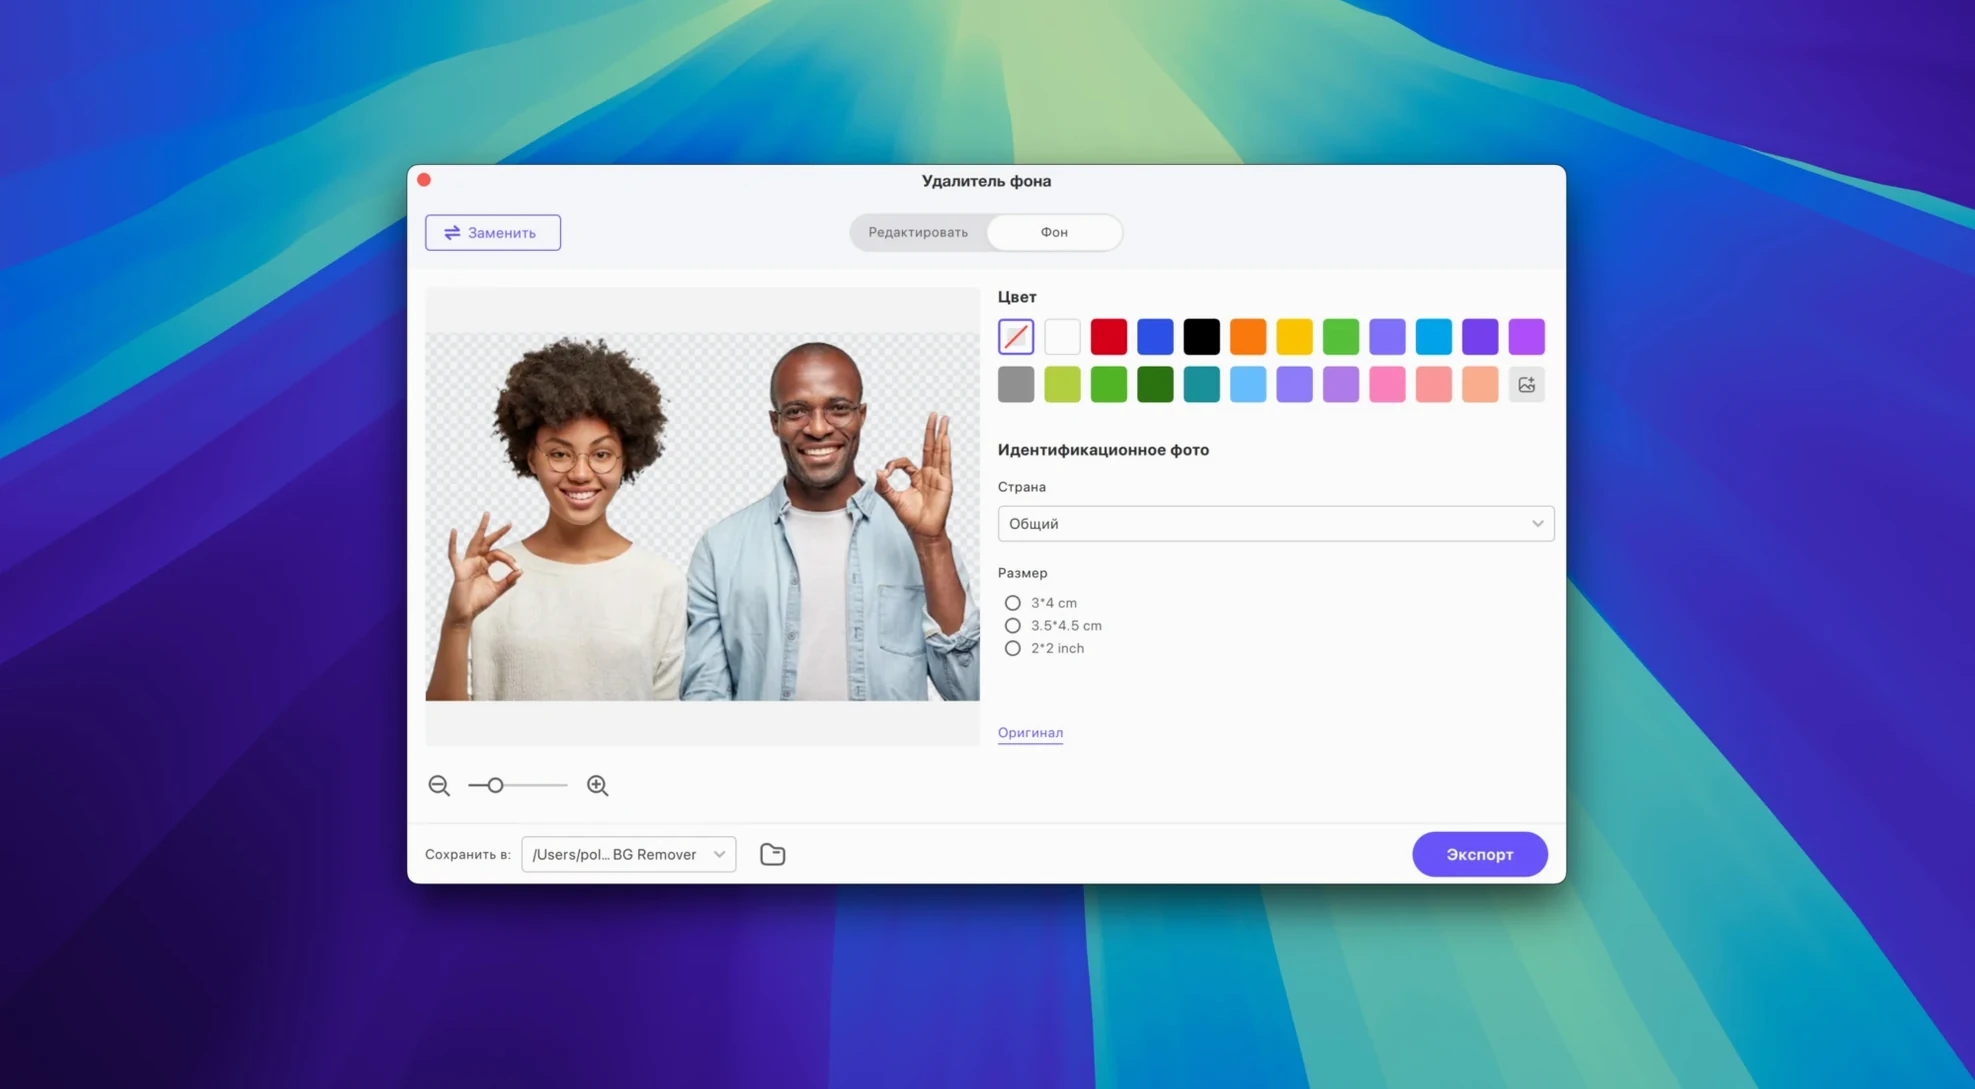
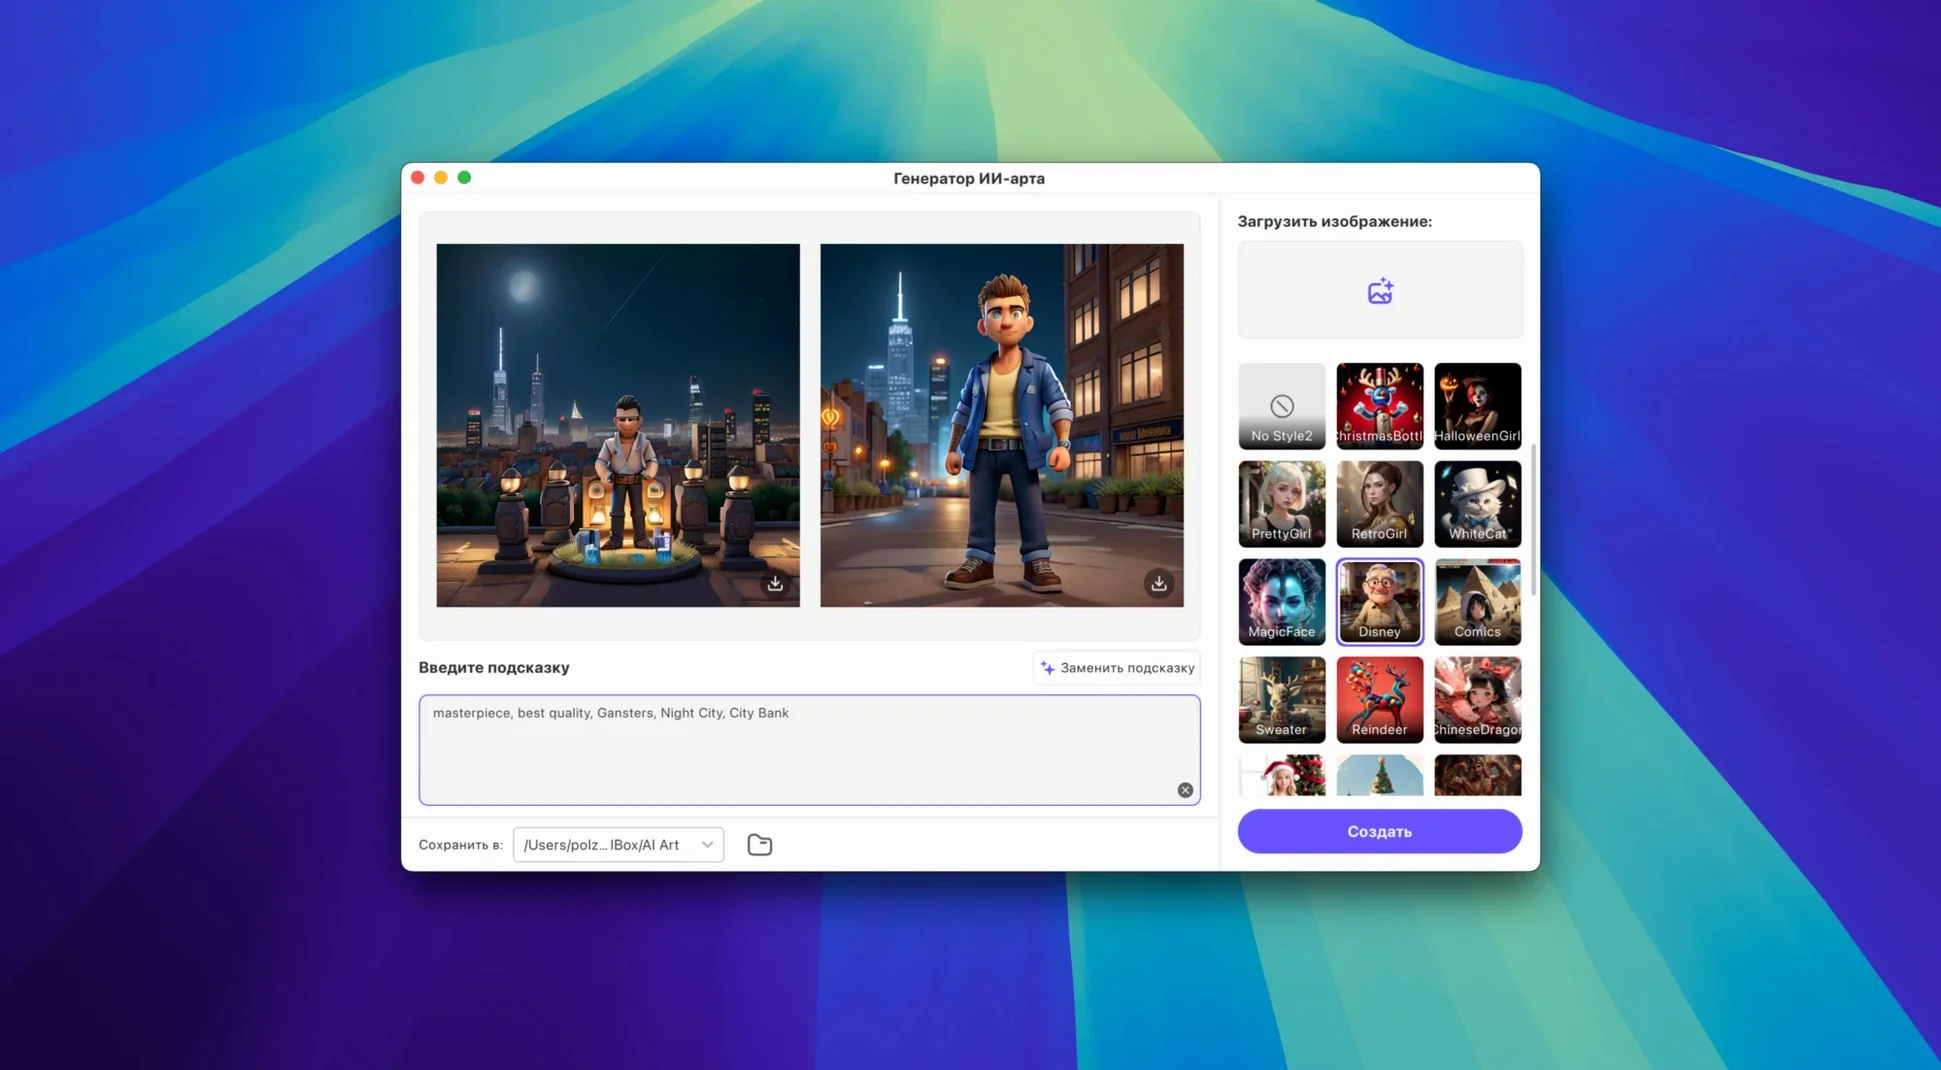
HitPaw Univd requires macOS 10.15 or later and runs on Intel-based Macs. When you first open it, the 4.7.0 update greets you with a reworked interface. It feels more direct—the conversion, download, and editing tools are in plain sight instead of buried in menus.
Start with a format conversion
The most useful first move is dragging in a video file. The app reads MP4, MOV, AVI, VOB, and MKV. Pick an output format, and the built-in editor lets you trim or crop before the encode runs. Because the architecture is Intel 64-bit, Rosetta 2 handles the translation on Apple Silicon Macs automatically.
Pull in a video to edit or save
Next, try the downloader. It can pull video, films, and music from over 10,000 sites. Once a clip lands in the library, the editor is available again for quick cuts. HitPaw pitches Univd as a converter, compressor, and enhancer, so those AI upscaling and smoothing tools are worth a click if your source footage is rough.
Why do archive nerds with old VOB rips keep reaching for it?
Not every Mac user needs a Swiss Army knife for video, but a few groups will find themselves reaching for it constantly. Archive nerds with folders full of old VOB rips and AVI captures get instant relief — Univd chews through those dated containers and spits out clean MP4 without complaining. Music collectors who pull tracks from YouTube or SoundCloud for offline listening also land in the sweet spot, especially since the lossless music conversion covers Apple Music, Spotify, Deezer, and TIDAL in one tool.
Students editing group projects benefit too. They often inherit phone footage in three different codecs, a Zoom recording in some weird flavor of M4V, and a downloaded clip from Bilibili. Univd normalizes all of it into a single editing timeline format before they ever open a proper editor. If you are the person friends text when "the video won't play on my TV," this app answers half those questions before you even reply.
Power users who chase niche formats will appreciate that the converter handles VP9 and ProRes alongside the usual suspects. Opus audio support is another quiet win — not every Mac converter bothers with it, but Univd does, which matters if you are archiving voice recordings or pulling the audio stream from a WebM.
First-day setup moves that pay off later
Right after you drag the app into /Applications, open preferences and set the default output folder to something sensible. Univd ships with a generic location inside ~/Movies, but if you work off an external drive, point it there now. Resetting it later when a queue is half-built gets tedious.
Next, open a short test file — maybe a 30-second phone clip — and run one conversion. While it encodes, check the CPU usage in Activity Monitor. Because Univd runs as an Intel 64-bit binary, Rosetta 2 translates the whole thing on Apple Silicon. That translation overhead is usually negligible for batch conversions, but it helps to know what "normal" looks like on your machine before you queue up two hours of footage.
If you plan to use the downloader, paste a few bookmarked URLs immediately so the library is not empty when you need it. Univd remembers the last site you pulled from, which sounds minor but saves clicks when you are grabbing multiple episodes or playlist items from the same source. And if you grabbed a HitPaw Univd torrent to get the app, verify that the Gatekeeper bypass step completed correctly — a silent failure there means the app bounces in the Dock once and quits.
A real workflow: pulling a Bilibili lecture, converting it, and trimming the dead air
Say you found a 40-minute lecture on Bilibili that you want to keep on an iPad for a long flight. Here is the chain that works every time:
- Copy the Bilibili URL. In Univd, switch to the downloader tab and paste it. The app resolves the best available quality automatically. Hit download and wait a few minutes.
- Once the file appears in the library, switch to the converter tab. The downloaded file is probably an MP4. Set the output to MP4 again but pick a smaller resolution — 720p is plenty for a tablet screen. Under the video codec dropdown, choose H.264 if the file came down in VP9; this ensures the iPad plays it without a hiccup.
- Before running the encode, click the edit icon. The built-in trimmer opens. Scan the waveform for the first minute of silence while the lecturer sets up, and chop it. Do the same at the end. Apply the cuts.
- Run the conversion. The file lands in your output folder, sized down and trimmed, ready for AirDrop to the iPad.
The whole thing takes under ten minutes, and you never opened a separate editor. That is where Univd earns its keep — not in any single feature, but in not making you switch apps three times for a simple job.
Why switch the encoder preset for iPhone-bound files?
The default video encoder preset leans toward "balance," which is fine as a starting point. But if you know your destination device, change it. For anything headed to an iPhone or iPad, switch the encoder preset to a hardware-friendly profile. For archival storage, flip it the other way and prioritize quality over speed.
Under audio settings, check the default sample rate. Univd occasionally defaults to 44.1 kHz for video conversions. If your source is a film or a music video, 48 kHz avoids a pointless resampling step. The lossless music conversion feature handles this automatically for streaming services, but manual video conversions need a quick check.
Disable the "play sound when finished" option unless you genuinely enjoy being startled by a chime at odd hours. It ships enabled. While you are in that panel, turn on the option to keep the original file names as a prefix on converted files — without it, Univd appends its own naming scheme, and finding convert_2025_01_15_03.mp4 in a folder is a small daily annoyance that adds up.
If your setup came via hitpaw vikpea torrent or a similar distribution, the app may not have written a proper Launch Services entry on first run. A quick reboot or a killall Finder fixes the icon in the Dock and ensures the "Open With" menu populates correctly. Not required, but tidy.
- New UI.
- New product model and user experience.
- macOS 10.15 or later
- Intel 64-bit architecture
Comments 0
Sign in or create an account to leave a comment.
No comments yet. A codec, a slice, a machine — they appear after moderation.