Iconize for macOS
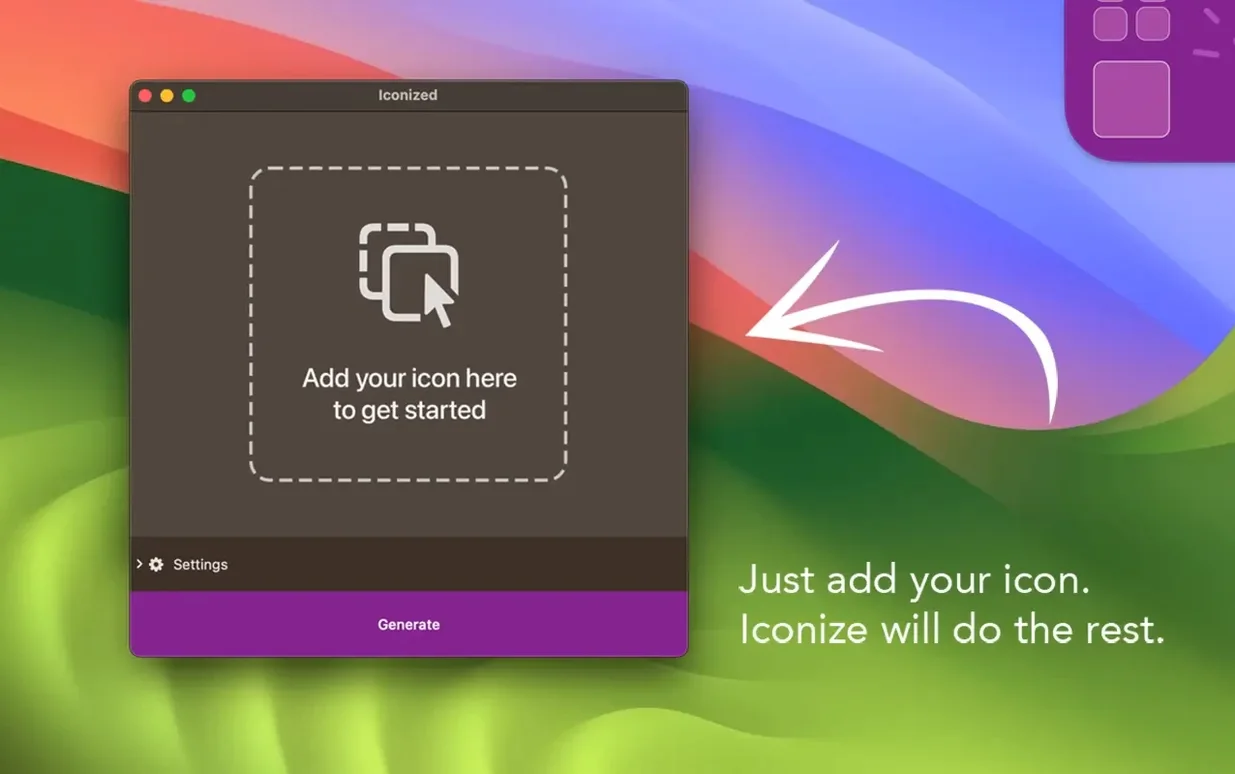
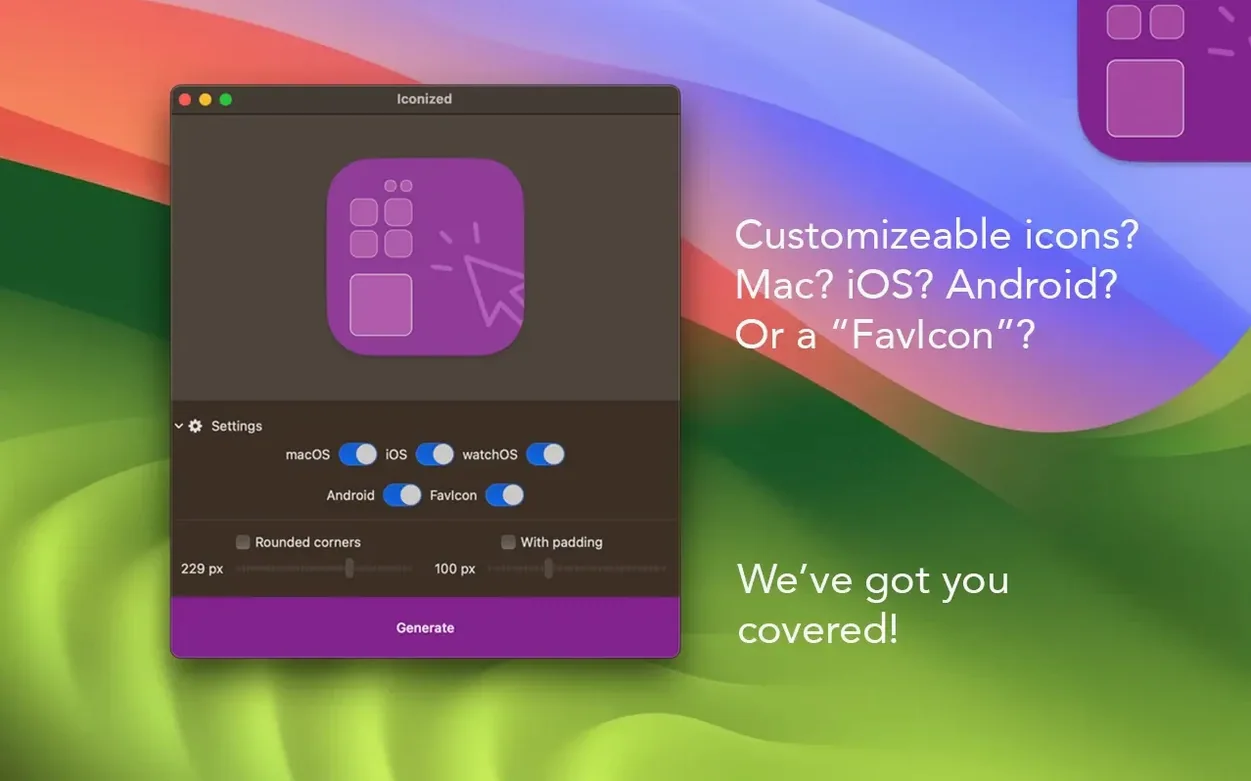
Version 1.8.8 accepts any image format Quick Look can read — HEIC, PNG, JPEG, TIFF — and turns it into a usable icon with a single drag. There is no export dialog to fight with. Drop an image onto the window and Iconize writes the .icns data behind the scenes.
Good for
- Batch-generating folder icons from a folder of reference images
- Applying uniform rounded corners and padding so every icon meets Apple’s squircle guidelines
- Quickly replacing an app or disk-image icon without opening Preview or Pixelmator
- Testing how a logo shape reads at small sizes before committing to a final design
Keep in mind
- Iconize is an automatic generator — it processes the whole image; there is no canvas editor or layer support inside the app
- It writes standard .icns files, so the result works anywhere macOS expects an icon, but the styling options are preset rather than freeform
Switch the corner style from a continuous squircle to a flatter shape
Out of the box, Iconize applies a fairly neutral squircle mask and a default padding. Before you process anything serious, open the preferences ( ⌘, ) and check two things.
- Corner style. You can switch between the standard continuous rounded rect and a sharper alternative. The sharper one works better if your source image has squared-off elements that would look cramped inside a tight radius.
- Padding slider. The default value leaves breathing room, but if your icon is mostly bold shapes, dropping the padding by a few points makes the silhouette read better at 16 × 16 in the Finder sidebar — the smallest common size where icons still need to communicate.
Also worth toggling: the output size control. By default Iconize writes every standard representation from 16 × 16 up to 1024 × 1024 into the .icns container. If you are only replacing a folder icon that will never appear larger than 256 × 256, you can restrict the set and save a sliver of disk space per file. It adds up across dozens of folders.
Replace generic PDF icons with your studio logo on a dark background
Imagine you have a folder of ten screenplays, each one a PDF, and you want them to carry the studio’s mark instead of the generic PDF icon. You already have a square PNG with the logo on a dark background.
The first thing I do is drop that PNG straight onto the Iconize window. The preview updates immediately with the squircle crop and the padding you dialled in earlier. I then drag the same PNG nine more times — one per screenplay folder — and Iconize queues them without fuss. There is no per-file confirmation dialog; it just writes the .icns resource and attaches it.
If I need slightly different treatment for the folder containing the final drafts, I adjust the corner radius on the fly and drag the image again. The app overwrites the previous icon without complaining. Then I Get Info on any of the folders, select the tiny icon in the top-left corner, and hit Delete to revert — Iconize does not prevent the standard macOS undo. That matters when you are experimenting.
The whole session — ten folders, two variations — takes under a minute. Most of the time is spent dragging, not waiting for processing.
Drag a prepared image straight from Pixelmator or Acorn into the Iconize window
Iconize is not a design tool, and it does not try to be. It sits between your image source and the Finder’s icon system, and that placement makes it complementary to a handful of things you likely already use.
Quick Actions and Automator. Because the iconize mac app accepts drag-and-drop input from Finder, you can wrap it in an Automator Quick Action that feeds selected image files into the app and applies a preset corner and padding configuration. That turns it into a one-click “iconize this folder” service in the right-click menu.
Preview and clipboard images. If you sketch a rough icon in Preview’s annotation mode, copy it, and paste the clipboard contents directly into Iconize, it treats the pasted bitmap like any other image. The same works with screenshots grabbed with ⇧⌘4 — no intermediate file needed.
Tags and Spotlight. Once an icon is applied, it lives inside the file’s resource fork. Spotlight does not index .icns data, but Finder’s icon preview obeys it everywhere: column view, Cover Flow, and the Get Info panel. If you are using tags to organize by project, a custom icon makes tagged folders visually distinct without losing the color-coded dot.
Third-party launchers. Apps like Alfred and Raycast display custom folder icons in their results, so a folder iconized with the studio logo becomes scannable in a list of otherwise identical-looking directory entries. This is where the padding setting really earns its keep — an icon that is too small inside its bounding box gets lost among text entries.
Developers distributing a .dmg will find the same workflow useful: generate an icon for the disk image file itself, then attach it. No separate icon composer required.
- macOS 11 or later
- Apple Silicon (M1–M4) or Intel Mac
$ man iconize | grep -A2 "?"
What image formats can I drop into Iconize?
Any still-image format that macOS can decode natively — including HEIC, PNG, JPEG, TIFF, and GIF — works. The app reads what Quick Look reads.
Does Iconize run on Apple Silicon?
Yes. The developer lists support for M1, M2, M3, and M4 Macs alongside Intel machines; it requires macOS 11 or later.
Can I control the corner radius of the generated icon?
Yes. Iconize lets you add rounded corners and padding so the output matches the squircle profile macOS expects for app and folder icons.
Comments 0
Sign in or create an account to leave a comment.
No comments yet. A codec, a slice, a machine — they appear after moderation.