Live Home 3D Pro for macOS
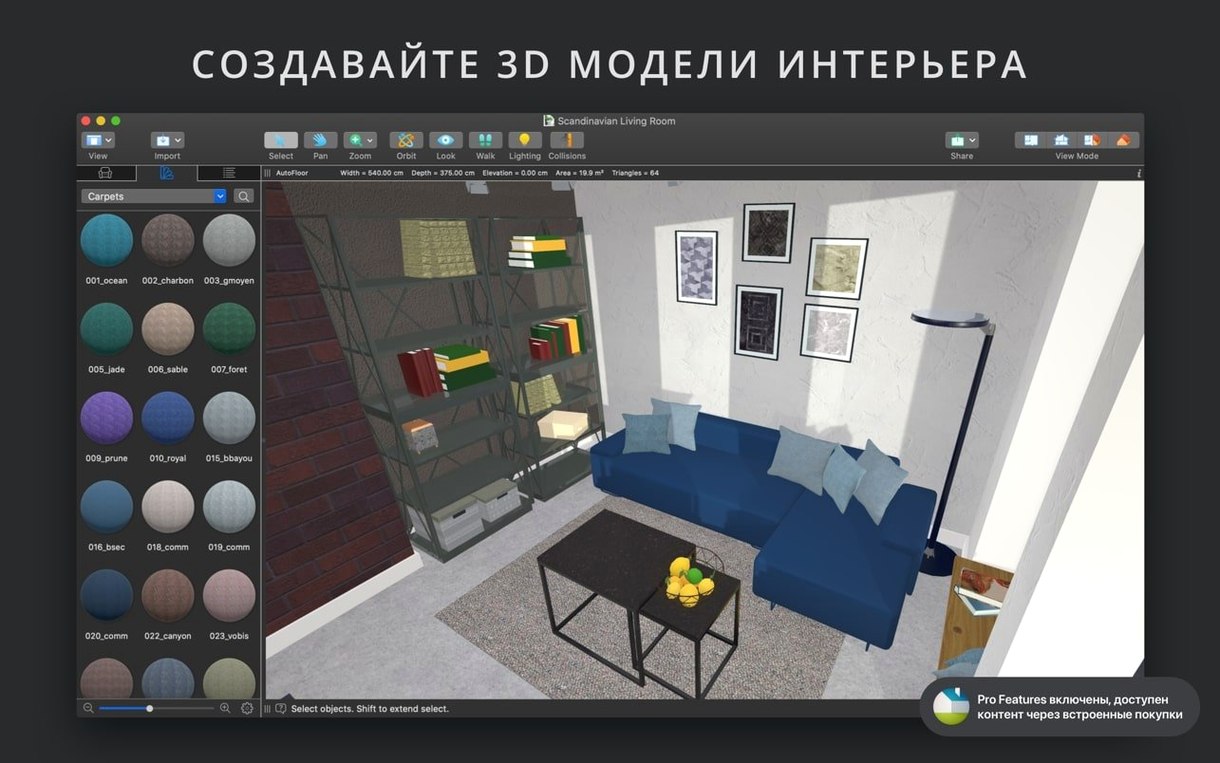
Starting a floor plan from a blank grid can feel like staring at an empty page. The tools are there, but where do you actually begin? Live Home 3D Pro turns that blank canvas into something approachable by giving you a structured starting point and a clear path from 2D drafting to a furnished 3D scene.
Start with the project gallery
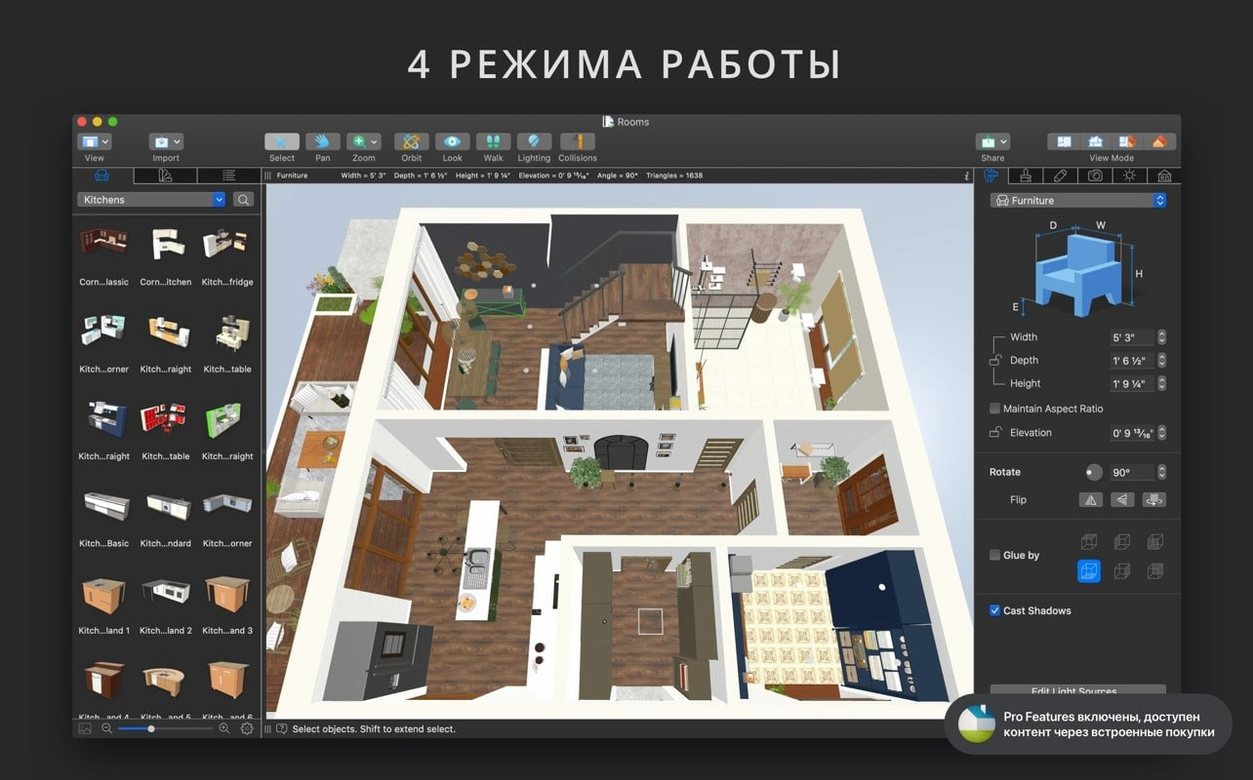
The fastest way to understand how a project fits together is to open one that already works. The built-in gallery includes complete house and room projects. Pick a sample that roughly matches what you have in mind, then walk through it virtually to see how the layers of walls, floors, furniture, and lighting interact. Switching between the multiple camera angles shows how different viewpoints are set up, which is something you will want in your own scenes later. Once you are oriented, you can strip the sample back to its shell and begin modifying the floor plan. Measurement units switch between inches, feet, and meters under the project settings, so you can work in whatever system your building materials expect.
Bring in exterior geometry early
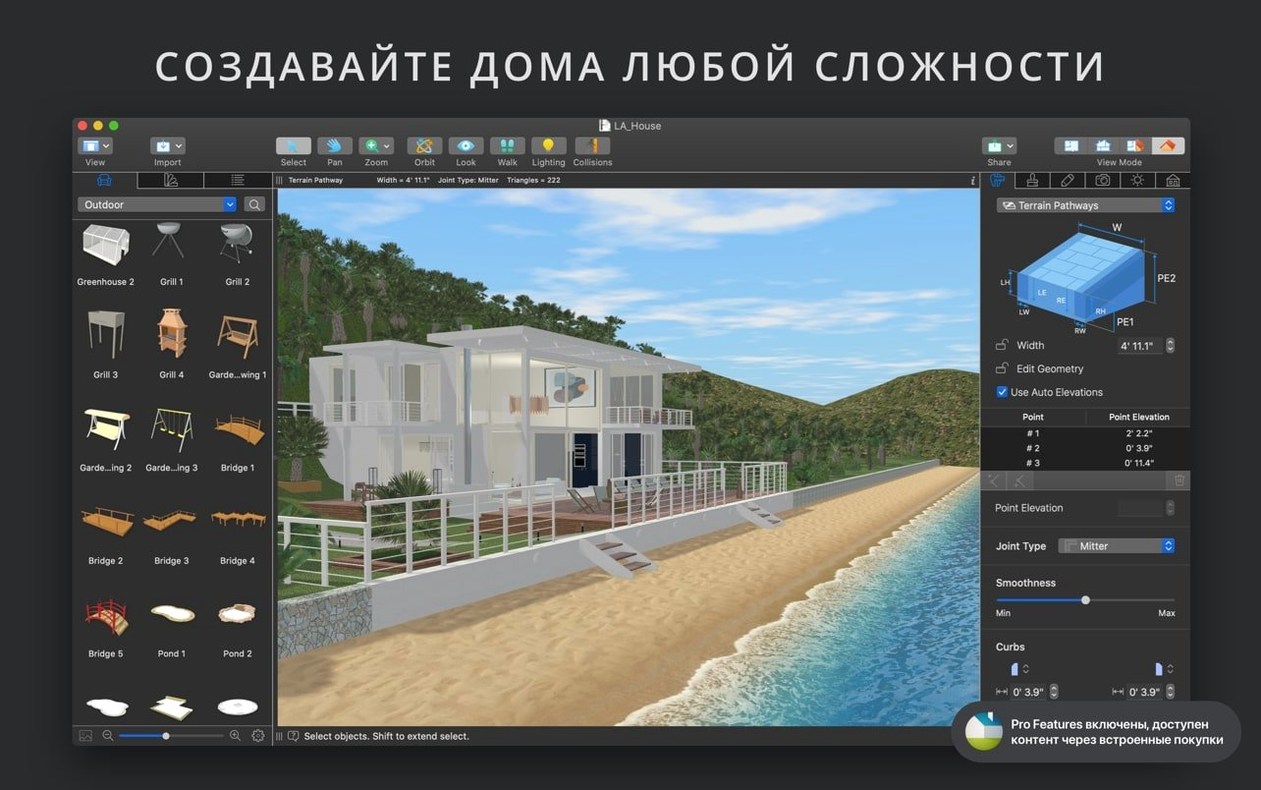
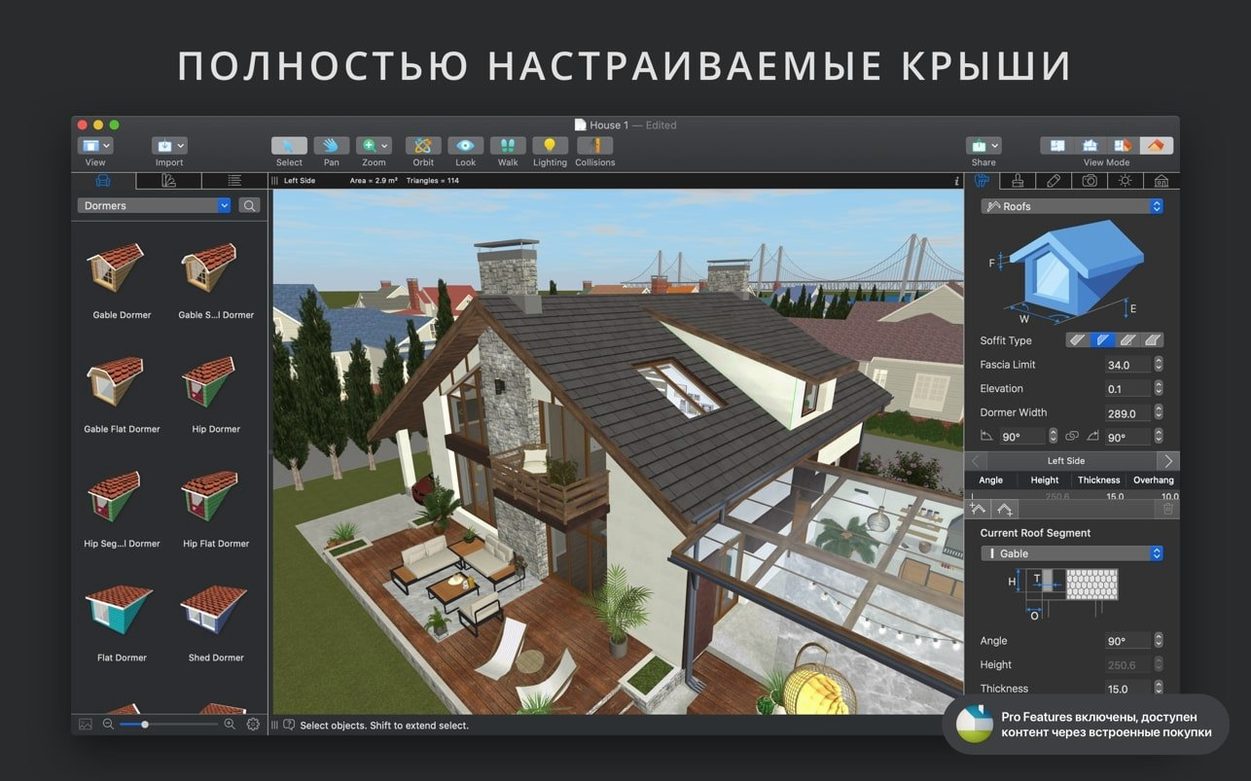
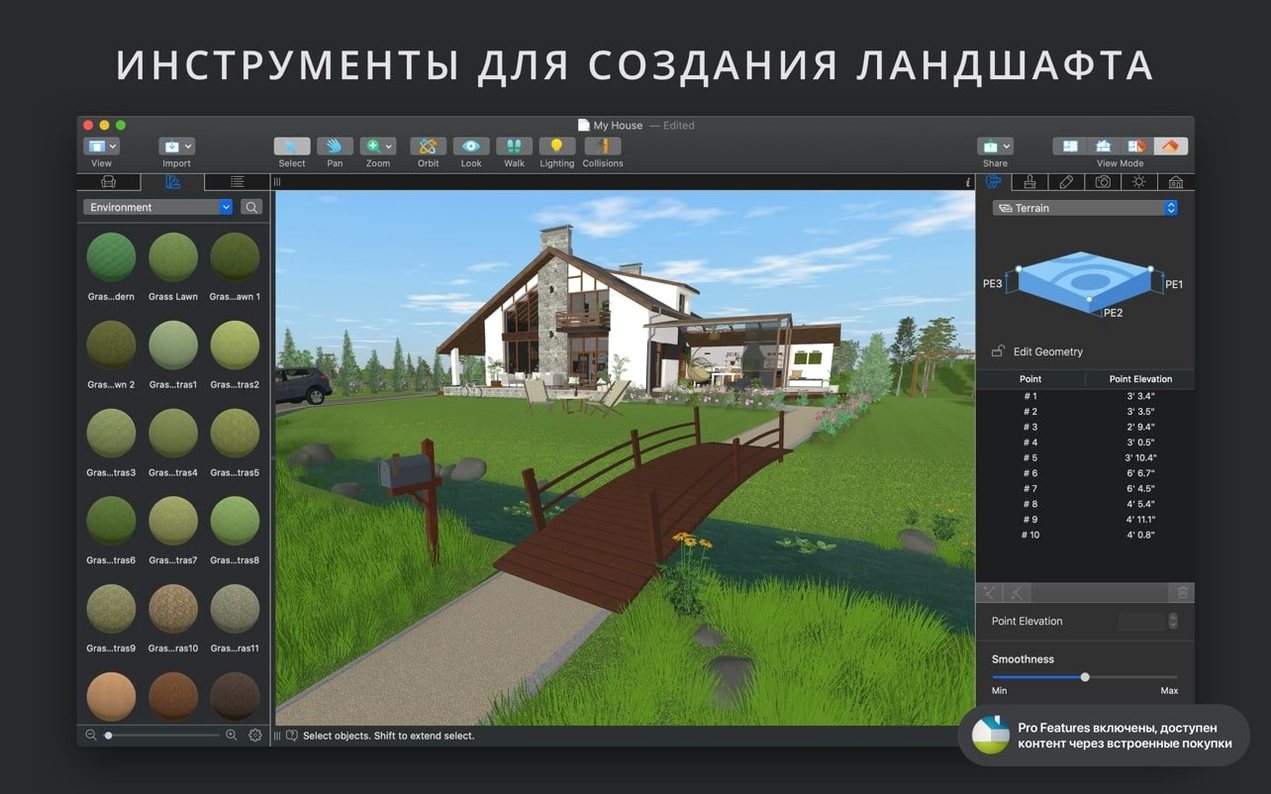
Before getting deep into interior detailing, roughing out the roof and surrounding landscape gives the building a sense of place. The roof creation assistant offers twelve customizable templates, which is usually faster than modeling roof geometry from scratch. For site context—terrain, neighboring structures, garden elements—the app imports objects in SketchUp, COLLADA, KMZ, FBX, OBJ, and 3DS formats. Trimble 3D Warehouse is accessible directly, so you can pull in a pre-made tree or streetlamp without leaving the workspace. When you later export a walkthrough video in Ultra HD resolution, that early exterior work pays off by making the camera path feel grounded rather than floating in empty space. The shadow map technique produces softer shadows than standard hard-edged ray casting, which reads more naturally on both architectural surfaces and landscape elements during those video exports.
Start in the gallery with a split 2D/3D view
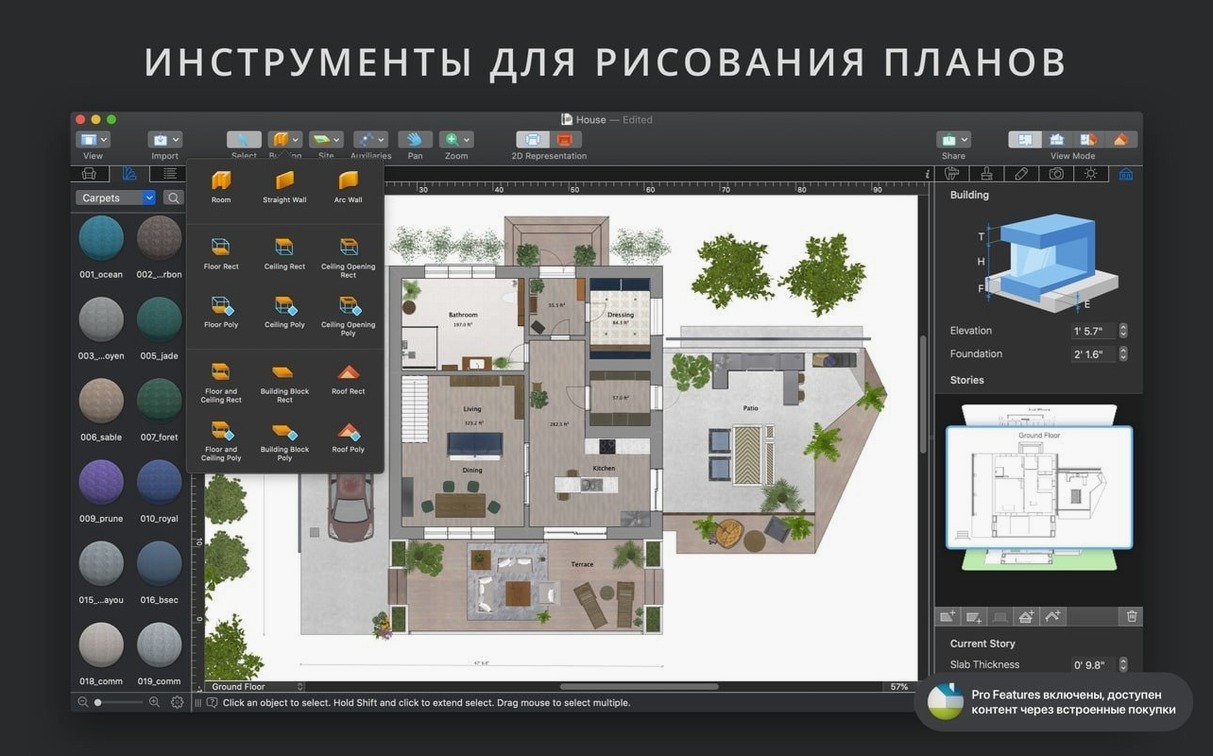
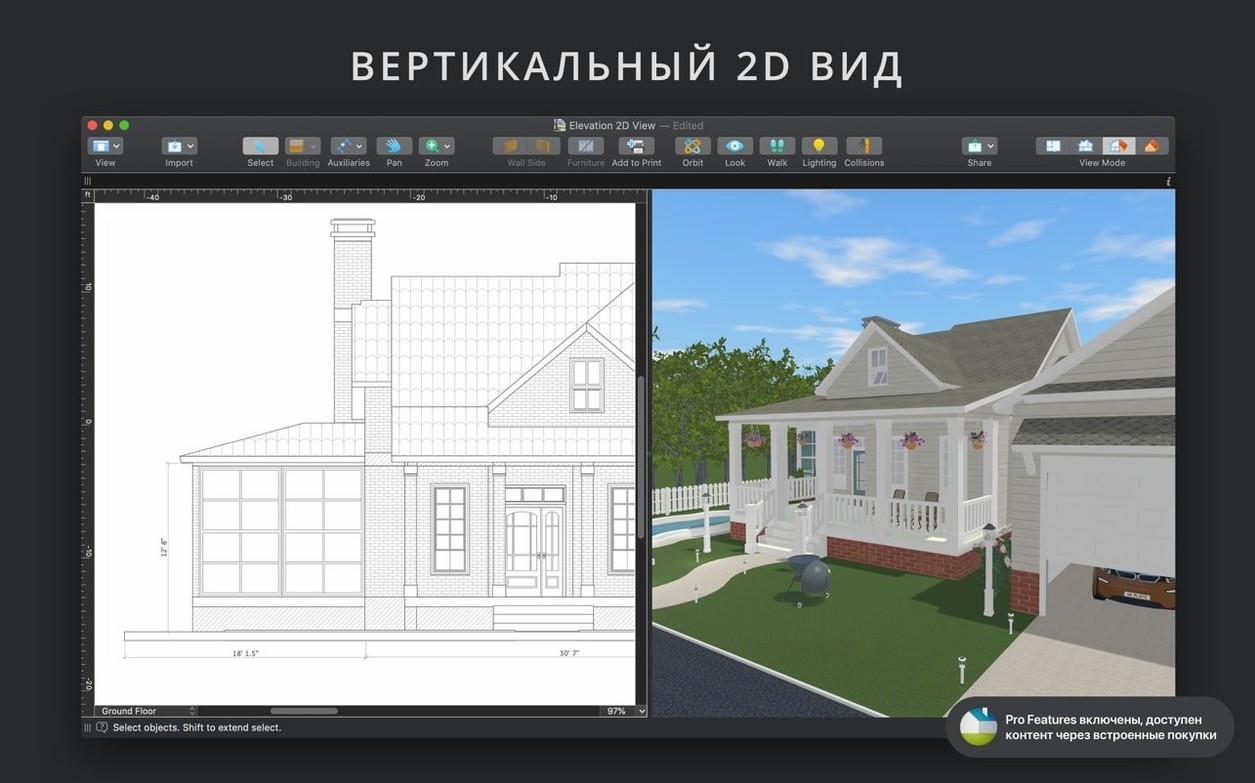
You launch the app and start from the gallery. The sample project loads with its 2D plan on the left side of the screen and the 3D view on the right — the split is persistent, and you can drag the divider to give either view more real estate. Your first real task is tracing the outer walls. Select the straight wall tool, click once at the starting corner, and drag. A dimension label follows the cursor as you extend the wall, so you see the measurement before you commit. Tap Tab to type an exact length instead of eyeballing it. When the wall hits 4200 mm, you click again. The tool stays active; you can chain the next wall segment immediately. Curved walls use a different tool — click the arc start point, then the endpoint, then pull the curve outward. It takes two or three tries before the radius feels natural, but undo is instant.
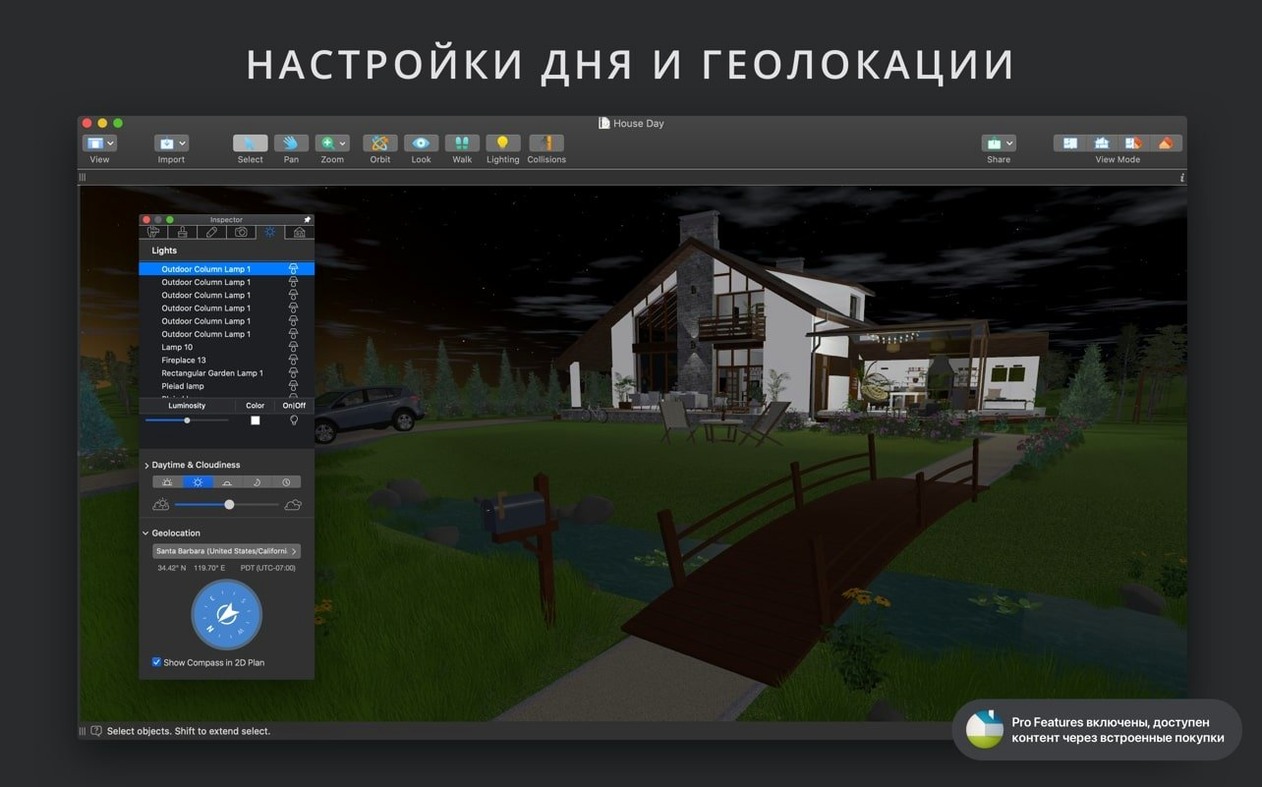
With the shell roughed out, you drop in windows and doors by dragging them from the object library. They snap to wall centers automatically. A beginner instinct is to place every window now, but experienced users hit Cmd+R to render the 3D view early — just the bare walls with one window — to check whether the daylight angle makes sense. The geolocation and time-of-day sliders sit in the lighting panel; set your city and slide the time to mid-afternoon. If the sun pours through a north-facing window that should face the garden, you rotate the entire building in the 2D view before adding more detail. Fixing orientation later means moving every light source and camera, so the order matters.
Furniture comes from the built-in catalog. Over two thousand models live in categorized folders. You drag a sofa into the living area and switch the 3D view to camera mode — the floor plan still shows the sofa as an outline, so placement stays precise. A common workflow: place large items first, set your cameras, then decorate. Cameras store position, field of view, and projection type. You might set one wide-angle camera in the kitchen corner and a tighter orthographic camera for the hallway. Later, during video export, the app moves smoothly between these saved viewpoints. Before exporting anything, you open the level-of-detail control and lower it temporarily — navigation stays fluid even on a complex scene, and you raise it back for the final render.
Dimension lines auto-mark walls and spans as you draft
The dimension line tool is not just for finished drawings — turn it on while drafting, and it automatically marks wall lengths, floor spans, and ceiling heights as you work. This is easy to miss because the tool looks like a post-production annotation feature, but it updates live. When you nudge a wall 30 cm to the left, the dimension label follows.
Guides and snapping are separate systems, and both have toggles you will want to learn. Guides appear when you drag from the rulers at the edges of the 2D canvas. Snapping pulls the cursor toward wall midpoints, corners, and object centers. Hold Option while dragging to temporarily disable snapping — useful when you need to place a chair half a degree off the grid without fighting the magnet. The vertical view mode, activated from the toolbar, shows a cross-section through the current floor. You can adjust ceiling height and floor thickness here by dragging the horizontal lines, and the 3D view updates in real time while you do it.
A less obvious feature: right-click any object in the 3D view and you can change its material, move it, or adjust its light source without switching back to the 2D plan. The material picker works the same way. Drag a JPEG from Finder directly onto a wall or furniture surface in the 3D view, and it becomes a custom material. The advanced material editor opens from there, letting you tweak specular highlights, bump mapping, and transparency. Few people discover that imported light sources — say, a pendant lamp from Trimble 3D Warehouse — get their light properties through the light source editor, which is a dedicated panel for assigning bulb color, intensity, and falloff radius to otherwise dark imported models.
Set ground floor boundaries before adding upper levels
The most common slip is ignoring floor levels before building upward. The app supports unlimited floors, but each new level inherits the outer wall boundary from the one below. If you draw the second floor before setting the ground floor wall thickness correctly, the misalignment propagates upward. Check your wall types and thicknesses on the ground floor first, then add levels. A related trap: custom attic types. There are sixteen templates, but applying one without adjusting the roof pitch first can produce ceiling planes that slice through second-floor windows. Build the roof structure, position the attic, and then place upper-floor windows.
Another beginner habit is placing every light source at full intensity. The scene turns flat when every bulb outputs 100%. The shadow map technique softens shadows, but it cannot save an overlit room. Dial most fixtures down to 60–80% and let the natural lighting system carry the ambient fill. The cloudiness slider in the lighting panel does more than people expect — partly overcast skies diffuse sunlight in a way that flatters interior renders, especially around mid-morning. Test different cloud cover settings before committing to artificial light placement.
File management trips people up too. The app saves projects as .lh3d packages, and iCloud sync keeps them available across Macs. But when you send a project copy via Mail, Messages, or AirDrop, the recipient needs the same version of Live Home 3D Pro to open it. Exported 3D models — COLLADA, SketchUp, VRML, X3D, FBX, or OBJ — are portable, but materials sometimes embed differently across formats. FBX tends to preserve the most material data; OBJ is the safest bet if you are moving geometry into a renderer that does not read the app's native material definitions.
Import .skp terrain from SketchUp for interior detailing
Live Home 3D Pro sits comfortably in a Mac workflow because it reads and writes formats that other tools understand. A landscape designer might model terrain in SketchUp, export as .skp, and import it here for interior detailing and lighting. The reverse path works too: draft the full interior, set your cameras, then export the whole scene as FBX and bring it into a dedicated renderer or game engine for cinematics. The Ultra HD walkthrough video exports as a standard .mp4, so you can drop it into Final Cut Pro or DaVinci Resolve for titles and audio without transcoding.
Still images export as JPEG, TIFF, PNG, or BMP. PNG is the one to reach for when you need transparency behind the rendering — useful if you plan to composite the building onto a photograph
- macOS 12 or later
- Apple Silicon or Intel 64‑bit
Comments 0
Sign in or create an account to leave a comment.
No comments yet. A codec, a slice, a machine — they appear after moderation.