Luminar Neo for macOS
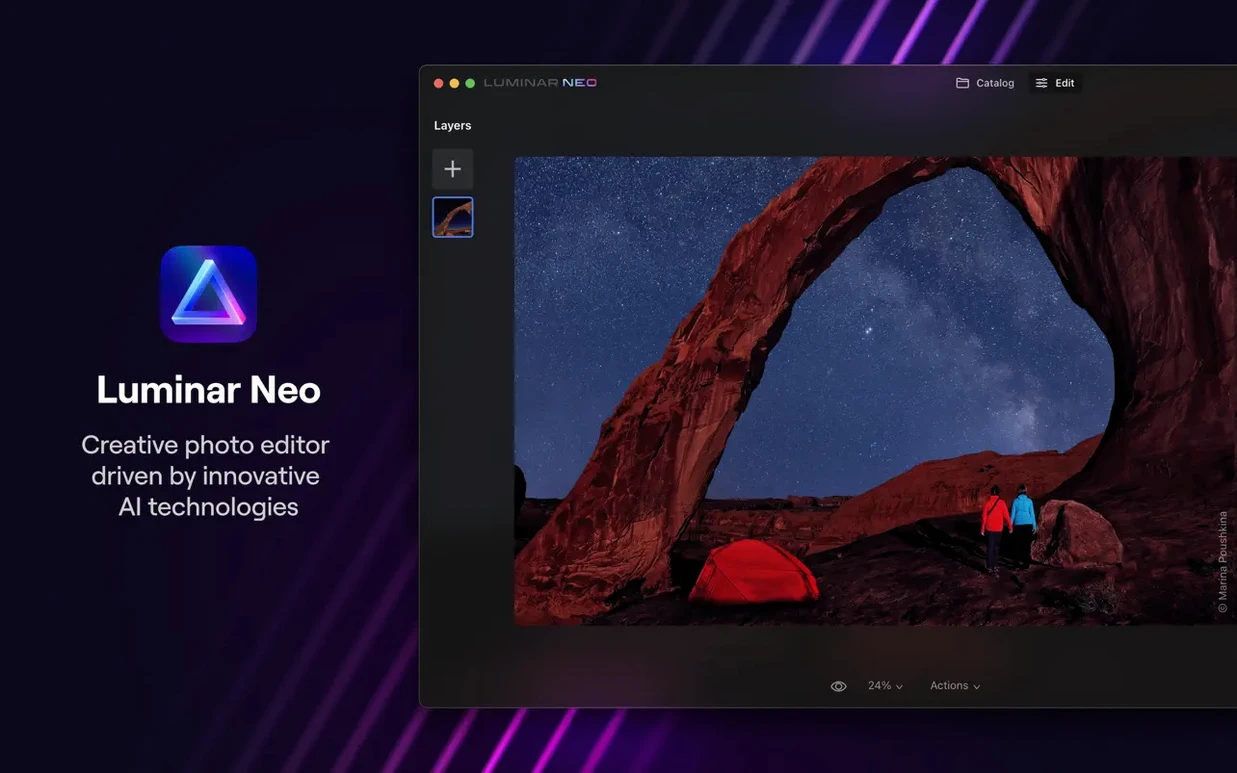
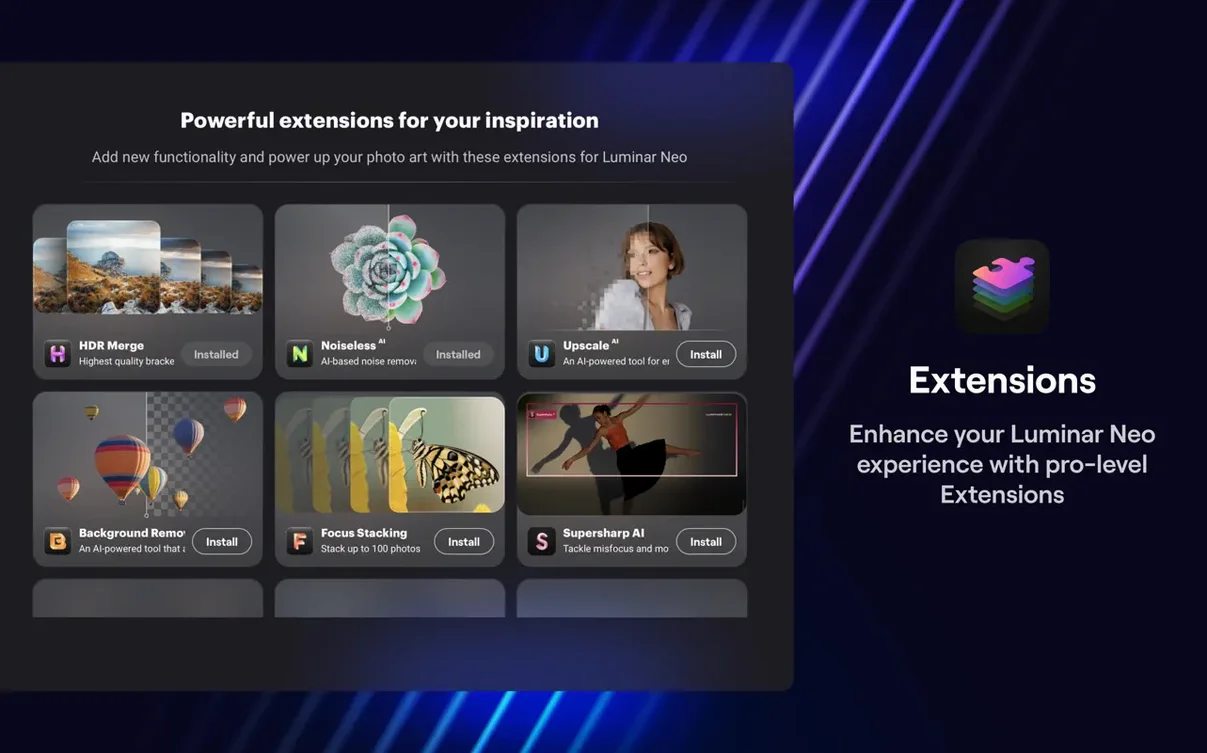
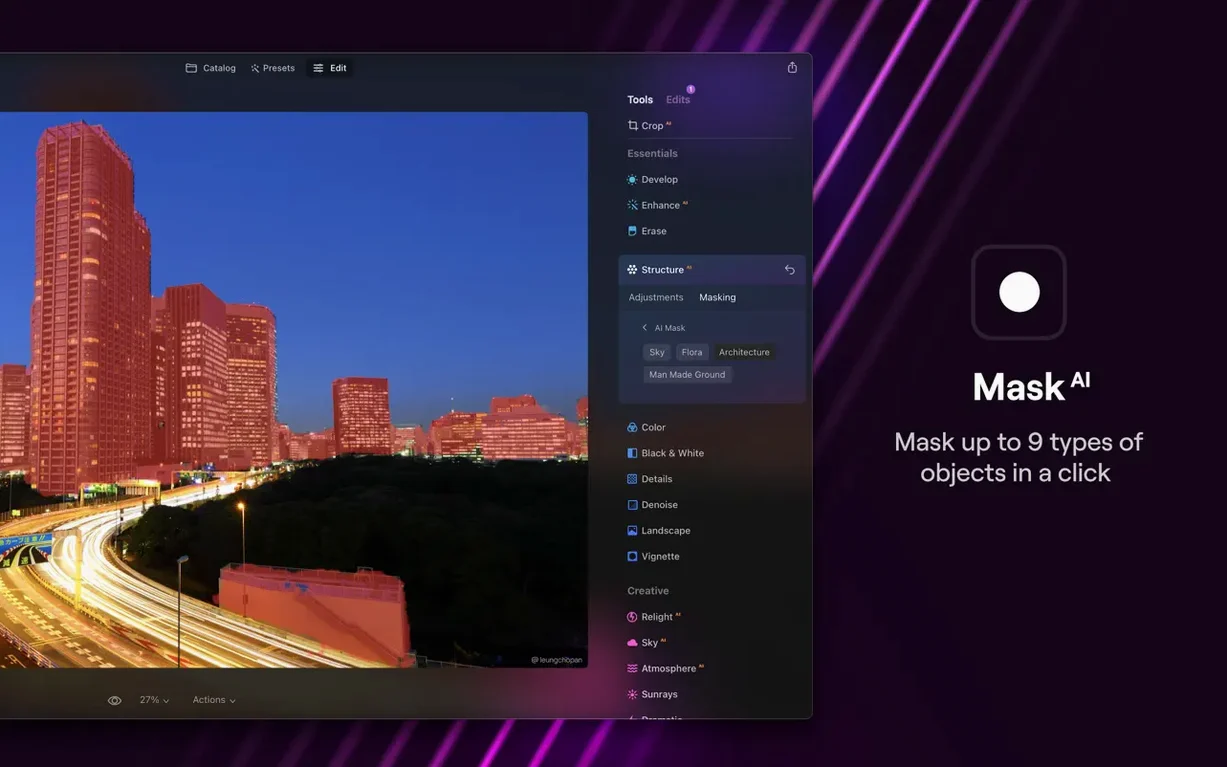
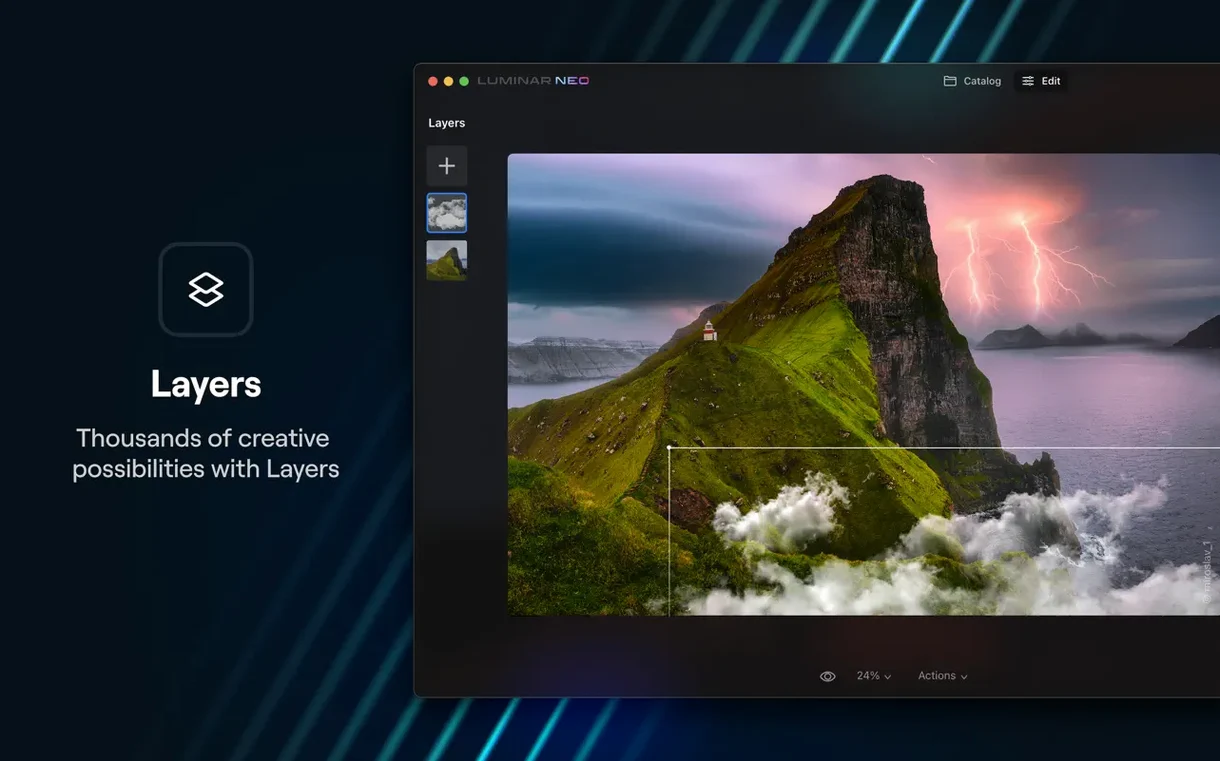
Portrait photographers and compositing artists tend to reach for Luminar Neo when they need a heavy creative lift without spending the afternoon on manual masks. It’s the more freeform sibling of Skylum’s earlier LuminarAI, built around layers and a set of scene-aware tools that do a lot of the pixel-pushing for you.
Version 1.26.0 keeps that layer-based workflow intact and threads the AI Assistant directly into the Presets and Edit tabs. The idea is that you open an image, the assistant reads the scene, and it surfaces a starting point — a preset or a slider adjustment — right where you’re already working. It’s a quiet change in terms of interface footprint, but it cuts out a few clicks for anyone who leans heavily on the AI suggestions.
What hasn’t shifted is the tool set underneath. Background replacement, the core masking engine, and the general architecture all carry over from the previous version. The support note worth paying attention to is the macOS floor: the current release still runs on macOS 12 Monterey, but Skylum has flagged that the next version will require macOS 13 Ventura. If you’re holding off on a system update, 1.26.0 is the de facto stopping point.
How does Luminar Neo compare with Pixelmator Pro, Photomator, and Affinity Photo?
Luminar Neo sits in an odd spot on a Mac. It is not a full raw developer with a digital asset management sidecar, and it is not a pixel-level compositing tool in the Affinity Photo sense. The closest comparison is probably Pixelmator Pro — both lean on Metal and Core ML for heavy lifting, and both want to replace a handful of trips into Photoshop with a single slider.
The key difference is the role of AI. In Luminar Neo, scene analysis is the starting point: the software reads depth, subject type, and lighting, then offers adjustments that are already weighted for that image. Pixelmator Pro has ML-powered features (Super Resolution, automatic subject selection, color adjustments) but they are tools you invoke; Luminar Neo’s assistant acts more like a co-pilot that volunteers a direction. Whether that feels helpful or intrusive depends on how much control you want before the first edit lands.
Photomator, from the same team that builds Pixelmator, is closer in spirit to Luminar Neo’s preset-driven side, but it lacks layers entirely. If your workflow depends on stacking textures, composite portraits, or replacing skies with something that matches the original foreground lighting, Photomator is out of the running. Affinity Photo sits at the other end of the spectrum: it gives you full manual control, non-destructive raw development, and a CMYK pipeline, but it also expects you to understand blend modes and frequency separation. Luminar Neo trades that depth for speed; you give up fine-grained paths and gain an edit that takes thirty seconds instead of twenty minutes.
For a photographer who already does culling and cataloguing elsewhere and wants a creative finishing app, Luminar Neo makes a lot of sense. For a retoucher who needs to deliver print-ready files with precise color management, Affinity Photo is the safer choice. Pixelmator Pro splits the difference — fewer AI nudges, more manual control than Neo, but lighter than Affinity.
Turn off the auto AI Assistant popover before editing
Luminar Neo ships with a few defaults that are tuned for demonstration, not for daily editing. Three changes that pay off immediately:
- Turn off the automatic AI Assistant popover in the Edit tab. The assistant can be useful, but having it expand every time you switch modules gets old. In Preferences, under the General tab, uncheck “Show AI Assistant automatically.” You can still summon it with the button when you want a suggestion.
- Set the default raw conversion engine. If you shoot raw and your files look flat or the colors skew warmer than expected, check whether the app is defaulting to the Skylum engine or Apple’s Core Image raw decoder. The Skylum engine tends to preserve more highlight detail and applies less aggressive sharpening, but the Apple decoder often matches what you see in Finder previews. Switch in Preferences > Raw Development and compare on a few frames before committing.
- Change the scratch disk location. By default, Luminar Neo uses your system drive for temporary files. If you are working with layered composites or large panoramas, point it at a fast external SSD in Preferences > General > Scratch Disk. The app writes a lot of intermediate data during AI processing, and a busy internal drive can slow everything down.
One more that is easy to miss: the Presets tab previews are rendered at reduced resolution by default. If you want an accurate preview before applying, hold Option while hovering over a preset thumbnail; the app renders it at full quality. Not a setting per se, but the kind of thing you want to know on day one.
Why every tool stays active in your render stack
Luminar Neo’s editing model is stateful in a way that trips up people coming from Lightroom or Capture One. Every tool you enable — RelightAI, Atmosphere, Sky replacement — stays active and contributes to the render stack. If you add a sky and then adjust exposure, the exposure change applies to the whole image, including the new sky layer. That is by design, but it means the order you apply edits matters more than it would in a parametric raw editor. A practical habit: after you finish a creative pass, collapse the tool stack by disabling tools you no longer need actively adjusting. The image keeps the rendered result, but the app stops recomputing everything on every slider move.
The layer system also has a quirk worth noting early. When you add an adjustment layer, it applies to everything below it — standard behavior for anyone used to Photoshop. But Luminar Neo treats the original image as a fixed bottom layer that cannot be reordered. If you want to apply an adjustment to only part of the image, you need to use the masking brush on that adjustment layer. The mask tools are brush-based, not vector, so spending ten minutes learning the edge-aware brush settings (found in the mask toolbar under the brush icon) will save a lot of frustration later.
One more tip: the app stores its catalog in ~/Library/Group Containers/, and it can grow large if you let it cache previews indefinitely. After a heavy editing session, opening Preferences > Catalog and clearing the preview cache reclaims space without touching your original files.
Workflow: replacing a background and relighting a portrait
Imagine a portrait shot against a wrinkled bedsheet backdrop — usable expression, terrible background, flat light. Here is a start-to-finish path in Luminar Neo that turns it into something deliberate.
Open the raw file. The AI Assistant will offer a preset; ignore it for now. Go to the Edit tab and enable Develop first. Set white balance and exposure for the subject’s skin, not the background. The backdrop will blow out or block up, and that is fine — it is about to disappear.
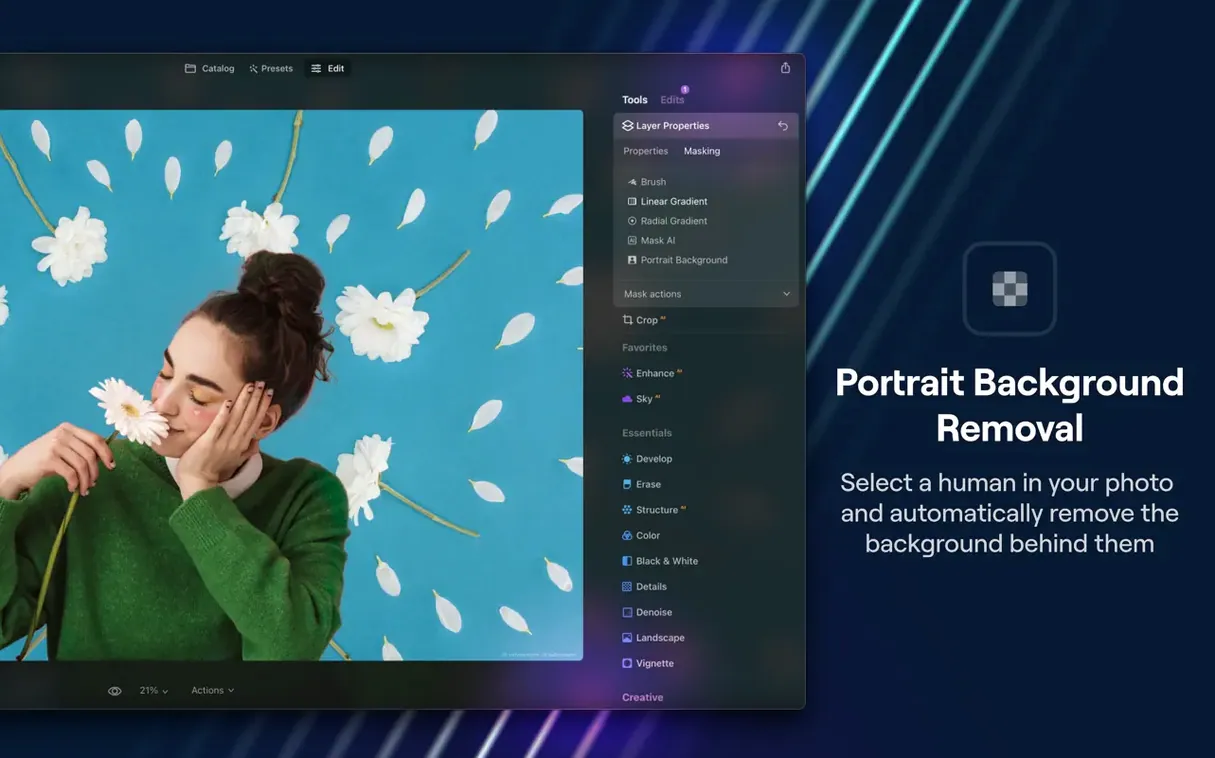
Next, enable Portrait Background RemovalAI. This tool runs an on-device segmentation pass and cuts the subject out. If the mask misses hair strands, switch to the Refine Brush, set it to a small radius, and paint the missing edges. The brush works best at 100% zoom; the algorithm needs pixel-level guidance on fine detail.
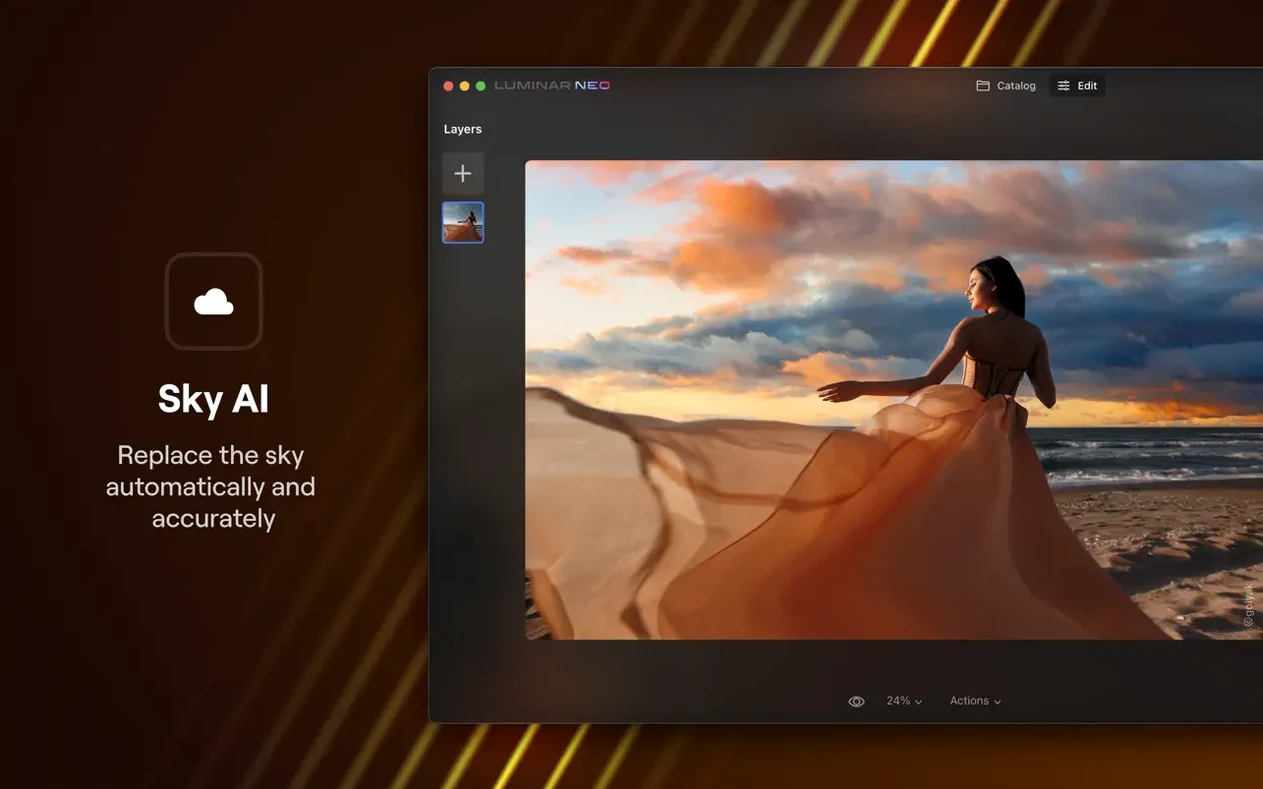
Once the subject is cleanly isolated, open the Layers panel and add a new image layer below the subject. Drop in a background — a cityscape at blue hour, a forest floor, anything with directional light you want to match. At this point the portrait and the background have clashing light directions, which is where RelightAI comes in.
Select the background layer and open RelightAI from the Edit tab. Drag the 3D lighting widget so the virtual light source matches the direction of light on the subject’s face. Adjust the Ambient slider to fill shadows on the background to a level that feels consistent with the foreground. If the subject now looks too bright against the new background, add a Curves adjustment layer clipped to the subject and pull the midtones down slightly.
Finish by enabling Atmosphere on the background layer — a light haze or fog with the blend mode set to Screen can tie the composite together by scattering some of the background color into the subject’s edges. Export as a 16-bit TIFF with the ProPhoto RGB profile if you intend to print, or an sRGB JPEG at quality 90 for sharing.
The whole sequence takes about four minutes once you know the tools, and the heavy lifting — the cutout, the relighting — is the AI’s job, not yours.
What formats does it handle?
Does Luminar Neo work as a plug-in for other editors?
It can run as a plug-in for Lightroom Classic and Photoshop on macOS, but only when you install the plug-in components during the initial app setup. If you skipped that step, you can re-run the installer or enable the plug-in from Preferences > Plug-ins. The plug-in passes a rendered TIFF to Luminar Neo, so you lose raw edit flexibility for that round-trip. For Photoshop users, the best workflow is to finish raw development in Camera Raw, open the image as a smart object, and then send it to Luminar Neo for the creative layer work — that way the base raw settings stay editable.
AI models run locally after the first activation
Yes, once the app is activated. The AI models run locally on the Neural Engine or GPU, so background removal, relighting, and scene analysis do not phone home. The only time Luminar Neo needs a connection is for the initial activation and if you choose to download additional preset packs from within the app.
Is there a catalog, or does it reference files wherever they sit?
Luminar Neo uses an internal catalog that references your files in place — it does not import or copy them. The catalog stores previews, edit history, and metadata. If you move a file in Finder, the catalog entry breaks and you will need to relink it manually. If you are used to a managed library like Apple Photos or Lightroom’s “copy to catalog” option, this is an important behavioral difference to understand before you reorganize your folders.
Does it support batch processing?
Yes, but with a limitation: batch processing applies only Presets, not freeform Edit tab adjustments. If you have a set of images that need the same sky replacement and the same Develop settings, you can save those as a custom preset and apply it across multiple files via File > Batch Processing. For anything that requires per-image masking, you are working one frame at a time.
What is the actual RAM behavior on Apple Silicon?
The developer recommends 16 GB, and that is realistic if you are layering large files. On an 8 GB Mac, a single high-resolution raw file with three layers and the AI tools active can push memory pressure into the yellow. The app does not have a memory limit slider, but you can reduce the pressure by lowering the preview resolution in Preferences > General and by flattening layers you are finished editing. The unified memory architecture on M-series chips handles the GPU/CPU split well; the bottleneck is usually total capacity, not bandwidth.
- The AI Assistant now appears inside the Presets and Edit tabs, analyzing the image and suggesting a starting preset or adjustment directly in the workspace.
- macOS 12.0 Monterey or newer (next release will require macOS 13 Ventura)
- Apple Silicon and Intel Macs
- 8 GB RAM minimum, 16 GB recommended
Comments 0
Sign in or create an account to leave a comment.
No comments yet. A codec, a slice, a machine — they appear after moderation.