Nik Collection for macOS
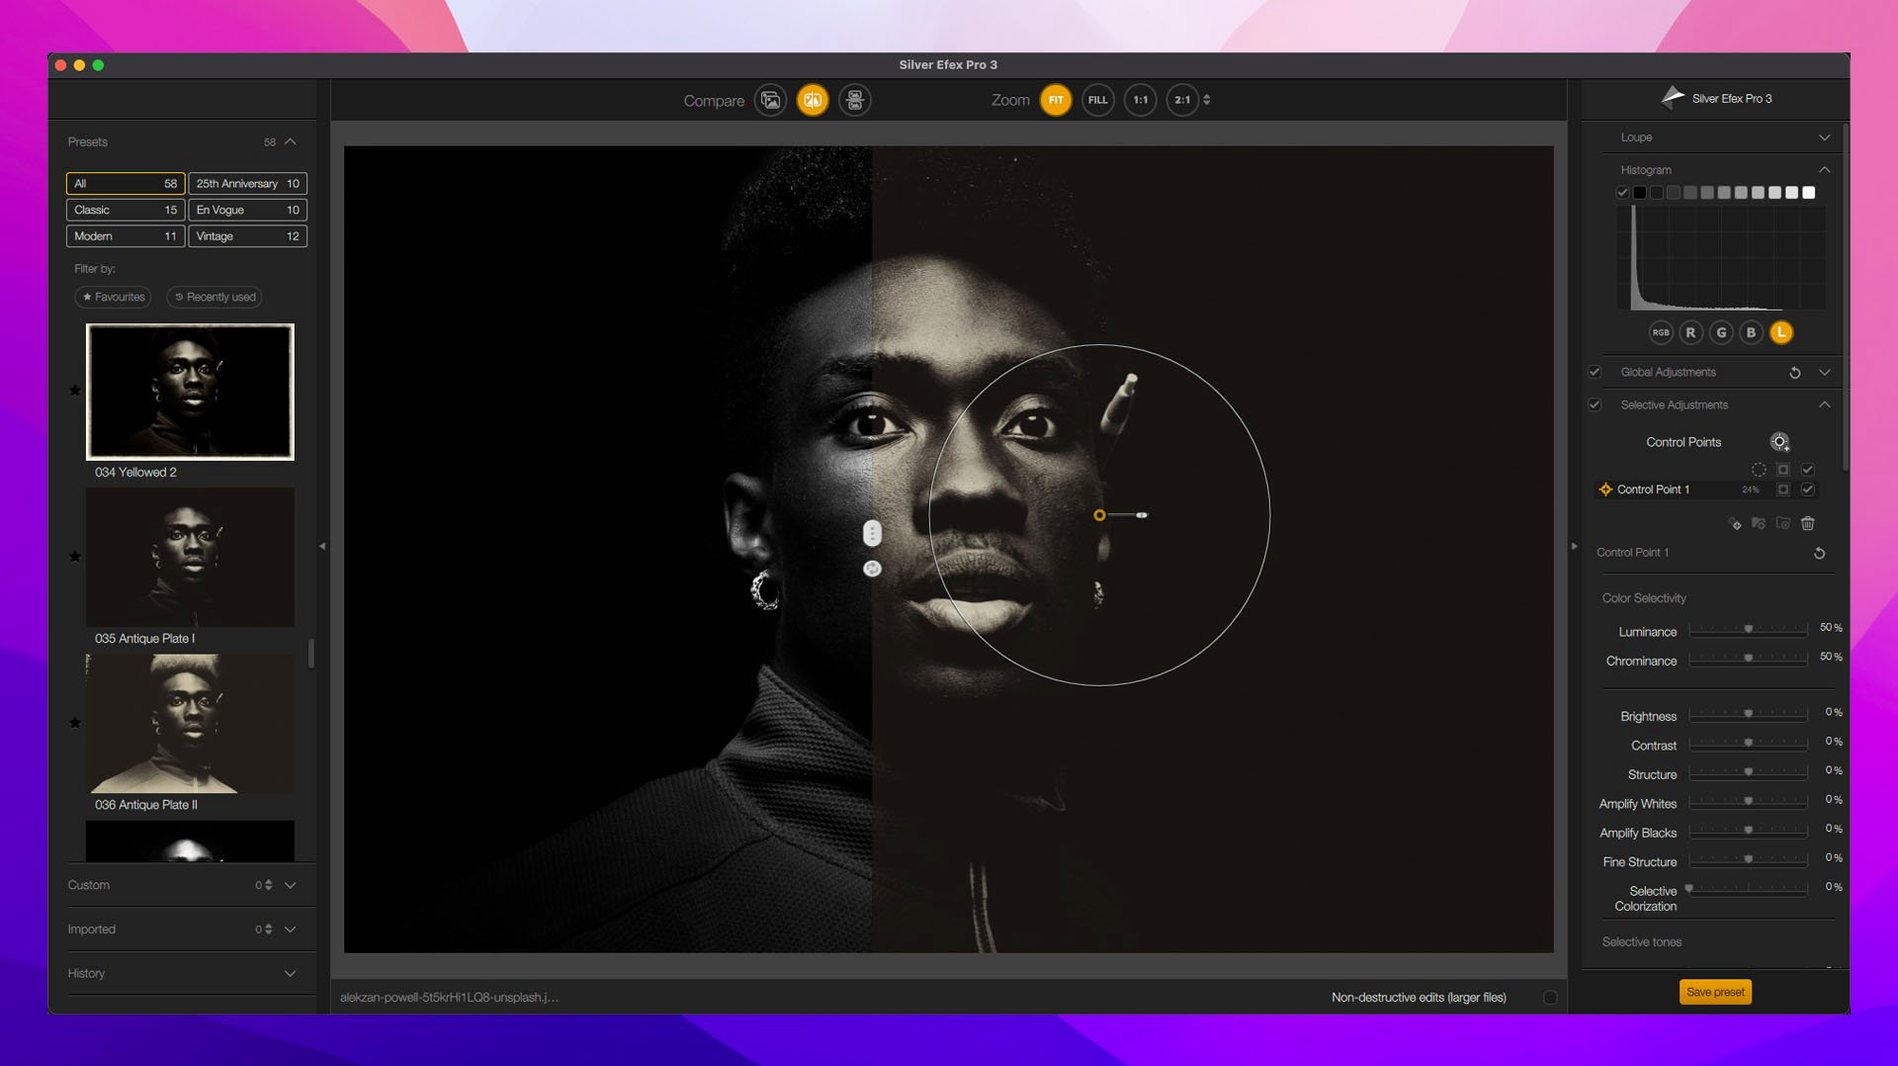
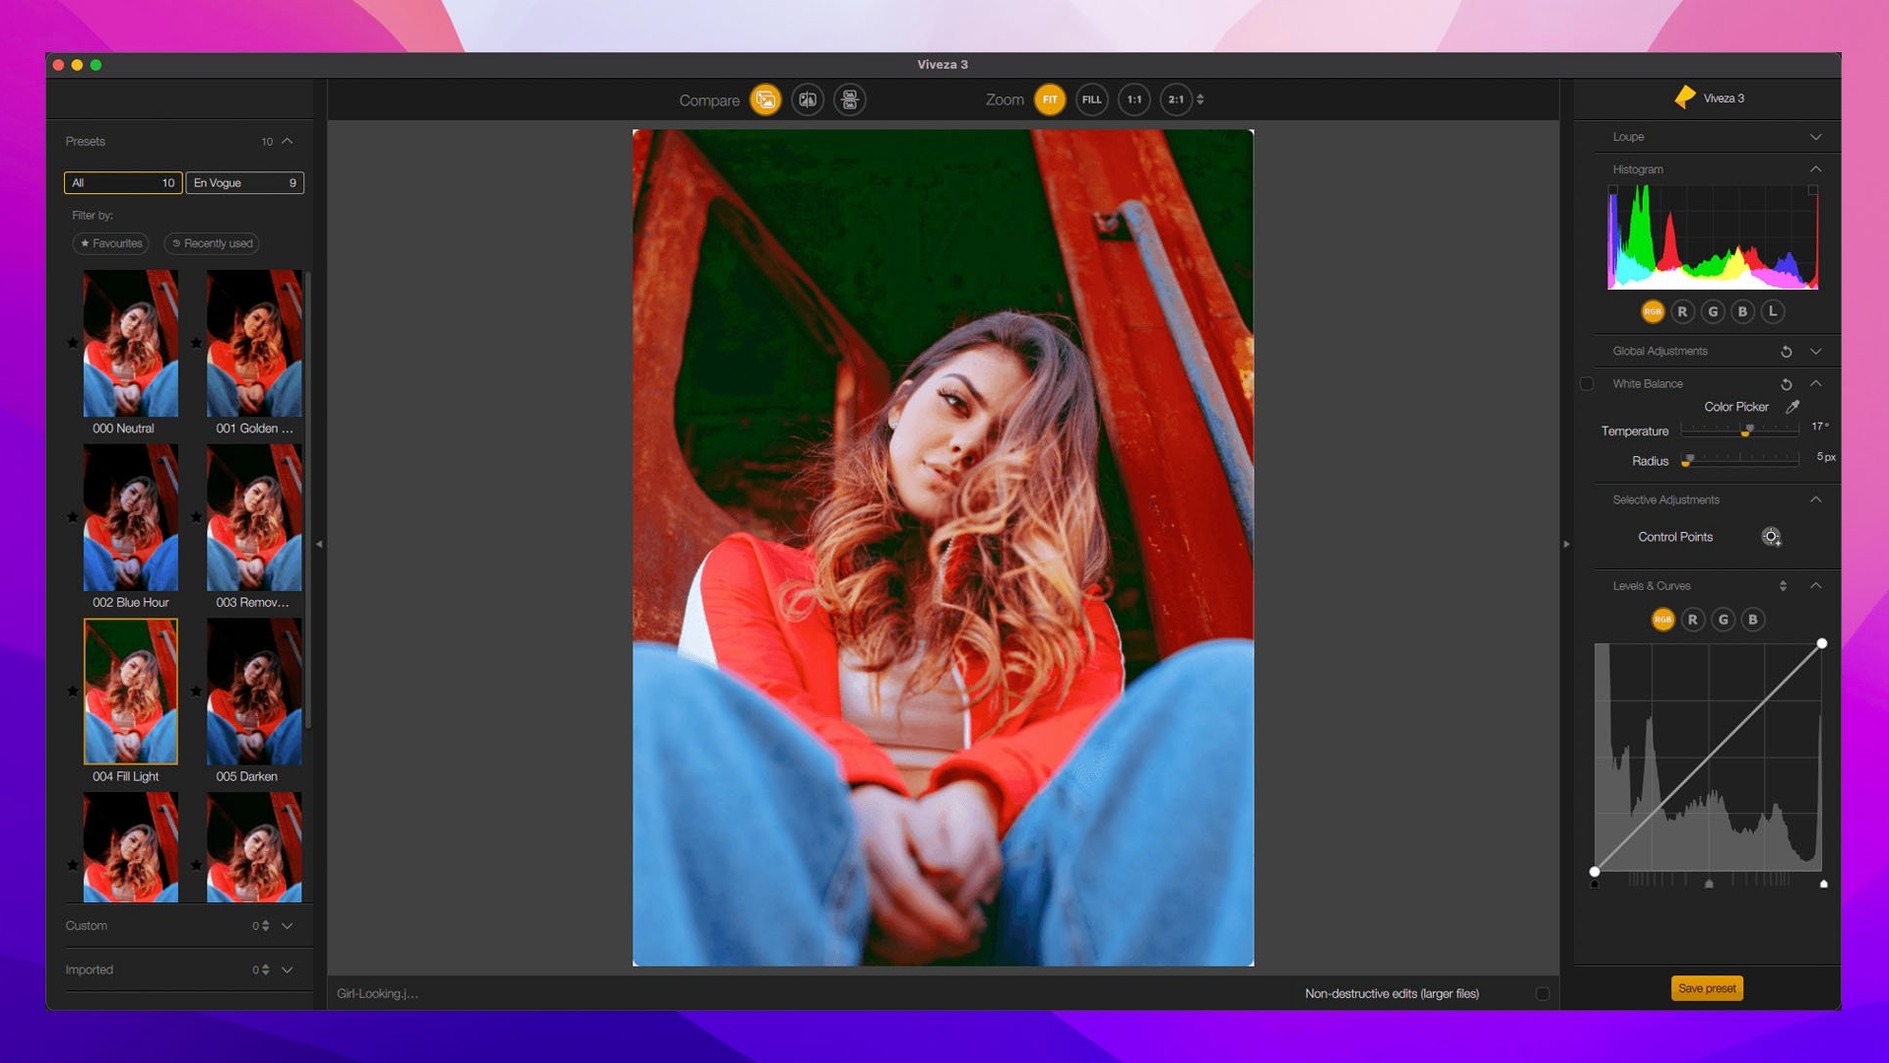
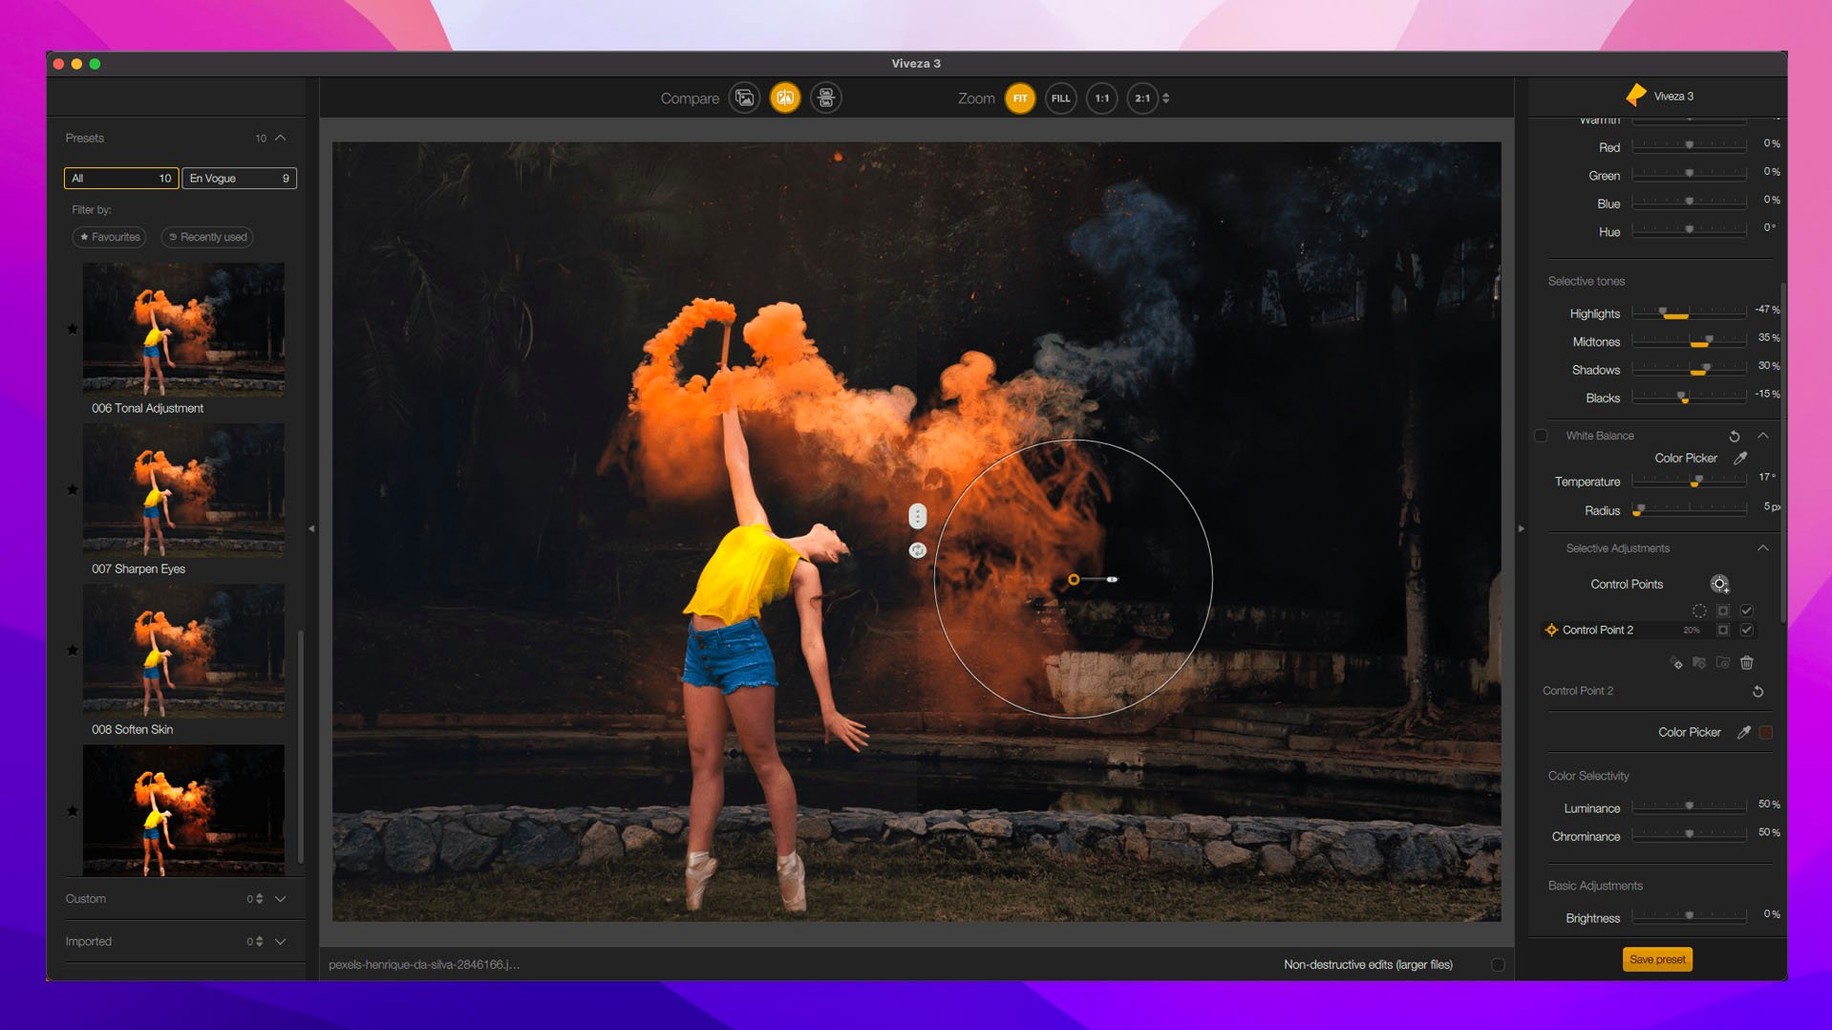
If you already do your raw processing in DxO PhotoLab or your pixel work in Affinity Photo, the Nik Collection slots in as a set of plugins for the jobs those apps don't cover natively. It is a suite of eight plugins that launch from your host application, each one built around a specific task like black-and-white conversion, analog film simulation, or selective color adjustments.
Which darkroom-inspired presets handle black-and-white conversions?
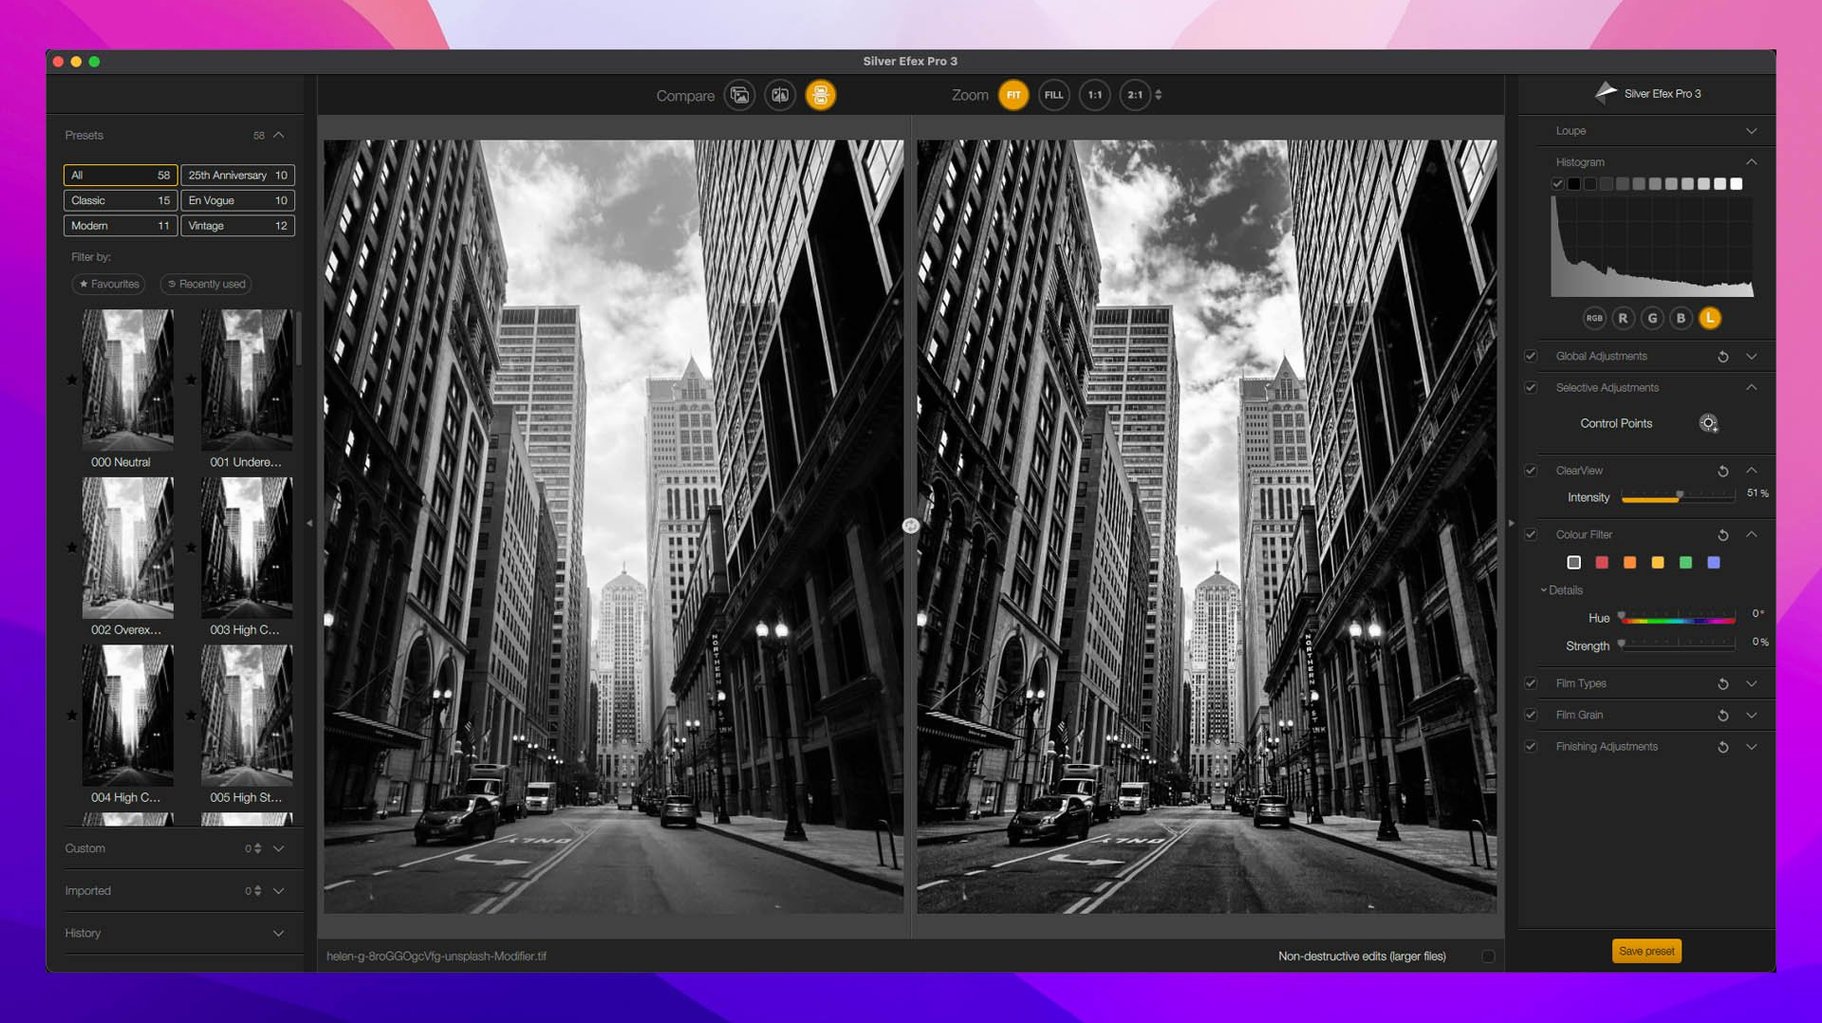
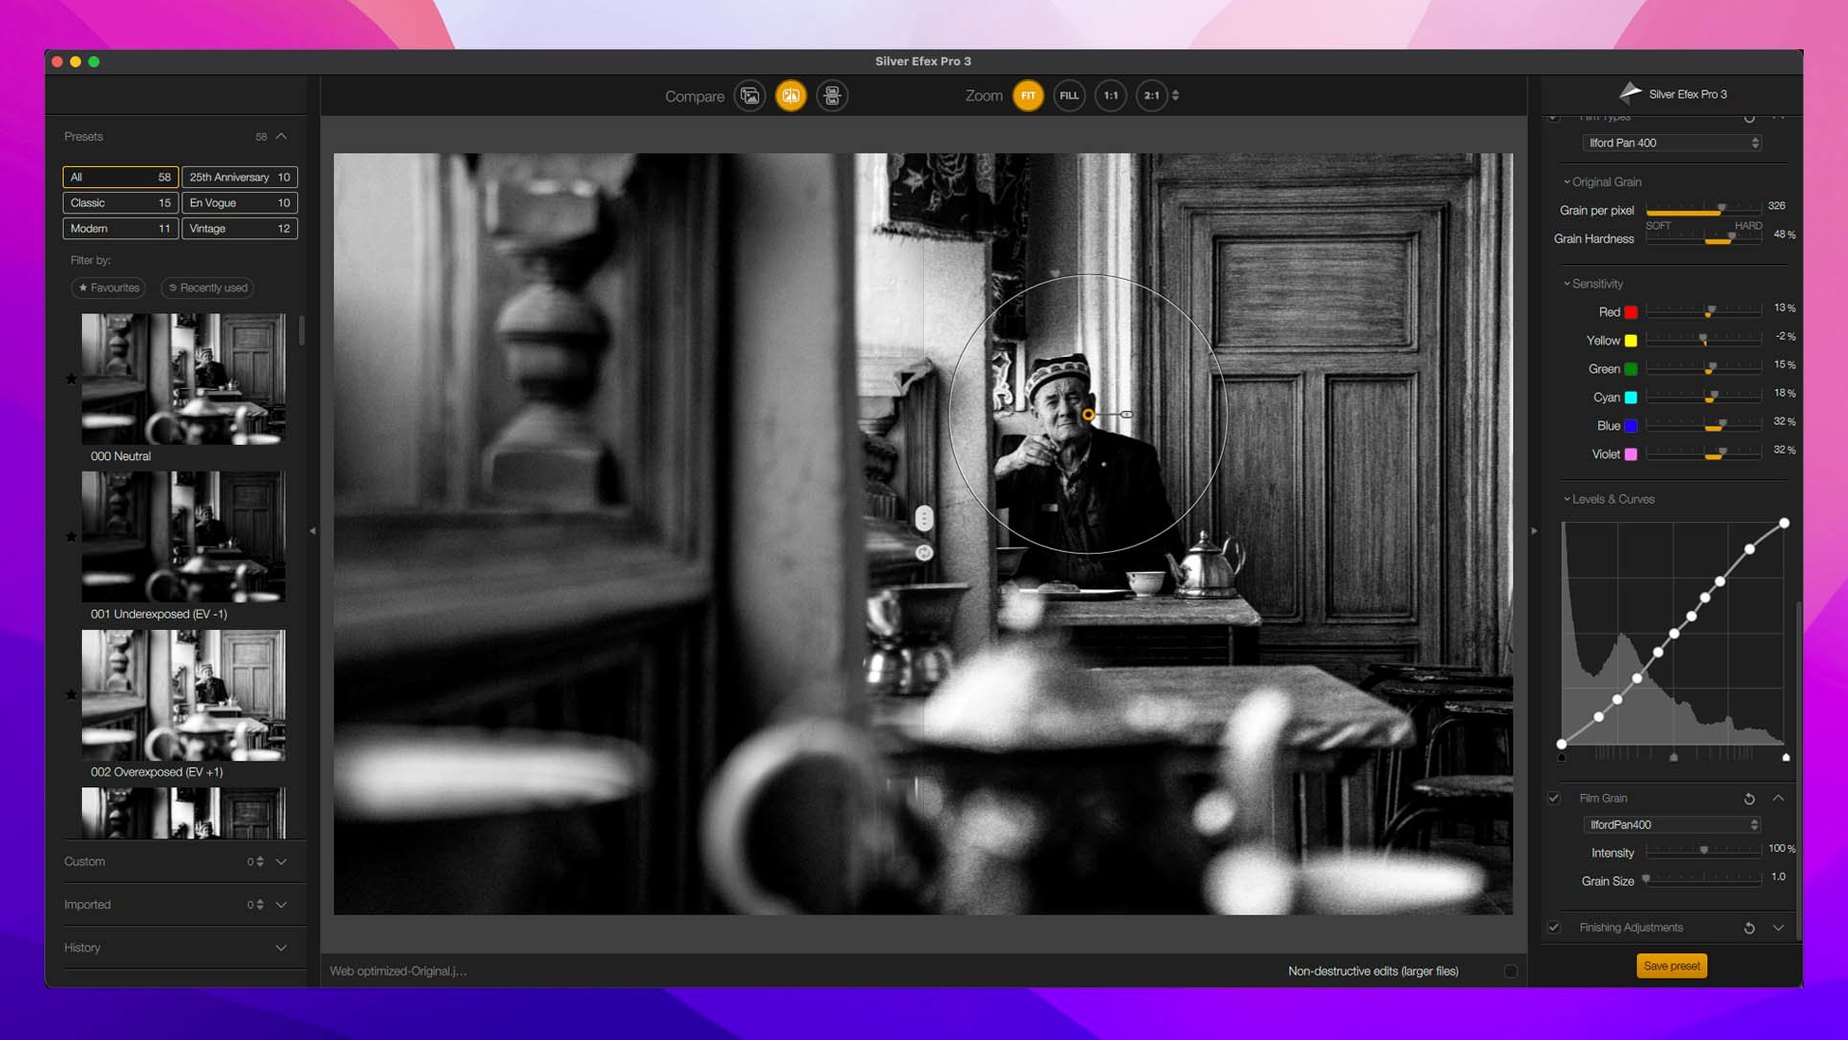
- Silver Efex Pro handles black-and-white conversions with a deep library of presets that mimic darkroom papers and processes.
- Viveza uses control points for local adjustments to color and light without touching a layer mask.
- Color Efex Pro packs 52 filters and 250 effects, plus a Selective tool for painting an effect into a specific area.
- Analog Efex Pro has over 80 tools for light leaks, plate camera looks, and wet plate effects.
- Sharpener Pro works in 16-bit and gives you a live preview area so you can judge the output pixel for pixel.
How do Depth Masks isolate subjects by distance?
The ninth iteration adds Depth Masks and AI Masks across the suite, which means you can isolate subjects by distance from the camera or by content without manually brushing a mask. Nik Color Efex also gets a dedicated Color Grading tool, plus three new effects: Chromatic Shift, Glass Effect, and Halation. A small quality-of-life change is Preset Hover Preview — hover over a preset name and you see the result on your image before you commit. The suite integrates with Photoshop, Affinity, and DxO PhotoLab on macOS 13.3 and later, and it runs natively on both Intel and Apple Silicon machines.
Why open Silver Efex Pro first to adjust preferences?
Right after dragging the installer onto your Mac and following the bundled activation steps, there are a few preferences worth changing. Open any plugin — Silver Efex Pro is a good starting point — and look for the gear icon. The defaults are reasonable, but two settings make a noticeable difference in everyday use.
First, switch the preview rendering to Best Quality if your machine has an Apple Silicon chip or a recent Intel processor. The default is often set to a balanced mode that prioritizes speed, but the suite runs fast enough on modern Macs that the quality bump is worth the extra half-second. Second, enable Preset Hover Preview — new in version 9 — so you do not have to click through twenty presets to find the one that fits. Hover, see the result, move on. It sounds small, but after the tenth image you will notice the time saved.
While you are poking around, set your preferred external editor host order in DxO PhotoLab or Lightroom if you use both. The plugins will respect whatever host launched them, but establishing a habit early prevents the "which app opened this?" confusion when you are three hours into a batch.
What changed when AI Masks replaced manual brushing?
The biggest shift in day-to-day editing comes from the new AI Masks and Depth Masks. Before version 9, isolating a sky behind tree branches or separating a foreground subject from a busy background meant either manually painting a mask or accepting a rough global adjustment. Now, inside Viveza or Color Efex Pro, you can tell the plugin to mask by depth — near, mid, or far — and it does a credible job in one click. It is not magic; scenes with overlapping translucent elements still need manual cleanup. But for landscape work and portraits shot with a shallow depth of field, it cuts mask creation from minutes to seconds.
The new Color Grading tool inside Color Efex Pro replaces the workflow where you had to stack three separate filters to get a cinematic split-tone look. Now you set your shadow, midtone, and highlight hues in a single panel. Combined with the Chromatic Shift effect — which separates color channels at the edges for a subtle anamorphic look — the suite leans harder into video-inspired color work than any previous version. Mask Overlays, another new addition, show you exactly where your selection is active as a colored overlay, so you stop second-guessing whether the control point covers the right area.
The copy-and-paste for local adjustments is the quiet quality-of-life improvement that saves the most time. Adjust a control point in one image, copy it, and paste it onto ten others from the same shoot. Version 8 could not do this; you had to rebuild each local adjustment from scratch. For event photographers working through hundreds of frames, this alone changes whether the suite stays open all day or gets bypassed for speed.
A real session, step by step
Imagine a portrait shot outdoors at golden hour, opened from DxO PhotoLab. The raw processing is done — exposure, lens correction, basic contrast — so you send a 16-bit TIFF into the Nik Collection.
Step one: Viveza opens. You drop a control point on the subject's face and lift the shadows a touch while keeping the highlights steady. A second control point on the background pulls down exposure slightly to separate the subject from the bright field behind. The AI Mask overlay confirms the points are not bleeding into the hair.
Step two: Silver Efex Pro for a black-and-white version. You hover over "Wet Rocks" — the Preset Hover Preview shows it immediately — but it is too crunchy. You land on "Film Noir 2" and dial back the grain. The split preview, before and after, runs right down the middle of the frame so you can compare without toggling.
Step three: back in the host, you duplicate the layer and launch Color Efex Pro. The new Color Grading tool gets adjusted: warm amber in the highlights, a cool teal in the shadows, both at low opacity. You add the Halation effect, just a trace, to give the rim light a soft glow. Chromatic Shift stays off — it would distract on a portrait — but you make a mental note to try it on the architectural shots from yesterday.
Step four: Sharpener Pro for output sharpening. You set the preview to the subject's eye, choose the Display preset, and confirm at 100% zoom. The 16-bit precision means no banding in the smooth sky gradient behind the subject. You save back to the host, and the whole round trip took under four minutes.
Plugins worth learning first
Do not try to learn all eight at once. Start with Viveza and Silver Efex Pro — they cover the two things most photographers need constantly: localized tonal control and black-and-white conversion. Once those feel natural, add Color Efex Pro for creative color work. The AI and Depth Masks learned in Viveza carry over directly, so the learning curve flattens out. Analog Efex Pro, HDR Efex Pro, and Perspective Efex are more situational; pull them in when the image calls for them, not before.
If you are hunting for the full nik collection mac suite on your machine, the plugins live inside /Library/Application Support/DxO/Nik Collection after a standard install. Each plugin is a separate .plugin bundle your host application discovers automatically. If Affinity does not see them right away, a restart of the app is usually enough — no manual linking required.
- Build label shows Nik Collection 9 by DxO 9.1.0.
- Depth Masks and AI Masks introduced across the suite.
- New Color Grading tool added to Nik Color Efex.
- Three new effects in Color Efex: Chromatic Shift, Glass Effect, and Halation.
- Preset Hover Preview now shows a live preview when hovering over preset names.
- macOS 13.3 or later
- Intel or Apple Silicon Mac
- Host application: Photoshop, Affinity, or DxO PhotoLab
$ man nik-collection | grep -A2 "?"
How does Nik Collection integrate with my existing photo editor?
It installs as a plugin for Photoshop, Affinity, and DxO PhotoLab. You launch any of the eight plugins from your host app's filter menu, work on a flattened copy of your layer, and the result is returned to your document.
What makes the masking tools in version 9 different from a regular brush mask?
The new Depth Masks select areas based on their distance from the lens using depth-map data, while AI Masks isolate subjects like skies or people automatically. Neither requires manual painting.
Comments 0
Sign in or create an account to leave a comment.
No comments yet. A codec, a slice, a machine — they appear after moderation.