Optimage for macOS
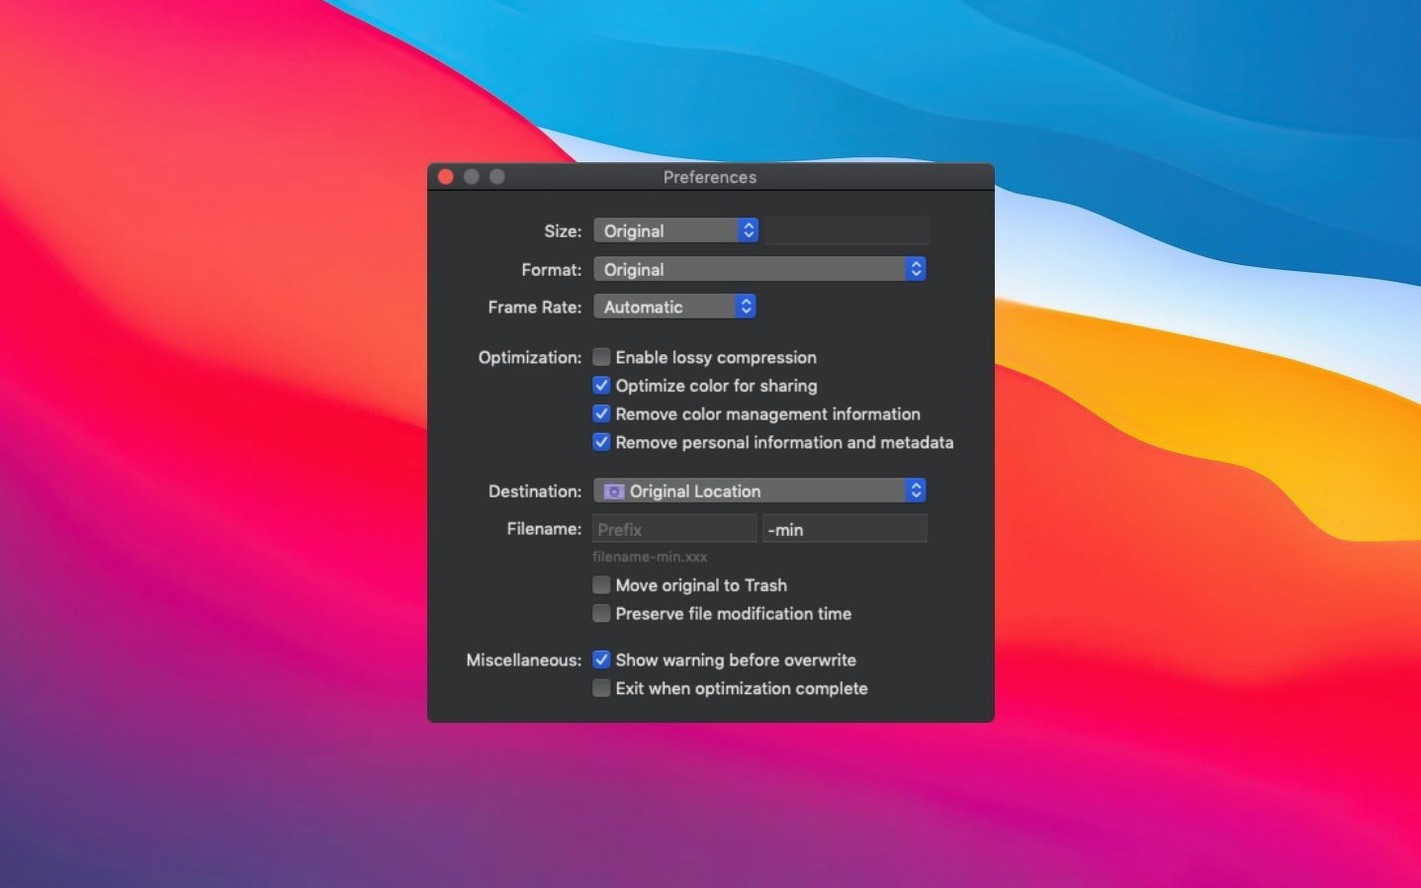
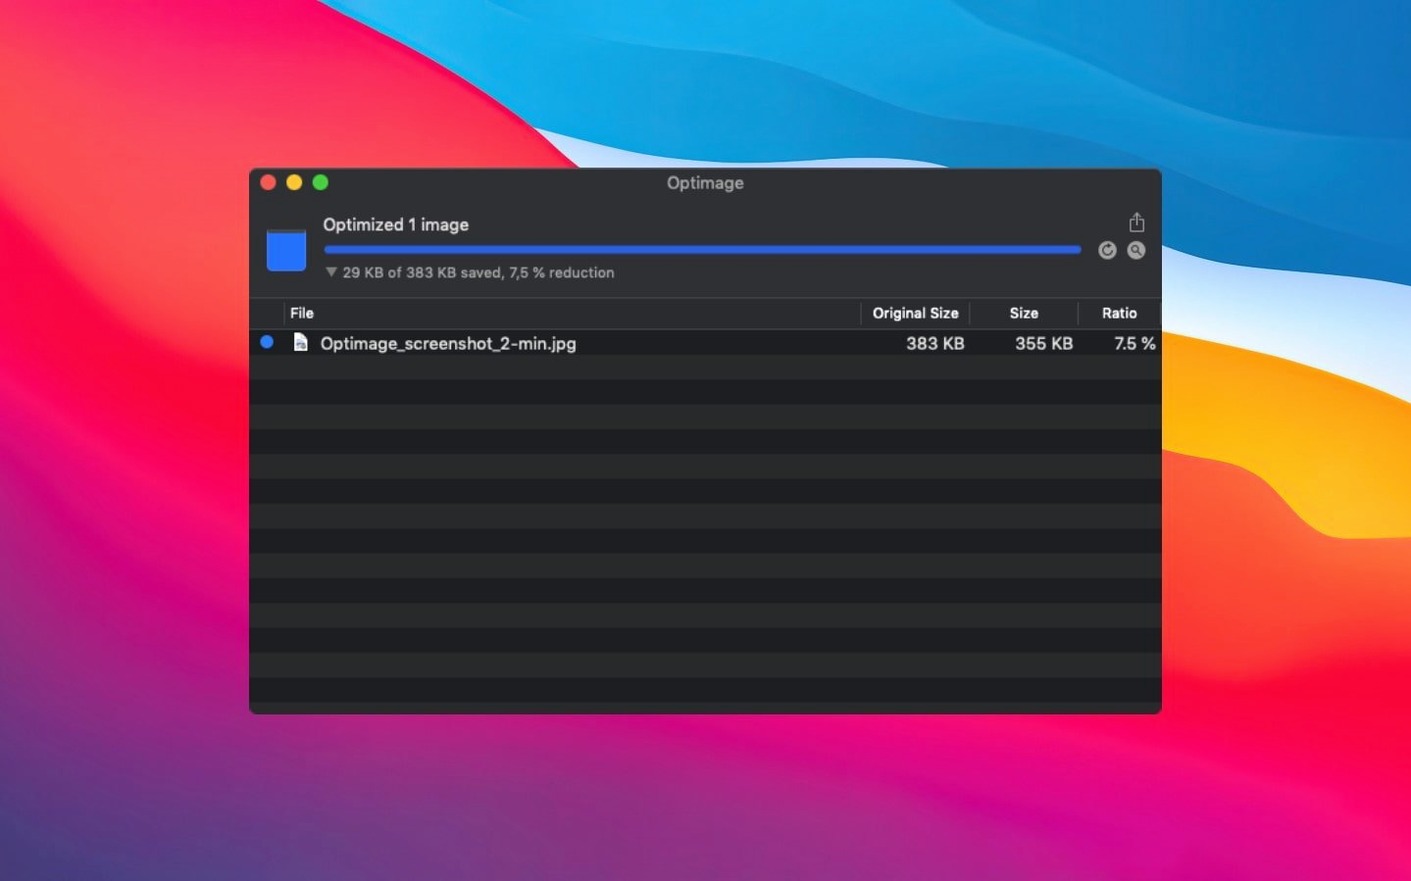
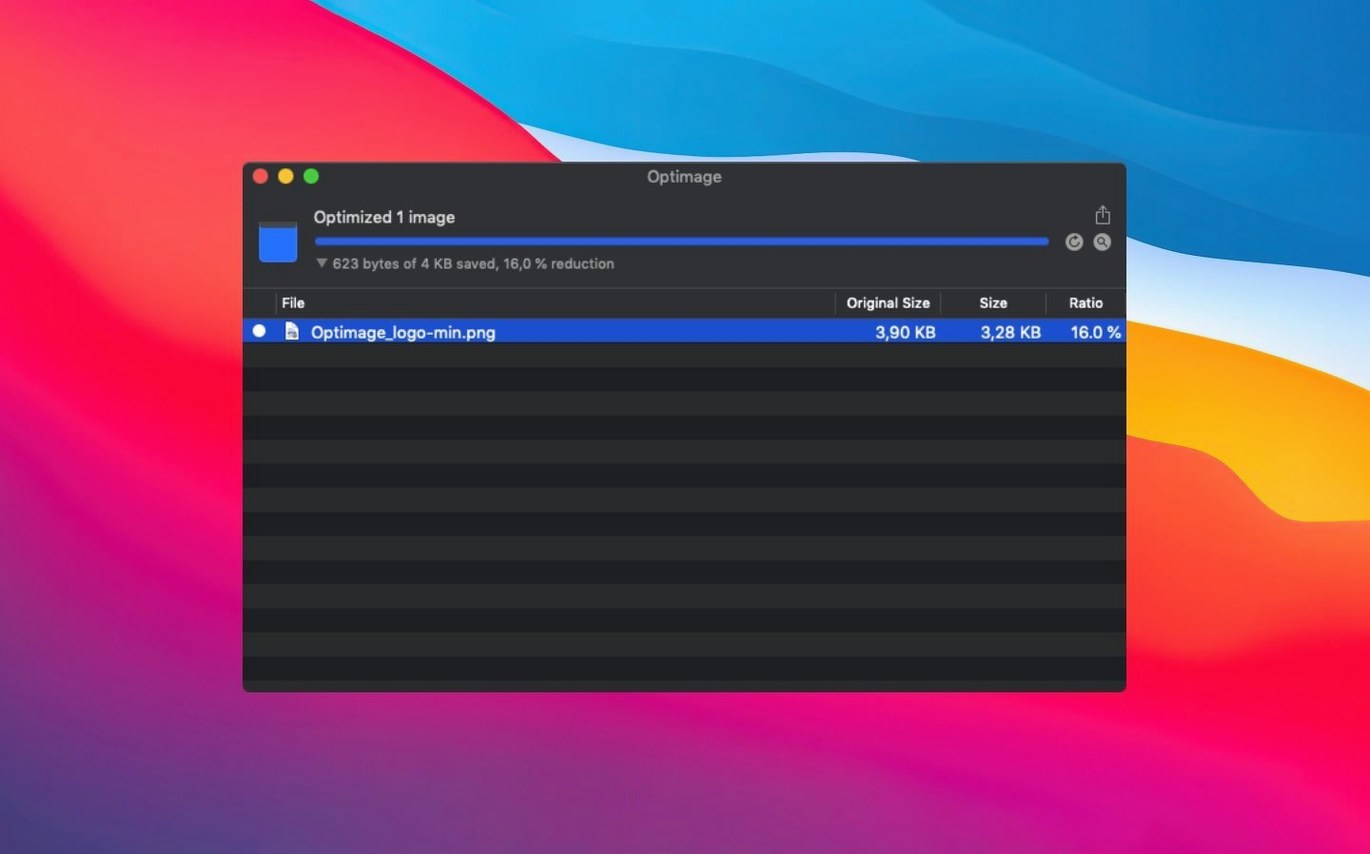
Automatic chroma subsampling is one of those decisions you’d rather not make by hand. Optimage 3.5.1 bakes that kind of logic into its compression pipeline, applying the right subsampling ratio based on what an image actually contains.
What kind of compression does it do?
Lossless and lossy, for common web and media formats. The app uses image quality metrics to dial in compression settings automatically, so you’re not left guessing with a slider.
For anyone shipping web images who wants smaller files without visible loss
Anyone shipping images to the web who wants smaller files without visible degradation. It is also an independent research project by Vlad Danilov, so tinkerers and command-line users will find cli clients included.
Scales video, adjusts frame rate, and handles grayscale or sRGB conversion
Beyond still images, it can scale video or animation and adjust frame rate. It also handles automatic grayscale conversion and sRGB color space conversion when those make sense for the output.
Prepping a batch of product photos for a Shopify listing
Say you’ve got forty-five iPhone shots from a lightbox session — TIFFs, some with embedded Adobe RGB profiles, all still carrying GPS coordinates and camera serial numbers. Here’s a straight-line workflow that turns them into lean, web-safe JPEGs in under three minutes.
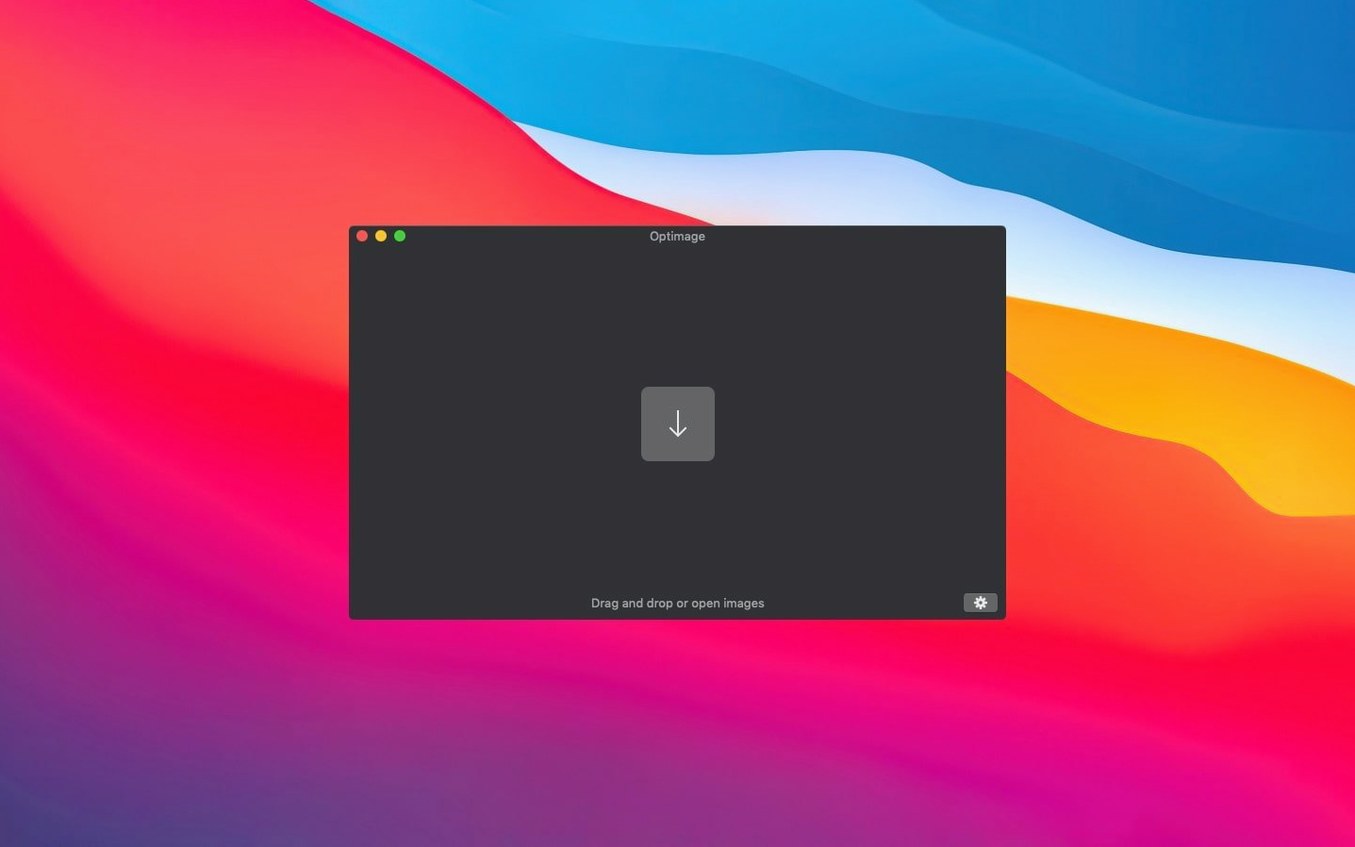
- Drag the folder onto the Optimage window, or point the CLI to it with
optimage batch /path/to/photos. - Set output to sRGB and enable lossy compression. The quality slider stays at its default — Optimage’s metric-driven auto mode reads each source file and picks a compression level that keeps PSNR above a sane threshold.
- Flip on chroma subsampling auto and grayscale detection. A few detail shots of fabric textures stay in 4:4:4; the washed-out background flats drop to grayscale on their own.
- Under metadata, check remove Exif, XMP, IPTC, geotags, comments, thumbnails. That strips location stamps and serial numbers without touching the ICC profile conversion path.
- Leave auto-rotate by Exif orientation on. Any verticals snapped upside down in the rush get sorted without a re-encode penalty — it’s a lossless rotation step applied before compression.
- Hit Optimize. The batch finishes in about four seconds per image on a 2019 Intel iMac.
- Rename the output folder to
listing-assetsand upload straight to Shopify. File sizes land between 80–160 KB per 1500 px JPEG, with no visible banding in gradients.
If you need a smaller set for thumbnails, run the same output through a second pass with scale set to 400 px width. The scale-then-compress pipeline avoids the double-artifact problem you get from resizing an already-lossy JPEG in Preview.
Who clicks with Optimage the fastest
Front-end devs and indie app builders who ship lots of raster assets. They already know what chroma subsampling does — they just don’t want to babysit it per image. Optimage’s auto mode makes the right call often enough that manual overrides feel like a niche need.
Photographers delivering web galleries get the most out of the ICC-to-sRGB path combined with the metadata scrubber. Exporting from Lightroom to a folder, then dropping that folder into Optimage is quicker than building a custom export preset that still misses one EXIF field.
CLI users who wrap the app in build scripts — think npm run optimize-assets — appreciate that the optimage binary exits with a meaningful status and doesn’t launch the GUI. Researchers and tinkerers drawn to the independent-project nature of the tool will find the compression metrics transparent enough to trust.
Speed, memory use, and day-to-day feel
On an Intel Mac running macOS Monterey, the GUI stays responsive during large batches. Memory use hovers around 180–250 MB with a folder of 200 mixed JPEGs and PNGs in flight — heavier than a bare libjpeg wrapper but reasonable for an app that’s also computing quality scores per image.
The app is Intel-native, so Apple Silicon machines run it through Rosetta 2. There’s a slight cold-start lag of about two seconds on M-series hardware, but compression throughput doesn’t feel gated by the translation layer in practice — the real bottleneck is I/O on large TIFFs.
Stability is uneventful in a good way. I’ve thrown malformed PNGs, truncated JPEGs with mismatched EXIF orientation tags, and HEIF files from an iOS 17 device at build 195. The fixed HEIF detection in this release catches most of the edge cases; files it genuinely can’t parse get skipped with a line in the log rather than crashing the queue.
- Fixed HEIF detection.
- macOS 10.11 or later
- Intel processor
$ man optimage | grep -A2 "?"
Does Optimage run natively on Apple Silicon?
The current build is Intel-native and requires macOS 10.11 or later. It runs on Apple Silicon Macs through Rosetta 2.
What image formats does it work with?
It handles the common web and media formats you’d expect—JPEG, PNG, GIF, and WebP among them. The 3.5.1 update specifically fixed HEIF detection.
Comments 0
Sign in or create an account to leave a comment.
No comments yet. A codec, a slice, a machine — they appear after moderation.