Photomator for macOS
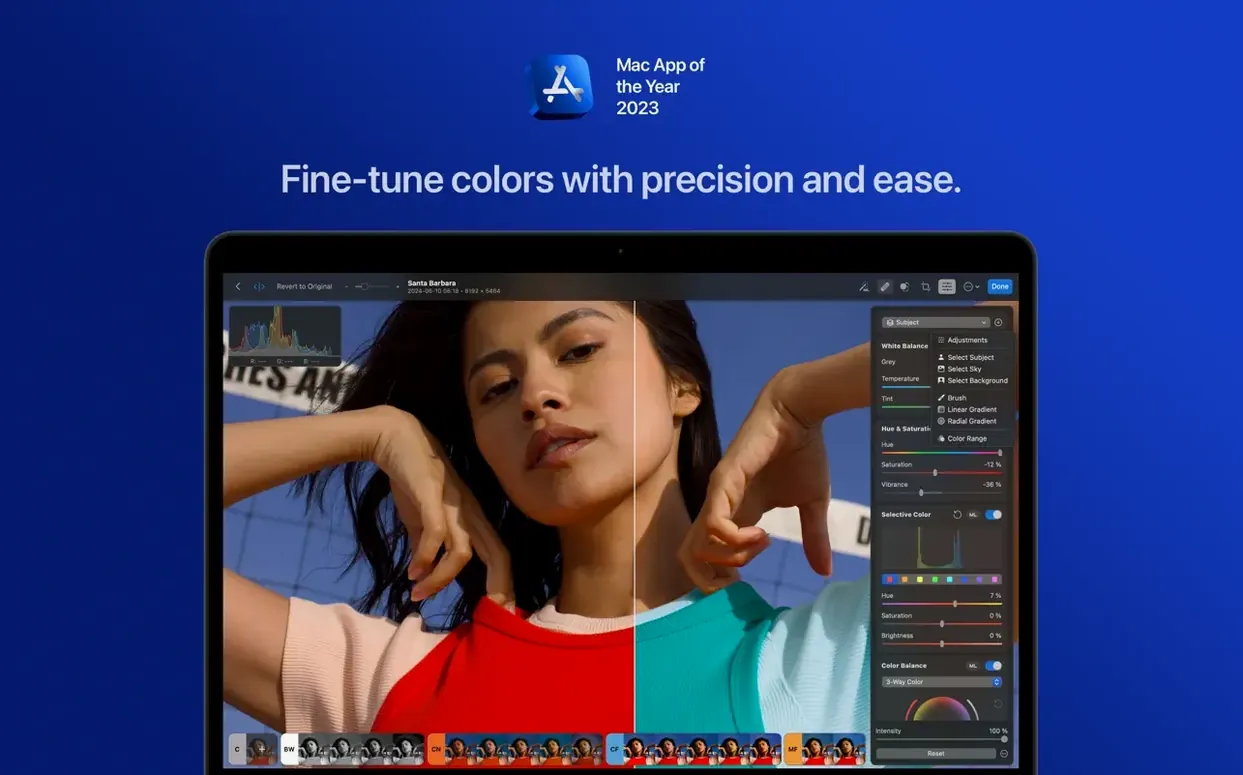
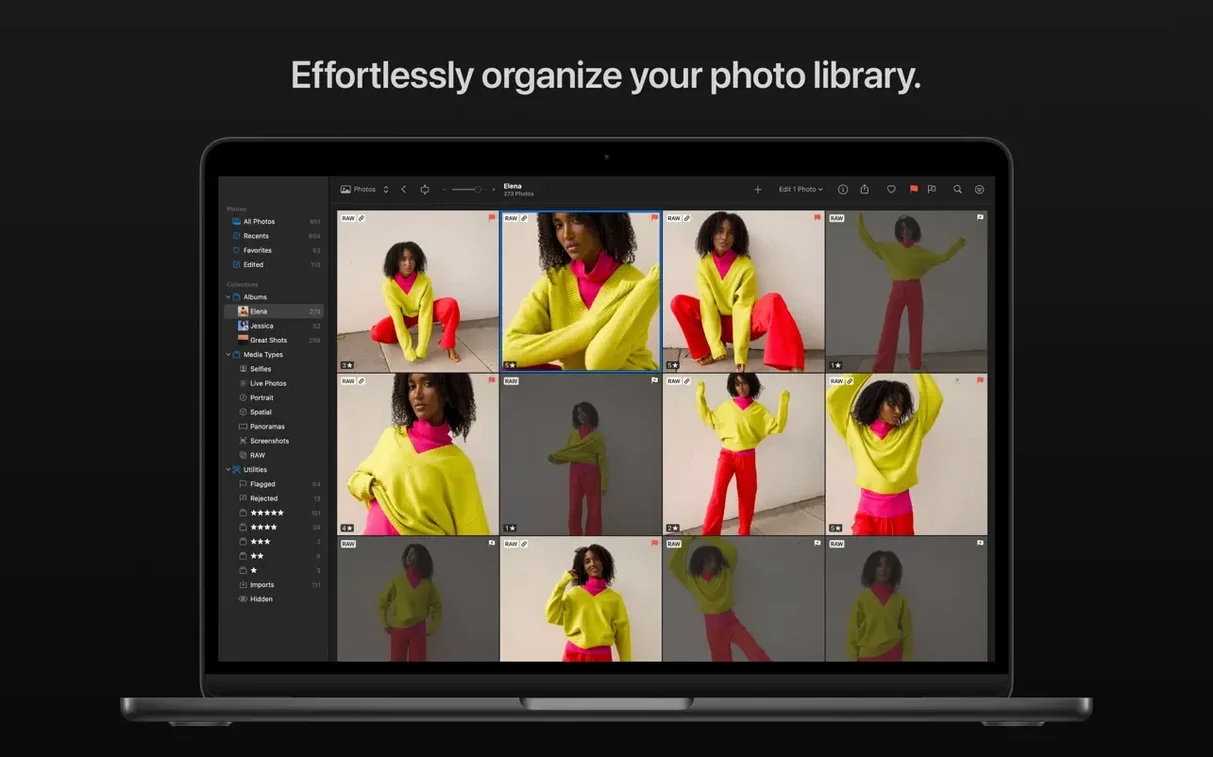
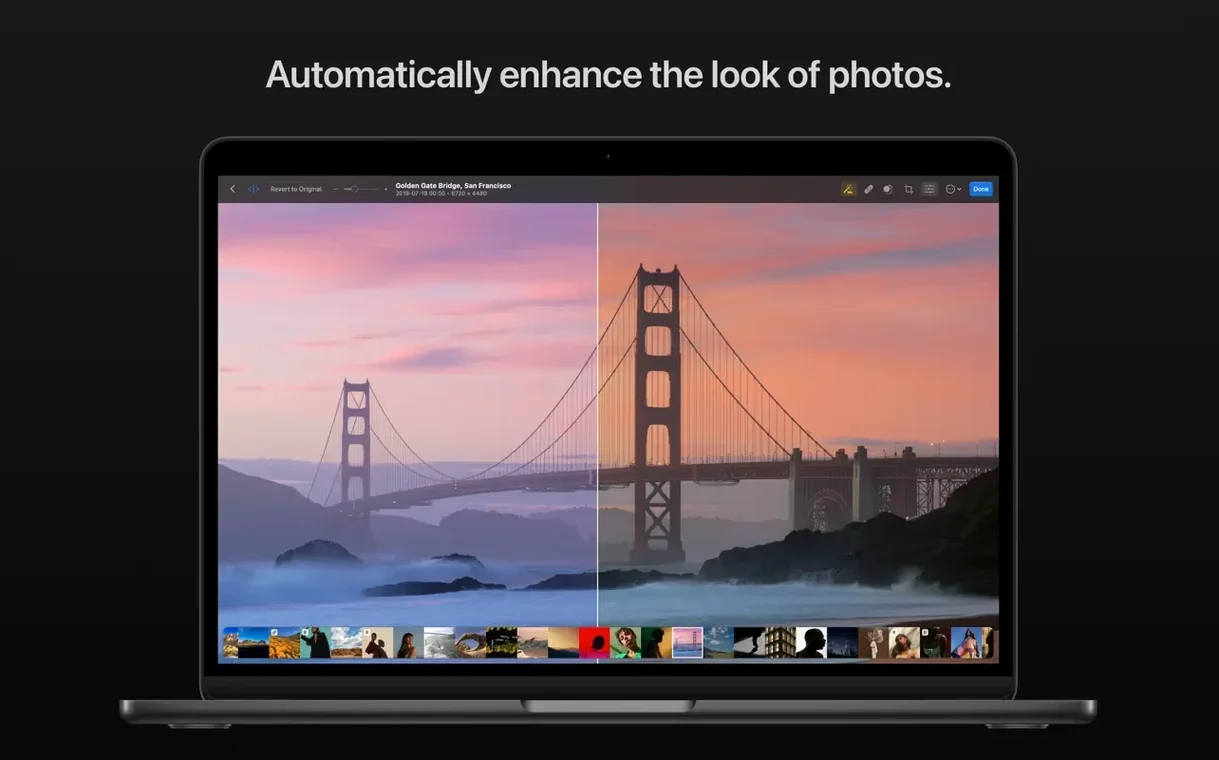
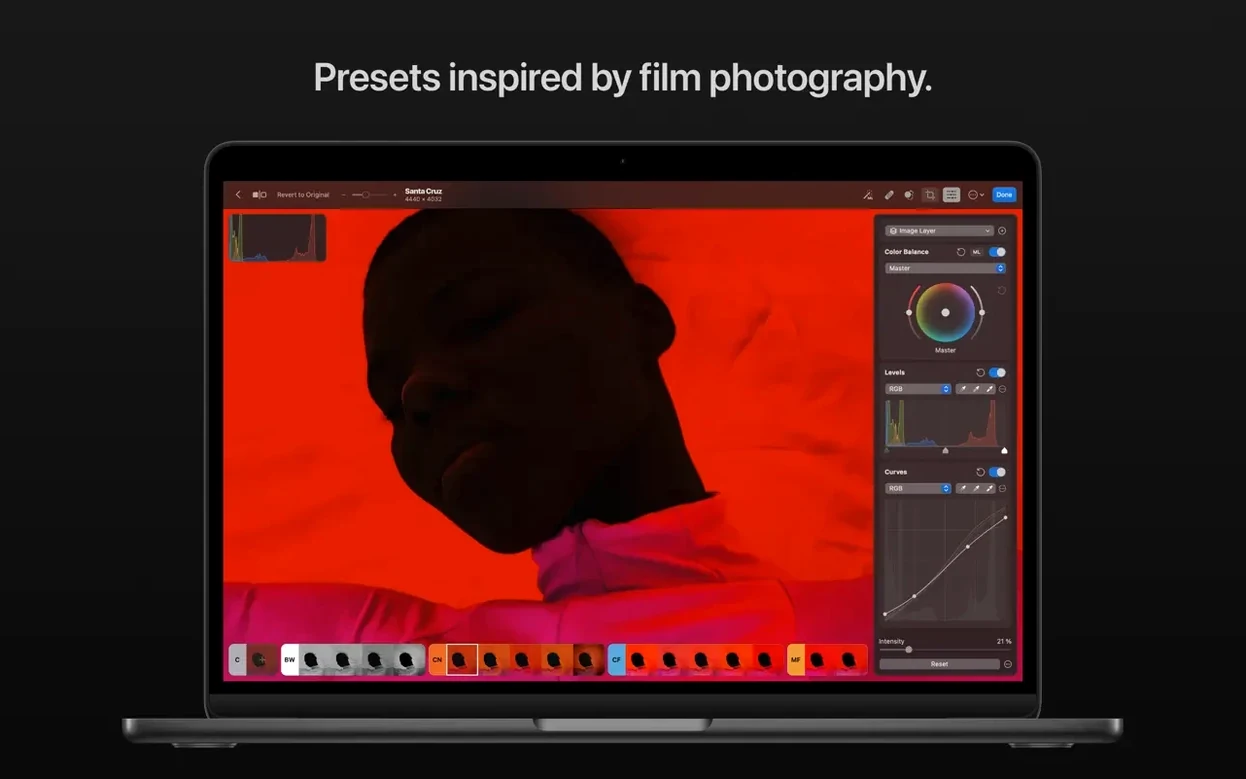
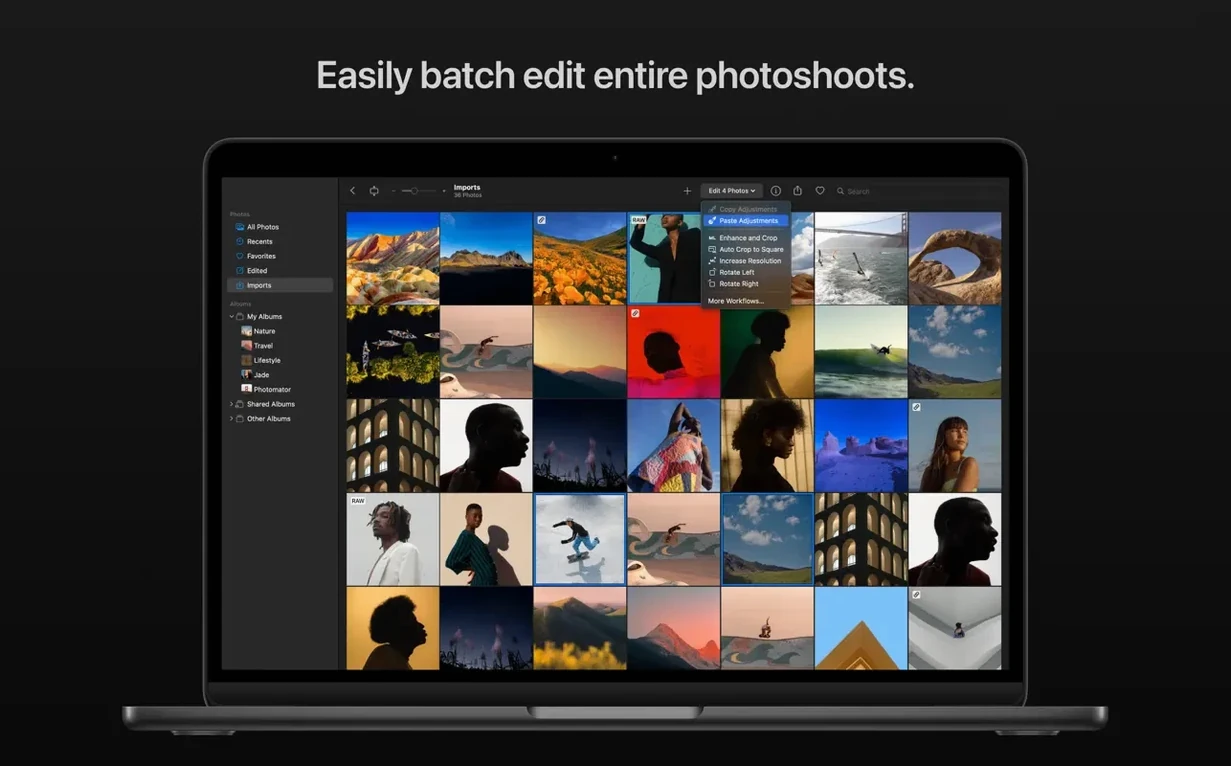
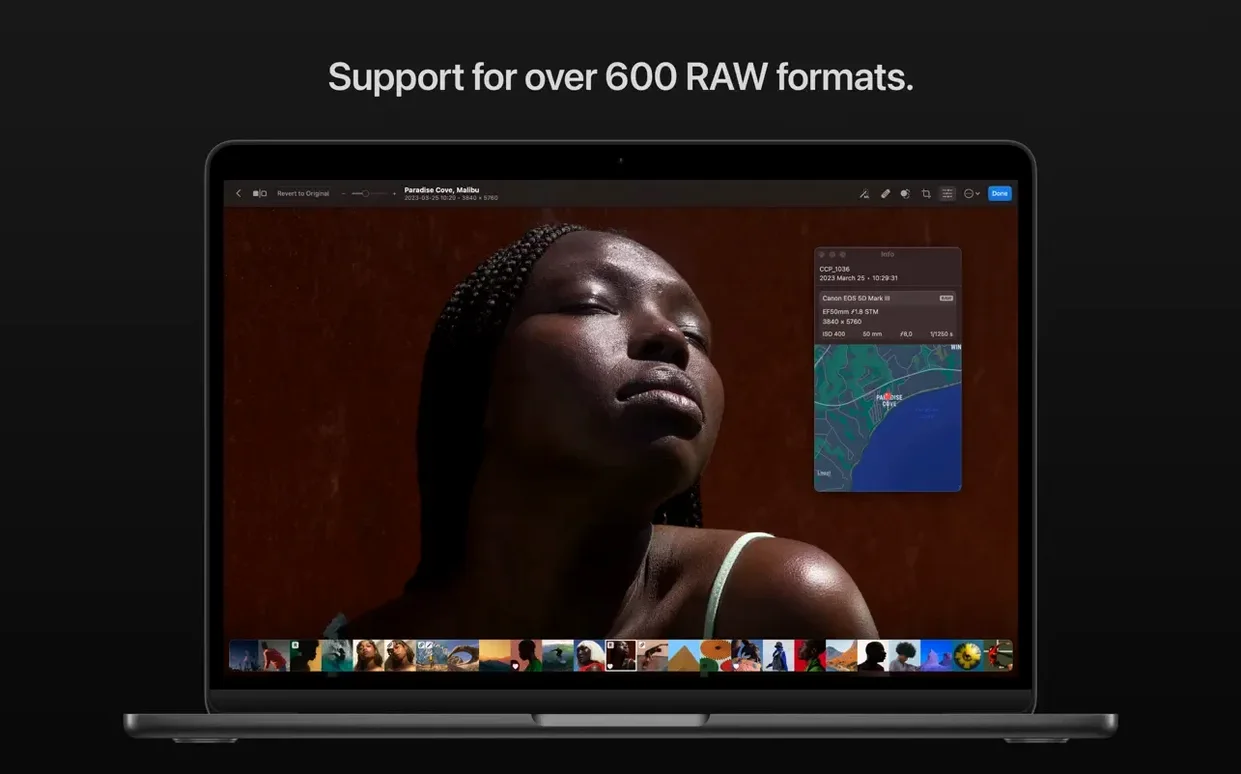
If you just grabbed Photomator 3.4.15, you’re getting a build that quietly widened its RAW net. It now parses compressed RAW from the Sony Alpha ILCE-7M5 and recent Fujifilm GFX bodies, High Efficiency RAW from the Nikon Z5II and Z50II, plus the high-resolution multi-shot mode of the Panasonic LUMIX DC-S1RM2. Once the app is open, the immediate question is where to point it first. Here are a few concrete things a newcomer should try.
- Open a RAW file and run Denoise. Photomator leans on Core ML for this, and the results are fast on Apple Silicon. It’s a good way to see how the app handles your camera’s native format before you touch a single slider.
- Copy the look of one photo to another. Select an image whose color and tone you like, then use the Match Colors command. The machine learning model reads both frames and maps the palette across. It works surprisingly well for making a set of vacation shots feel consistent.
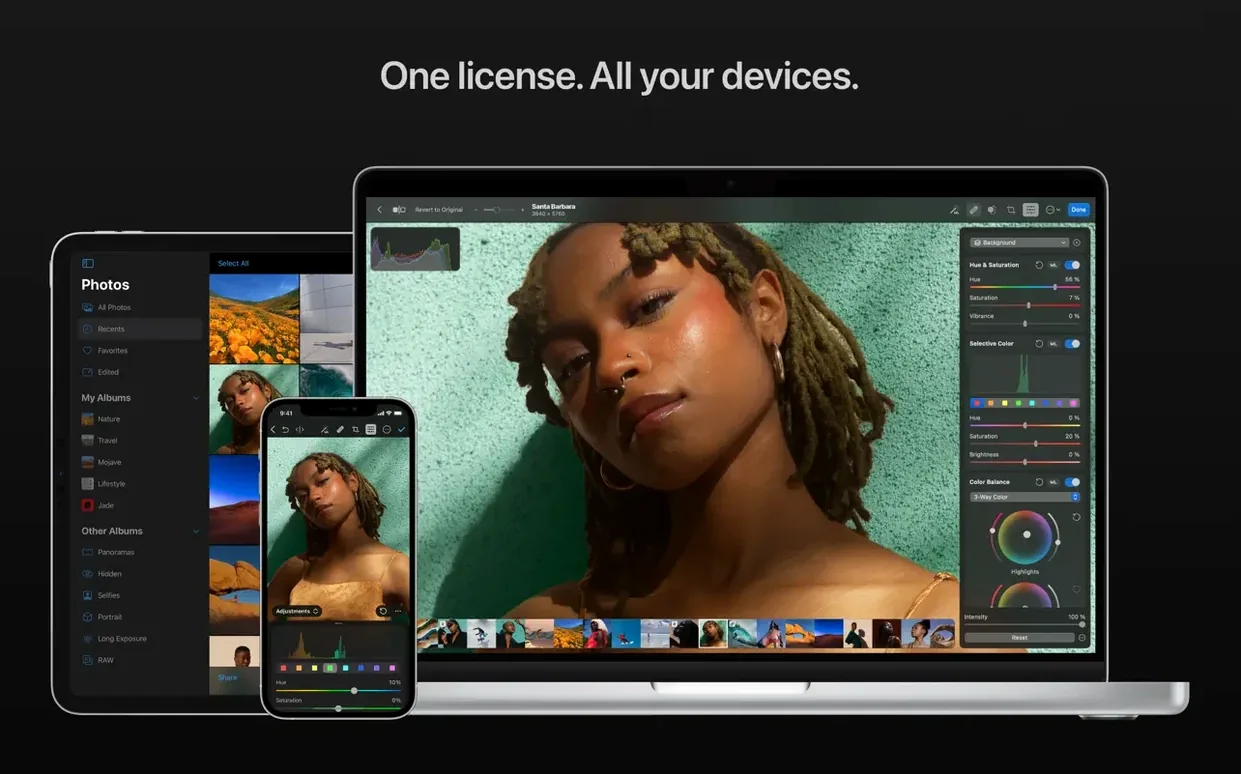
- Sync your edits with the Photos app. If your library lives in Apple’s ecosystem, Photomator can read and write adjustments non-destructively, so changes appear in iCloud Drive and on other devices without exporting.
- Upscale a small crop. The Super Resolution feature lets you enlarge a tight composition. It’s useful when you want to pull a detail shot out of a wider frame without losing too much clarity.
- Run a batch edit on a whole folder. Apply the same color adjustments or denoising to a set of images at once. The batch pane is straightforward, and it respects the Metal-backed pipeline for speed.
Photomator uses Metal, Core ML and Core Image for its heavy lifting, so the more you lean on the automatic repair and color tools, the more you’ll notice the performance staying responsive. Start with these five moves and you’ll have a solid feel for the tool.
Workflow: cleaning and color‑matching a set of golden‑hour portraits
Imagine you shot twenty portraits during the last ten minutes of daylight. The light shifted fast, and one frame has a dust spot on the sensor. Here’s a linear workflow that solves both problems without round‑tripping to another app.
- Open the folder containing your RAW files in Photomator. Pick the shot that has the color balance you want the whole set to share. Apply only global adjustments — exposure, white balance, a slight curve — until it looks right. Don’t touch local masks yet.
- Select the remaining nineteen thumbnails in the filmstrip, then choose Edit → Match Colors from the menu. Photomator reads the luminance and chroma distribution of the reference image and maps it onto each target. The results won’t be identical across every frame, but they will feel like the same shoot.
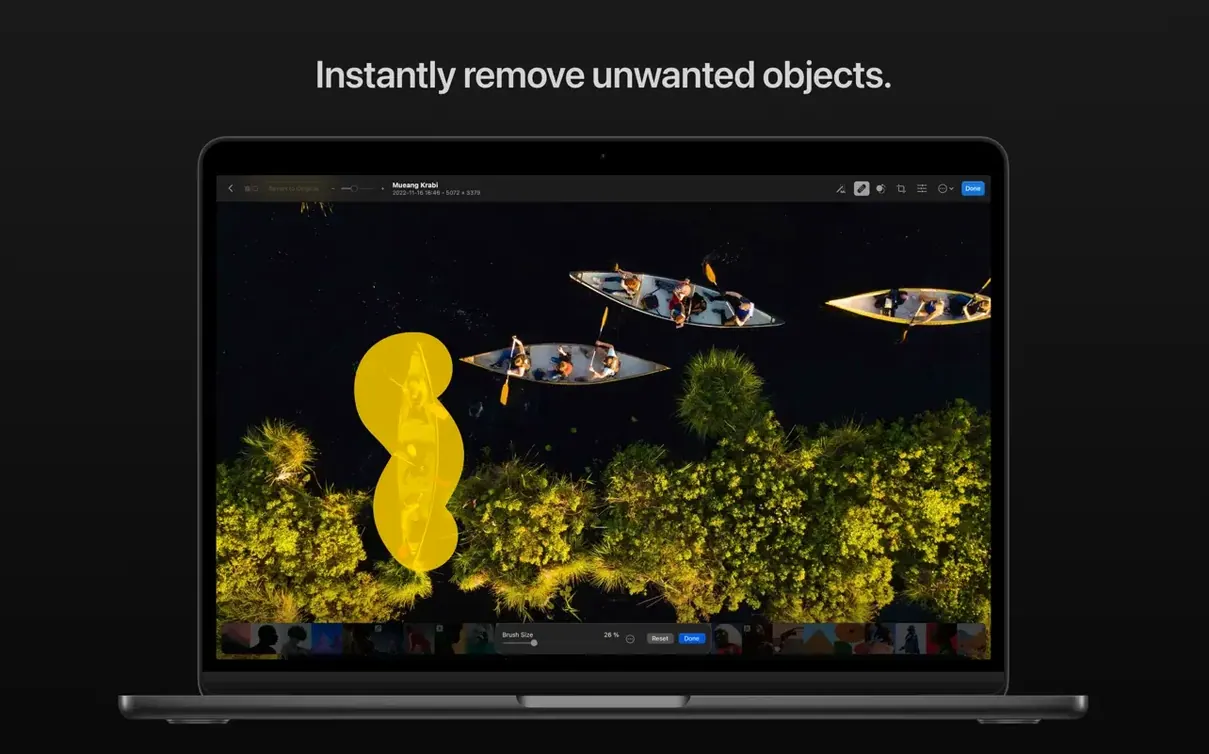
- Now bring up the dust‑spot frame. Switch to the Repair tool, paint over the blemish, and let the algorithm sample a nearby clean patch. Because the Repair brush works on the RAW data pipeline, it blends texture and noise grain without leaving a soft smudge.
- Apply Denoise to the repaired image. Core ML inference runs per frame, so you’ll see the preview update in under a second on Apple Silicon. Adjust the strength slider until the background skin texture looks natural, not plastic.
- Use the Image → Copy Edits and Image → Paste Edits commands to push the Repair and Denoise steps only to the three other frames that need it. Photomator’s paste dialog lets you pick which adjustment categories travel — uncheck everything except Repair and Denoise so the color work you already matched stays untouched.
- Select all finished files and export as high‑quality JPEGs to a folder in Finder, or leave them in the Photos library if that’s where the originals live. The non‑destructive edits are saved back to the library automatically.
This sequence avoids the common trap of exporting to another editor for retouching and then losing the color consistency you just built. Everything stays inside one Metal‑backed pipeline.
How Photomator fits with other apps and macOS
Photomator doesn’t try to replace a full DAM or a pixel‑level compositor. It sits between Apple’s Photos app and heavier tools, and that’s where it shines. Because it uses the system photo library as a first‑class data source, any edit you make — including AI subject masks and clone repairs — syncs through iCloud Drive. Open the same library on another Mac or in Photos on an iPhone, and those adjustments appear as the latest version. You can also drag a RAW file from a Finder window straight into Photomator without importing it into a library first, which is handy when you’re working off an external SSD.
For users who layer multiple apps, a typical stack looks like this: cull and rate in a browser such as Photo Mechanic, adjust color and spot‑clean in Photomator, then hand off a 16‑bit TIFF to Pixelmator Pro for heavy compositing or text overlays. Because Photomator writes standard sidecar XMP for files outside the Photos library, the TIFF you open downstream already carries the tonal decisions you made earlier. Round‑tripping is rare; the output usually goes straight to a final export or a print‑layout tool.
On the macOS side, the app registers as a Quick Action and an extension for Finder and Photos. Right‑click a set of images in Finder and you can launch a batch workflow without opening the full interface. The same extension lets you call Denoise or auto‑enhance from inside the Photos app while staying in your existing browsing flow.
Does it demand a Photos library just to launch?
Does it support Apple ProRAW from an iPhone?
Yes. Photomator reads Apple ProRAW DNG files and treats them like any other RAW format. The full color‑adjustment stack — white balance, curves, color matching — works on ProRAW shots, and the Super Resolution upscale is available too. Edits sync back to the Photos library, so the processed image appears on your phone without extra steps.
What happens to sidecar edits after a macOS wipe?
You can. Drag any supported RAW or bitmap file straight from Finder into the single‑window interface. Photomator will edit it in place, writing an XMP sidecar next to the original file. There’s no requirement to import or catalog anything, which makes it friendly for people who organize folders manually or use a separate DAM.
Why an XMP sidecar means you can skip the catalog
For images stored in the Photos library, the non‑destructive adjustments are part of the library database and travel with it during a migration or restore. For standalone files, the XMP sidecar holds the edit metadata. As long as you keep the sidecar alongside the original, any fresh installation of Photomator will read it and reconstruct the edited state.
Is the batch editor limited to a specific format?
No. You can mix RAW files from different camera brands with JPEGs and TIFFs in the same batch operation. The Metal‑backed engine processes each image according to its own format pipeline, so you don’t need to separate file types before applying a shared set of adjustments.
- Added support for compressed RAW images from Sony Alpha ILCE-7M5, FUJIFILM GFX 100S II, and FUJIFILM GFX 100RF cameras.
- Added support for High Efficiency and High Efficiency Star RAW images from Nikon Z5II and Nikon Z50II cameras.
- Added support for RAW images from Panasonic LUMIX DC-S1RM2 cameras captured in High Resolution mode.
- Bug fixes and performance improvements.
- macOS 13 or later
- Apple Silicon or Intel 64-bit processor
Comments 0
Sign in or create an account to leave a comment.
No comments yet. A codec, a slice, a machine — they appear after moderation.