Pixelmator Pro for macOS
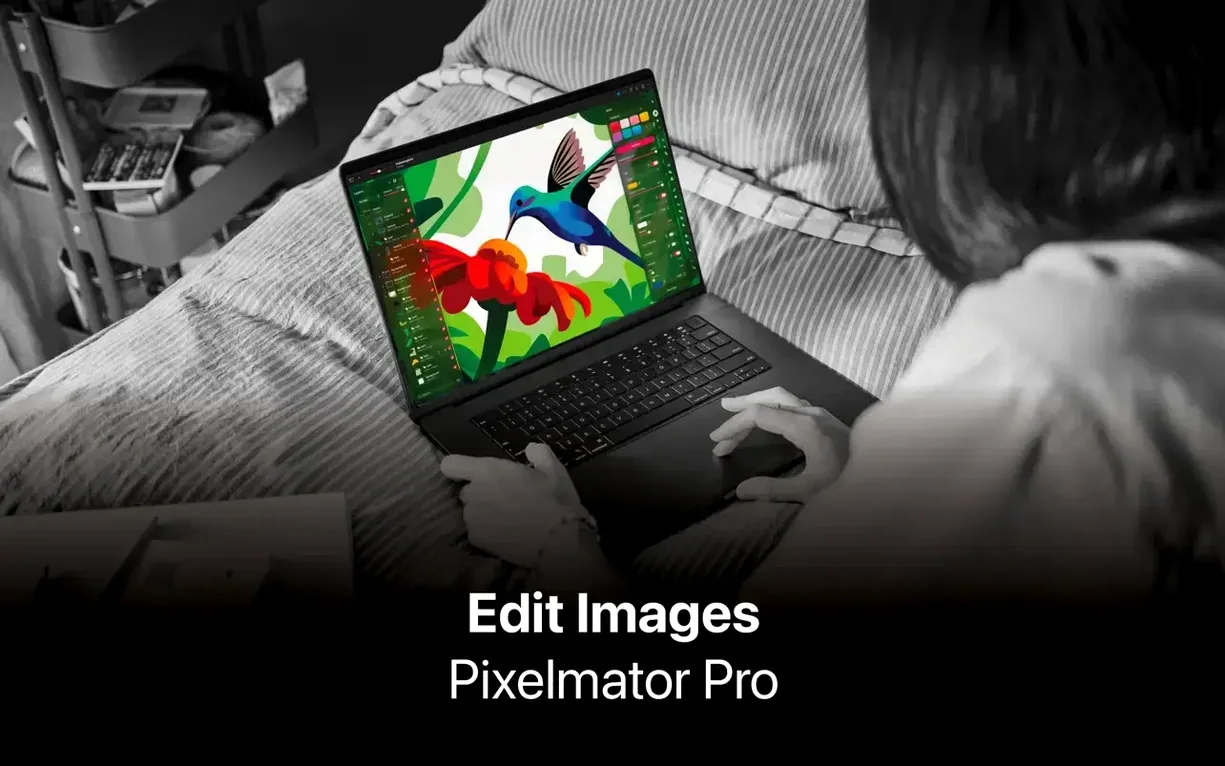
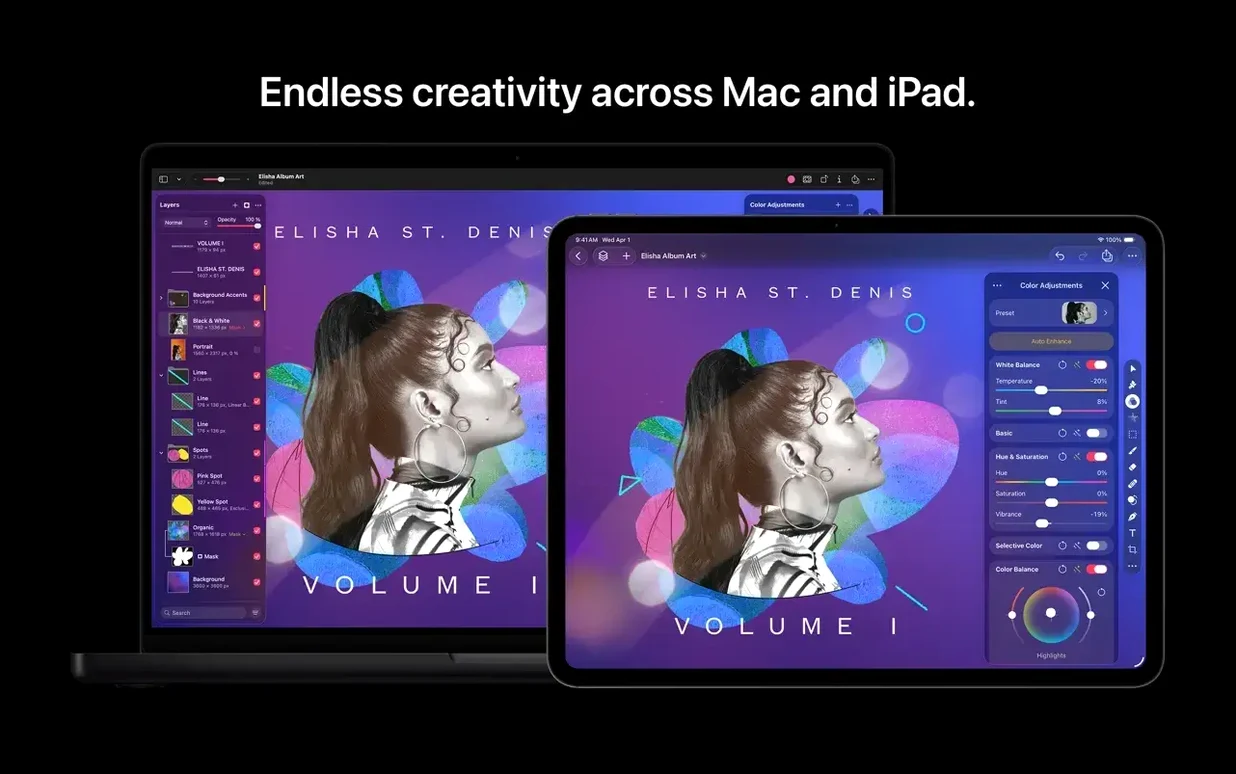
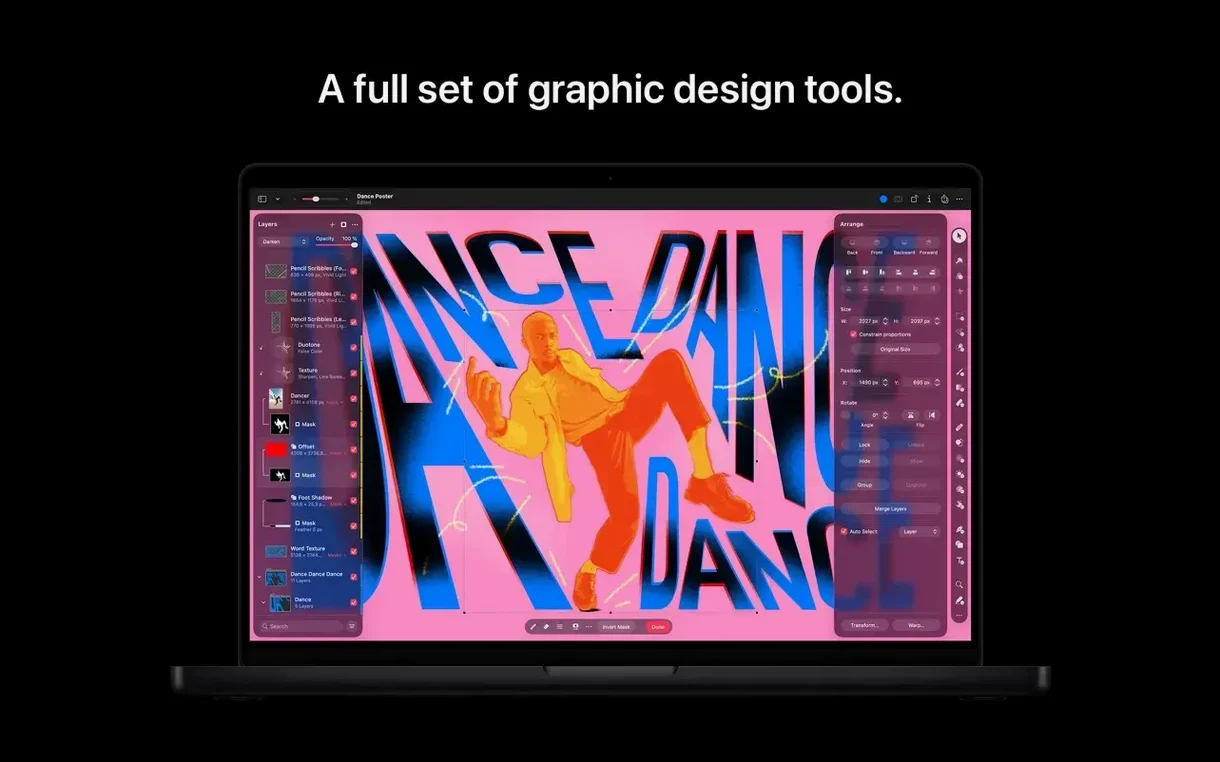
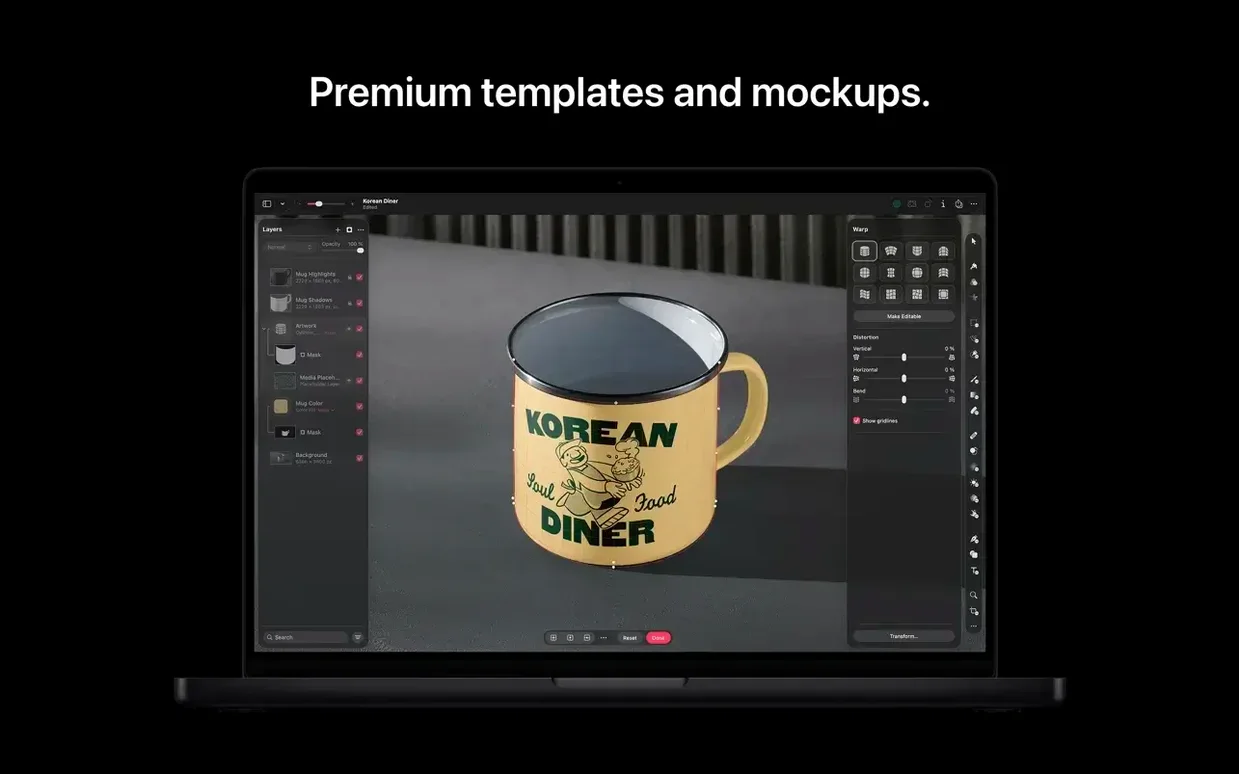
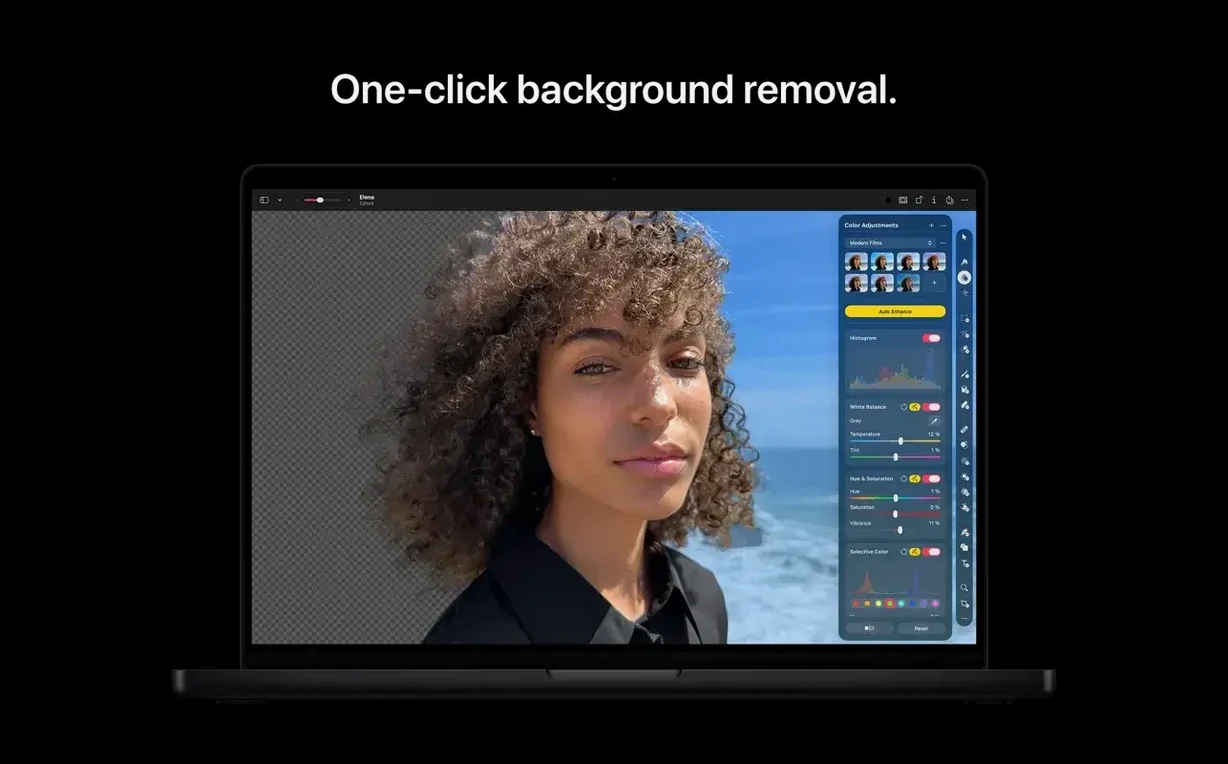
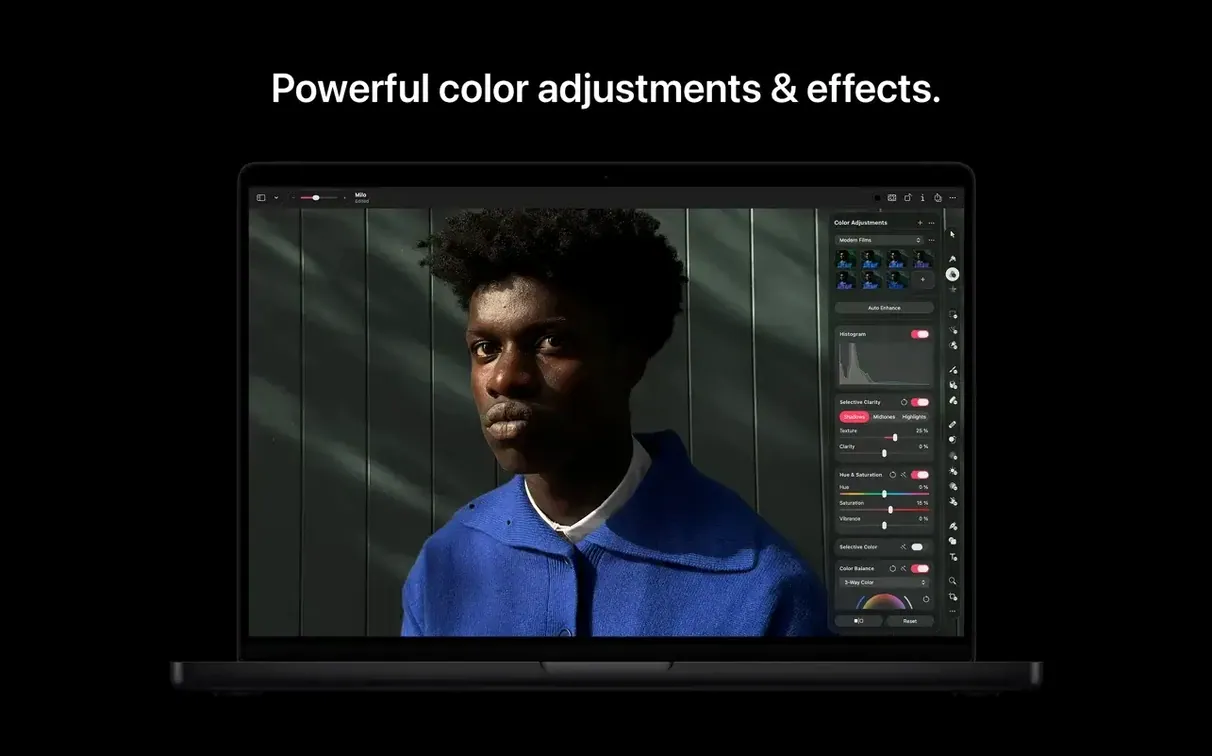
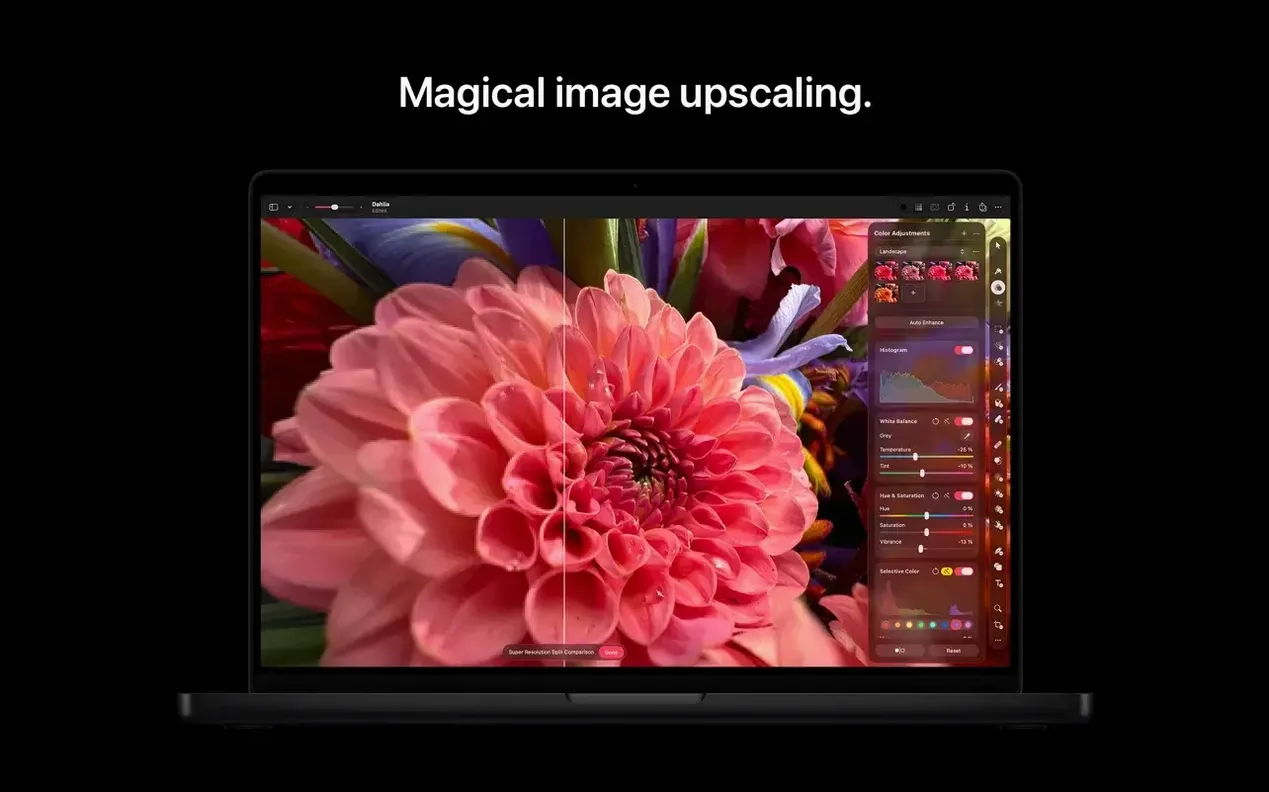
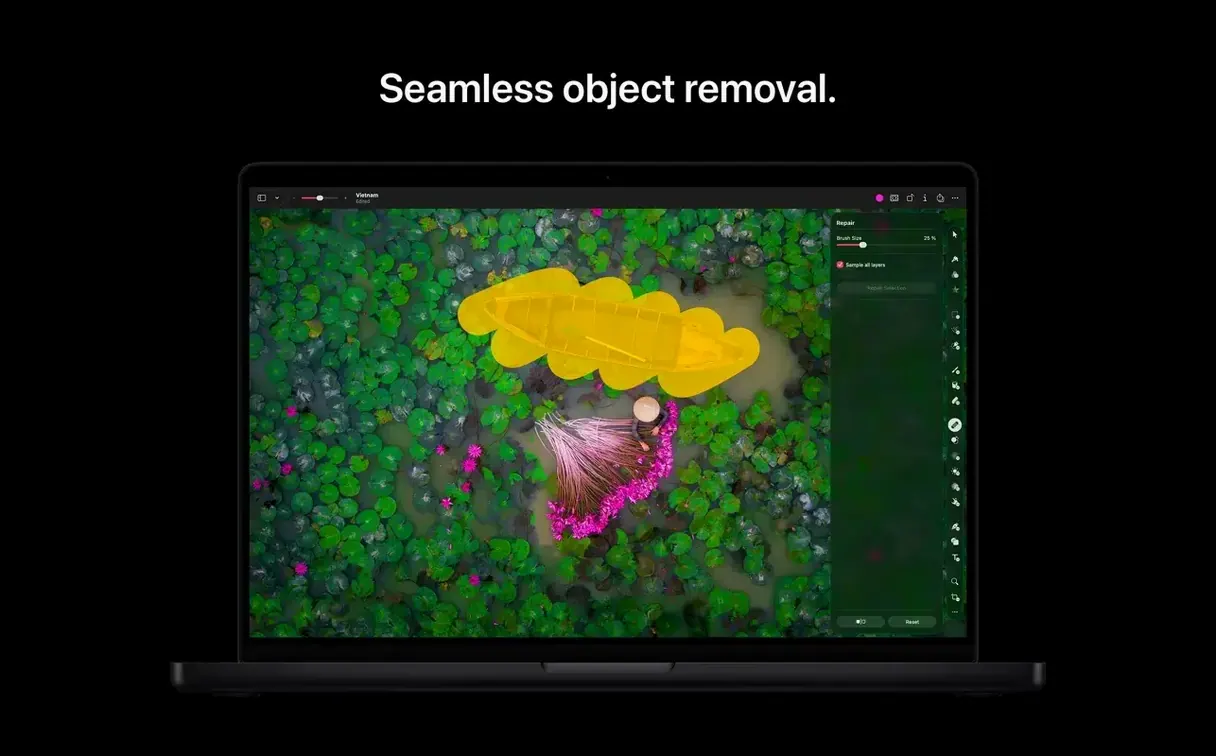
Over 12 file formats open for direct, non-destructive editing in one window. RAW image editing — decode sensor data from your camera without a separate converter; adjust exposure and white balance before the image ever becomes a pixel layer. Core ML enhancement — a machine learning model analyzes the photo and proposes color, white balance, and exposure corrections automatically; accept the result or treat it as a starting point. Retouching tools — remove a blemish or an unwanted object by painting over it; the algorithm samples surrounding texture and lighting to fill the area. Repositioning tool — select a person, a tree, any distinct shape, and move it elsewhere in the frame; the hole left behind is patched with content-aware fill. Generate Image — describe a scene in plain text and a new pixel layer appears, composited at the resolution of your document. Custom vector shapes from text — type "hexagonal bolt" or "maple leaf" and a resolution-independent path lands on your canvas, ready for Bézier editing. Photos integration — open an image from your library, edit, and save the result back as a new version; the original stays untouched. Share — send a flattened JPEG, TIFF, or PNG straight to Mail, Photos, or AirDrop from the export menu.
What’s it feel like day to day — speed, stability, memory?
On an Apple silicon Mac, Pixelmator Pro leans hard on the Media Engine and the Neural Engine. Filters that used to need a progress bar — Gaussian blurs, ML Super Resolution, the repair tool — now preview in real time as you drag a slider. The app ships as a universal binary, so Intel Macs still run it natively, but the difference is noticeable: a complex layered document with a dozen .psd adjustment layers might take three seconds to open on an M1, closer to eight on a 2019 i7. It never beachballs on memory unless you stack a hundred full-resolution RAW layers, and even then the swap usage stays reasonable because the app streams off disk as much as it holds in RAM.
Stability over a workday is what you’d expect from a first-party Apple app on a current macOS build. I’ve thrown 80‑megapixel TIFFs at it, copied vector groups between documents, and toggled between the new Content Hub and Generate Image repeatedly without a single crash. The one soft spot I’ve seen is SVG import: hand-coded files with non-standard namespaces sometimes render with missing fills. The parser tolerates Illustrator’s output without a hitch, but a random SVG off GitHub might need a quick pass through a text editor first.
Resource use at idle sits around 280 MB with a blank canvas. Open a 16‑bit .psd with 15 layers and the process jumps to about 1.2 GB — typical for a GPU-backed layer compositor. The fans on a MacBook Air stay silent for the first hour of painting and masking; they only spin up when you batch-process 50 RAW files through Automator and the Media Engine runs at full tilt. That’s exactly the behavior you want: burst work saturates the hardware, then it drops back to near-zero quickly.
Painting on the locked background layer
Does it replace Photoshop in a professional workflow?
It depends on which corner of Photoshop you live in. If your work is photo retouching, compositing, color grading, and masking, Pixelmator Pro covers that ground natively. The weak spots are CMYK soft-proofing, spot-color channels, and scripted automation beyond what Automator provides. Designers who prep files for offset print will keep a Creative Cloud subscription around for those final export steps. Everyone else — wedding photographers, UI illustrators, concept artists — can treat Pixelmator Pro as the daily driver and only reach for Photoshop when the prepress house demands an .eps with a specific ink profile.
Your Photoshop text layers stay editable
Layered .psd files open directly — blend modes, smart objects as rasterized layers, text layers preserved as editable text if the font is installed. Adjustment layers map to Pixelmator’s own non‑destructive effects stack, so a Curves or Hue/Saturation layer translates almost one‑to‑one. The few things that don’t survive the trip: Photoshop-specific smart filters, layer comps, and timeline-based animation frames. If your archive is mostly layered still images, you’re safe.
Is it genuinely non-destructive, or is that marketing?
It’s genuine. Every color adjustment, effect, and style sits as a layer‑attached recipe that recomputes from the original pixel data. You can open a document you edited two years ago, turn off a black-and-white conversion, and see the original color underneath. The RAW engine works the same way: the decode settings are stored as metadata; the original sensor data is never altered. The one caveat is the repair tool — once you commit a repair by rasterizing the layer, there’s no way back, so keep repairs on a separate layer or a duplicate until you’re sure.
Nothing happens when you paint
Painting on the background layer. The default canvas starts with a locked background. New users grab the paintbrush, swipe, and nothing happens. The fix is muscle memory: press ⌘⇧N for a new layer before you paint. Once that habit sticks, you’ll never run into it again.
Ignoring the Info bar. Pixelmator Pro hides tool options in a floating bar that sits at the top of the canvas. People coming from Photoshop look for a toolbar panel and miss that brush size, hardness, and blending live right above the image. Glance up — that bar changes with every tool you select.
Using Generate Image without a selection mask. The text-to-image tool fills the entire canvas unless you first draw a rectangular selection or a filled mask on a new layer. Beginners type a prompt, watch the whole composition get replaced, and think the feature is broken. Mask first, generate second.
Saving over the original. The Photos integration creates a non‑destructive edit chain inside the library, but if you open a standalone JPEG from Finder and hit ⌘S, it overwrites the file. Use Export → Export (⌘⇧E) to keep the original intact. Better yet, save your working file as a .pxd (Pixelmator Pro’s native format) and export flattened copies only when you need them.
Switch from sRGB to Display P3
Open the color profile setting under Pixelmator Pro → Settings → Color and switch the default working space to Display P3 if your screen supports it. The app ships with sRGB as the default, which clips the gamut of modern Mac displays. While you’re in settings, bind a few keyboard shortcuts: W for the Magic Wand, R for the repair tool — the defaults follow a logic, but your fingers already have their own dialect.
Drag a folder of test images onto the dock icon and practice the ML Enhance workflow: open a slightly underexposed RAW, hit the Enhance button, and then dial it back with the opacity slider. The machine learning tends to over-brighten shadows; you’ll develop a feel for where to reduce it to about 70% to look natural. Do this ten times on ten different lighting conditions and you’ll internalize the correction curve.
Create a template document with your usual layer structure — a locked background, a curves adjustment group, a retouching clone layer — and save it as a .pxd in a Templates folder. Right‑click it in Finder, choose Get Info, check Stationery Pad. Now double‑clicking spawns an untitled copy, and you never start from a blank canvas again.
Round‑trip editing from Apple Photos
Pixelmator Pro talks to Photos bidirectionally: choose Edit in Pixelmator Pro from Photos, make your adjustments, and when you close the window the edited version lands back in the library as a new version stacked under the original. The same roundtrip works from the Finder’s Quick Actions panel — select an image, right‑click, and Quick Actions → Apply ML Enhance runs a headless pass without opening the full editor.
Automator and Shortcuts both ship first‑party actions: Apply Color Adjustments to Images, Convert Format of Images, Apply Watermark. You can chain them into a folder action that watches a “To‑Resize” folder and outputs web‑optimized JPEGs to a “Done” folder, all without launching the app. The actions use the same rendering engine as the GUI, so what you see in Automator previews matches the final file exactly.
For vector work, the custom shape generator outputs standard Bézier paths on a shape layer. Export that layer as an .svg and it opens in Sketch, Figma, or Illustrator with editable nodes. The inverse direction is rougher: SVG import works well, but CSS‑styled gradients often flatten to solid fills. Keep your gradients raster‑based inside Pixelmator Pro or rebuild them from the shape’s gradient editor after importing.
Clipboard handoff between Pixelmator Pro and Apple’s Freeform or Keynote is surprisingly smooth. Copy a selection from an open canvas, switch to Freeform, paste — it lands as a PNG with a transparent background at the resolution of the source document. No intermediate file, no export dialog. For quick mood‑board work, this alone saves a dozen trips to the Finder.
If you’re curious about the app before downloading, many people search for pixelmator pro download or browse discussions that mention pixelmator torrent and pixelmator pro crack mac — those queries often lead to builds that may not include the Content Hub or the ML Enhance improvements from version 4.3. To see the features described here, check that you’re running a build with the full Apple silicon code path and the current rendering engine, as older versions simply won’t behave the same way.
- Content Hub — a browsable panel that inserts photos, vector graphics, shapes, and illustrations into your composition.
- Generate Image — creates a pixel layer from a text description.
- Generate from Image — edits or transforms an existing image using a text prompt.
- Custom vector shape generation — produces editable paths from text descriptions.
- Accessibility — improved support for Switch Control and VoiceOver navigation.
- macOS 26 or later
- Mac with Apple silicon
Comments 0
Sign in or create an account to leave a comment.
No comments yet. A codec, a slice, a machine — they appear after moderation.