Plasticity for macOS

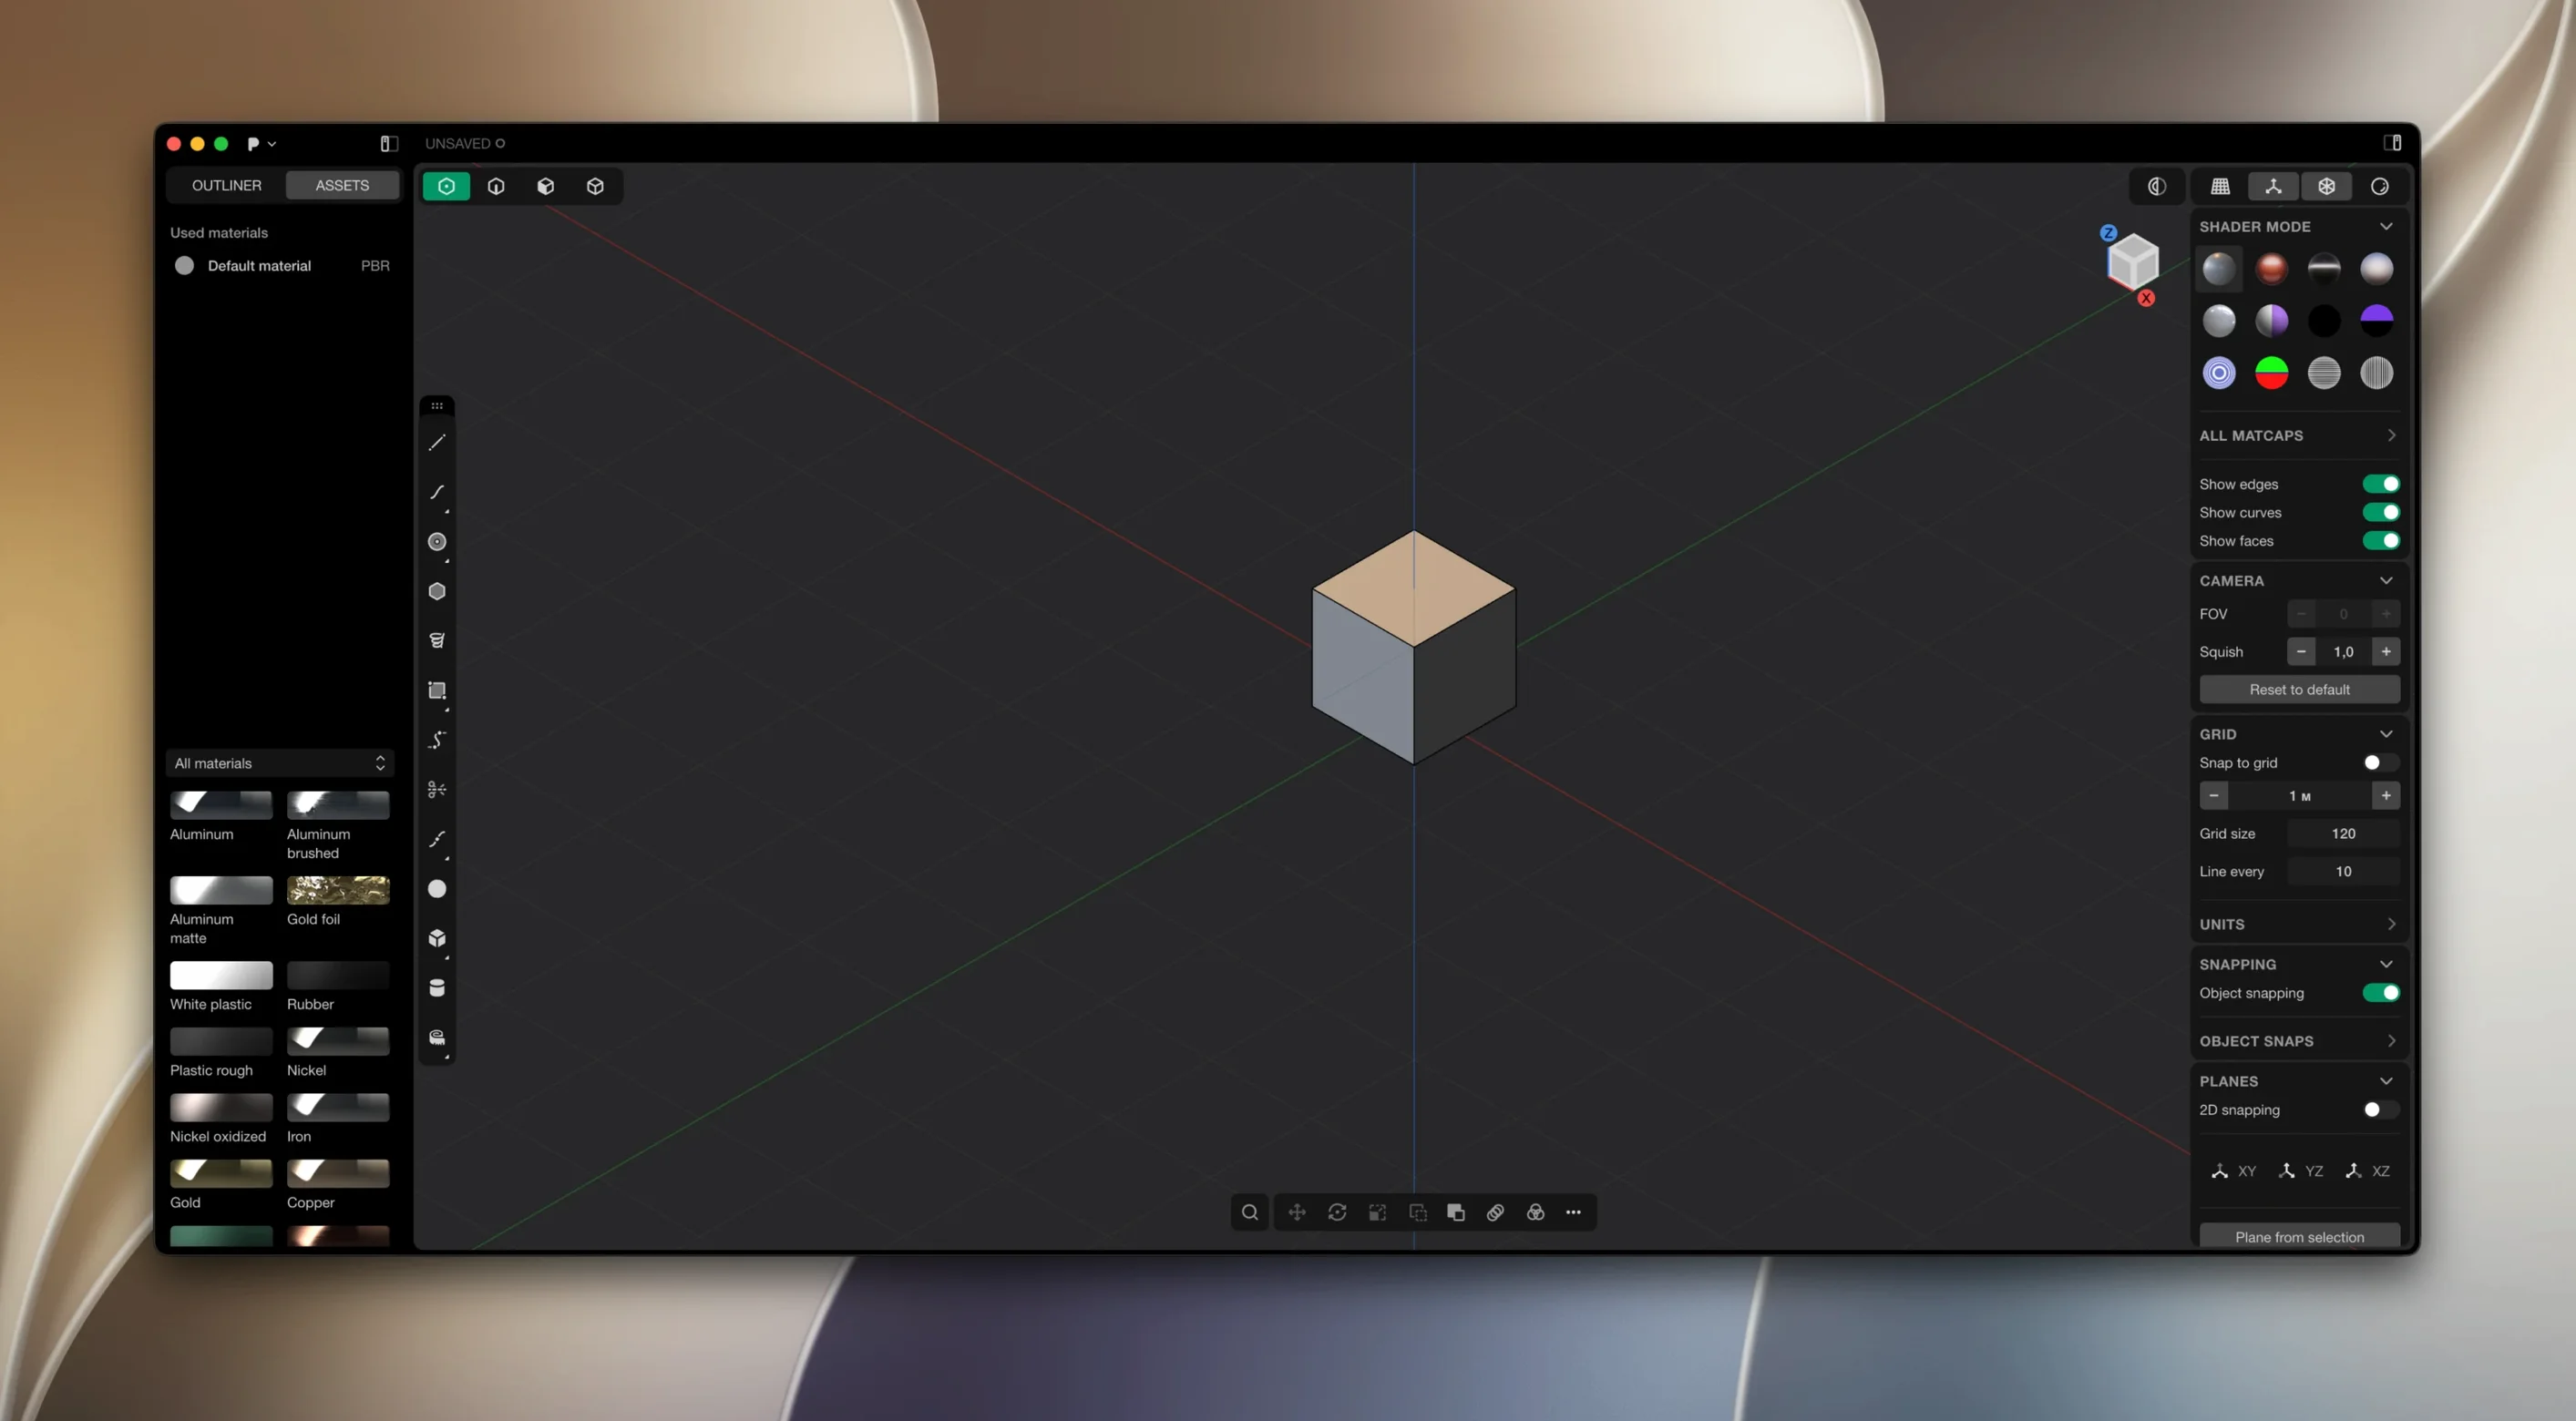
You've blocked out the rough massing and now need to add that final, polished edge. A complex variable-radius fillet rolls across three intersecting bodies, and it resolves into a perfectly watertight solid without a single failed face or naked edge. That kind of result is what Plasticity is tuned for—a dedicated 3D modeling app from developer Nick Kallen that combines direct solid modeling with advanced surface tools for artists and designers who need real mechanical precision.
| Detail | Value |
|---|---|
| Developer | Nick Kallen |
| Version | 26.1.3 |
| Architecture | Apple Silicon native |
| macOS | 10.14+ |
| Languages | English, German, Spanish, Italian, Russian, Japanese, Simplified Chinese, Traditional Chinese |
The geometry kernel tells you most of what you need to know. Plasticity runs on Parasolid and xNURBS, which means boolean operations produce the kind of airtight meshes engineers expect, and the XNURBS Surface blending tool builds G2-continuous surfaces that hold up under analysis. The Studio tier extends this further with PolySplines conversion and expanded CAD translation for production pipelines. A practical addition in the 2026.1 release cycle is the Export Hidden Line command, which generates clean technical SVG linework directly from your model—no third-party drawing export plugin required. It is a focused toolset. No animation, no sculpting, no rendering. Just precise fillets, solid booleans, and surface modeling that sits closer to industrial CAD than to traditional DCC apps.
What settings are worth changing first?
Out of the box, Plasticity ships with defaults that lean conservative—sensible for stability, but not always ideal for how you actually work. A few tweaks early on make the modeling experience noticeably smoother.
Head to Settings → Navigation and check what your middle mouse button is mapped to. By default it may be set to pan, but if you come from a CAD background you probably want orbit on MMB and pan on Shift+MMB. Swap it once and you stop fighting muscle memory on every viewport move.
Next, open Settings → Units and set your preferred system before you draw anything. Plasticity defaults to millimeters, and switching a millimeter-scale model to inches later scales the geometry—you want that locked in from the first .3dm or .step file you create. While you are there, bump the angular tolerance down to 0.5° if you do precise mechanical work; the default 1° can leave faceting visible on small curved faces.
Under Settings → Display, enable Show Face Normals only when debugging, but leave Anti-aliasing at 4x or higher if your Apple Silicon machine handles it. The wireframe overlay gets jagged fast at 2x on a Retina display. Also worth checking: Settings → Snapping. The grid snap default is on, and for freeform surface work it is often more of a hindrance than a help. Toggle it off unless you are laying out reference geometry or doing hard-edge mechanical blocking where increments matter.
Why do Booleans fail on clean solids?
A few recurring issues show up once you push past simple prismatic shapes, and they almost always trace back to the same root causes.
Booleans failing on apparently clean solids. You have two watertight bodies, you run a subtract, and Plasticity throws an error or produces a jagged mess. Nine times out of ten the culprit is a near-tangent intersection—two faces meeting at an angle so shallow the kernel cannot resolve a clean edge. The fix is to offset one face by 0.01 mm or rotate a body half a degree so the intersection becomes unambiguous. The other case is coincident faces: if two planar surfaces sit exactly on the same plane, Parasolid cannot decide what "inside" means. Move one body by a tiny nonzero amount.
Fillets that refuse to solve. A constant-radius fillet works on one edge but fails when you chain it across a variable-curvature boundary. Try reducing the radius incrementally until it takes—then work backwards. If a 2 mm fillet fails, drop to 0.5 mm; if that solves, step up to 1 mm, then 1.5 mm. This pinpoints the minimum radius that particular edge geometry can accept. Also, apply fillets in order from largest to smallest; a tiny edge blend applied first can distort the topology enough that a larger adjacent fillet no longer has room to roll.
XNURBS surfaces separating at the trim boundary. The G2 blend looks perfect in the viewport but exports with a hairline gap. This usually means the input edge curves were not within tolerance of each other before the blend was built. Check the source edges with the Distance command—if the gap exceeds 0.001 mm in your working units, stitch or rebuild the edges before creating the XNURBS surface.
Assuming a feature tree exists when there isn't one
Plasticity borrows from both direct modelers and traditional CAD, and that hybrid nature trips people up when they arrive with habits from one camp. The most frequent one: treating it like a history-based modeler and expecting a feature tree. There is none. If you delete a fillet, it is gone—you do not roll back a timeline. Beginners who sketch a complex profile, extrude, shell, and fillet in one long chain without saving incrementally learn this the hard way. Save versions. A manual Save As before a boolean or a surface blend is cheap insurance.
Another pattern is over-relying on the default grid as a construction reference. Plasticity's grid is a visual guide, not a parametric sketch plane. Drawing a precise arc by eye against grid squares typically leaves endpoints that look aligned but are off by 0.05 mm—enough to break a later mirror or pattern operation. Use typed coordinates or snap to existing geometry instead.
Beginners also tend to leave the Patch command as a last resort for closing holes, then wonder why downstream booleans behave erratically. A patched opening often produces a surface with G0 continuity at the boundary, and stacking fillets on top of that edge creates stress in the curvature comb that propagates through the whole solid. If a hole needs closing, model a proper loft or sweep surface that matches the surrounding curvature, then stitch it in. The extra ten minutes avoids hours of debugging later.
Finally, ignoring the Export Hidden Line output resolution. The SVG it produces is clean, but if your viewport is set to a coarse mesh display mode, the hidden-line curves inherit that tessellation. Switch the viewport to Fine or Custom with a tight angular tolerance before exporting, or your technical drawing will have visible polygonal segments on what should be smooth circles.
- macOS 10.14 Mojave or later
- Apple Silicon native — runs at full performance on M1/M2/M3/M4 Macs
Comments 0
Sign in or create an account to leave a comment.
No comments yet. A codec, a slice, a machine — they appear after moderation.