Presentify for macOS
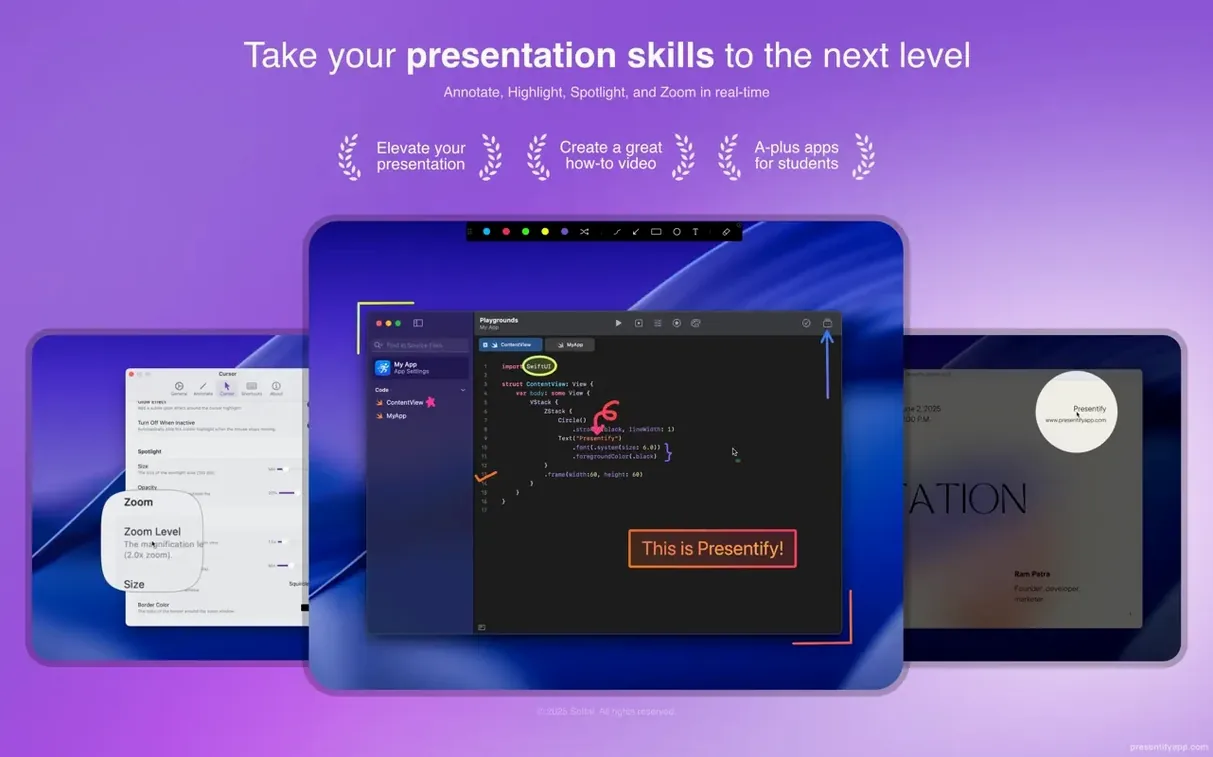
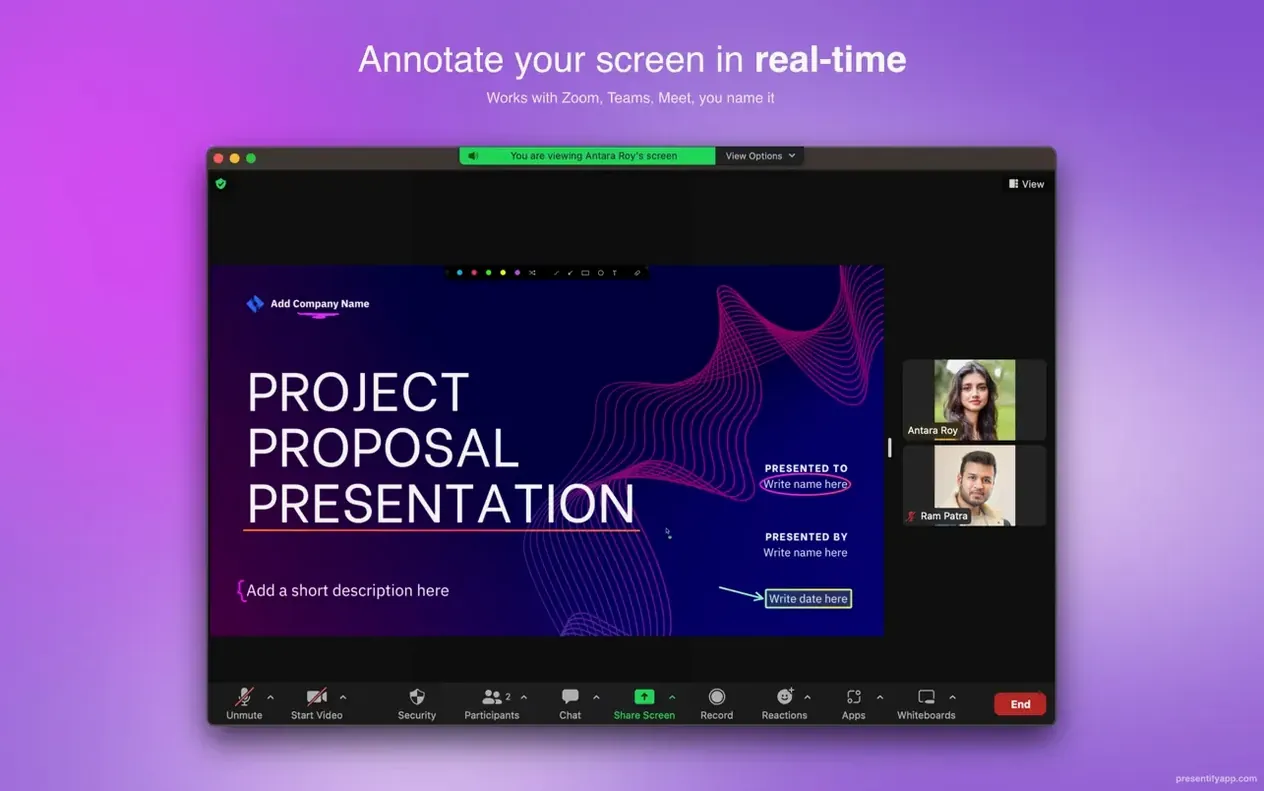
You're ten minutes into a code review over Zoom, tracing a function call across three files. Instead of waving your cursor around, you draw a quick arrow on the frozen screen, circle the offending parameter, then zoom in so everyone can read the variable name. Presentify sits quietly in the menu bar until moments like that, then it's a few keystrokes away from making your point stick.
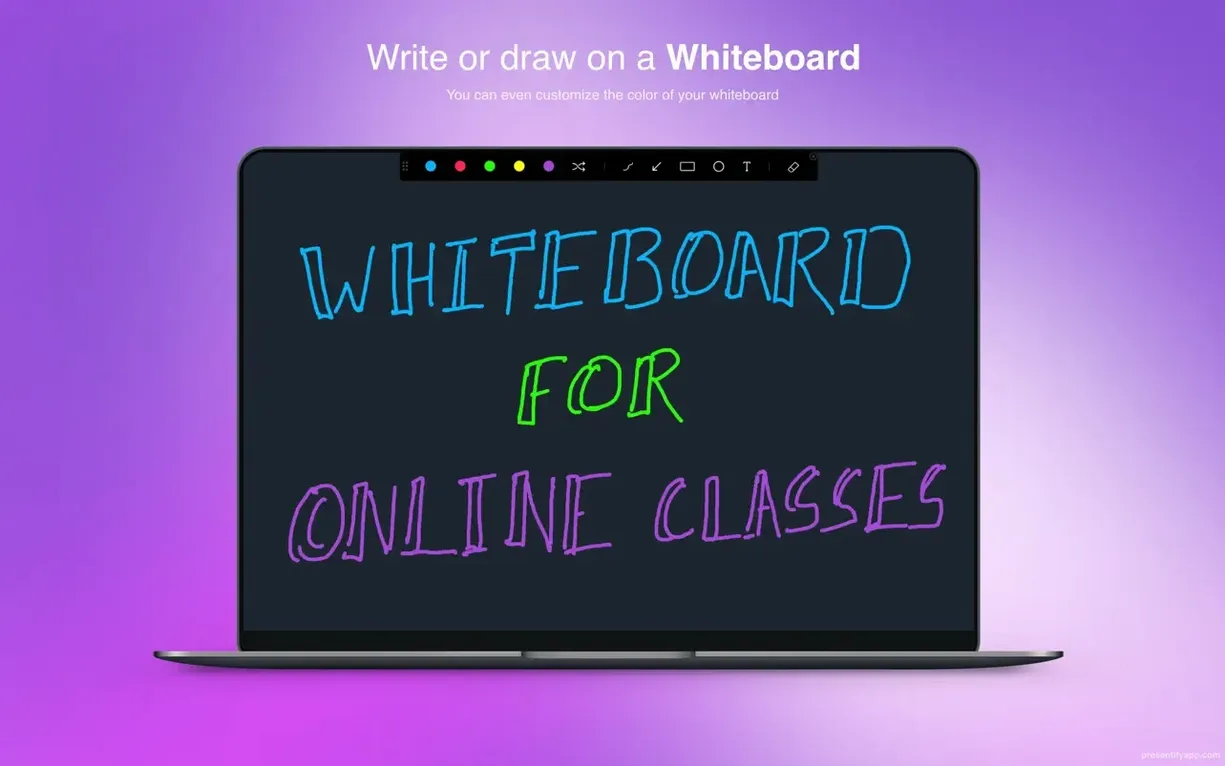
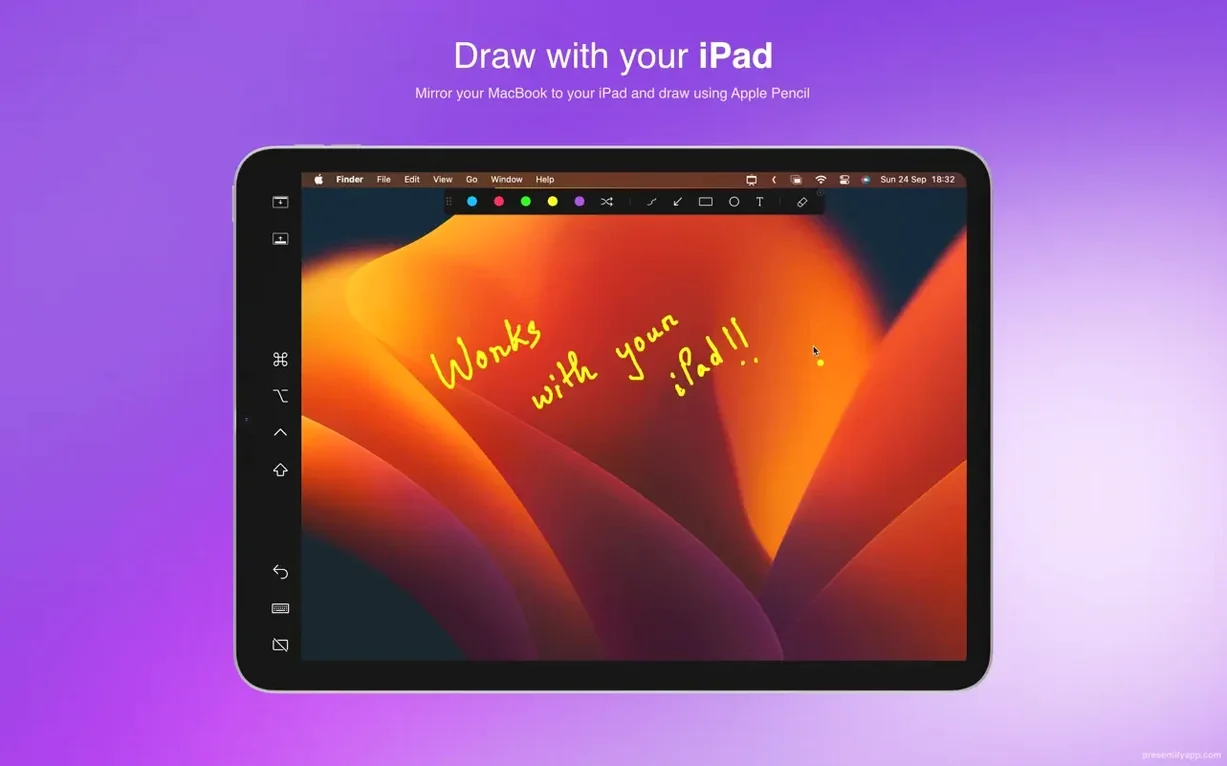
It layers annotation tools over whatever is on your display—Keynote slides, a browser tab, your IDE. You get rectangles, ellipses, freehand lines, and a text tool for dropping short labels. The highlighter is the smart kind: it colors the background behind black text without obscuring the words themselves, so a line of code stays readable while glowing bright yellow. If you use a graphics tablet from Wacom or XP-Pen, the pressure sensitivity translates directly into variable stroke widths, which feels far more natural than drawing with a trackpad.
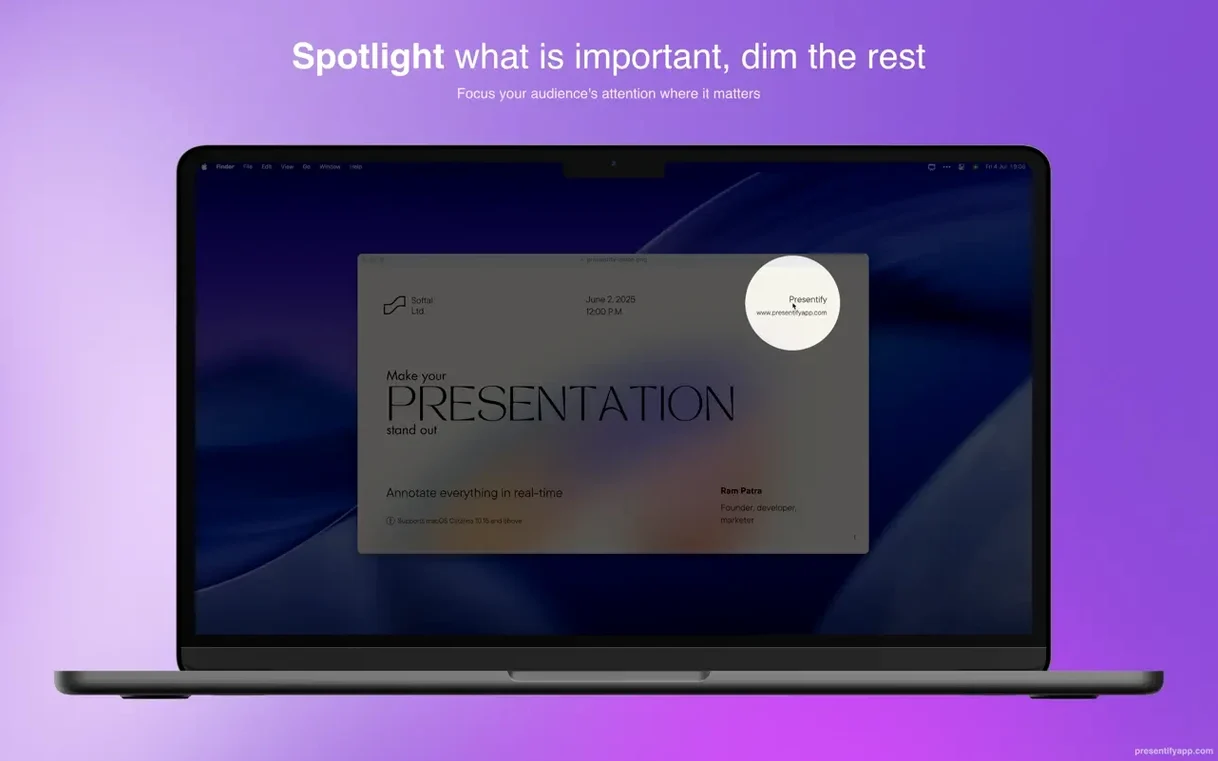
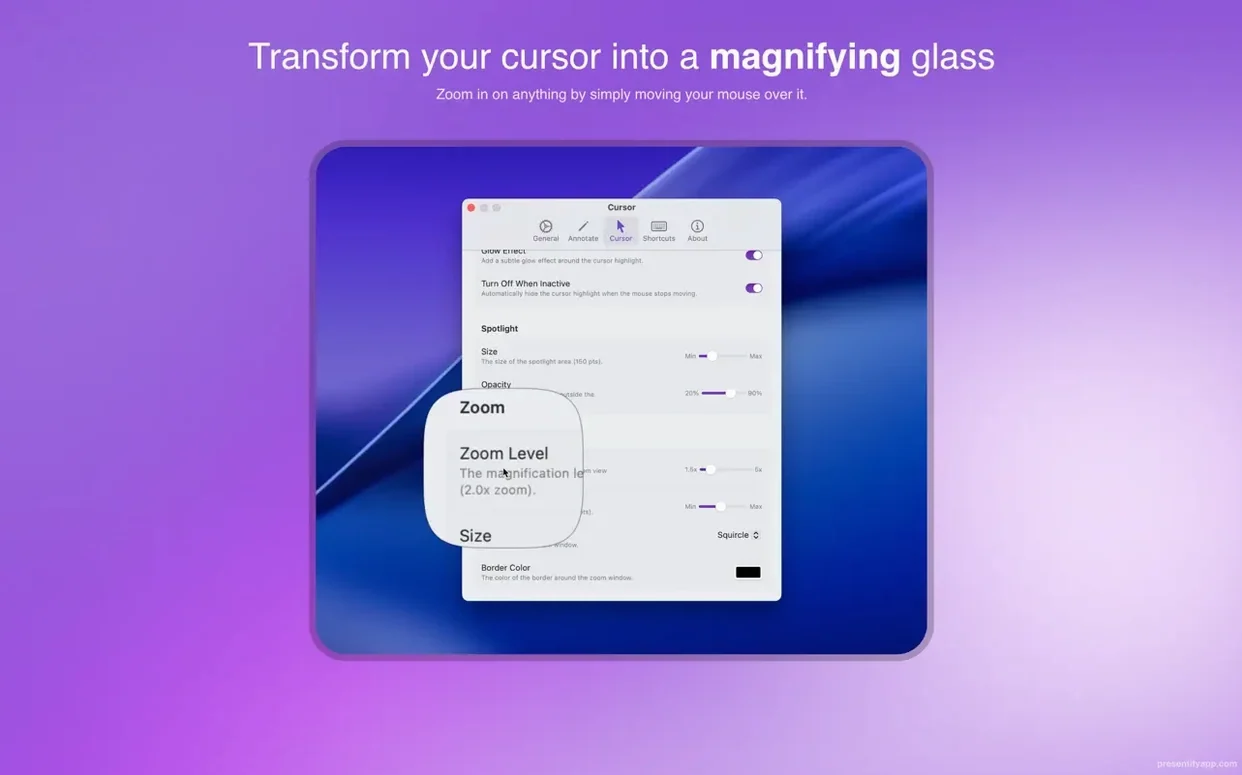
A spotlight mode dims the entire screen except for a movable oval, and a separate zoom loupe magnifies the area around your cursor. Both are useful for guiding an audience through dense UI mockups or debugger panels. Because Presentify draws on top of everything, it works equally well inside Keynote, QuickTime Player, or a web-based whiteboard—no per-app permissions or plug-ins needed.
The app runs native on Apple Silicon and Intel Macs, asking only for macOS 13 Ventura or later. Its interface switches between Russian, English, German, Spanish, and French based on your system language, so a multilingual team can each see the controls in their preferred localization.
Change the activation shortcuts so they don't clash with your IDE
The out-of-the-box defaults work, but a few tweaks make the app feel like it was set up for your exact workflow. Open preferences from the menu bar icon and start here.
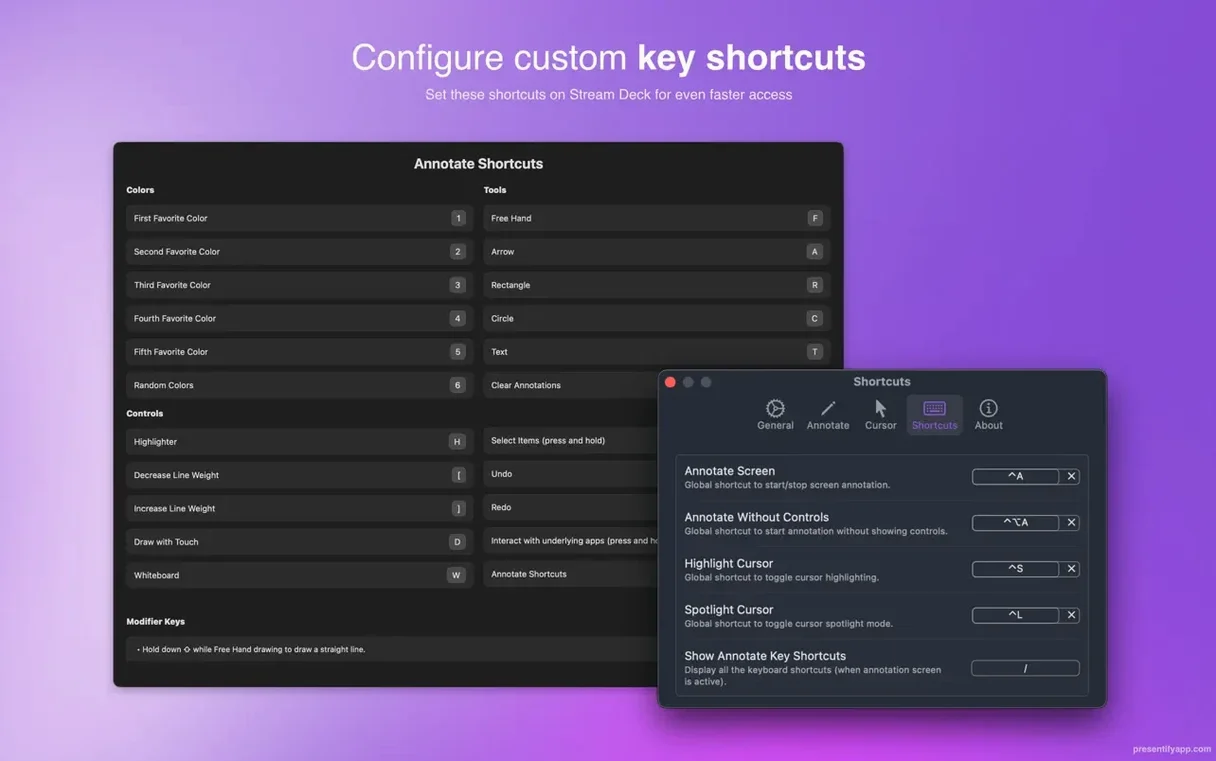
Change the activation shortcuts immediately. The default hotkeys for drawing mode and spotlight sit on function-key combinations that might clash with Xcode or your terminal multiplexer. I remapped annotation toggle to ⌃⌥⌘A and spotlight to ⌃⌥⌘S—both are chords my muscle memory never hits by accident. While you are in the shortcuts pane, set a separate key for the zoom loupe. You will use it more than you think.
Switch annotation mode to "draw and immediately disappear." Under the drawing tab, you will find an auto-erase setting. Set annotations to fade after a few seconds rather than persisting until you clear them manually. It keeps slides clean without an extra keystroke and stops you from accidentally leaving a red circle on screen while answering a question two topics later.
Nudge the highlighter opacity down. The default is punchy—great for legibility on a projector, but on a calibrated display at your desk it can feel loud. Dropping opacity to around 60 percent keeps the emphasis without dominating the underlying text. You can also change the gradient color behavior: random gradients are fun for brainstorming sessions, but for client calls I set a fixed palette that matches the brand colors I am annotating over.
Do a dry run of your next call to make annotation feel automatic
Day one is about reducing friction so Presentify becomes reflex, not a deliberate choice each time.
Run through a full dry rehearsal of your next call. Share your screen in Zoom or Google Meet, then practice annotating a slide, zooming into a detail, and clearing everything. The goal is to confirm that your meeting platform is not intercepting the same hotkeys. Meet occasionally grabs ⌘D for muting; if you mapped drawing to something near it, you will discover the conflict before an audience does.
Test the Fn key passthrough. In the default interaction mode, holding Fn temporarily lets you click through annotations to the app underneath. Open your code editor, enter drawing mode, scribble a note, then hold Fn and click a line of code. If your keyboard lacks a dedicated Fn key (some mechanical boards do), remap this behavior in preferences before you rely on it live.
Create a dedicated Presentify space in Mission Control if you teach regularly. Move your screen-sharing app and your notes to one desktop, then keep Presentify active there. The annotation layer follows spaces independently, so you will not accidentally draw over your private Slack window when switching contexts.
Try it with a tablet, even a borrowed one. Freehand annotations with the trackpad are functional; freehand annotations with a Wacom or XP-Pen stylus feel like writing on a whiteboard. The pressure sensitivity gives you thin lines for underlining and thick strokes for circling key points, all without swapping tools.
Online instructors who need to spotlight a single function signature
Three groups benefit disproportionately.
Online instructors and workshop leaders. If you teach programming, design tools, or data analysis over livestreams, the combination of spotlight and zoom is your new lecture pointer. You can dim everything except the function signature you are explaining, then zoom in so students on tablets read the parameter names. The text tool lets you drop short corrections onto student-submitted screenshots without switching to a separate markup app.
Technical presenters who live in their IDE. Demoing code without a visual pointer is a solved problem—until you need to compare two blocks that are not adjacent. Drawing temporary arrows between a function definition and its call site five files away gives the audience a spatial reference that verbal descriptions cannot match. Because Presentify sits above every window, you do not break flow by opening a separate annotation tool.
Video tutorial creators who record in one take. Re-recording a segment because you fumbled a visual explanation adds editing time. With auto-erase annotations and the zoom loupe mapped to a thumb key, you can clarify a UI element on the fly and keep the recording rolling. The annotation recording is baked into the screen capture, so no compositing step is needed afterward.
Presentify adds spotlight dimming, which ScreenBrush leaves out
Three alternatives come up in the same conversations, and each makes different trade-offs.
Presentify versus ScreenBrush. ScreenBrush also layers annotations over the screen, and its drawing toolset is comparable. The split is in supporting features: Presentify adds spotlight dimming and cursor highlighting as first-class tools, while ScreenBrush focuses purely on drawing. If you only need arrows and circles, either app works. If you also want to guide attention by darkening everything outside a region, Presentify does that without a second utility. ScreenBrush has historically been slower to adopt Apple Silicon natively, though that gap is closing.
Presentify versus DemoPro. DemoPro leans toward pre-planned presentations: you build scenes with annotations ahead of time and trigger them during a recording or live demo. Presentify is fully improvisational—you draw on whatever is on screen right now, with no setup file. DemoPro suits polished product demos with exact timings; Presentify suits the moment a student asks a question you did not anticipate and you need to explain it visually in three seconds.
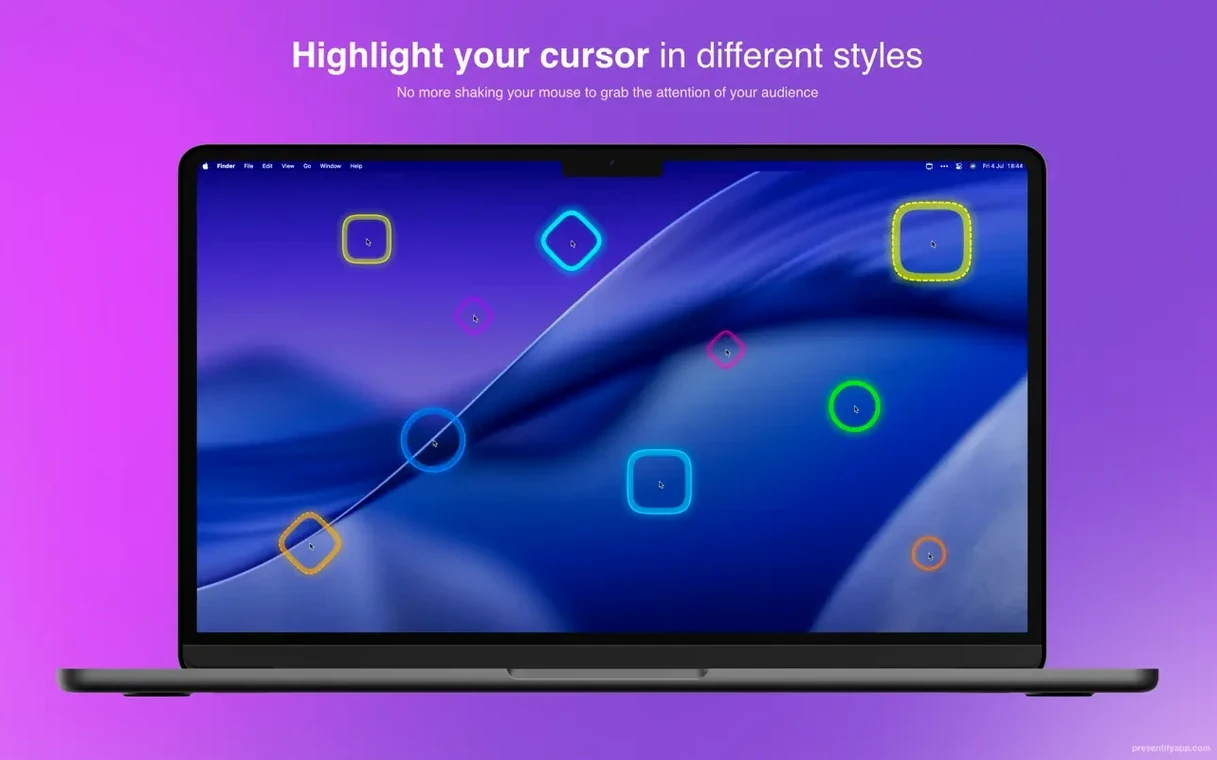
Presentify versus Mouseposé. Mouseposé is primarily a cursor-enhancement tool: it highlights the pointer and shows click rings, which helps audiences follow your mouse movements. Presentify includes cursor highlighting but treats it as one component of a broader annotation layer. If cursor visibility is your only concern, Mouseposé is the lighter tool. If you also need to draw, type short labels, and magnify regions, Presentify consolidates those jobs into one menu bar app.
- macOS 13 Ventura or later
- Apple Silicon or Intel 64-bit Mac
$ man presentify | grep -A2 "?"
Does Presentify work with drawing tablets on a Mac?
Yes, it supports pressure-sensitive input from Wacom and XP-Pen tablets, giving you variable stroke thickness when annotating.
Comments 0
Sign in or create an account to leave a comment.
No comments yet. A codec, a slice, a machine — they appear after moderation.