SuperDuper! for macOS
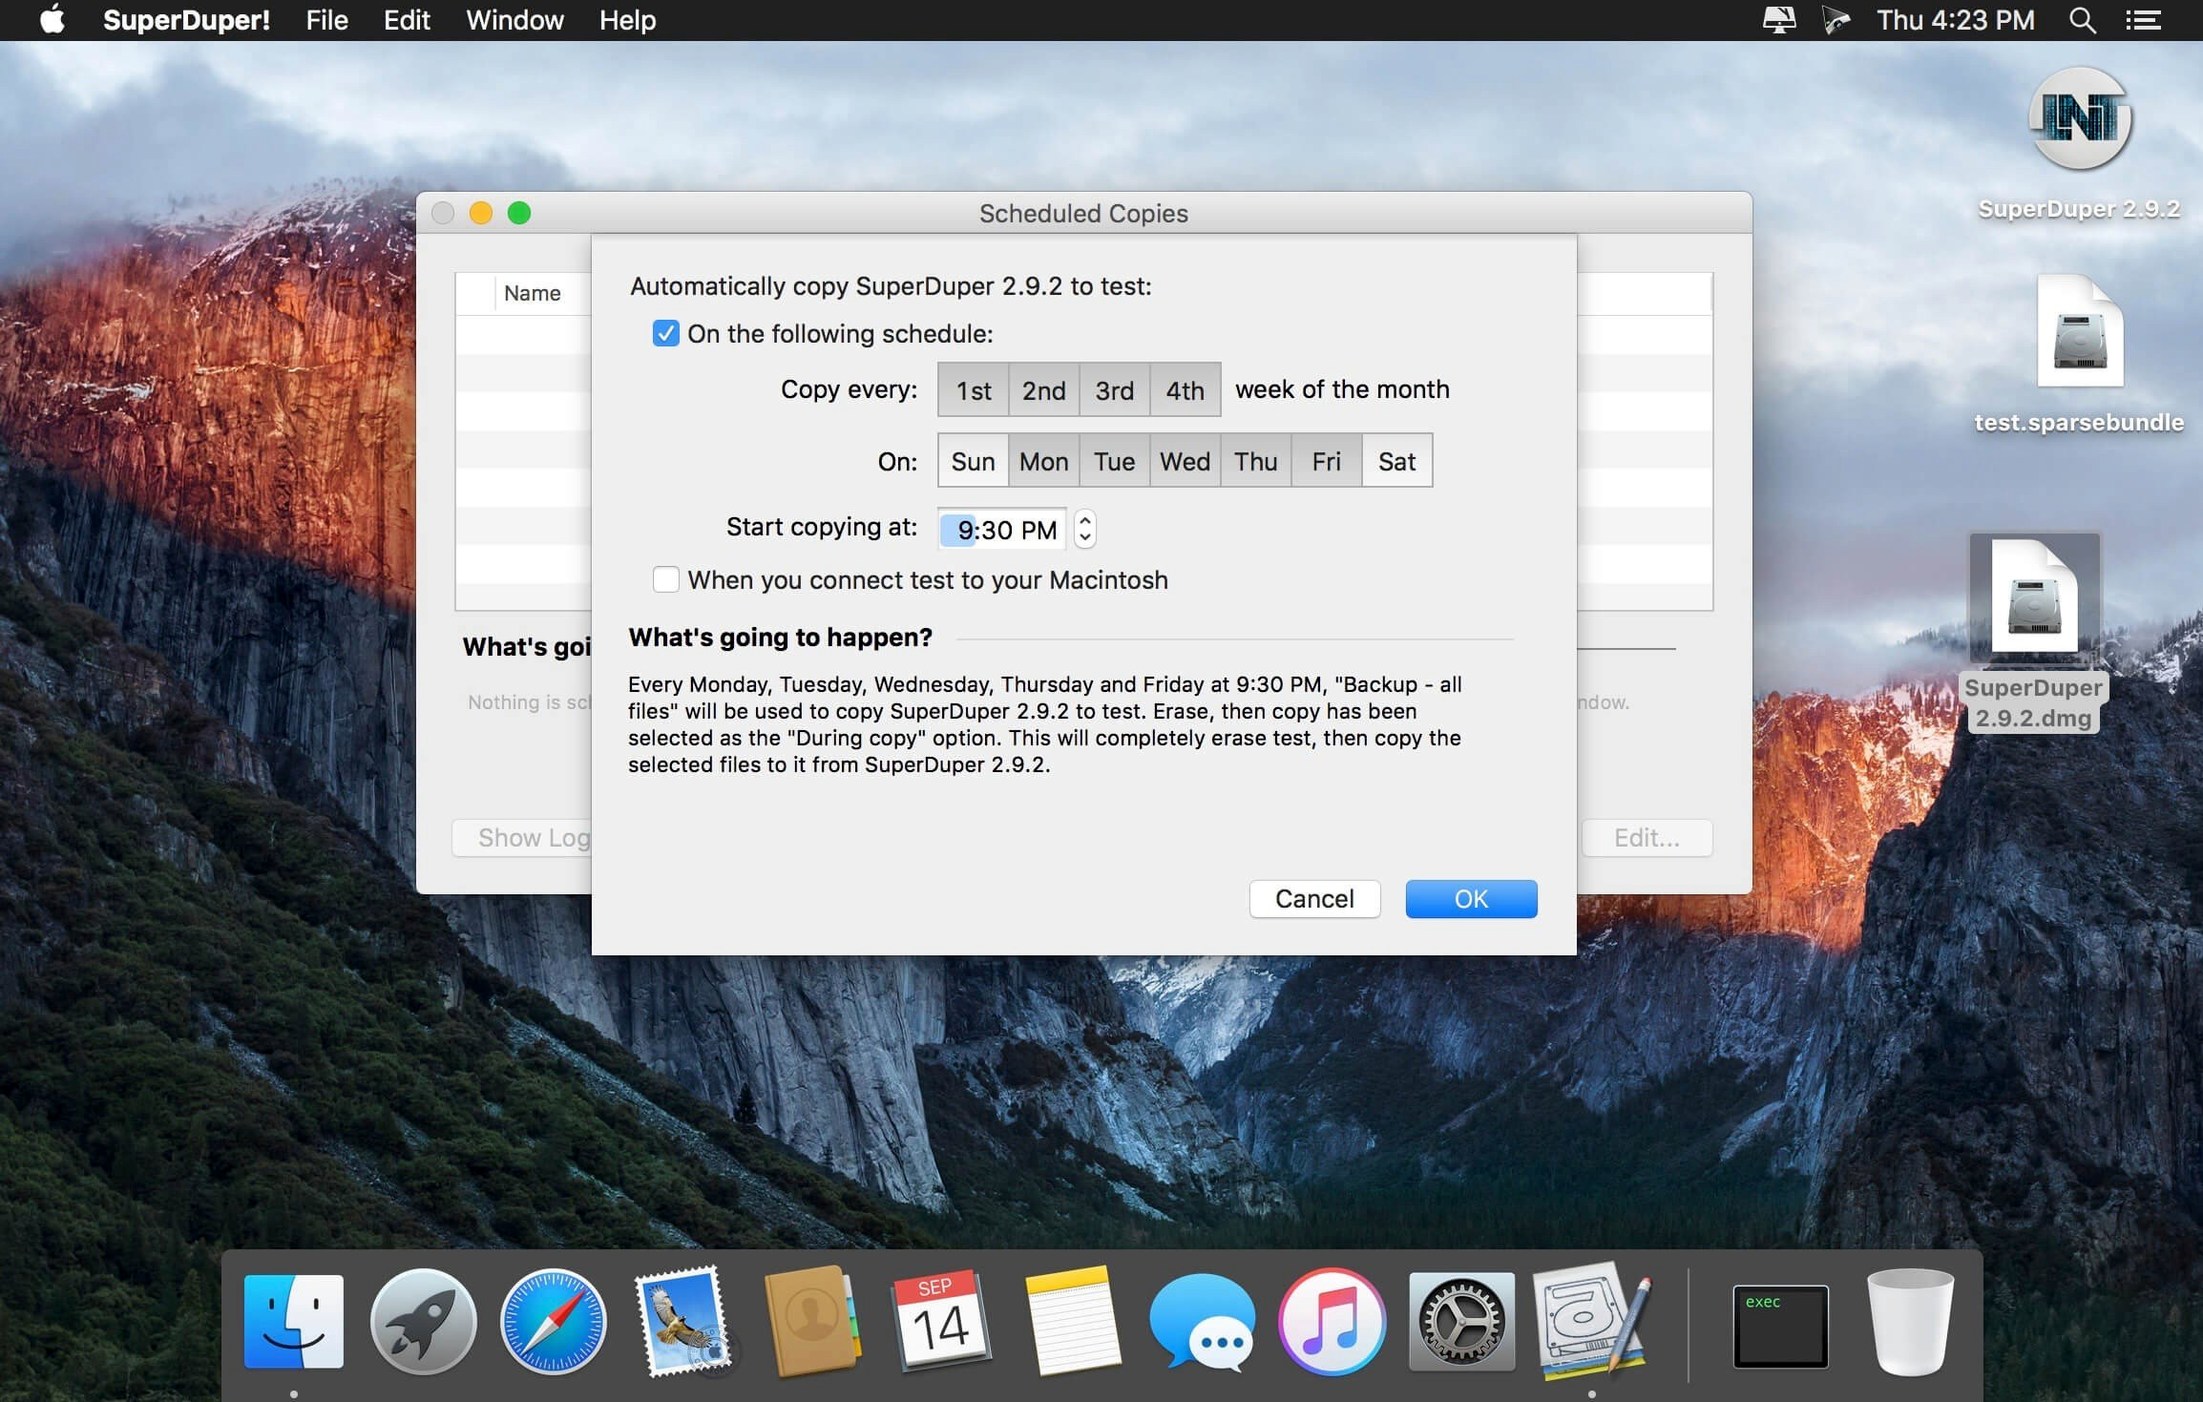
System administrators and careful Mac owners who want a bootable clone they can rely on often turn to SuperDuper!. It’s a disk utility that strips away the hand-holding and gives you direct control over copying volumes, scheduling automatic snapshots, and building a drive you can start up from when your main disk fails.
| Detail | Info |
|---|---|
| Current version | 4.0.7 |
| macOS requirement | 10.13 or later |
| Architecture | Apple Silicon & Intel native |
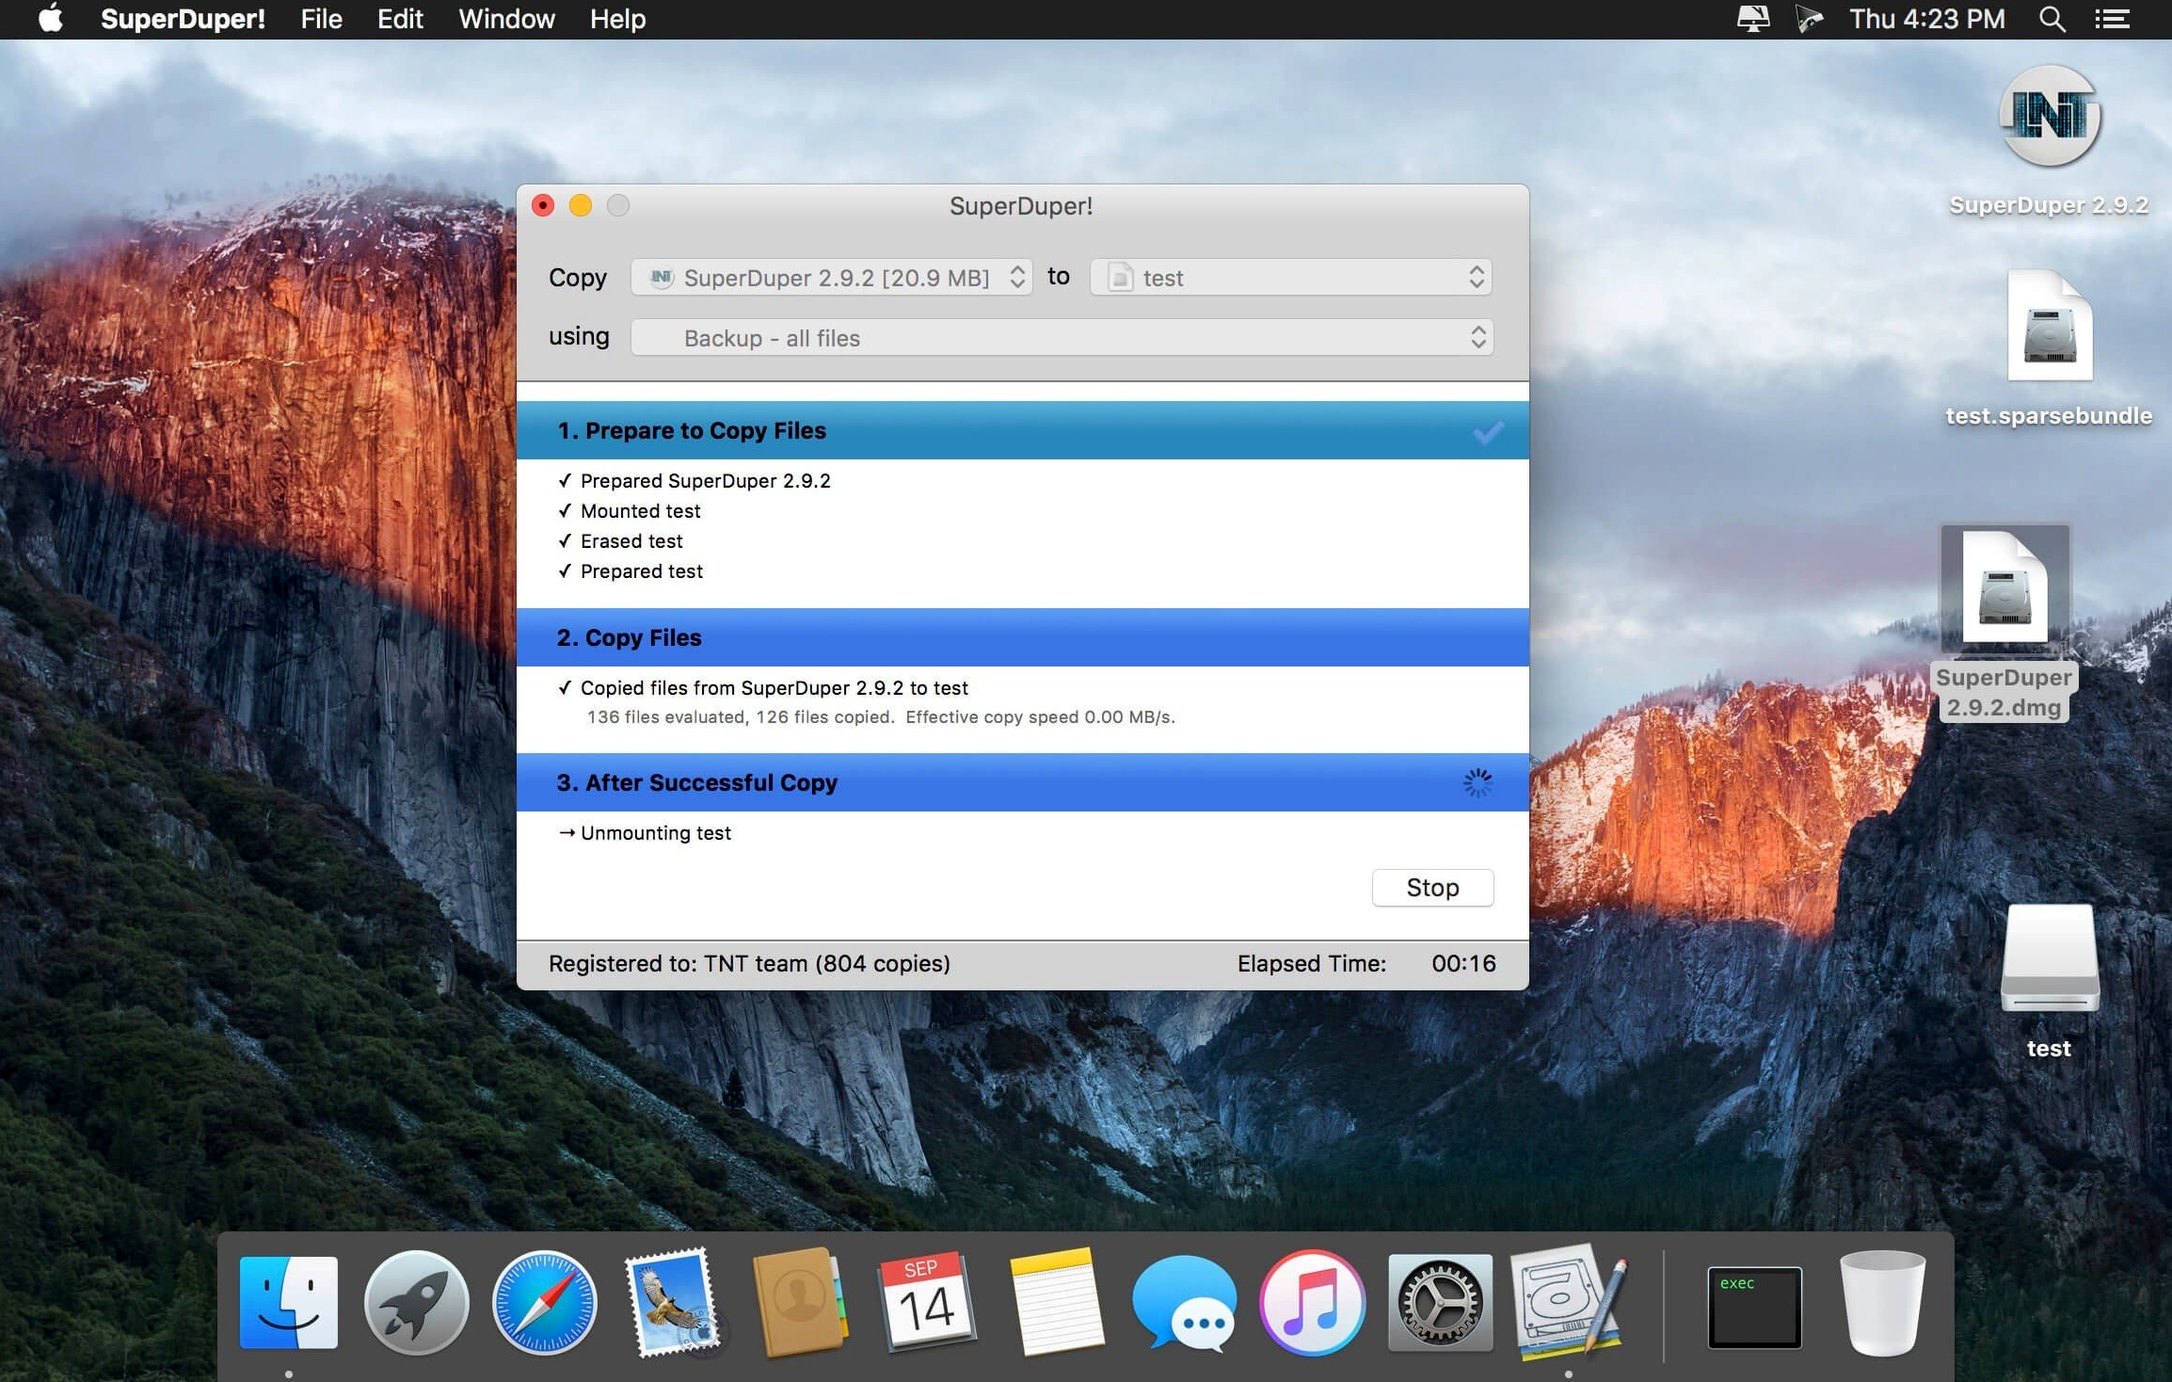
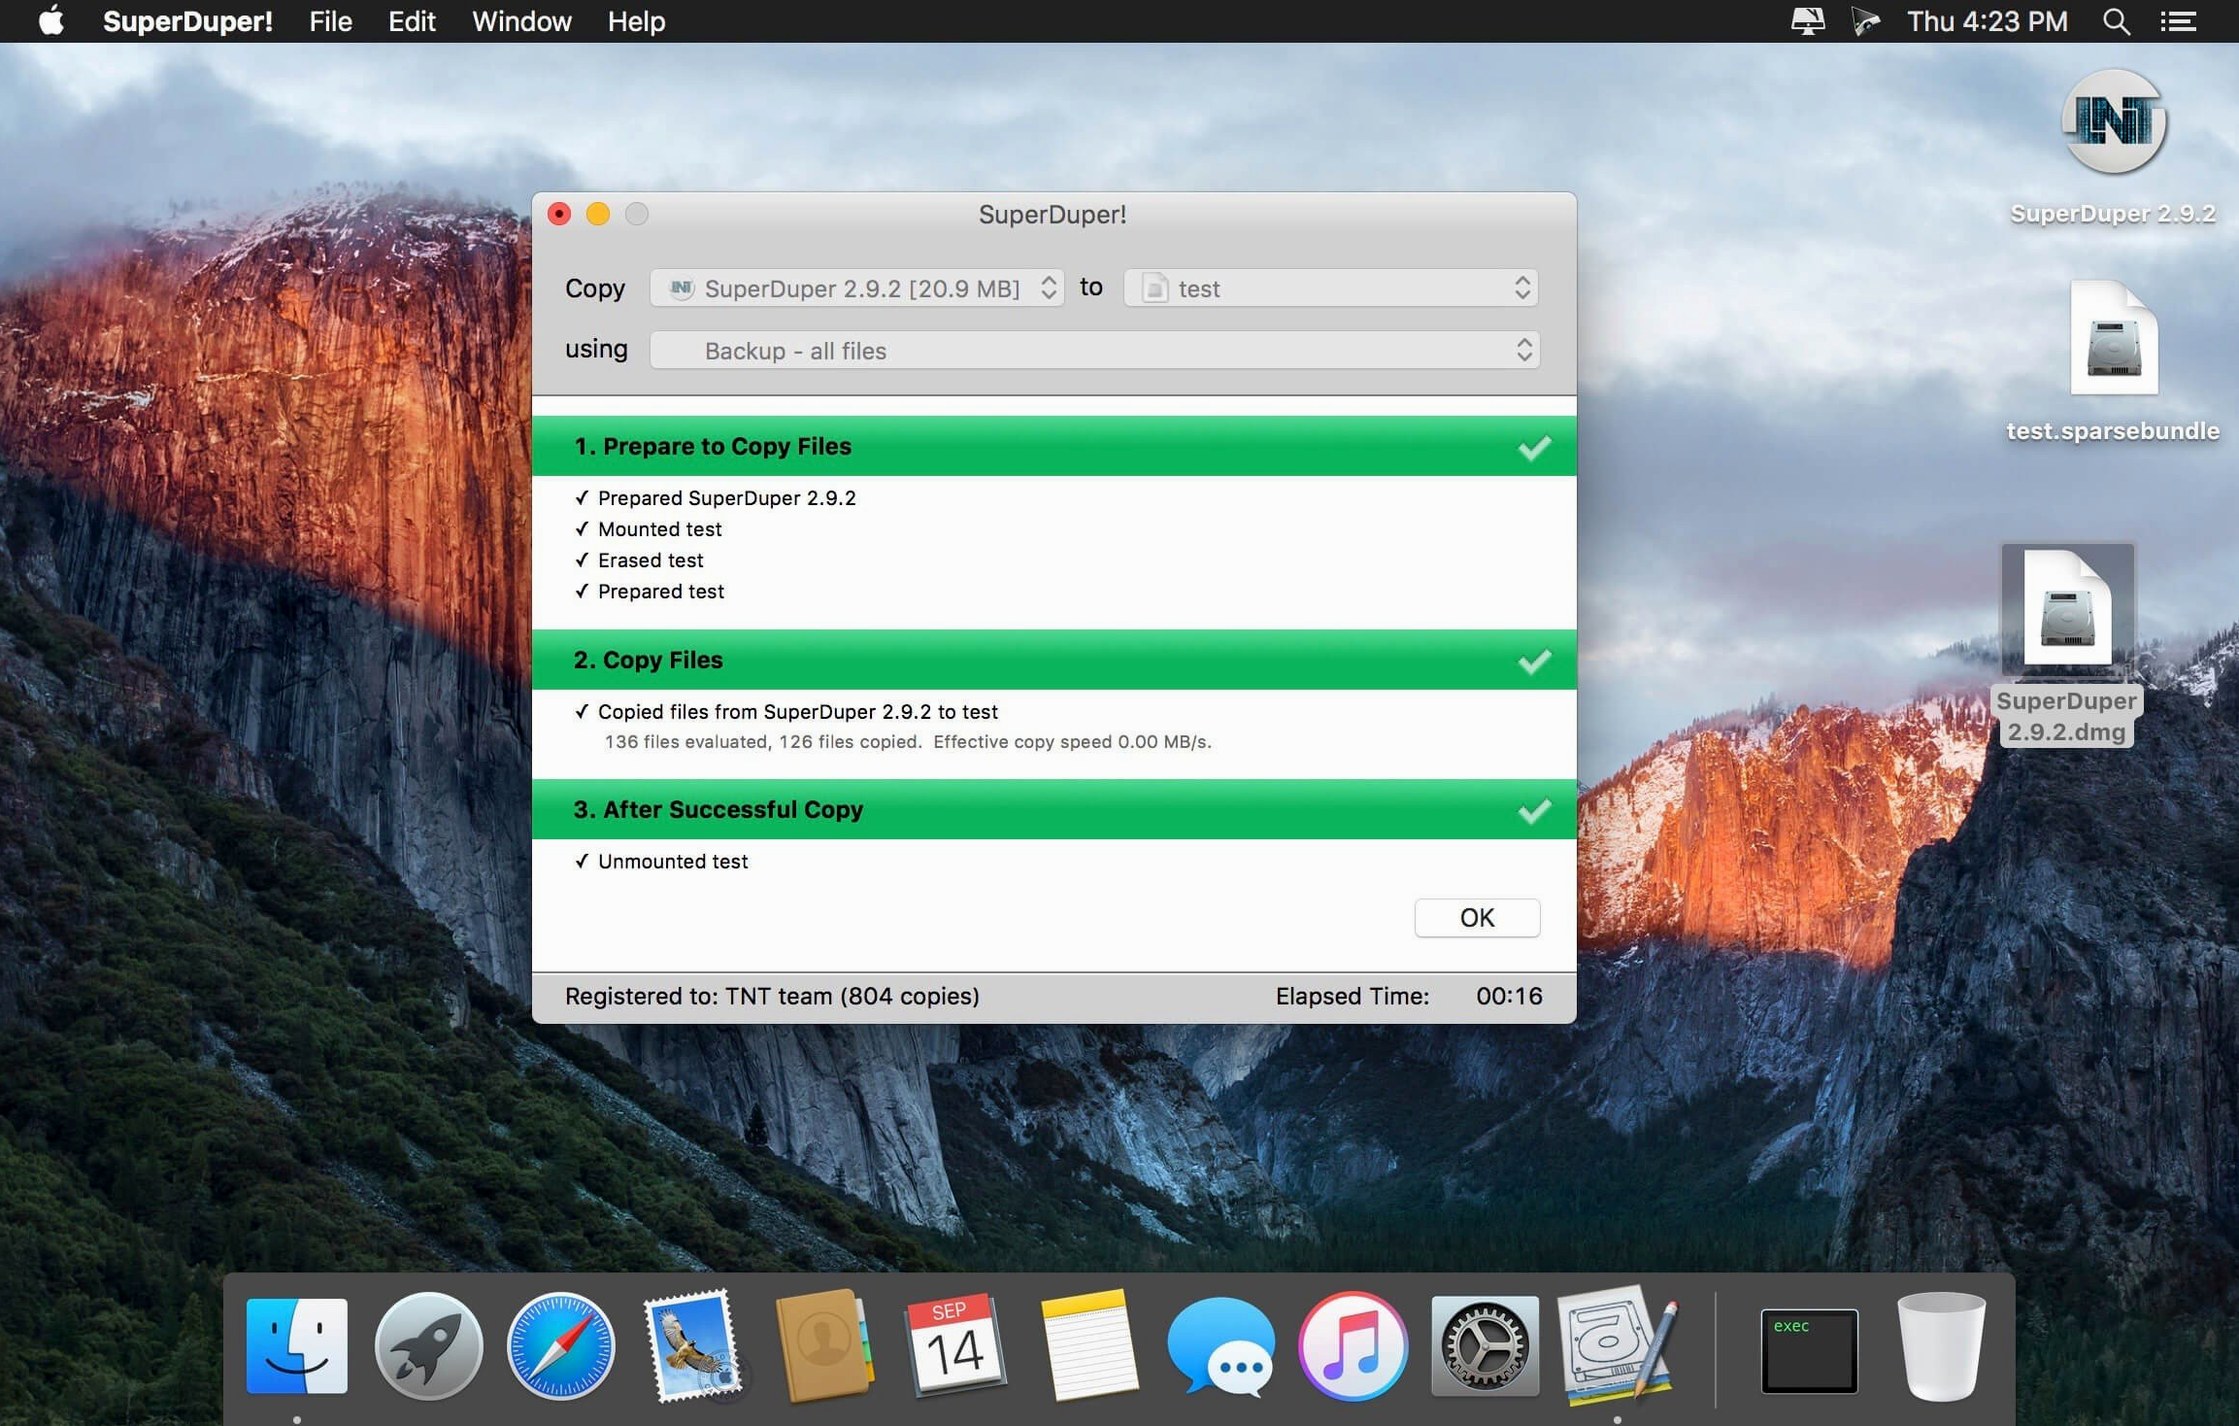
SuperDuper! 4 Mac handles the kind of byte-for-byte cloning that makes a destination drive truly bootable—something a simple Finder copy can’t achieve. You choose a source and destination, and it writes an exact replica, preserving the structure macOS needs to launch. A scheduler lets you set unattended updates, so your external clone stays current without manual intervention. Power users will appreciate the checkpoint system: before a major system update, you can freeze a known-good state. If an update goes sideways, rolling back to that earlier copy is straightforward. The interface is utilitarian, not flashy, which fits the audience—it’s a tool for people who understand disk identifiers and mount points and just want the job done correctly.
Why Full Disk Access matters before your first clone
After the standard drag-to-/Applications install, launch SuperDuper! and give it Full Disk Access in System Settings—the app will prompt you, but it’s easy to miss if you click through quickly. Without that permission, it can’t read every file it needs for a true clone. The next step that saves headaches later: pick your external drive and run one full backup immediately to establish the baseline. Let it finish. Don’t interrupt it. A partial first pass confuses the Smart Update logic down the road.
Once the clone completes, boot from it once—hold Option at startup and select the external drive—to confirm it actually works. I’ve seen too many people skip this step and discover a permissions problem weeks later when they actually need the backup. Takes five minutes. Worth every second.
If you plan to use the scheduler, avoid setting it for every hour on a spinning USB drive that spins down between runs. The constant spin-up cycle wears the enclosure controller faster than you’d expect. A daily or twice-daily window works for most home setups; IT folks managing lab machines often go hourly with an always-on SSD. The scheduler runs as a background launchd job, so you don’t need the app open for it to fire.
How fast does a Smart Update clone take on Thunderbolt 3?
On an M1 Mac mini with a Thunderbolt 3 NVMe enclosure, a 256 GB internal drive clones to a same-capacity external SSD in about eight minutes on Smart Update after the initial full copy. The initial clone takes longer—figure roughly the drive’s sequential write speed as the ceiling—but subsequent runs only touch changed blocks. CPU usage during a Smart Update pass hovers around 4–8 percent on a single efficiency core; the bottleneck is almost always the destination drive’s write throughput, not the processor.
RAM footprint sits around 45–60 MB while idle and roughly 120 MB during an active clone. That’s negligible on any Mac from the last decade. The app doesn’t install kernel extensions or background daemons beyond the scheduler’s .plist, so there’s nothing quietly polling drives when you’re not backing up.
Stability has been uneventful in the best way. Version 4.0.7 hasn’t beachballed or dropped a clone mid-write in months of daily use across two machines. The only quirk I’ve reproduced: if the destination drive disconnects during a Smart Update—yanked cable, power loss on a bus-powered enclosure—the app throws a clear error and stops without corrupting the partial clone. You unmount, replug, and run it again. No filesystem repairs needed.
What boot-registration fix does 4.0.7 include for macOS 27?
The 4.0.7 update was a targeted fix, not a feature drop. The release notes mention a workaround for a boot-registration issue specific to macOS 27 Golden Gate—a developer seed that changed how the system catalogs startup drives. Without the workaround, a freshly cloned volume wouldn’t appear in the Startup Disk pane even though it was perfectly bootable via the Option-key picker. That’s a classic edge case that only shows up when Apple reworks the boot chain; Shirt Pocket patched it before most users ever hit it.
Earlier 4.0.x releases focused on Apple Silicon boot-volume cloning refinements. The big architectural shift happened in the 3.x-to-4.0 jump, when SuperDuper! moved to full native support for both ARM and x86 and dropped the older APFS replication method that required a helper tool. The current version handles the APFS volume group—System and Data volumes—as a single logical copy operation, which is why the interface still looks deceptively simple while doing significantly more work underneath.
Workflow: migrating to a bigger internal drive
Say you’re swapping a 256 GB MacBook Air SSD for a 1 TB third-party module. The goal is a bootable clone on the new drive that you can install directly, no reinstallation marathon. Here’s the step-by-step:
- Put the new SSD in a USB-C enclosure, connect it, and open Disk Utility.
- Erase it as APFS with a GUID Partition Table—same format as your current internal drive.
- Open SuperDuper!. Set the source to your internal drive and the destination to the new SSD in the enclosure.
- Choose Backup – all files with Smart Update off for the first pass. Smart Update skips unchanged files, but a fresh drive has nothing to skip; turning it off avoids the comparison overhead.
- Click Copy Now and wait. Grab a coffee—the write speed of the enclosure dictates the timeline.
- When it finishes, shut down, swap the drives physically, and power on. Hold Option to confirm the boot picker sees the new drive. Select it and let macOS finish any first-boot housekeeping.
The clone is byte-identical to your working system: all apps, preferences, license files, shell configs in /etc, custom fonts, everything. No Migration Assistant, no iCloud re-sync. Once you’re confident the new drive is solid, you can repurpose the old one as an external backup target—ironically, often with a SuperDuper! schedule pointed at it.
- Added a workaround for a startup-drive visibility issue encountered under macOS 27 Golden Gate.
- macOS 10.13 or later
- Runs natively on both Apple Silicon and Intel Macs
$ man superduper | grep -A2 "?"
Does SuperDuper! create bootable backups on Apple Silicon Macs?
Yes, it is a Universal binary that runs natively on both Apple Silicon and Intel Macs, and its cloning process creates a bootable copy as long as the destination drive is properly formatted.
Can I automate backups with SuperDuper!?
Yes, the built-in scheduler allows you to set automatic, unattended backups, keeping a bootable clone up to date on a regular interval.
Comments 0
Sign in or create an account to leave a comment.
No comments yet. A codec, a slice, a machine — they appear after moderation.