SwitchResX for macOS
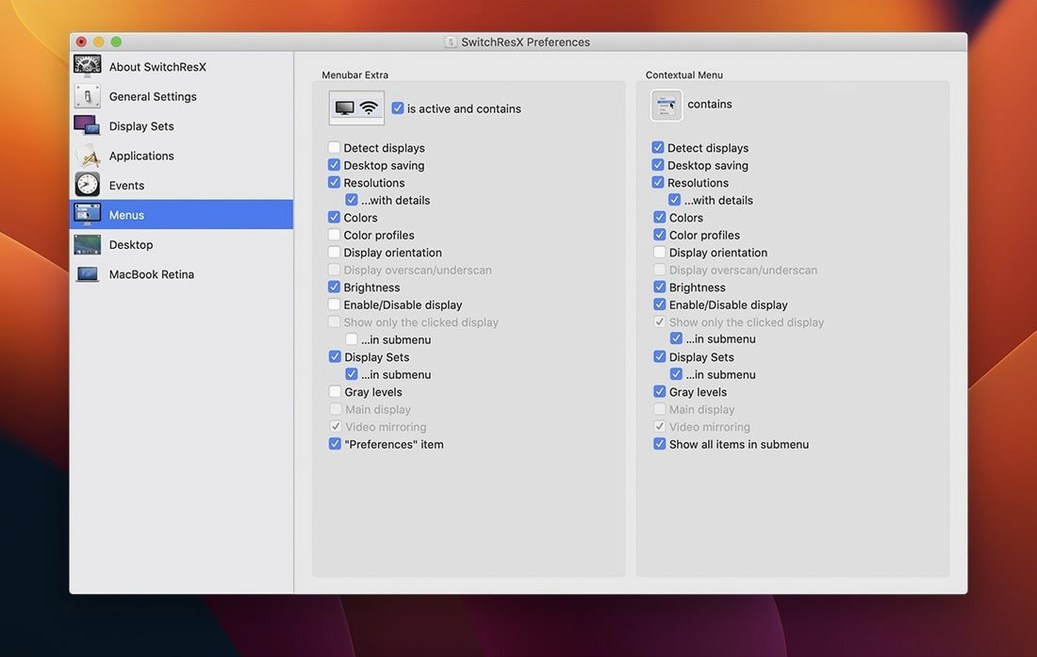
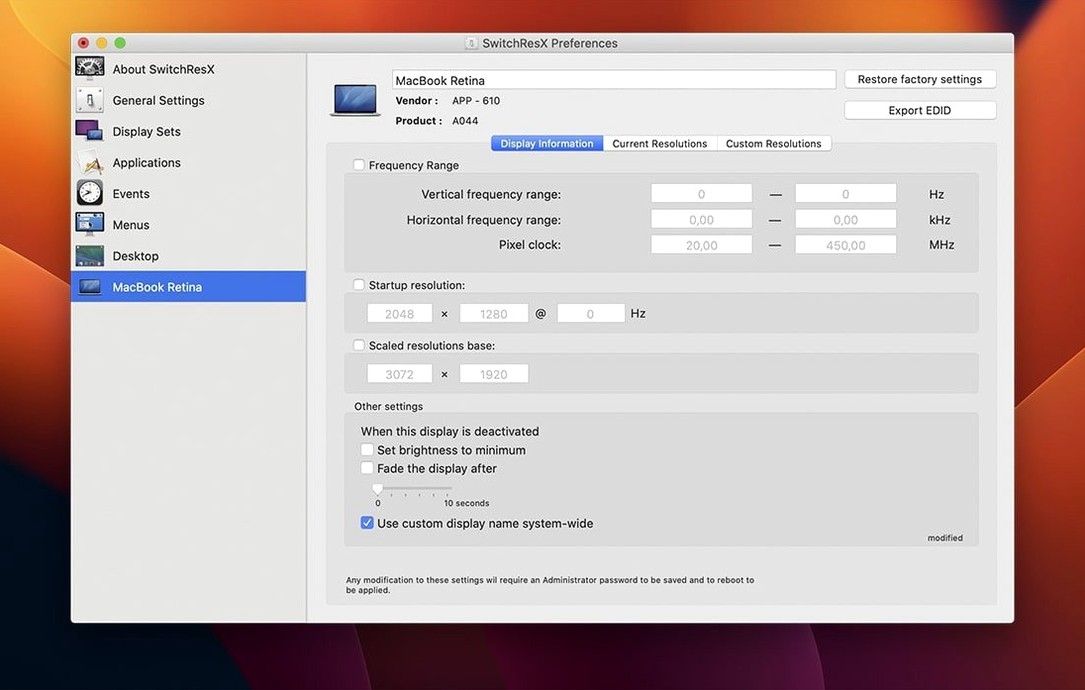
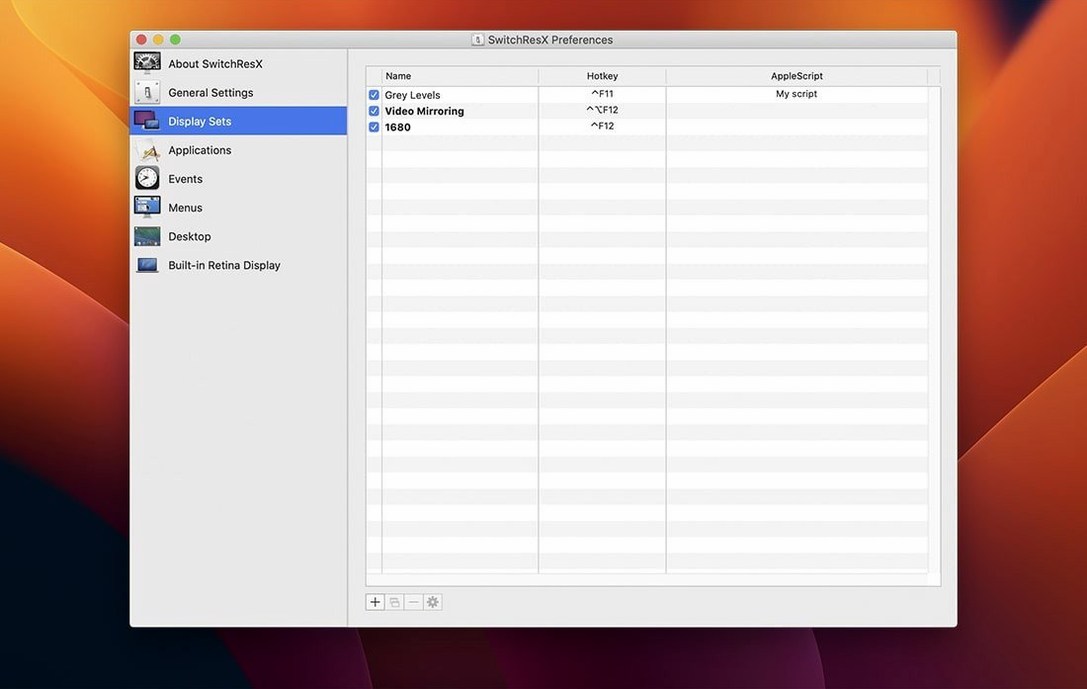
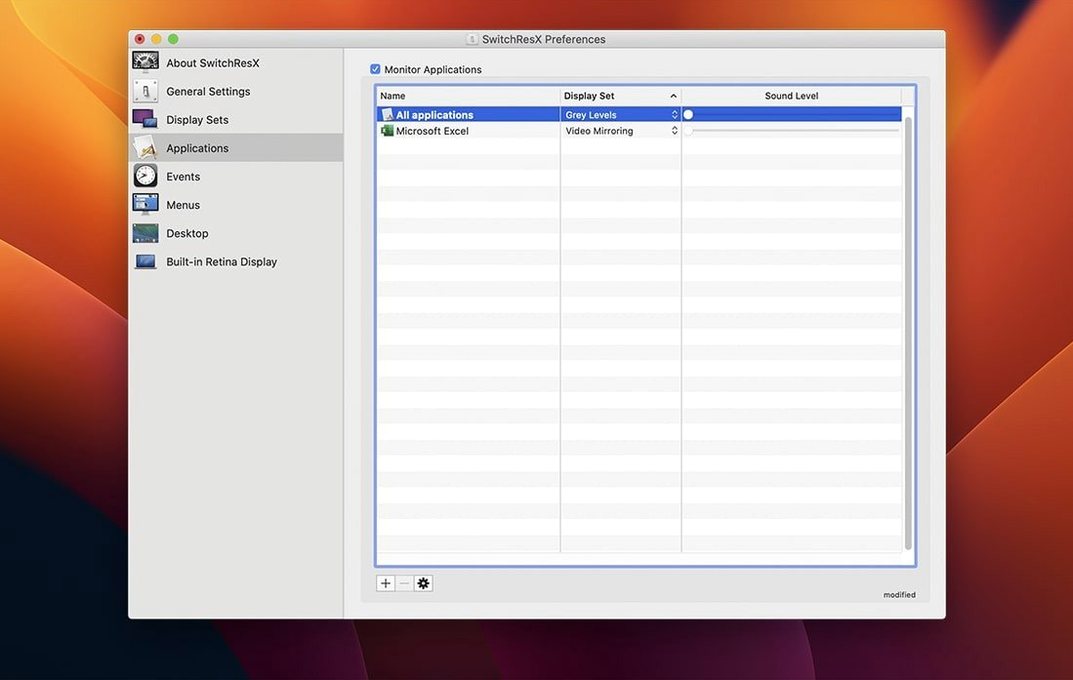
macOS gives you a handful of resolution choices; SwitchResX hands you the full EDID table and lets you define your own.
Per-app resolution — SwitchResX watches which application is frontmost and switches the display to a resolution you've assigned ahead of time. A browser gets 1920×1080, your photo editor gets native 5K, and the change happens automatically when you tab between them.
Custom timings — beyond the standard list, you can define a scaled resolution with exact horizontal and vertical pixel counts and refresh rates. Useful for driving oddball projectors, plasma panels, or HDTVs that don't advertise their best mode over EDID.
Display Sets — a saved snapshot of resolution, color profile, rotation, and mirroring state for every connected monitor. Switch between a clamshell desk setup and a presentation layout with a menu-bar click.
Disable a display — turn off an internal or external screen without unplugging it. On Apple Silicon Macs, version 4.14.2 can also quit the Dock process when a display is disabled, preventing a stuck Dock from jumping to the wrong screen.
Mistakes beginners make (and how to avoid them)
The first thing most new users do is create a custom resolution without checking the monitor's EDID first. They type in numbers that "look right" — 2560×1440 at 75 Hz on a panel that only syncs at 60 Hz — and the screen goes black. SwitchResX won't stop you from defining out‑of‑range timings. If the monitor can't handle the signal, you'll get no picture, and macOS might not revert automatically.
The fix: before touching the Custom Resolutions tab, open the display's EDID report. Scroll to the detailed timing descriptors. The monitor has already told the system exactly which pixel clocks, blanking intervals, and sync widths it accepts. Use those numbers as your guardrails. If you do lose picture, reboot into safe mode or plug in a second display you can still see, open SwitchResX, and delete the bad entry from ~/Library/Preferences/fr.madrau.switchresx.plist.
Another common slip: enabling per‑application resolution switching for a dozen apps and then wondering why the screen flickers every time you click the desktop. macOS treats Finder as an application. If you assign a different resolution to Finder than to your other apps, every click on the desktop triggers a mode switch. Either leave Finder at your default resolution or disable switching for it entirely in the Applications list.
Beginners also tend to ignore the Status menu. They dig through System Preferences to change resolutions, unaware that the menu bar item shows every available mode — including custom ones — sorted by display. Right‑click it and you get Display Sets, rotation, and the option to open the full preference pane.
Common snags and how to sort them out
Custom resolution appears in the list but can't be selected. This usually means the pixel clock or horizontal scan rate exceeds what the GPU's TMDS transmitter can drive over the cable you're using. HDMI 1.4 tops out around 340 MHz; DisplayPort 1.2 handles more. Cut your refresh rate by 5 Hz and try again, or drop to 8‑bit color if you had set 10‑bit. The Scaled resolutions checkbox in the custom resolution editor is your friend here — it tells macOS to render at one size and scale the output, which avoids hitting cable bandwidth limits.
An external display shows "no name" in the monitor list. Version 4.14.2 fixes a regression where unnamed displays caused crashes, but the underlying issue is usually a bad EDID read over USB‑C or a dock. Unplug the display, power‑cycle the monitor (not just sleep), reconnect directly to the Mac without a hub, then restart SwitchResX. If the name's still blank, you can still assign resolutions to it; the app identifies displays by their serial number and vendor ID internally.
Display Sets don't switch cleanly. If a Display Set references a custom resolution that you later deleted or edited, the set breaks silently. The symptom: applying the set changes nothing. Open the Display Set, re‑pick the correct resolution and color profile, save it again. Also check that the set isn't triggering while another set is still mid‑transition — version 4.14.2 patched a bug where deleting a Display Set that was chained after another caused the second one to hang.
Dock jumps to the wrong monitor after disabling a screen. On Apple Silicon, disabling an external display through SwitchResX sometimes left the Dock process stranded on the now‑invisible screen. Build 4.14.2 adds an option to quit the Dock when a display goes dark, forcing it to relaunch on the active monitor. You'll find the toggle in the display's Disable settings panel.
A typical working session, step by step
You arrive at your desk and plug a MacBook Pro into a CalDigit TS4 dock. Two 4K LG panels light up, but macOS defaults them to 1920×1080 HiDPI — legible but soft. You click the SwitchResX menu bar icon. The dropdown shows each display by name, with the current resolution in bold. You select 3840×2160 @ 60 Hz for the left monitor, then the right. The screens blink once and settle.
You open Lightroom. SwitchResX notices the application launch and checks its Applications panel. You've assigned Lightroom to switch the left display to a custom 2560×1440 scaled mode — large enough for the filmstrip, but not so tiny that sliders require a magnifying glass. The transition takes about a second.
Mid‑afternoon, you need to present comps on a meeting‑room TV over AirPlay. You've saved a Display Set called Conference that disables the internal laptop screen, sets the TV to 1920×1080 at 60 Hz (the native panel rate your EDID‑dump confirmed), and mirrors the remaining desktop. You pick it from the menu bar. The Mac's screen goes dark, the TV fills with your desktop, and the Dock quits and relaunches on the external display — no orphaned Dock floating in inaccessible space.
After the meeting, you select your Desk Display Set. Both 4K panels return to 3840×2160, color profiles reload, and the laptop screen stays off because that's how you work at the desk. The whole context switch costs two clicks and ten seconds of re‑acclimation.
A real‑world scenario: the multi‑projection artist
Consider someone running a live audiovisual performance with a Mac Studio and three mismatched projectors — a vintage Barco CRT, a short‑throw Epson for a floor map, and a high‑brightness Panasonic for the main wall. None of them advertise their best timings over EDID correctly. The Barco wants 1440×1080i at 50 Hz; the Epson takes 1280×800 at 60 Hz but only over a reduced blanking interval; the Panasonic can handle a custom 2048×1080 DCI‑style crop.
They open SwitchResX, pull each projector's EDID, and build three custom resolutions with the exact front‑porch, sync‑width, and back‑porch values the projectors' manuals specify. Saved as a Display Set called Showtime, the configuration also disables the main desktop monitor so no accidental mouse movements appear on the output. During the performance, they trigger the set from a QLab script via AppleScript — tell application "SwitchResX" to apply display set "Showtime" — and all three projectors lock to their custom modes in under two seconds. After the show, a second AppleScript call loads the Studio Display Set, restoring the desk monitor and color‑grading reference profile.
Without SwitchResX, the Barco would show a scrambled image, the Epson would refuse to sync, and the Panasonic would default to a soft 1080p scaled mode. With it, three pieces of stubborn hardware behave like a unified canvas.
- Stops settings from repeatedly self-updating when no display is attached.
- Handles displays that report no name in macOS without breaking the configuration.
- Fixes a bug where deleting a Display Set that follows another Display Set would fail.
- On Apple Silicon Macs, quitting the Dock is now permitted when a display is disabled, avoiding Dock placement issues.
- macOS 10.10 or later
- Intel and Apple Silicon (native)
$ man switchresx | grep -A2 "?"
Can I set a different resolution for each application?
Yes. You assign a resolution to an application in SwitchResX, and it switches automatically when that app becomes active.
Does it work with Retina and HiDPI modes?
It does. SwitchResX shows both the raw pixel dimensions and the HiDPI-scaled equivalents, so you can pick whichever rendering the GPU will use.
What external displays does it support?
Any display macOS recognizes — third-party monitors, HDTVs, plasma panels, and projectors — including ones that need custom timings defined manually.
Comments 0
Sign in or create an account to leave a comment.
No comments yet. A codec, a slice, a machine — they appear after moderation.