Techtool Pro for macOS
Your Mac's SSD just started acting strange—files take a beat too long to open, and a reboot didn't shake the sluggishness. Instead of waiting for a full-blown directory disaster, you fire up a dedicated diagnostic suite to check the hardware and file structures before anything gets worse.
How do you check a drive for physical damage?
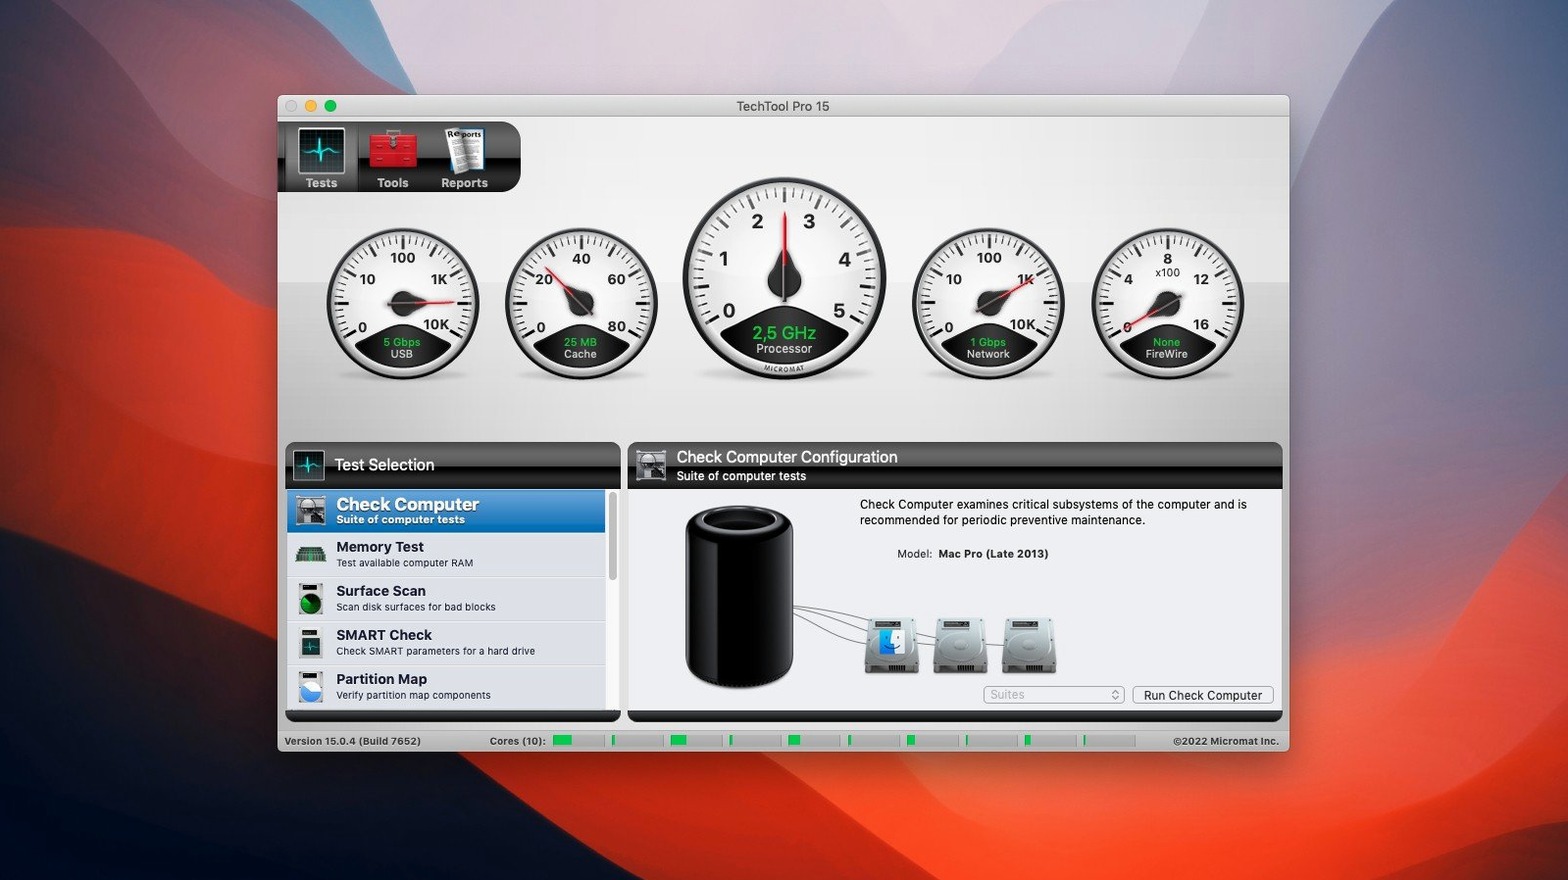
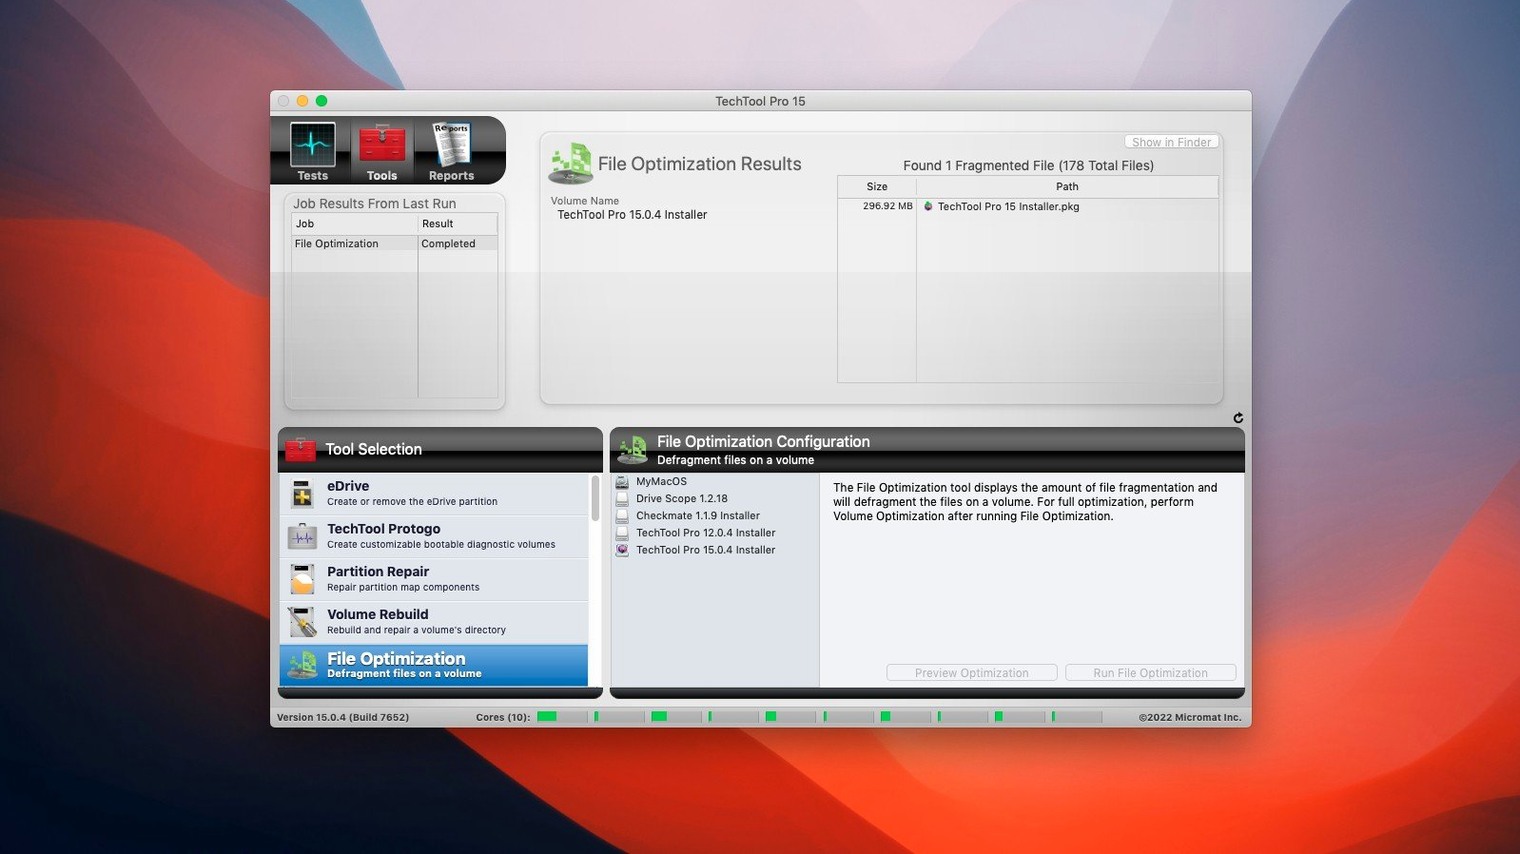
Run a surface scan on the target volume. The tool reads every block, flags any that are failing, and attempts to relocate readable data stored on bad blocks to a safe area of the disk.
Can it fix a corrupted file system?
Yes, the volume repair tool rebuilds damaged directory structures on both hard drives and SSDs. After the repair, you can also reset file access permissions on the partition to clear up permission-related errors.
What if a file disappeared before the repair?
Switch to the data recovery tool. It searches the volume for deleted files and lost data that haven't been overwritten yet, giving you a chance to restore them to another drive.
How does the background monitoring work?
Techtool Protection runs automatically to watch for abnormal system behavior. Configure it in the Protection settings, and it will display a warning the moment it detects a potential hardware or file system issue, letting you act before a small error cascades.
Schedule a SMART check on every drive before trouble appears
Don't just let it sit in your Applications folder until something breaks. A few deliberate steps right after setup turn it from an emergency tool into something that actually prevents emergencies.
Start with the SMART check on every internal and external drive you own. A single pass won't catch everything, but it establishes a baseline. Write down the results—or better yet, take a screenshot—so you have something to compare against when a drive starts acting strange six months later. Drives often degrade slowly, and a before-and-after comparison of SMART attributes tells you more than a one-off test.
Next, spend ten minutes configuring Techtool Protection. The defaults are reasonable, but they're not tailored to your setup. If you have a boot drive that's perpetually low on space, lower the free-space monitoring threshold so you aren't getting pinged every afternoon. If you work with large media files that come and go from a scratch disk, enable tracking of removed files on that specific volume. And set up the email notification path now—even if it's just a test alert—so you know it works. The worst time to debug notification delivery is during an actual drive failure.
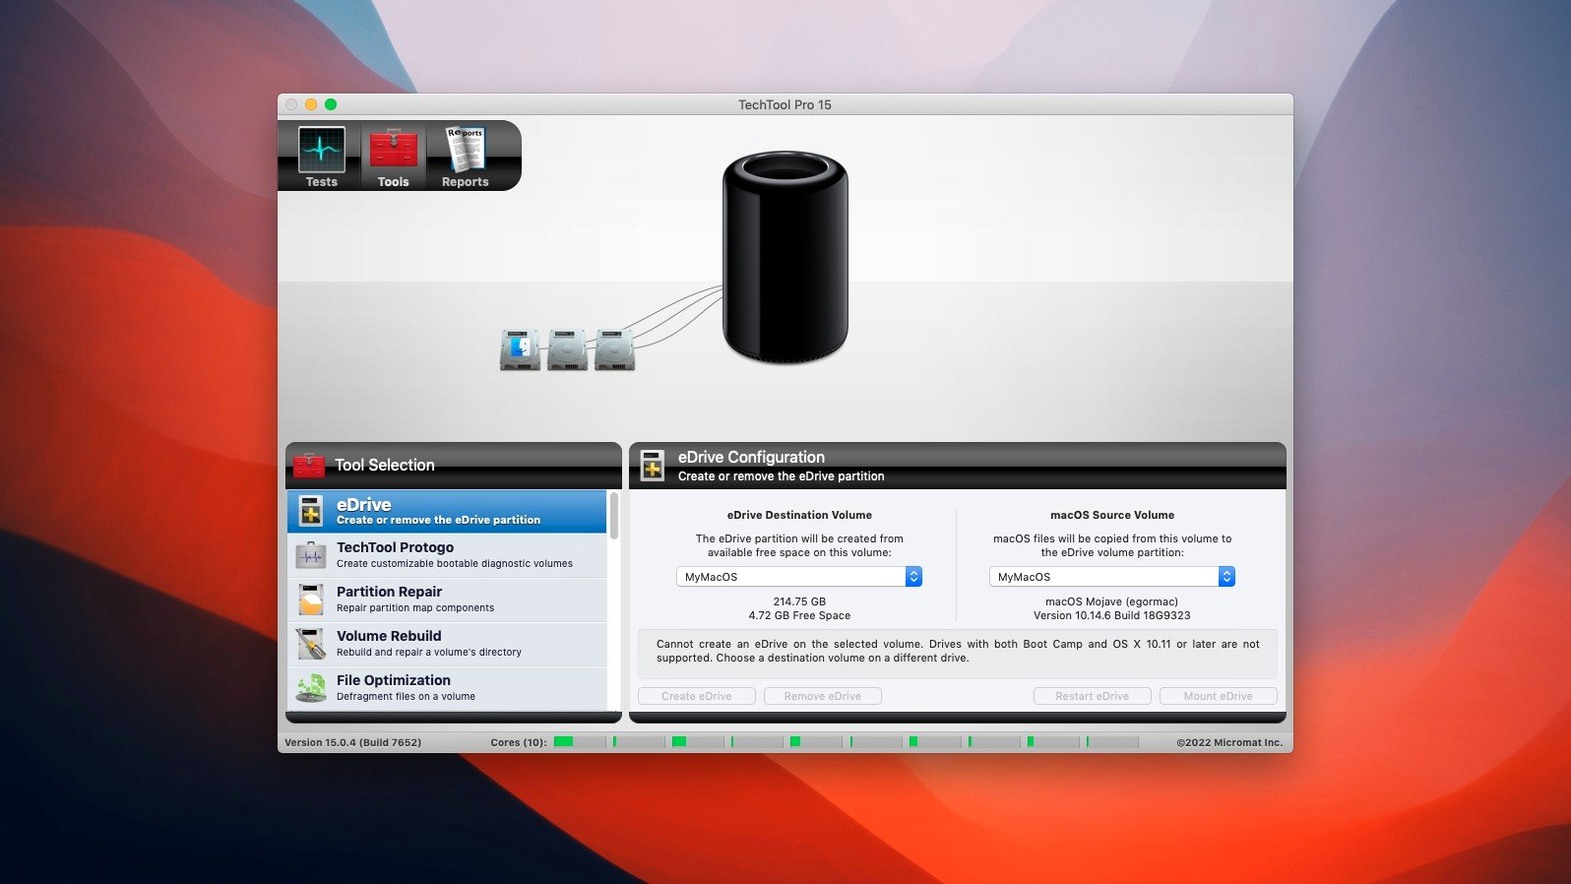
Finally, build a bootable Protogo USB stick. The internal recovery partition is fine until it isn't, and a dedicated diagnostic drive with a stripped-down macOS install boots faster and leaves your main drive unmounted for repair work. A 32 GB USB 3.0 stick is plenty; label it clearly and keep it in a drawer you'll actually remember.
Pre-install concerns that matter most for your setup
Runs native on Apple Silicon with no Rosetta slowdown
It runs natively on both architectures. The current build (20.1.7) ships as a universal binary, so there's no Rosetta translation overhead on Apple Silicon Macs. The Protogo feature also builds ARM-native bootable media, which matters because an Intel-only diagnostic stick won't boot an M-series Mac at all.
Background file monitoring can overlap with real-time antivirus
Generally no, but there's one detail worth knowing. Techtool Protection's background file monitoring hooks into the filesystem at a low level, and some real-time antivirus scanners do the same. Running both simultaneously won't crash anything, but you might see duplicated notifications or marginally higher CPU usage during large file operations. If that happens, pick one to keep active and schedule the other for manual runs only.
How long does a full surface scan take?
Depends entirely on the drive size and connection speed. A 1 TB internal SSD over PCIe finishes in 20–40 minutes. A 4 TB external spinning drive over USB 3.0 can run for four hours or more. Surface scans are sequential reads, so they don't benefit from parallelism—you can keep using the Mac for light work while it runs, but expect the drive to feel slower until it's done.
What macOS versions are actually supported?
The minimum is macOS 10.13 High Sierra, and it's been updated to run cleanly through the latest Ventura and Sonoma releases. If you're still on an older Mac Pro running High Sierra for compatibility with specific hardware, this is one of the few current diagnostic suites that hasn't dropped support for that machine.
Workflow: cloning a failing drive before it dies
This is the scenario where a measured approach matters most. You have a drive that's throwing SMART warnings and occasionally disconnecting. Your goal: get a bootable copy onto a replacement drive without pushing the failing hardware past its limits.
- Connect the replacement drive—same size or larger than the source—and make sure it's formatted as APFS or HFS+, matching the source volume's scheme.
- Open the Volume Cloning tool and select the failing drive as the source. Do not run a surface scan first; you want to minimize read cycles on damaged hardware before the data is safe.
- Choose File Sync mode rather than block-level cloning. File-level copies skip unreadable sectors and log which files couldn't be transferred, whereas a block-level clone halts on the first bad sector.
- Start the clone and walk away. Depending on the drive's condition, this might take longer than expected—retries on marginal sectors add up.
- Once complete, check the log for files that failed to copy. Those are your casualties. Boot from the new drive and verify your critical folders open correctly.
- Only now, with your data on healthy media, run a full surface scan on the old drive to map out the remaining bad blocks for curiosity's sake—or just retire it.
This order of operations matters. Running diagnostics before cloning a known-failing drive risks turning a recoverable situation into an unrecoverable one.
Scenario: a technician prepping a fleet of used Macs
Say you're handling a batch of eight identical MacBooks coming off a corporate lease. Before they get refurbished and reissued, you need to certify that every drive is healthy and every file system is clean—and you need a consistent report for each machine.
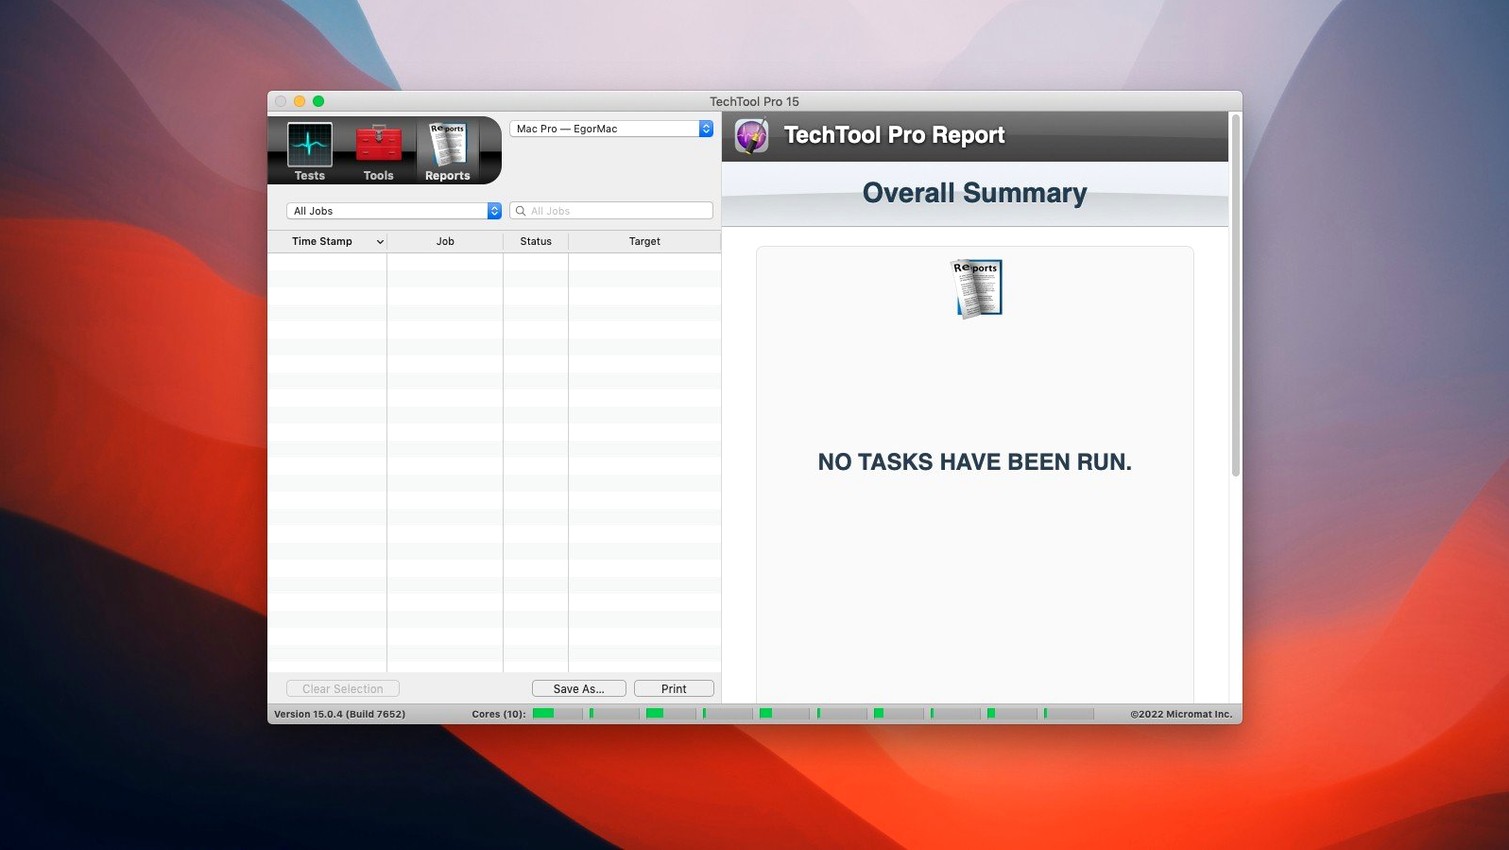
You boot each unit from the same Protogo USB stick, which already has your test suite loaded. For each MacBook, you run the same four-step sequence: a SMART check to catch drives with high reallocated sector counts, a surface scan to flag any weak blocks the SMART test missed, a volume structure check to verify the APFS container isn't carrying forward damage from an improper shutdown, and a permissions repair to clean up whatever the previous user's IT policy left behind.
The surface scan flags one unit with a cluster of slow-to-read blocks near the end of the drive. The SMART report is still clean—the drive hasn't formally reallocated anything yet—but you know from experience that this pattern precedes a SMART failure by weeks, not months. That MacBook gets a new SSD before it enters the refurb pool. The other seven pass clean and get a printed report attached to the service record. The whole process takes an afternoon, and you didn't have to open a single machine to pull drives for external testing.
For anyone who runs this kind of operation regularly, searching for a techtool pro download that's current enough to support the latest Macs is the difference between a workflow that covers the whole fleet and one that only works on the older units. Build 9559 handles everything from a 2017 MacBook Air running High Sierra up to an M3 MacBook Pro, which keeps the testing process identical across machines of different generations.
- macOS 10.13 High Sierra or later
- Apple silicon and Intel Macs
Comments 0
Sign in or create an account to leave a comment.
No comments yet. A codec, a slice, a machine — they appear after moderation.