Topaz Gigapixel AI for macOS
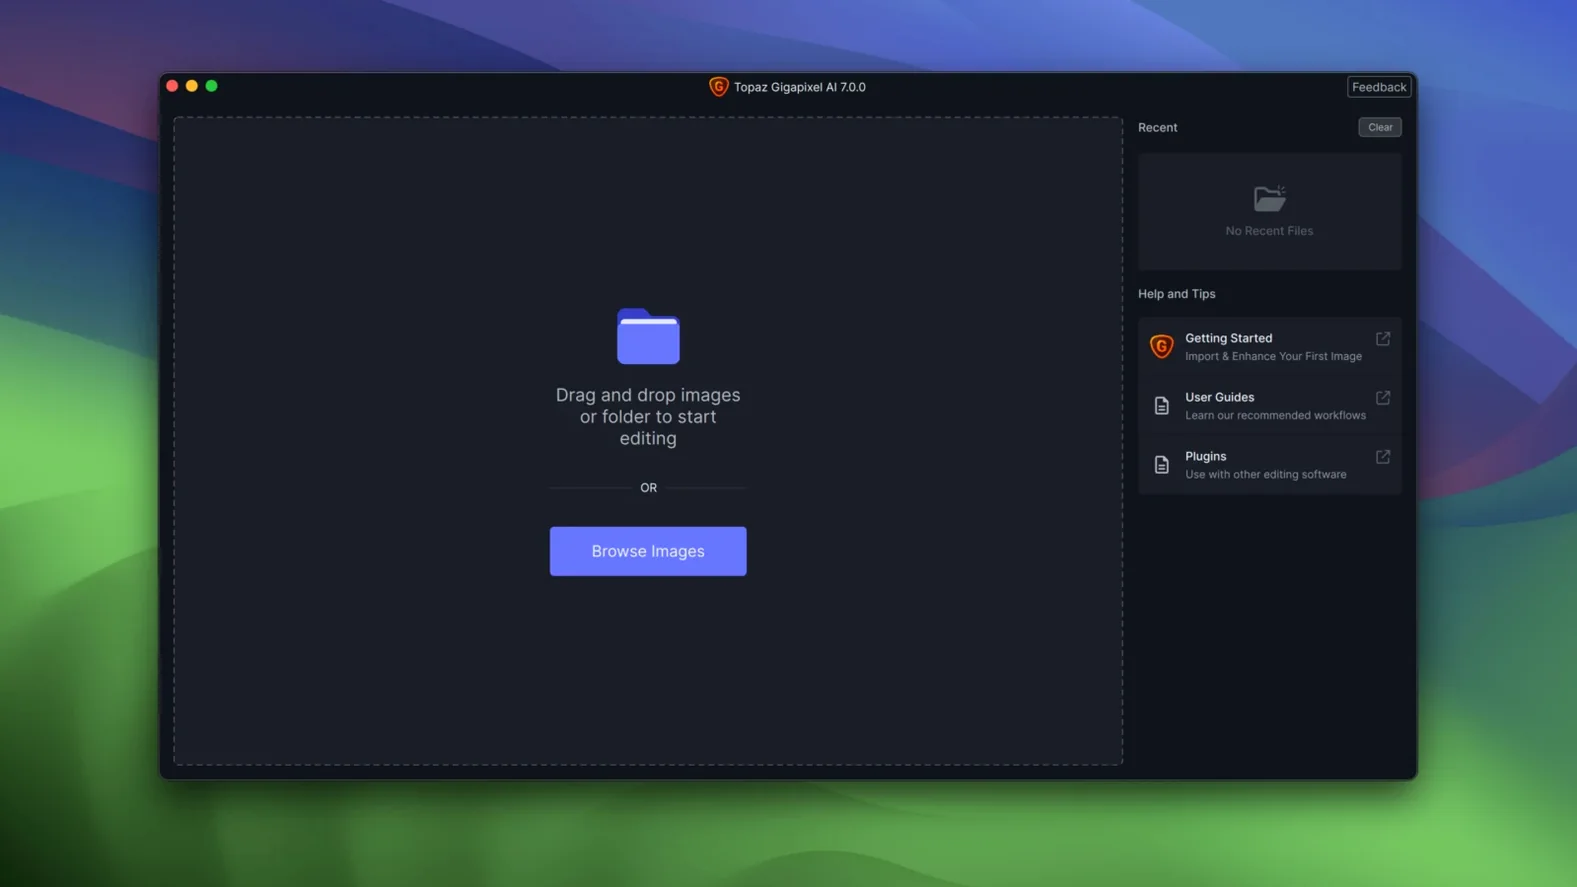
Photographers restoring old family archives, designers stuck with tiny source assets, and anyone who needs a large-format print from a phone snapshot — those are Gigapixel AI’s people. It’s a desktop upscaler that leans on machine learning to add new pixels intelligently rather than just stretching what’s there.
- Lossless-feeling enlargement. The core trick: upscale an image while the neural net paints in missing texture, thread, skin, and foliage so the result holds up under magnification.
- Low-resolution portrait recovery. Feed it a grainy headshot and the model reconstructs convincing facial features, turning a thumbnail into something you’d actually print.
- Old photo detail restoration. Scratched, faded, or just early-digital-era shots get a clarity boost. The AI guesses at original textures rather than sharpening noise.
- Apple Silicon-native batch processing. Drop a folder of images and let it work through them locally. The
.pkgships as a universal binary, so M-series chips run it without Rosetta overhead.
Version 1.3.5 resets the numbering from the legacy 8.x line and cleans up the pipeline for macOS 12 and above. If you’ve been sitting on old Gigapixel 8.4.4 installs, this is the cut-off point where the architecture jumps forward.
Why Pixelmator and Upscayl users still add this step
Three names keep coming up when Mac users talk about AI upscaling: Pixelmator Pro’s ML Super Resolution, Upscayl, and Adobe’s Super Resolution inside Lightroom or Camera Raw. They all do the same job on the surface, but the internals and the workflow expectations split them apart pretty fast.
Pixelmator Pro bakes ML Super Resolution right into its layer stack. You select a layer, pick ML Super Resolution from the Image menu, and it triples the linear dimensions. The output is crisp and the integration with the rest of Pixelmator’s editing tools is slick — no separate app, no round-tripping. The trade-off is control: it’s a single model with one strength setting, and it works on one layer at a time. If you need batch processing or want to push an image to 6× its original size, Pixelmator hands the baton to something else.
Upscayl is the open-source contender. It wraps several Real-ESRGAN and remacri models in a straightforward Electron interface, runs natively on Apple Silicon, and costs nothing. For line art, anime-style graphics, or cleaning up old PNG screenshots, it punches far above its weight. Where it shows its roots is in photo realism: skin textures can drift into painterly territory, and fine fabric detail sometimes resolves as repeating micro-patterns the model hasn’t learned well. It’s a fantastic tool for digital art, less predictable for portraits destined for a gallery wall.
Adobe’s Super Resolution lives inside Lightroom and Camera Raw. It doubles the linear resolution of a raw file — essentially quadrupling the pixel count — by running a model trained on raw sensor data. The output is a DNG, so it slots into an existing raw workflow without extra file management. The catch is the 2× ceiling and the raw-only requirement; JPEGs and PNGs need not apply. For a photographer already deep in the Adobe ecosystem it’s a one-click bonus. For everyone else it’s a walled garden.
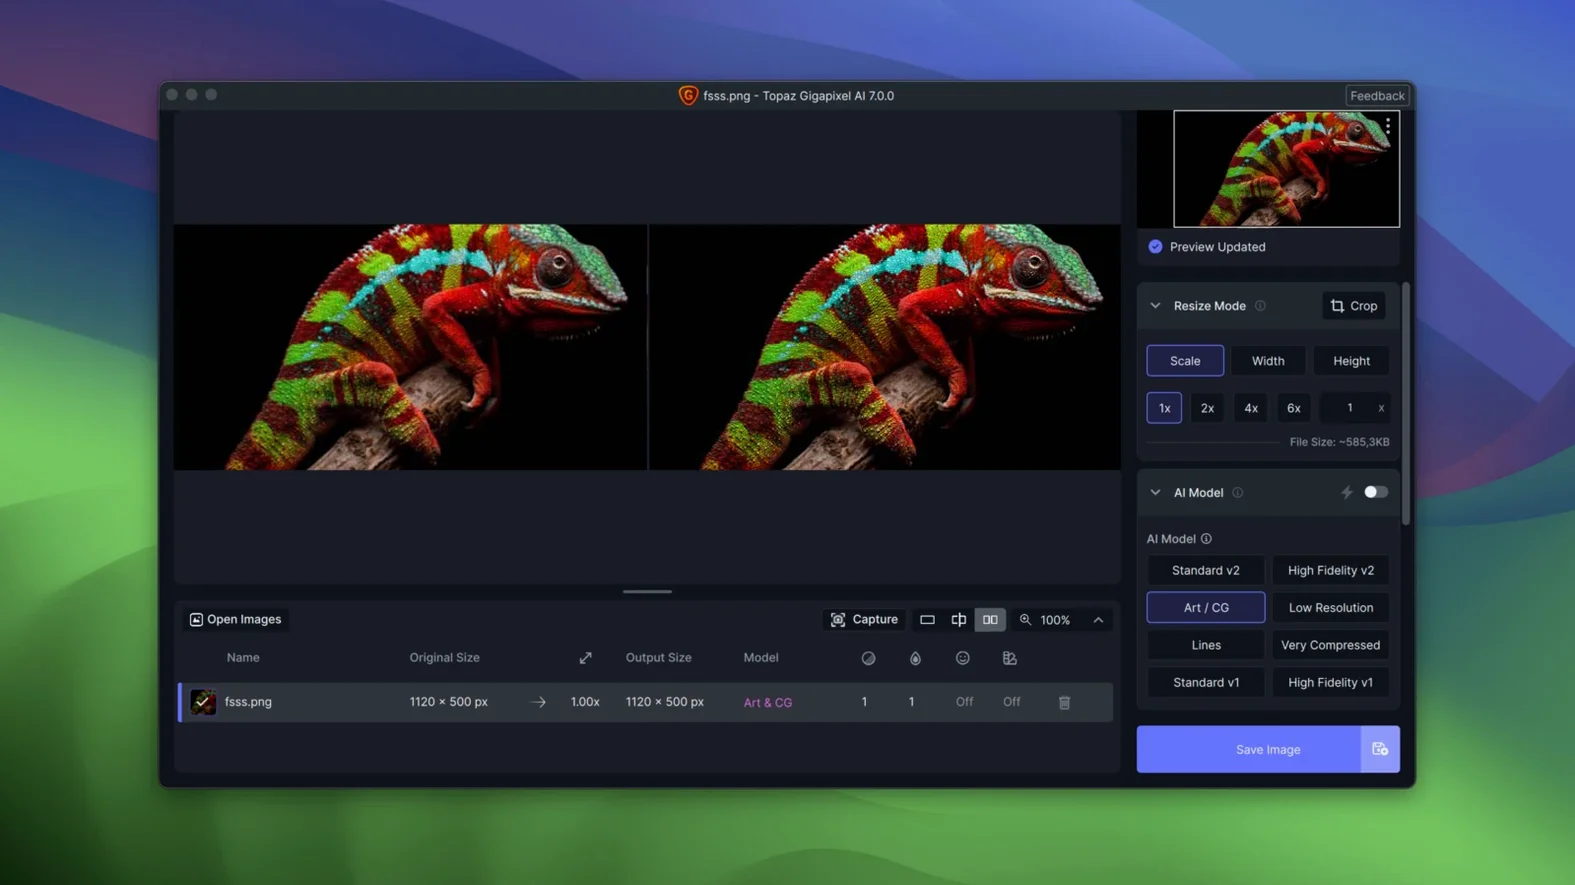
Gigapixel AI fits the gap between these three. It handles JPEG, TIFF, PNG, and raw files, scales up to 6× (and beyond with custom settings), and processes folders in batch without an image editor in between. The model selection — Standard, Art & CG, Low Resolution, Very Compressed — means you can steer the neural net toward the problem at hand. That flexibility is the differentiator: Gigapixel doesn’t try to be an image editor or a raw processor; it stays in its lane as a dedicated upscaling station and plugs into whatever pipeline you already have.
Change output format before your first big batch
The defaults work, but a few tweaks bring the app closer to your actual workload. Here’s where to poke around before you feed it a serious batch.
- Output format and compression. The app defaults to saving upscaled images as TIFFs, which preserves every scrap of detail but balloons file sizes. If you’re upscaling for web or archiving thousands of scans, switch the output to JPEG or PNG and set the JPEG quality slider to something sane like 92–95. You’ll still have the TIFF fallback when a client demands it.
- AI model selection. Auto mode picks a model based on image analysis, but it errs cautious. For photos with heavy JPEG artifacts, explicitly choose Very Compressed. For digital paintings or pixel art, Art & CG is the one that won’t soften the hard edges you need. Making this a manual choice per folder saves the time you’d lose on auto-guess misses.
- Face Recovery toggle. Enabled by default on any image with detected faces, it can over-smooth skin on already-decent portraits. If you’re upscaling a batch of headshots that look good at 1:1, try turning it off on a sample first. For genuinely tiny or damaged faces, leave it on — that’s where it earns its keep.
- GPU override. On Apple Silicon Macs the app usually maps to the M-series GPU correctly, but if you have an external GPU or a Mac Pro with multiple graphics cards, check Preferences to make sure it’s not defaulting to the integrated GPU on an Intel machine. A misrouted pipeline can turn a two-minute render into a ten-minute one.
Rescuing 2000s compact-camera shots from blocky skies
You’ve just pulled a folder of fifteen TIFF scans off a client’s old hard drive — family photos from the mid-2000s, all shot on an early digital compact. The files are 1600×1200 and visibly compressed, with blocky skies and smeared foliage. The client wants prints at A4.
You open Gigapixel AI 1.3.5 on a MacBook Pro with an M3 Pro chip. The interface settles into a single window: a file list on the left, a large preview pane on the right, and a control strip across the bottom.
First step: drag the folder of fifteen TIFFs into the file list. The app renders a preview of the first image automatically with the Auto model and a 2× scale. You zoom the preview to 200% and spot the JPEG-like blocking the Auto model left in the sky. You switch the model dropdown to Very Compressed, and within a couple of seconds the preview updates — the sky gradients smooth out, and the faint halo around tree branches tightens up.
Second step: you bump the scale to 4×. The preview now shows a 6400×4800 pixel image, roughly 30 megapixels — more than enough for an A4 print at 300 dpi. The face of a child in the foreground looks slightly waxy with Face Recovery on, so you uncheck it. The skin texture returns to a more natural grain.
Third step: you set the output format to JPEG at quality 94, pick a destination folder on an external SSD, and click Start Processing. The M3 Pro’s GPU cores spool up, and the app churns through the queue. You see thumbnail previews flickering in the list as each file completes. All fifteen finish in under four minutes.
Last step: you open the output folder, spot-check three images at full resolution, and hand the drive to the client. No intermediate editor, no manual sharpening pass — Gigapixel did the heavy lifting while you made coffee.
Turning a 1200-pixel crop into a gallery listing
Imagine someone selling handmade ceramics online. They shoot with a decent mirrorless camera, but the product pages demand square crops that often slice away two-thirds of the frame. What’s left is a 1200×1200 pixel JPEG — fine for a listing thumbnail, but too small for a zoom-on-hover feature that the e-commerce platform rolled out last month.
They drop a folder of eighty product shots into Gigapixel AI, set the scale to 3×, and pick the Standard model. The app upscales the entire batch to 3600×3600 while keeping the glaze texture crisp and the rim highlights free of ringing artifacts. The output files go straight into the shop’s media library. No reshoot needed; the zoom feature works, and the product pages look the part.
Where it sits between your source folder and Lightroom
Gigapixel AI doesn’t try to be a hub. It’s built to sit between a source folder and whatever app you actually use for editing or layout. That makes its connections to the rest of macOS straightforward but worth mapping out.
Shortcuts and Automator. Gigapixel doesn’t ship with Shortcuts actions, but you can wrap a folder action in Automator that watches a “To Upscale” directory and launches the app with those files. Combine that with a Hazel rule that moves completed files from the output folder into a Lightroom watched folder, and you have a hands-off pipeline for repeat jobs.
Finder and Quick Look. Output files are standard JPEG, PNG, TIFF, or DNG — nothing proprietary. Quick Look previews work instantly, so you can scrub through a folder of upscaled images with the spacebar before importing them anywhere else. Tags and Spotlight comments survive the round-trip because Gigapixel copies metadata from the source file.
Affinity Photo and Photoshop. Many users treat Gigapixel as an external preprocessor: upscale first, then do color grading, compositing, and sharpening in a pixel editor. The upscaled files open in Affinity as flat layers with the same color profile as the original, so there’s no profile mismatch to chase down later.
Apple Photos and iCloud. If your library stores originals locally, you can export unmodified originals from Photos, run them through Gigapixel, and re-import the upscaled versions. The app doesn’t integrate as a Photos editing extension, so it’s a manual round-trip — best for one-off rescues rather than bulk library upgrades.
Version 1.4.0 ships with the developer's latest round of fixes and under-the-hood improvements — no new feature flags to raise, but the usual round of model tweaks and stability work you'd expect in a point release.
- macOS 13 or later
- Apple Silicon or Intel 64‑bit
Comments 0
Sign in or create an account to leave a comment.
No comments yet. A codec, a slice, a machine — they appear after moderation.