
VideoProc Converter for macOS
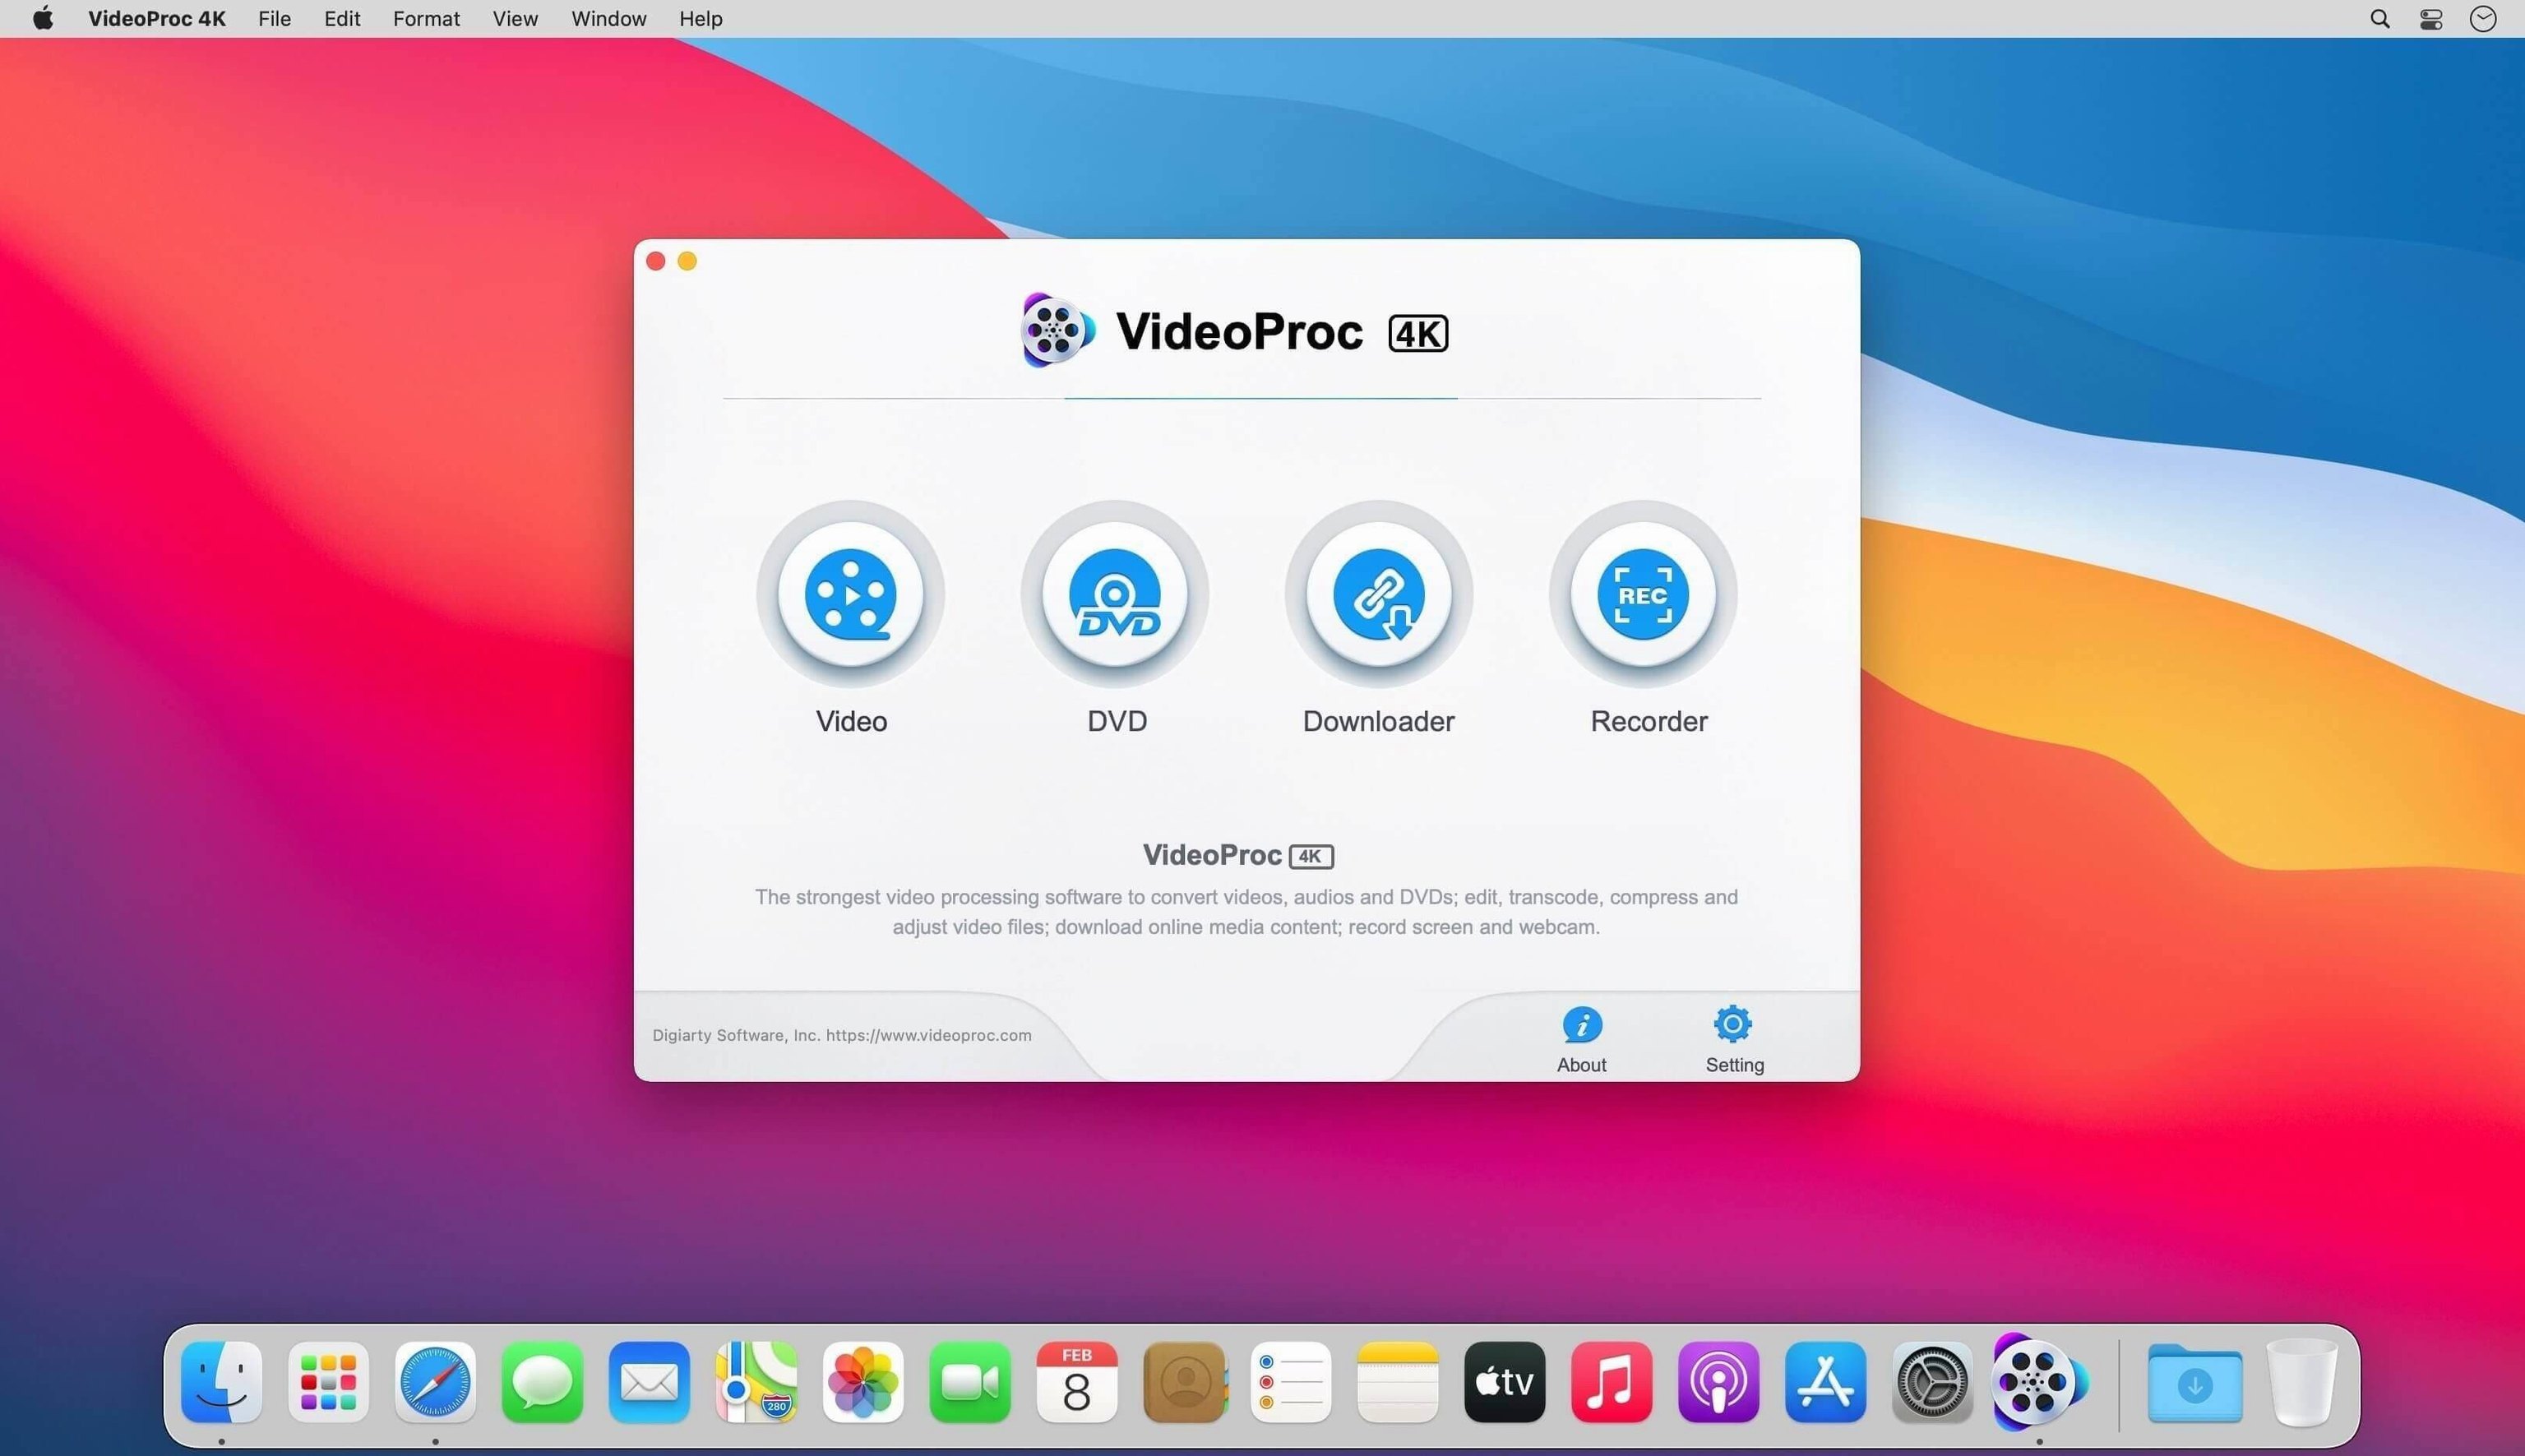
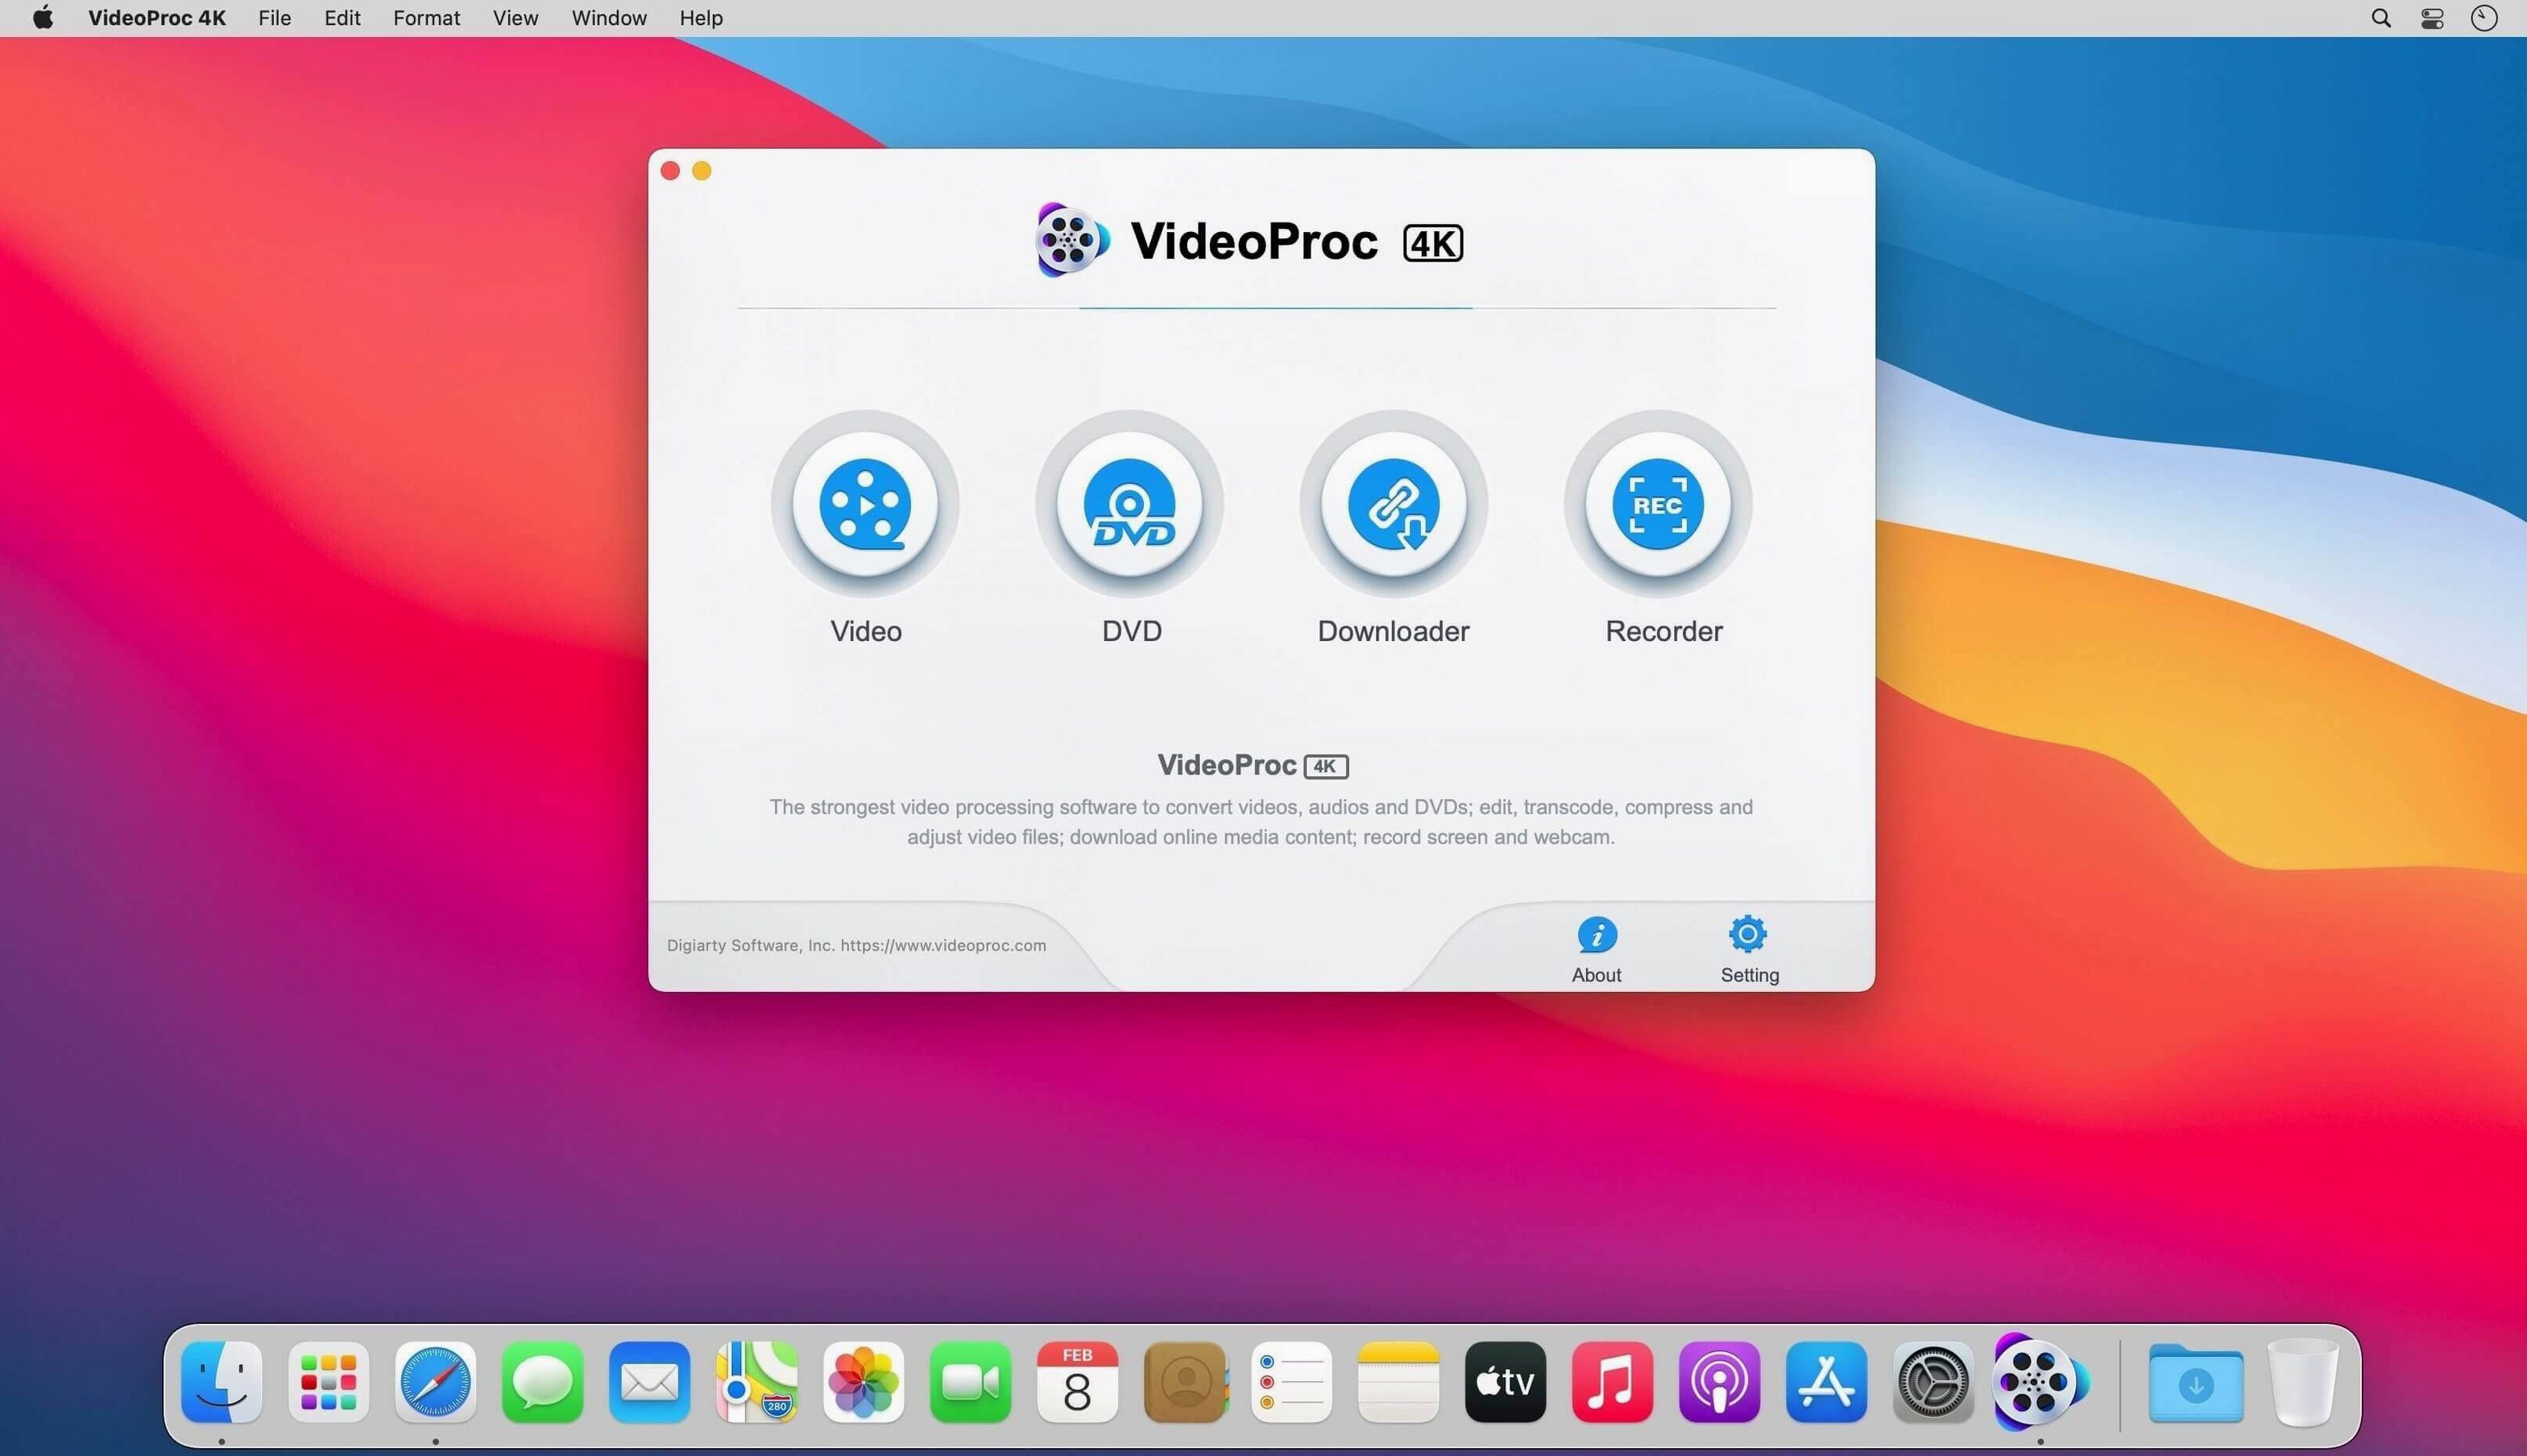
Someone with a folder of mixed footage — phone clips in HEVC, a downloaded .mkv, a screen recording saved as a variable-framerate MP4 — opens VideoProc Converter when QuickTime throws up its hands. The app is built around GPU-accelerated conversion, pulling in Intel Quick Sync on older Macs to keep things moving without pegging the CPU.
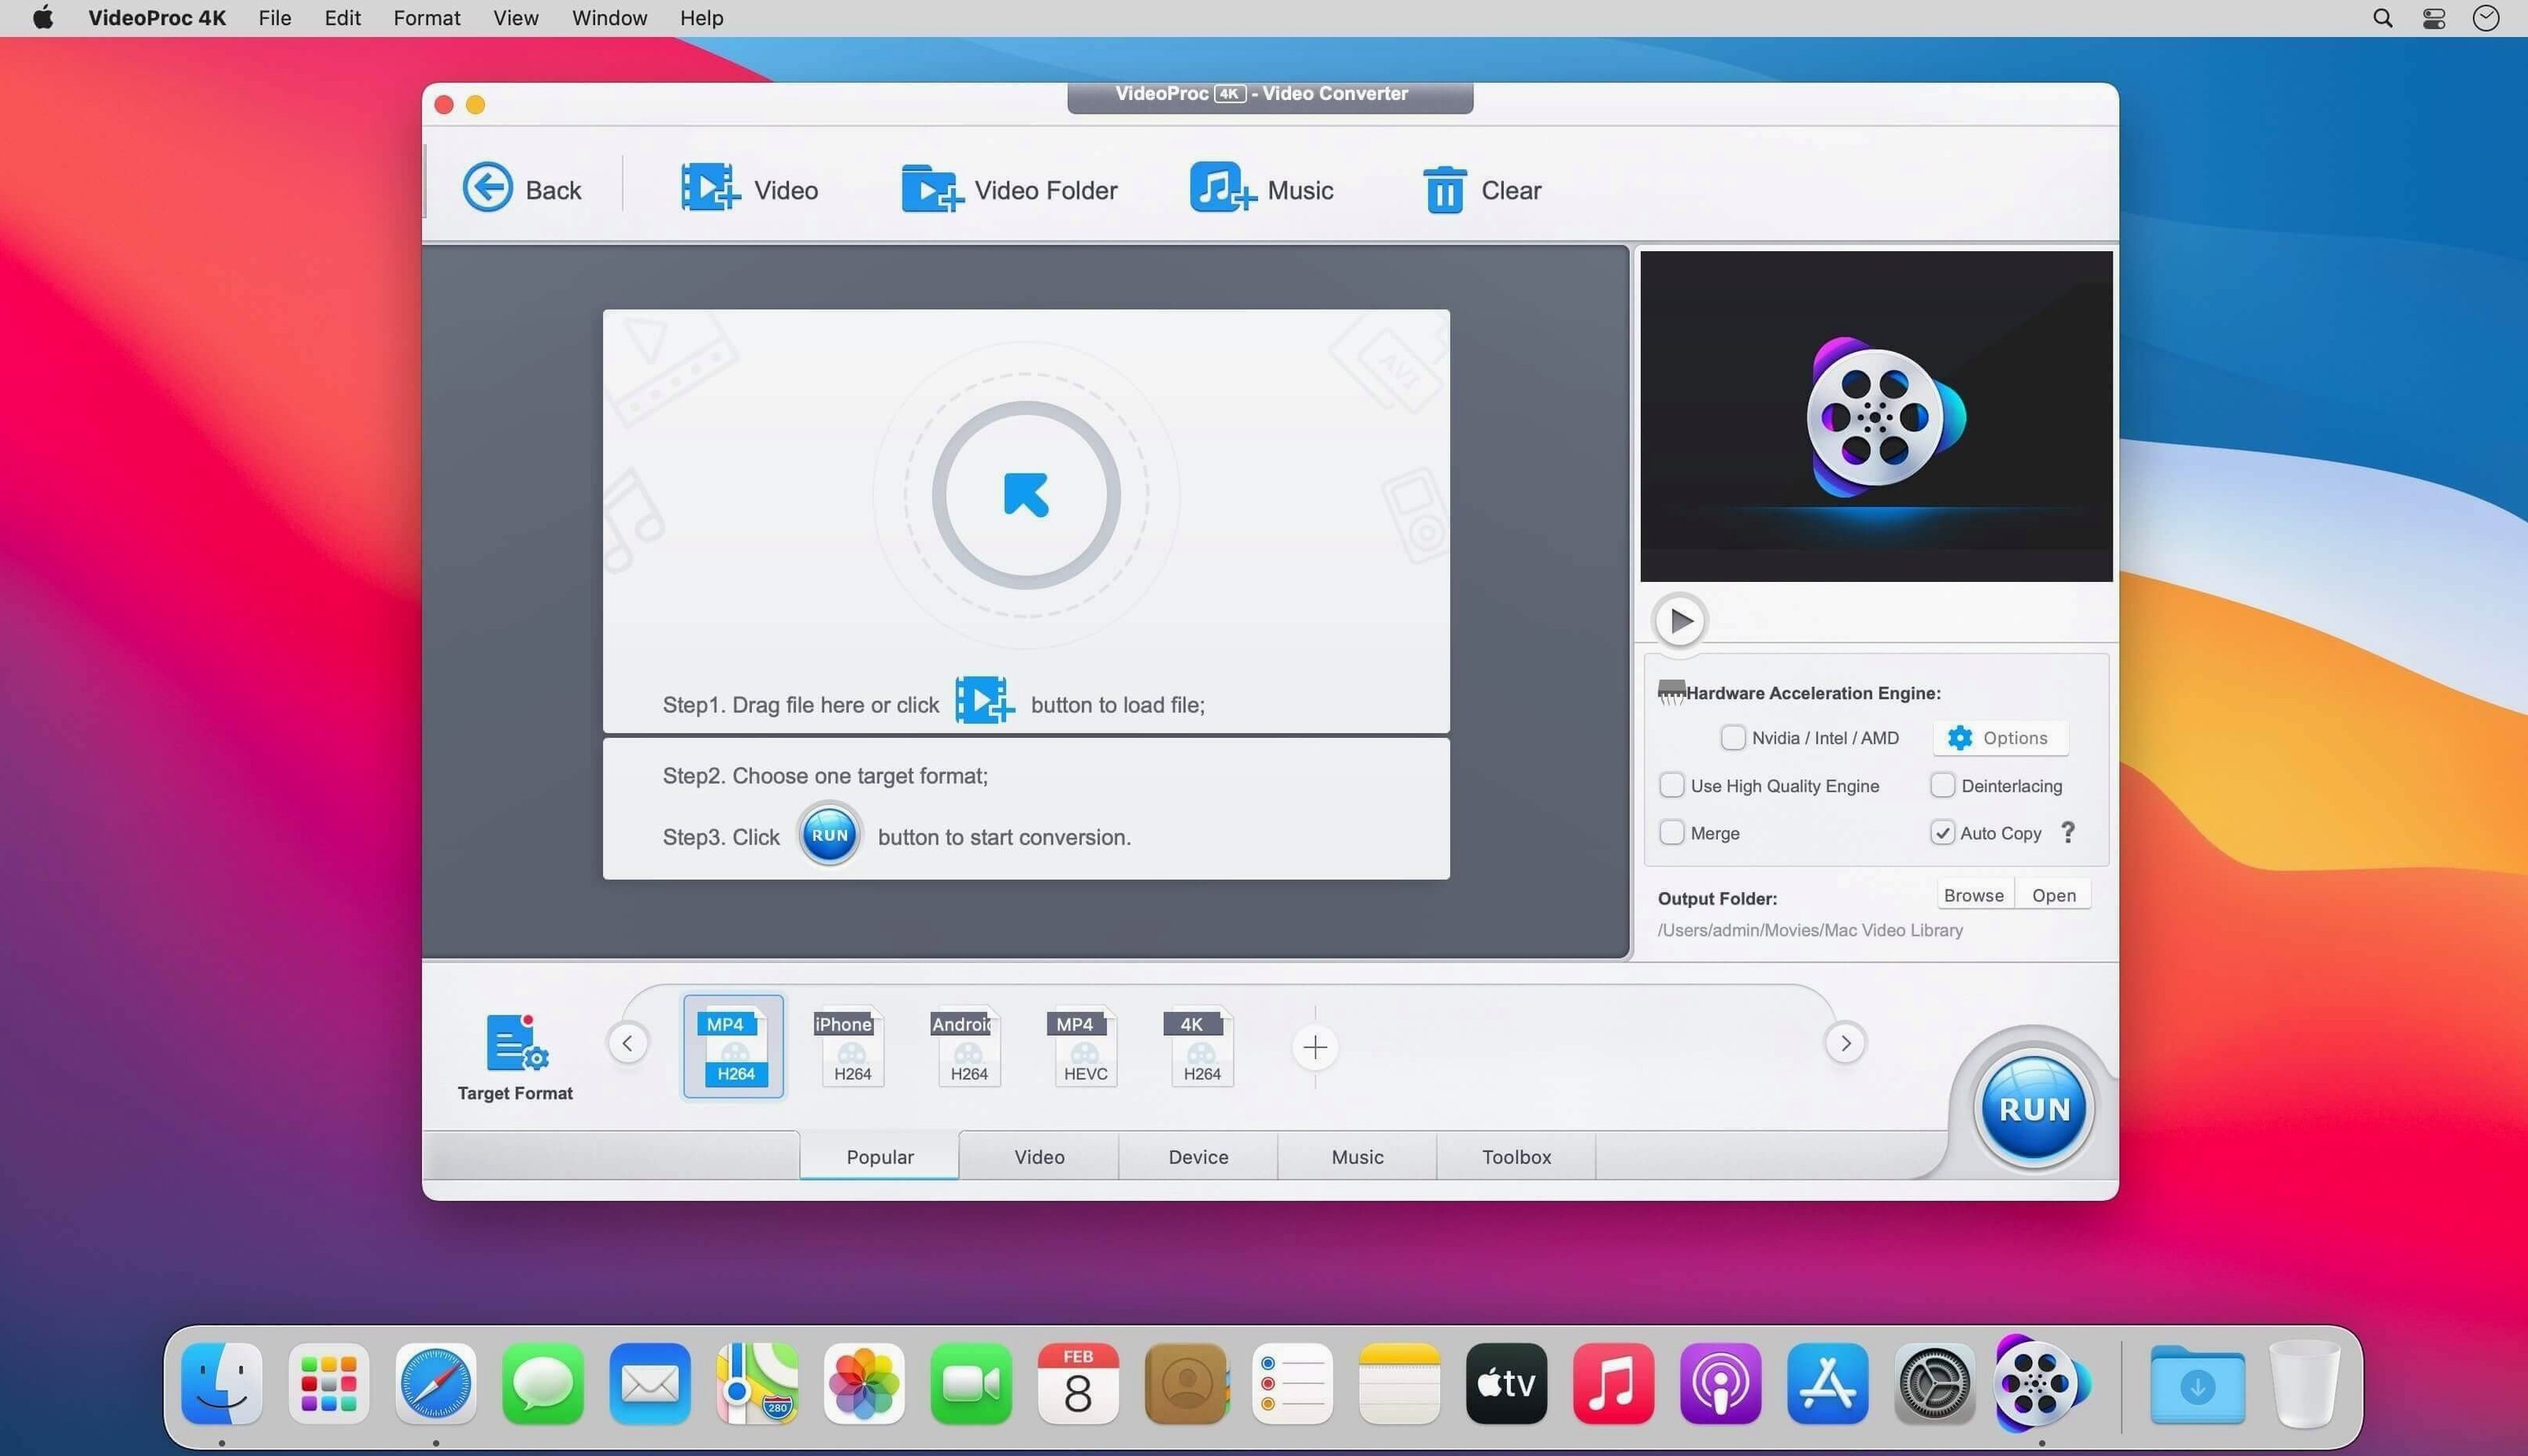
The workflow that probably covers eighty percent of daily use goes like this: you drag in a file, pick an output format from a list that tops out around 370 codecs, and hit Run. If the clip needs trimming first, the built-in cutter lets you set in and out points before the conversion ever starts. The whole thing runs inside a single window — no bouncing between separate tools for trimming, transcoding, and compressing.
Compression is where the hardware acceleration really shows its value. Taking a 4GB ProRes master down to a sensible H.264 MP4 for sharing happens noticeably faster than with a software-only encoder. The app also records screen and webcam feeds directly, saving them into whatever format you pick afterward, which means a single tool covers the capture-and-convert loop without chaining together QuickTime Player and HandBrake.
Where do you slot it between footage and an NLE?
Nobody opens VideoProc Converter to edit a timeline — that’s not what it’s for. Think of it as the utility layer that sits between your raw footage and whatever app you actually cut in. You pull a folder of mixed clips off a camera card, drag everything into VideoProc, transcode the oddball formats into something your NLE handles natively, and only then import into Final Cut Pro or Resolve. The app doesn’t replace an editor; it removes the friction that makes editors stall.
With macOS, the integration is mostly file-level. You can right-click a video in Finder, pick Open With → VideoProc Converter, and land straight in the conversion window. Dragging files onto the Dock icon works the same way. The app registers itself for a broad set of container formats — .mkv, .avi, .wmv, .mov, and plenty of others — so double-clicking something QuickTime refuses to play opens VideoProc instead of showing a compatibility error. That alone saves new Mac users from the "why won't this video open" confusion.
If you use Apple Compressor as part of a Final Cut export pipeline, VideoProc Converter slots in at the other end — the ingest side. Compressor handles output presets beautifully; VideoProc handles the input mess, especially when you’re pulling footage from Android phones, screen recorders, and older cameras that spit out non-standard MP4 streams.
What do beginners get wrong?
The most common mistake is treating the output format picker like a quality setting. Someone hears "MP4 is good" and picks the first MP4 option they see, not realizing VideoProc Converter offers multiple MP4 profiles with different codec pairings — H.264, H.265, MPEG-4 — at wildly different bitrates. The result is either a file twice as large as it needs to be or one that looks like it went through a washing machine. Taking thirty seconds to expand the profile options and check what codec sits inside the container avoids both outcomes.
Another classic: feeding the app a variable-framerate screen recording, trimming it, and expecting frame-accurate cuts. VFR footage doesn't cut cleanly in any transcoder. The app will do its best, but the in and out points drift. The fix is to enable the "Convert to CFR" toggle before trimming, which forces a constant framerate pass first. Most beginners skip that checkbox because the label sounds technical — it is, but it’s also the difference between a clean edit and a clip with audio sync drift.
GPU acceleration trips people up too. On Intel Macs, the app leans on Intel Quick Sync by default for H.264 and H.265 encodes. That’s fast, but the quality ceiling is lower than a pure software encode at the same bitrate. If you’re archiving something important and file size matters less than preserving detail, switch the encoder to Software in the settings panel. Beginners tend to leave everything on Auto and then wonder why a compressed talking-head video looks softer than expected.
Finally: batch processing works, but only if every clip in the queue needs the same output settings. Dropping fifty files and hitting Run without checking that they all share the same resolution and framerate leads to upscaled garbage or squashed aspect ratios. Check the output profile once before starting a batch — it takes ten seconds and prevents fifty bad files.
Why redirect output from the source folder first?
Open preferences and find the Output tab. The default destination is the same folder as the source file, which means your converted clips land scattered across wherever the originals live. Change it to a dedicated folder — something like ~/Movies/VideoProc Exports — and you’ll never hunt for a converted file again. While you’re there, turn off "Open output folder after conversion" if you batch-process large queues; the Finder windows stack up fast.
Under the Conversion settings, set the default audio codec to AAC at 256 kbps. The factory preset sometimes defaults to a lower bitrate that’s fine for voice but thin for music or ambient sound. If you regularly work with footage that has multiple audio tracks — game recordings, multi-language videos — enable the track selection dialog so you don’t accidentally strip out the commentary track and keep only game audio.
In the cutting tool, switch the default preview quality to High. It ships on a lower setting to keep the preview responsive on older hardware, but most Macs from the last several years handle the full-resolution preview without issue, and you want to see what you’re actually trimming.
HandBrake or VideoProc: where do their priorities split?
Put VideoProc Converter next to HandBrake and the difference is philosophy, not capability. HandBrake is a deep, open-source transcoder with fine-grained control over encoder parameters — x264 and x265 presets, tuning knobs for film and grain, detailed picture settings. VideoProc Converter trades that depth for speed and format breadth. Where HandBrake has you building a preset for every scenario, VideoProc gives you a profile list and a Run button. HandBrake encodes look better at the same bitrate when you dial things in; VideoProc finishes faster and handles formats HandBrake won’t touch, like .wmv output and some camera raw wrappers. If you need the absolute best quality encode and you know your way around encoder settings, HandBrake is the tool. If you need to convert a weird file right now and don’t want to think about b-frames, VideoProc Converter gets it done.
Next to Permute, the comparison shifts toward simplicity. Permute is a drag-and-drop converter for the Mac that does one thing — convert media — with almost zero interface. It’s elegant, fast, and supports far fewer formats. VideoProc Converter covers everything Permute does and adds trimming, screen recording, and downloading. The trade-off is interface complexity: Permute has essentially no learning curve; VideoProc Converter has settings worth changing and a denser window. If your entire conversion life is "make this MKV into an MP4" and you want the lightest possible tool, Permute fits. If you also need to trim, compress, download, and record, you’d have to run three apps alongside Permute to match what videoproc converter does in one.
Against MacX Video Converter Pro, the two apps share a lot of DNA — both are long-running Mac video tools with GPU acceleration and broad format support. VideoProc Converter pulls ahead on the processing side: the cutting tool is more responsive, the hardware acceleration covers more codec paths on Intel Macs, and the download module handles playlists more reliably. MacX Video Converter Pro has a slightly friendlier interface for absolute beginners and a few extra device presets, but the encode speed difference on Intel hardware is noticeable, especially with H.265 source material. For anyone regularly working with 4K footage or batch queues, videoproc converter on a modern Mac finishes jobs while the other is still churning through the first few clips.
- macOS 10.10 or later (classic features); 10.15 or later for AI capabilities
- Intel processor with GPU acceleration support
$ man videoproc-converter | grep -A2 "?"
Which macOS versions can run the AI features?
The AI-enhanced capabilities require macOS 10.15 or later, while classic conversion and editing features work from macOS 10.13.
What interface languages does VideoProc Converter support?
It ships with English, German, Spanish, Italian, French, Japanese, Korean, Traditional Chinese, and Simplified Chinese localizations.
Comments 0
Sign in or create an account to leave a comment.
No comments yet. A codec, a slice, a machine — they appear after moderation.