Wondershare Filmora for macOS
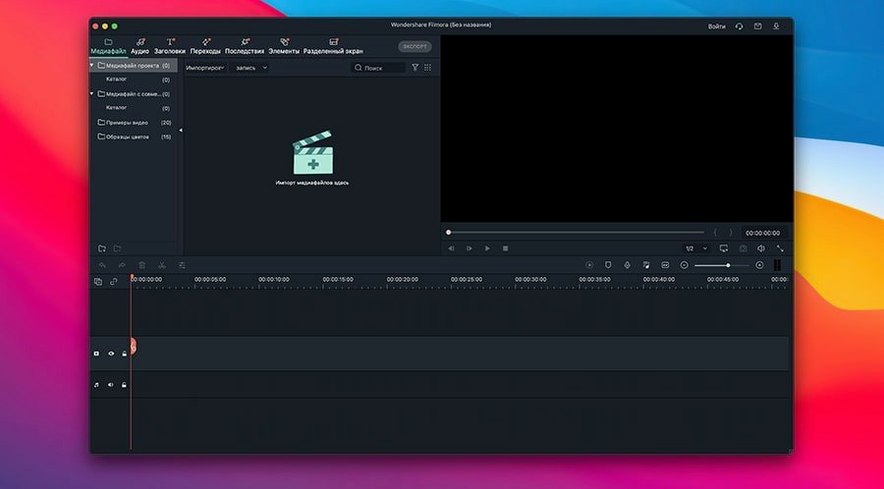
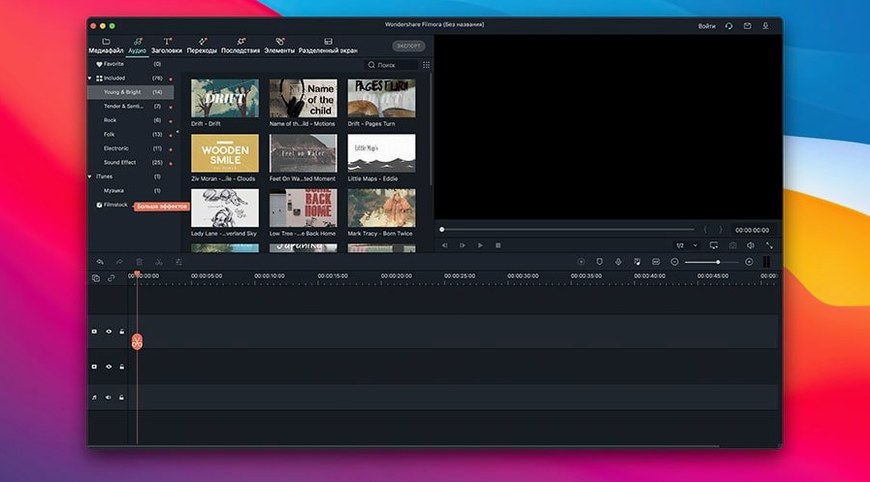
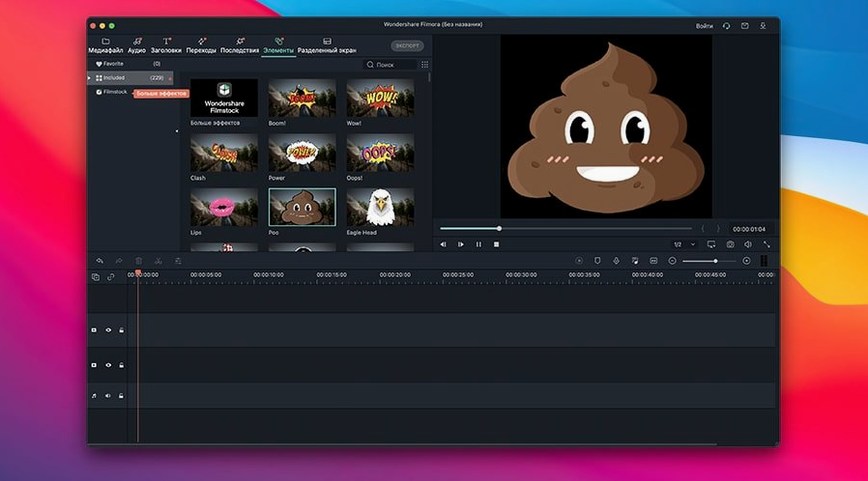
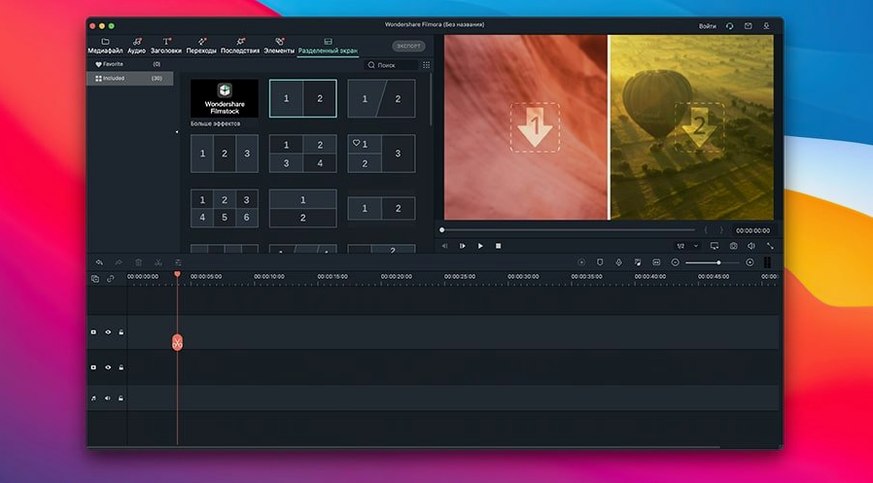
Students and creators who need to cut, caption and export video without a steep learning curve often land on Filmora. These are the tools that carry most of the work:
Cut — removes an unwanted section from the timeline. You set in and out points, and the middle range disappears.
Split — breaks one clip into two or more separate clips at the playhead, so you can rearrange pieces independently.
Rotate — flips footage 90 degrees at a time, handy when a phone was held the wrong way during recording.
Text and titles — adds captions, lower thirds or full title cards over video. Subtitles can be typed or imported and timed to the timeline.
Project save — stores edits as a project file you can reopen later. Nothing is baked in until you export.
HD export — renders finished edits at high-definition resolution and can push them to common internet services directly from the export dialog.
What settings should I change right after launching?
Filmora ships with defaults that make sense for casual use, but a few tweaks make the editing experience noticeably smoother. Here's where to go first:
Project aspect ratio and frame rate. Before placing a single clip on the timeline, open File > New Project and set the resolution and frame rate to match the footage you'll work with most. Mixing 24 fps, 30 fps and 60 fps clips in the same timeline without a clear project rate leads to judder and odd interpolation. Pick the dominant rate — usually 30 fps for web content — and let Filmora conform the rest.
Proxy generation. Under File > Preferences > Performance, enable proxy creation for clips above 4K. This generates lightweight, low-resolution stand-in files for timeline playback. On an M1 through M4 chip the real-time preview of 4K H.264 is fine, but once you stack color corrections and overlays, proxy files keep scrubbing snappy. The originals re-link at export automatically.
Audio denoise default. The built-in denoise effect can be set to apply at a conservative level across all new audio clips. In the Audio tab of Preferences, switch background removal to Low rather than Off. It's subtle enough not to mangle voice tonality but catches fan hum and room hiss before you notice it in the edit. Dial it up per-clip only when a track genuinely needs it.
Scrolling direction. If you come from another NLE, the default timeline zoom behavior — scroll wheel zooms the timeline in and out — may feel inverted. There's a checkbox for reversing it in Preferences > Editing. Small thing, but fighting muscle memory for an entire session is draining.
Autosave interval. The default autosave is every 10 minutes. Drop it to 5. The project file format is compact, and the background save doesn't block the UI. For footage you can't re-shoot, losing even 10 minutes of trim and timing work stings.
How would I cut and caption a short tutorial video from start to finish?
Say you recorded a screen capture explaining how to compile a C program from Terminal — a mix of your voiceover, the screen recording, and a phone-shot intro clip of you speaking to camera. The goal is a clean 3-minute video with titles at the start, captions throughout, and a fade-to-black at the end. Here's one way through it in Filmora.
Step 1: assemble the media
Drag the .mov screen recording, the voiceover .wav and the phone .mp4 from Finder into the Media Library panel. Create a new project at 1920×1080, 30 fps. Drop the phone clip onto the Video track first — it's your opening shot — then place the screen recording after it with a slight overlap for a crossfade transition. Drop the voiceover file onto the Audio track below.
Step 2: rough cut
Scrub through with the spacebar. Use the Split tool (Cmd+B) at the start and end of every section where you fumbled words, paused too long, or hit the wrong Terminal command. Select each unwanted chunk and press Delete. Don't worry about perfect timing yet — just remove dead air and mistakes. The voiceover track will guide where the screen clips should land.
Step 3: sync audio to video
Zoom into the waveform view on the timeline and align the voiceover peaks with the moment the corresponding action appears on screen. If you said "now type gcc main.c" while the screen still showed the desktop, slide the screen clip a few frames earlier. Small nudge adjustments with Option+Left/Right Arrow move clips by single frames.
Step 4: transitions and titles
Between the phone intro and the screen capture, place a short Cross Dissolve transition — about 0.5 seconds — from the Transitions browser. For the opening title, use a preset lower-third from the Titles tab, drag it to a separate track above the phone clip, and type "Compiling from Terminal" in the text field. Set the duration to match the phone shot.
Step 5: captions
Select the voiceover track, open the Speech-to-Text panel, and let Filmora generate captions. It processes locally on Apple Silicon and produces a subtitle track with timecodes. Go through it once at 1.5x speed and fix any misrecognized words — "gcc" might come out as "GC see" — by double-clicking each caption block and typing the correction. Adjust the font to a clean sans-serif (Inter or SF Pro) at 20 pt with a semi-transparent background bar for readability against the screen recording.
Step 6: finishing touches and export
Add a Fade to Black at the very end of the video track. Check audio levels: the voiceover should peak around -6 dB. Filmora's audio meter in the timeline header shows this live. For export, choose MP4, H.264, 1080p, 30 fps, bitrate 12 Mbps. The export dialog has a direct YouTube preset, but local export gives you a file you can archive and re-upload to any service later. Hit Render and the project stays saved separately — you can always reopen the .wfp project file to tweak captions or swap the intro shot later.
The middle ground between Resolve’s node panels and CapCut’s one-tap templates
Filmora occupies a specific middle ground that's easier to describe by comparing it with three editors Mac users are likely to have tried or heard about.
DaVinci Resolve is the heavyweight: full color-grading suite, node-based compositing in Fusion, Fairlight audio tools that rival dedicated DAWs. The free version is astonishingly capable. But the learning curve is real. Trimming a clip in the Cut page feels different from doing it on the Edit page, and the database-backed project library adds a layer of management Filmora avoids. Filmora loads everything from flat files in your home folder — ~/Movies/Wondershare Filmora/ — and the timeline behaves the same way no matter what you're doing. If you need film-grade color wheels and multi-user collaboration, Resolve is the correct choice. If you need a trimmed and captioned video posted tonight, Filmora gets you there sooner.
CapCut is the closest cousin and the comparison people ask about most. Both prioritize approachability: drag-and-drop effects, auto-captions, trending transitions, one-click export. CapCut's free tier is generous, and its mobile-to-desktop sync is excellent. Filmora pulls ahead in a few technical details: it writes standard .wfp project files that live on your disk rather than in a cloud-bound workspace, it handles a wider set of export codecs (including ProRes on Mac), and its keyframe editor for custom effect animation is more granular. CapCut's AI-driven features — background removal, motion tracking — are slightly faster to apply, but Filmora's give you manual override when the automatic result isn't quite right. For a reel or a TikTok, CapCut might win on speed. For a 10-minute YouTube video with layered audio and custom titles, Filmora offers the extra control without leaving the beginner-friendly zone.
iMovie comes pre-installed on every Mac and costs nothing. It does cuts, titles and basic color correction cleanly, and it integrates with Photos and iTunes libraries in ways third-party apps can't. But iMovie's timeline is rigid: only two video tracks, a single audio track below, and no keyframe-based animation of effects. Filmora adds multiple video and audio tracks, the ability to nest clips, and a proper keyframe editor for motion, opacity and effect parameters. iMovie is a great first editor — the one you use to understand the concept of a timeline. Filmora is what you reach for when you've made a few iMovie projects and keep thinking "I wish I could just move this title independently of that clip" or "I need the music to duck under my voiceover automatically."
A typical editing session, step by step
It's a Tuesday evening. The footage is from a weekend trip: a mix of 4K H.265 clips from a mirrorless camera and some vertical 1080p shots from an iPhone. The goal is a highlight reel with music. Here's what the next two hours look like.
You mount the .dmg if Filmora isn't already installed, drag the app to /Applications, and launch it. The start screen offers a blank project or a template; you pick blank 16:9 at 4K 24 fps to match the camera footage. The Media Library is empty, so you drag the entire folder from Finder — about 40 clips — straight into the panel. Thumbnails generate quickly, and you scan through them in the preview monitor by tapping the arrow keys.
You pull the 10 best clips onto the timeline in rough chronological order. A few iPhone shots are vertical, so you select each, open the Crop and Zoom panel, and set the scale to fill the 16:9 frame — losing the edges but keeping the subject centered. For one clip where the subject is off to the side, you keyframe a slow pan across the shot by adding a start and end position in the Motion tab.
Music comes next. You drag an MP3 from your collection onto the audio track and trim it to the length of the video clips. The waveform shows where the beat drops, so you align a cut — a scene change from a wide landscape to a close-up of a street food stall — with that moment. Filmora's timeline snapping makes this alignment feel magnetic: the clip edge pulls to the playhead when you get close.
Now you add a color grade. Instead of adjusting each clip individually, you apply a LUT from the Color panel to the first clip, copy it, select all other clips on the track, and paste the color attributes. The LUT gives the whole reel a warm, slightly desaturated look that ties the different camera profiles together. One clip is underexposed, so you bump its exposure separately — Filmora lets per-clip adjustments override the pasted attributes without breaking the shared look.
Transitions go in between every third or fourth clip: mostly short cross dissolves, but one whip-pan transition between two fast-motion shots. You find it by searching "whip" in the Transitions browser, drag it in, and shorten it to 8 frames so it doesn't linger. The playback stutters slightly now — the 4K H.265 footage combined with color and transitions is asking a lot of the decoder — so you toggle proxy mode on, and playback smooths out within a few seconds.
Finally, you add a title card at the start with the location name, using a preset that animates in word by word. You preview the whole thing once from the top, catch a clip that runs too long, trim its end with a drag on the timeline edge, and call it done. Export settings: MP4, H.264, 4K, 24 fps, 45 Mbps. You name the file The interface ships in Russian, English, German, French, Japanese, Simplified Chinese and several other languages.
- macOS 10.14 or later
- Runs on both Intel and Apple silicon Macs
$ man wondershare-filmora | grep -A2 "?"
Can Filmora save a project and continue editing later?
Yes. You can save the project file, close the app, and reopen it later with all cuts, titles and clips still on the timeline.
Comments 0
Sign in or create an account to leave a comment.
No comments yet. A codec, a slice, a machine — they appear after moderation.