Wondershare Recoverit for macOS
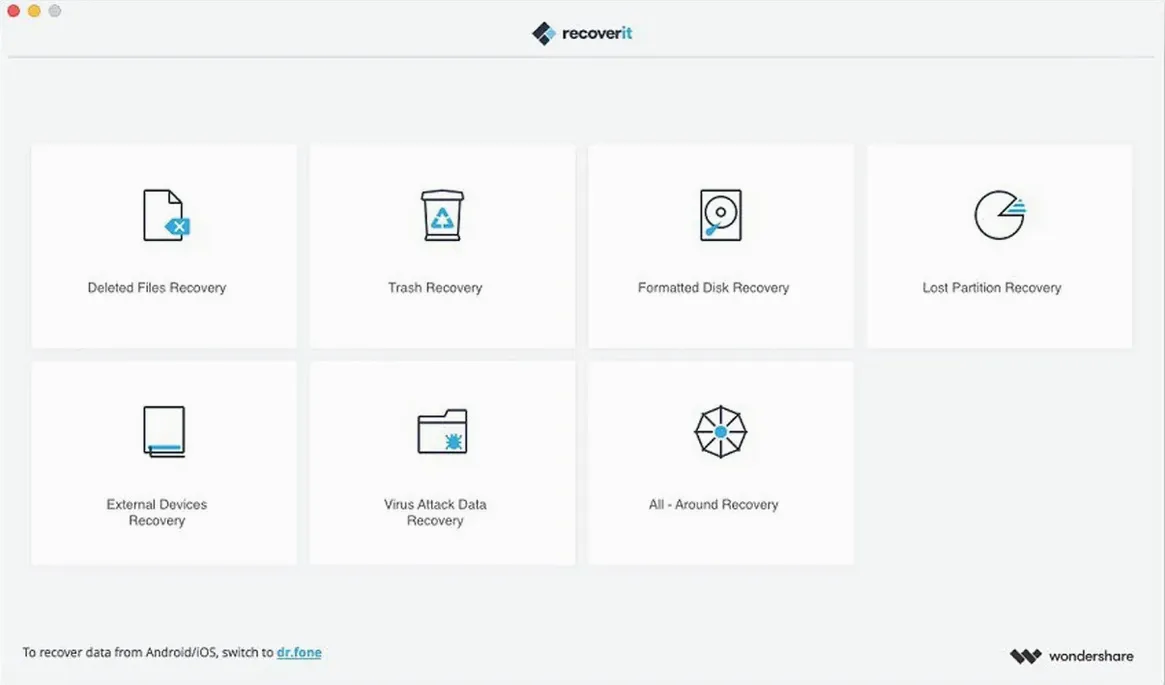
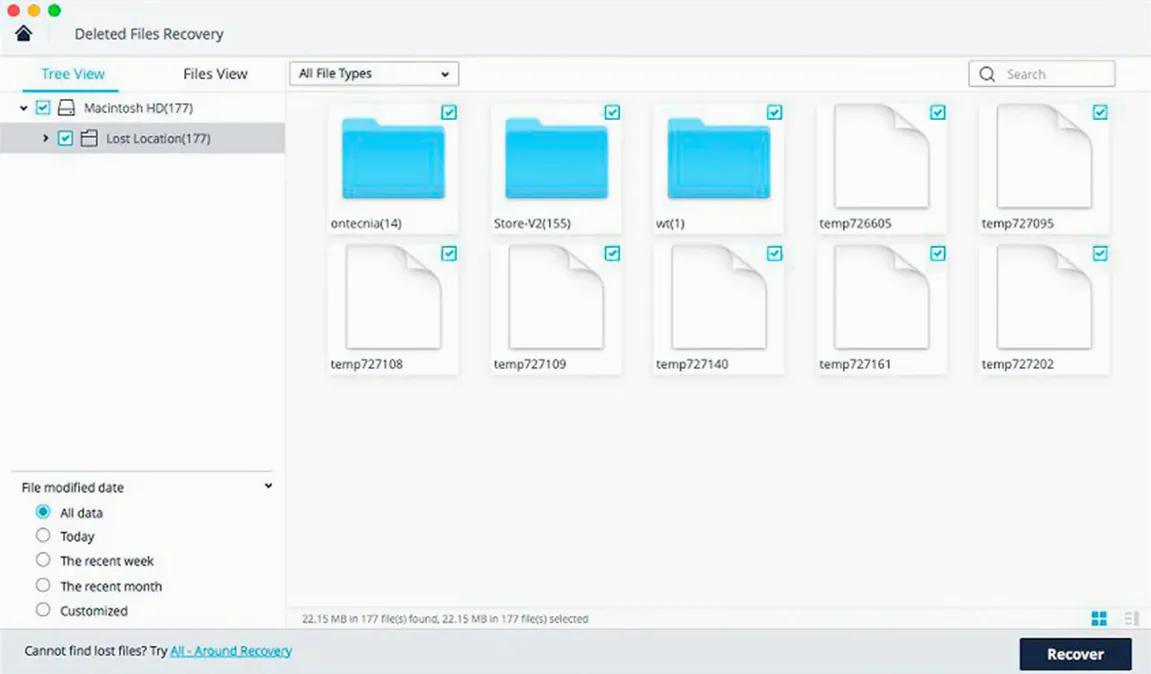
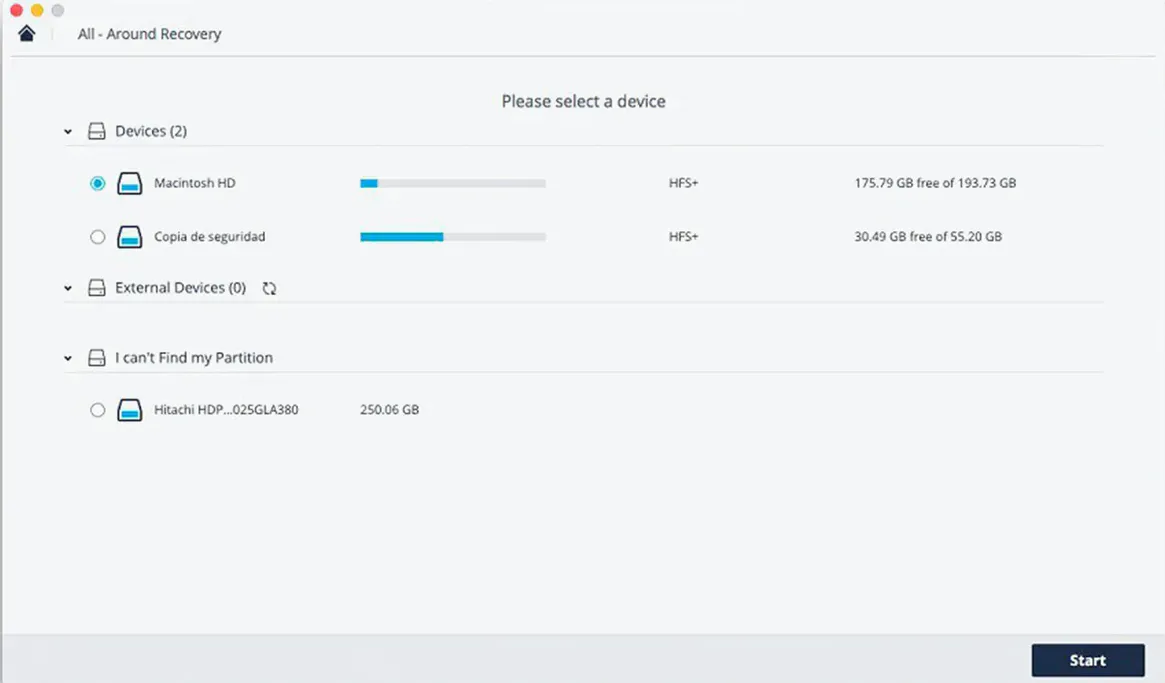
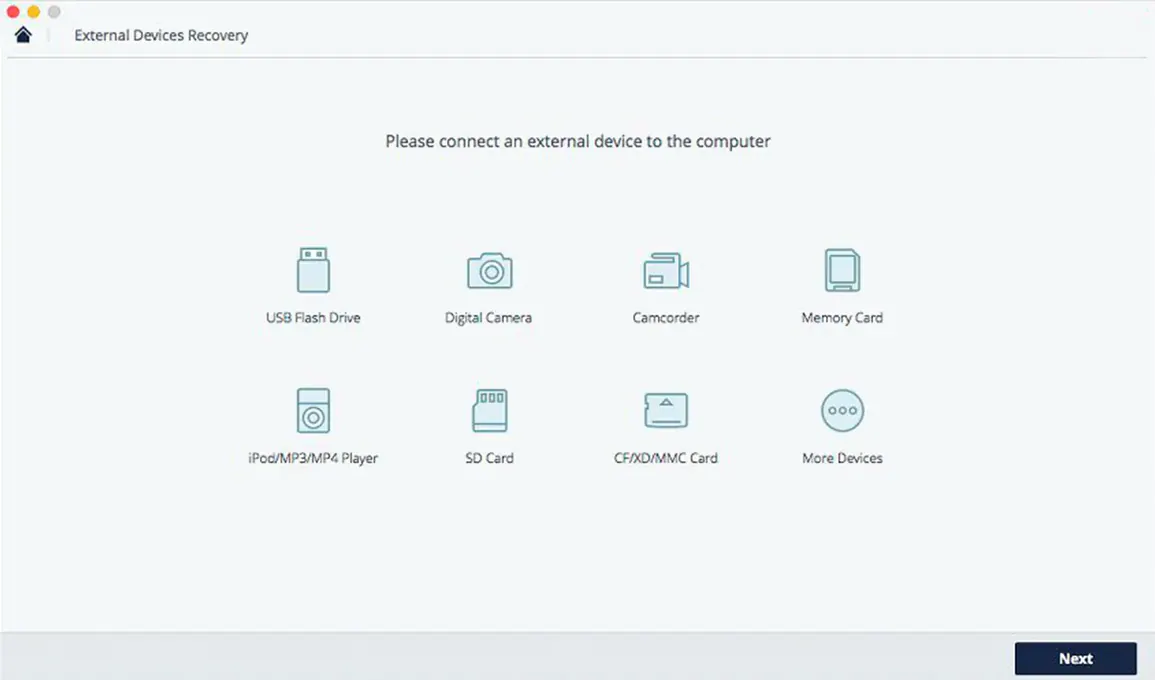
If you have used macOS's own Disk Utility, you know it can fix volumes but not bring back deleted files. Wondershare Recoverit 14.0.20.6 fills that gap as a recovery utility for Mac storage devices.
What does a recovery run look like?
You open the app, pick a storage device, and let Recoverit scan it. The scan phase searches for files the OS no longer lists.
Can you see files before recovering them?
Yes. The official guide describes a preview step, so you can check a file's contents before deciding to restore it.
Which languages does the interface support?
Wish you’d found the filter bar sooner?
Recoverit packs a few shortcuts that nobody reads the manual for. They’re the kind of thing you stumble into three weeks later and wish you’d known on day one.
The file filter bar at the top of the results pane accepts a file extension typed inline. If you type .CR2 and press Return, the list collapses to just Canon Raw files — no dropdown menus, no checkboxes. The same works for partial names. Type invoice and you’ll get every recovered match containing that string, regardless of folder structure.
Double‑clicking a thumbnail in the preview pane opens a larger preview window, but holding Option while you double‑click bypasses the built‑in viewer and hands the file to the default macOS app for that type. Useful when the internal preview renders a raw file flat but Preview.app gets the color right.
Right‑clicking any file in the results gives you a “Copy path to clipboard” option. The path shown is the original location Recoverit believes the file came from — handy when you’re trying to figure out which folder tree a recovered .plist belongs to.
If you run a scan and leave it overnight, the app logs the time it finished. Hover over the scan name in the sidebar and a tooltip shows the exact completion timestamp. Not a feature you’ll use daily, but it helps when you’re documenting a recovery for a client or your own notes.
A real workflow: pulling a project off a formatted SD card
Say you formatted a 64 GB SD card in‑camera before realizing you never copied Friday’s shoot to your Mac. The card is formatted as exFAT and has since had one new photo written to it. Here’s a walkthrough that actually gets the old files back.
1. Stop using the card. Pop it out of the camera, lock the write‑protect tab, and insert it into a USB card reader connected to your Mac. Write‑protecting isn’t strictly necessary for a read‑only scan, but it removes the risk of Spotlight or fseventsd touching the volume.
2. Launch Recoverit and select the card. The card shows up under “External Devices.” Click it and choose All‑Round Recovery from the recovery modes — you want the deepest scan because a format writes a fresh file allocation table, and the quick scan alone won’t see the old directory entries.
3. Narrow the file type list before scanning. Click “Advanced Settings” and uncheck everything except Photos and Videos. The scan will ignore audio, archives, and documents, which speeds things up significantly on a card this size. Tick the checkbox for RAW under the Photos category so .ARW and .CR3 files are included.
4. Run the scan and walk away. The deep scan on a 64 GB exFAT card over USB 3.0 takes about 35–45 minutes on an Intel Mac. The progress bar moves in two phases: a fast pass for file signatures, then a slower carving pass. It’s normal for the percentage to stall around 60–70% while the carver processes large contiguous clusters.
5. Filter the results by signature, not folder. The card’s old folder structure is gone, so the “Lost Files” category matters more than the original directory tree. Click the “Type” tab in the results pane, expand the “Photos” group, and select RAW Image. Recoverit shows every carved raw file with its estimated original filename and a thumbnail.
6. Preview and tag the keepers. Use the preview sidebar to flip through the raw files. When you spot one you need, click the flag icon in the preview toolbar. Flagged files collect in a separate “Recovered” list that survives even if you close the results window.
7. Recover to a different physical drive. Select the flagged files, click “Recover,” and pick a folder on your Mac’s internal drive — never back to the same SD card, because writing recovered data to the volume you’re scanning destroys other recoverable fragments. Recoverit drops the files into a timestamped folder inside your chosen destination.
After recovery, the raw files may show a generic .tiff extension if the original filename was lost — the carver sometimes wraps the data in a TIFF container. Renaming to .CR2 or .ARW usually fixes that, and Lightroom reads them fine.
What changes when a volume actually fails?
Three other recovery utilities sit in roughly the same space on macOS: Disk Drill, PhotoRec (via the TestDisk suite), and EaseUS Data Recovery Wizard. They overlap, but the differences matter when you’re staring at a failed volume.
Disk Drill leans harder into proactive features. Its Recovery Vault keeps metadata around for files you haven’t deleted yet, which makes undeletion nearly instant — but that only helps if you turned the feature on before the data disappeared. For after‑the‑fact recovery, Disk Drill’s deep scan uses a carving engine that’s comparable in thoroughness to Recoverit’s, though Recoverit surfaces more video format signatures during the signature‑scan phase. Disk Drill’s preview works for images and documents; Recoverit extends preview to certain video containers like .MOV and .AVI, which saves time when you’re hunting for a specific clip among hundreds of recovered fragments.
PhotoRec is the command‑line greybeard of the group. It’s free, ships inside TestDisk, and will carve files from a raw block device even when the partition table is toast. The trade‑off is usability: no previews, no filtering by file type during a scan run, and filenames come back as f1234567.jpg with no folder context. PhotoRec is a great second pass if Recoverit misses something obscure — you can point both at the same disk image — but nobody wants to sort through ten thousand unnamed files as a first resort.
EaseUS Data Recovery Wizard shares Recoverit’s three‑pane layout and scan‑pause‑resume workflow. It handles APFS volumes slightly differently: EaseUS reads the APFS snapshot metadata as a first pass, which sometimes yields better directory structure from recent Time Machine snapshots, while Recoverit spends more cycles on raw signature carving. EaseUS also imposes a stricter file‑size preview cap, so larger video previews may be truncated where Recoverit shows a longer clip. For straight‑up deleted‑file recovery from HFS+ or exFAT volumes, both tools produce nearly identical file lists; the choice often comes down to which interface you find less cluttered.
Users occasionally search for a wondershare recoverit crack for mac or a recoverit torrent when weighing options, and the scanned results themselves don’t change across builds — what matters is which signatures the engine recognizes and how well it reassembles fragmented files.
Why run a practice scan before panic hits?
The gap between installing a recovery app and actually needing it is where good habits form. Here’s what to do in the first forty‑eight hours so you’re not learning the interface under pressure.
Run a practice scan on a USB stick you don’t care about. Grab an old flash drive, drop five or six files onto it — a PDF, a JPEG, an MP3, a .pages document, a small ZIP — then delete them and empty the Trash. Scan the drive with Recoverit. You’ll learn how the “Deleted Files” category differs from “Lost Files,” and you’ll see which file types preview and which don’t. Doing this now means you won’t misinterpret an empty preview pane as a failed scan when the real emergency hits.
Check the file type list in Advanced Settings. Recoverit ships with most types enabled by default, but a few — like .EPS and .EMLX — sit unchecked. If you work with email archives or vector art, toggle them on now. The enabled state persists across scans, so you only need to do this once.
Set a default recovery destination. In Preferences, you can specify an external drive as the default save location. Point it at a volume other than your boot drive. When you’re recovering hundreds of gigabytes of video, you want the output going somewhere with room, and you don’t want to navigate the save dialog every time while a scan sits idle.
Memorize the pause button. Deep scans take hours. The pause control — a small square icon next to the progress bar — stops the scan cleanly and saves the progress to a session file. You can quit Recoverit, eject the drive, and resume later from exactly where you left off. The session file lives in ~/Library/Application Support/com.Wondershare.Recoverit/, and it’s worth knowing that location exists if you ever need to move a scan between Macs.
Turn off the scan‑summary popup?
Out of the box, Recoverit works without tweaks, but a few defaults don’t match how most people actually recover files.
Turn off “Show scan summary after completion.” The summary popup appears every time a scan finishes, showing how many files were found and how much storage they account for. It’s redundant with the results pane and adds a click you don’t need. Uncheck it in Preferences under the General tab.
Enable “Always show file extensions.” This is off by default, which means a recovered proposal.doc and proposal.docx look identical in the list. Turning extensions on — Preferences → View → Show file extensions — removes the guesswork, especially when you’re sorting through multiple versions of the same document.
Adjust the preview quality for video. The default preview renders video at a low resolution to keep the interface responsive. If you’re recovering footage and need to verify focus or exposure, bump the preview quality to “High” in Preferences → Preview. Recoverit warns that this uses more RAM, but on any Mac with 16 GB or more it’s a non‑issue for short clips.
Switch the file‑size display to bytes. The default shows sizes as KB/MB/GB, which rounds aggressively. If you’re comparing recovered files against a backup manifest or a checksum list, switch to bytes under Preferences → General → File size format. The exact byte counts then match what ls -l reports in Terminal, which makes verification scripts simpler.
Files found via a wondershare recoverit mac torrent or a community-shared build can work smoothly if you verify the code signature and grant full disk access in System Settings before launching.
- macOS 10.14 or later
- Intel Mac
Comments 0
Sign in or create an account to leave a comment.
No comments yet. A codec, a slice, a machine — they appear after moderation.