FL Studio for macOS
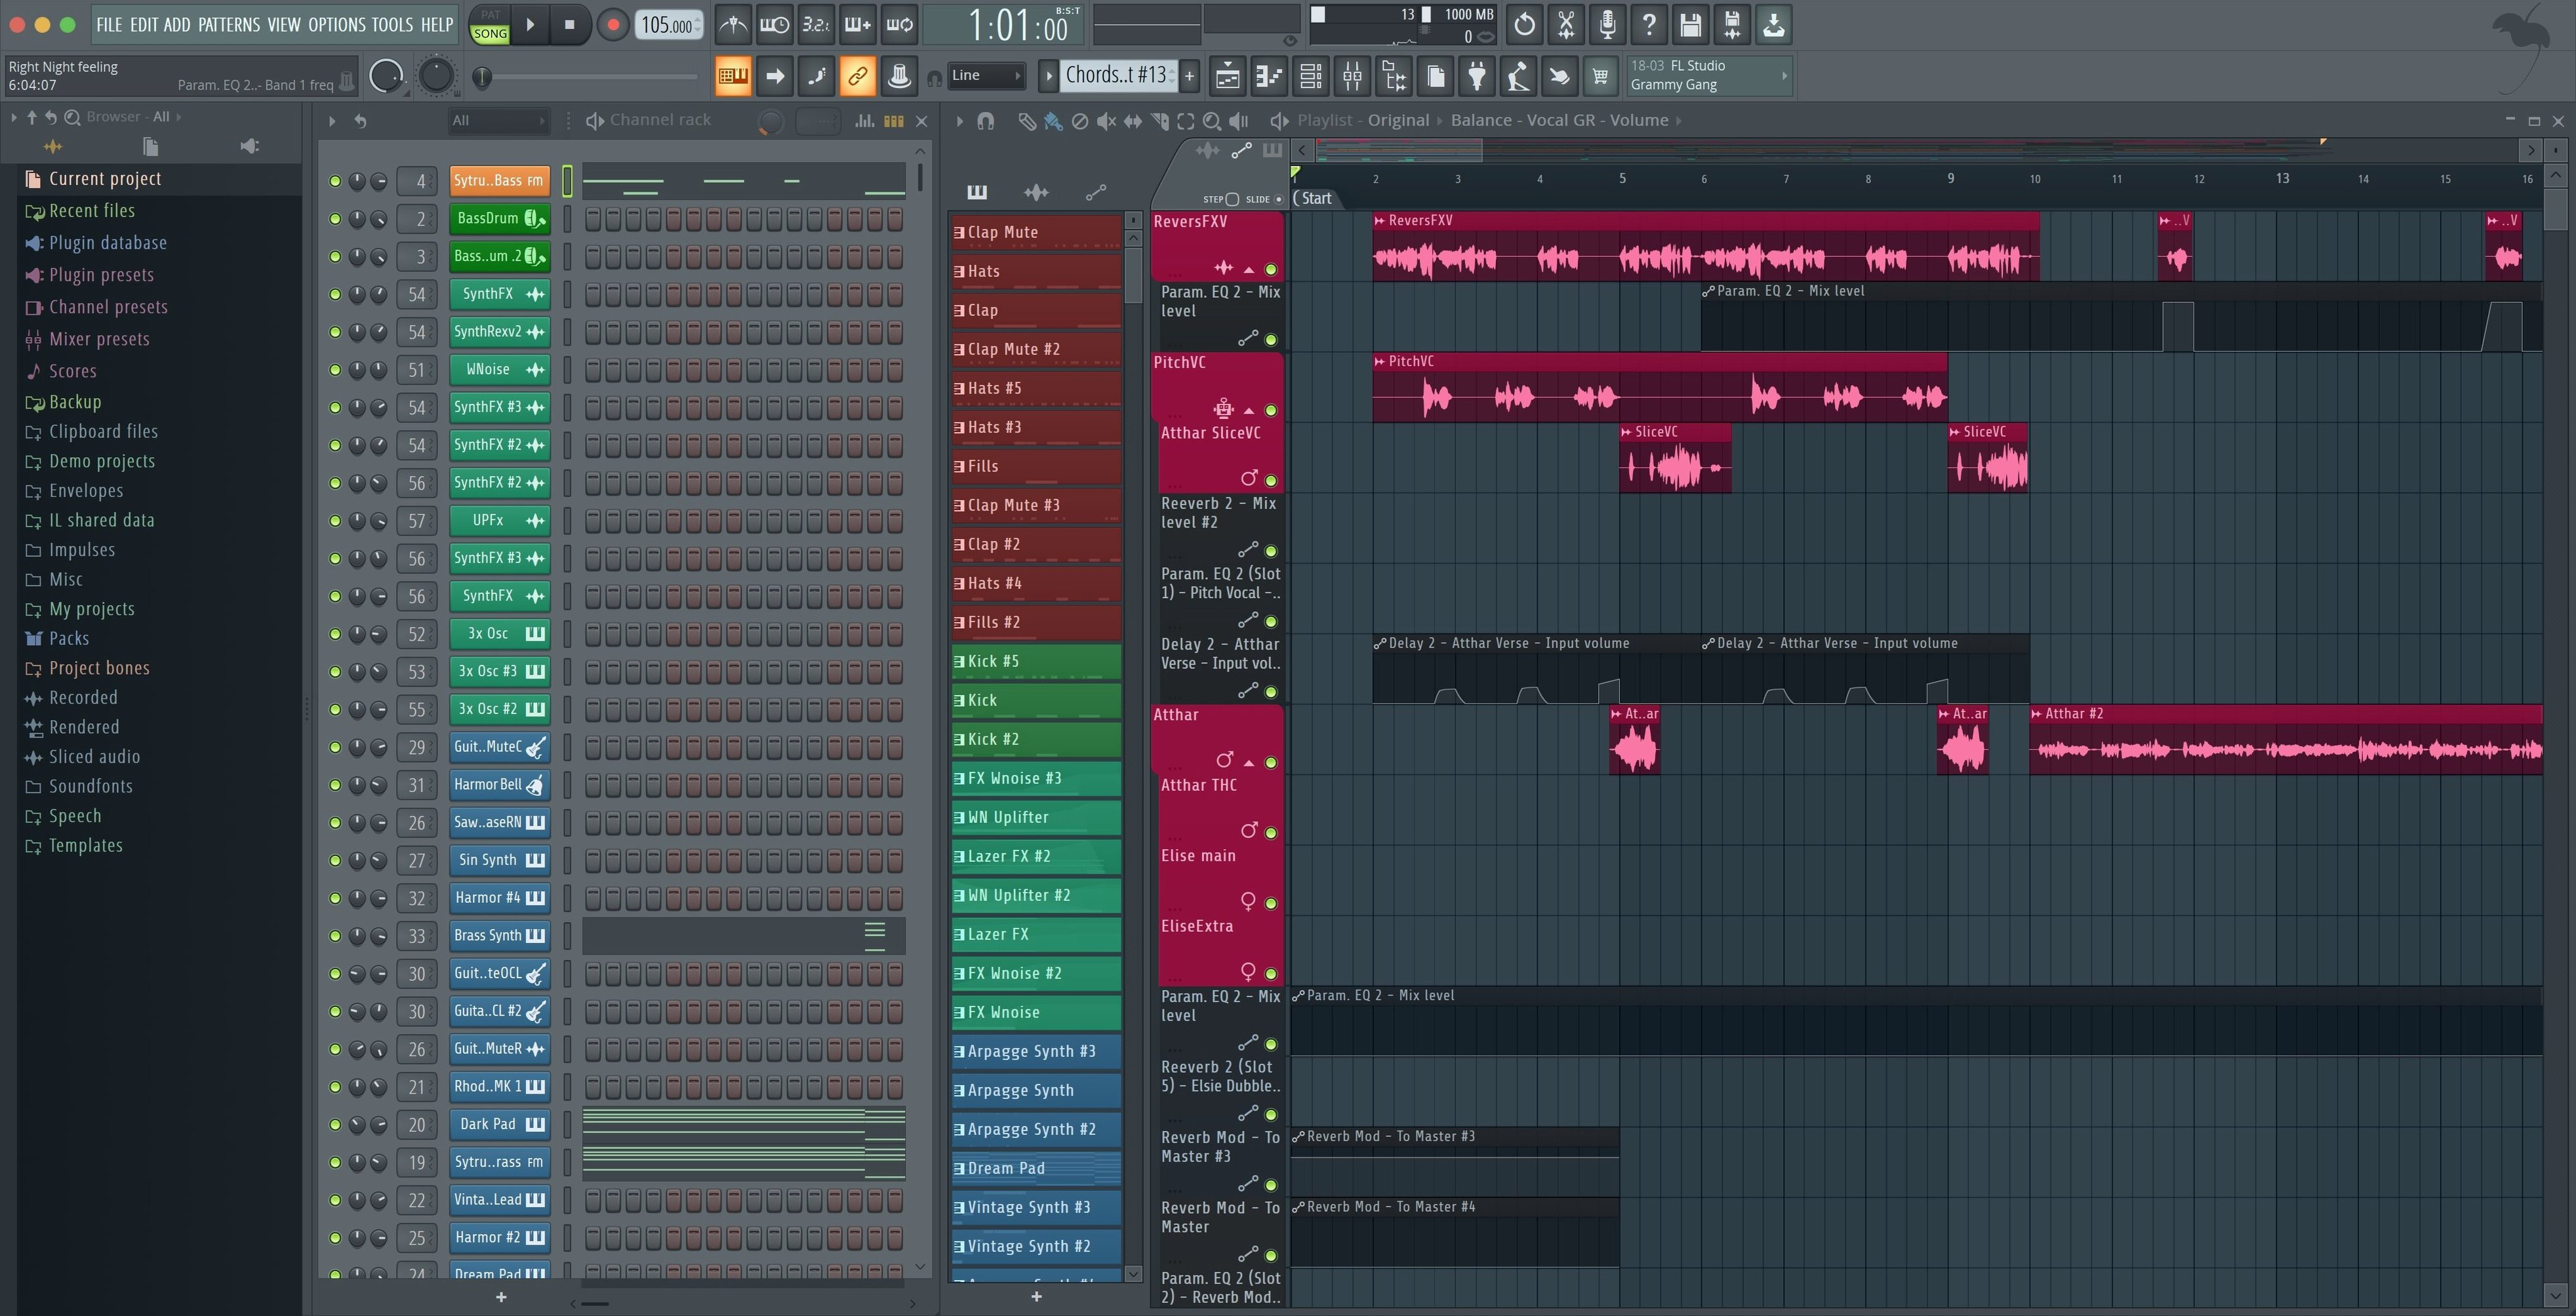
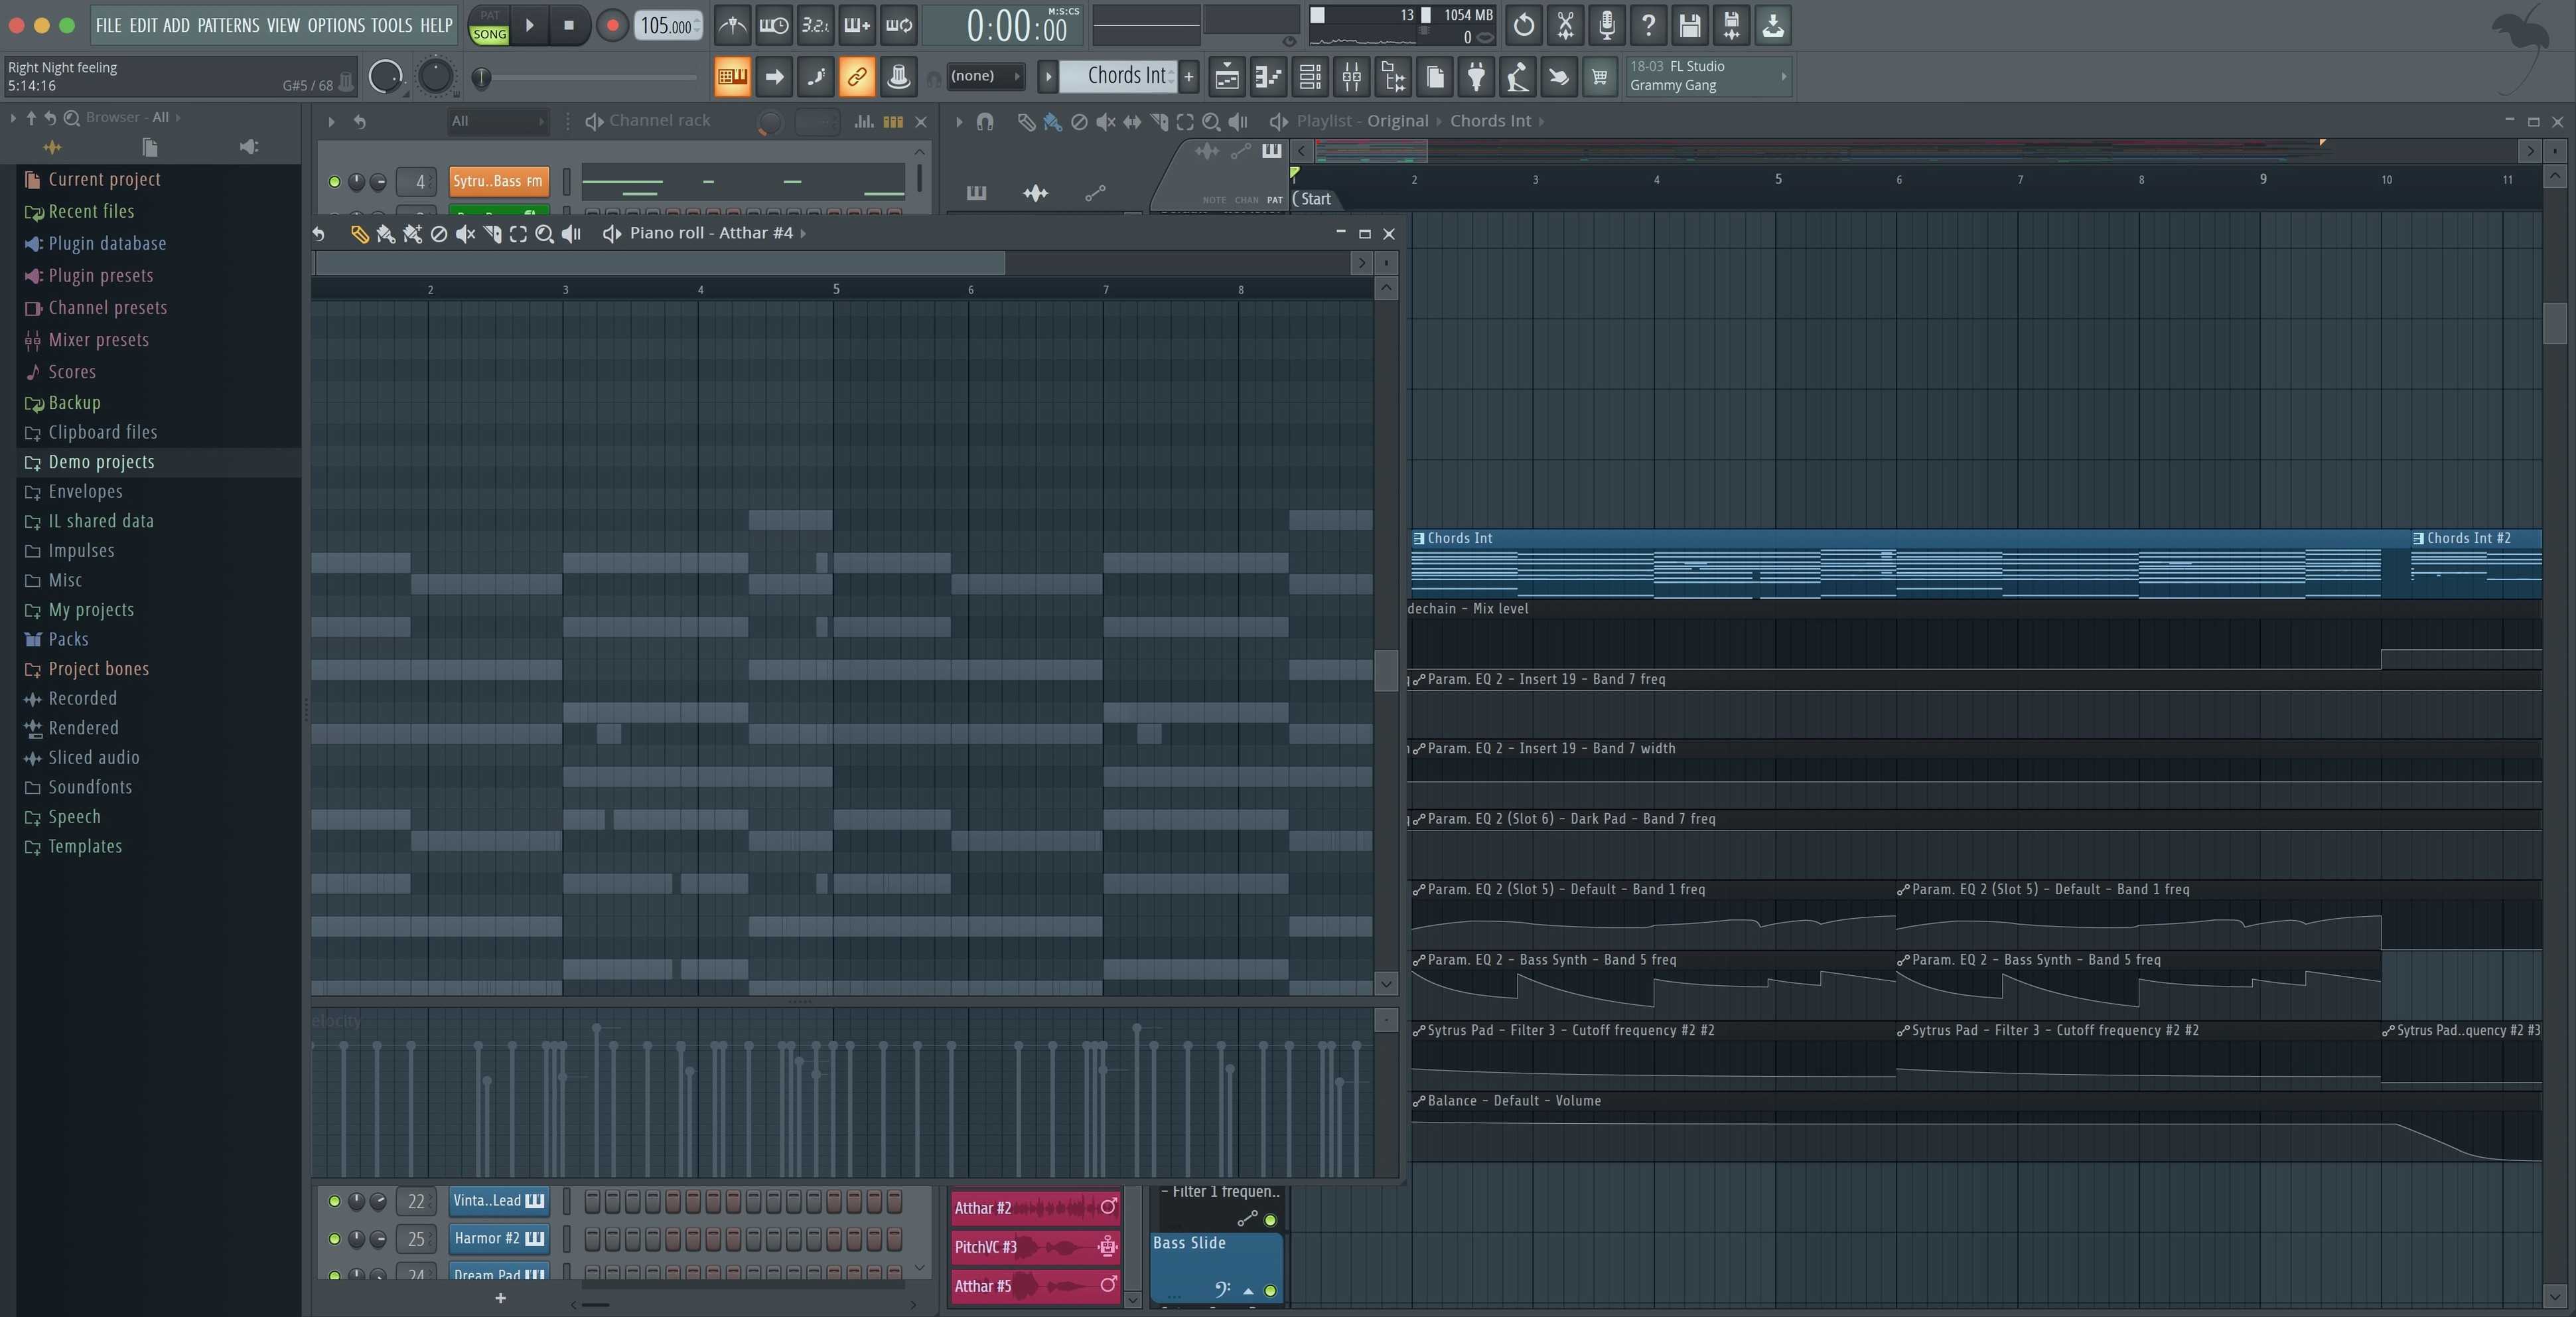
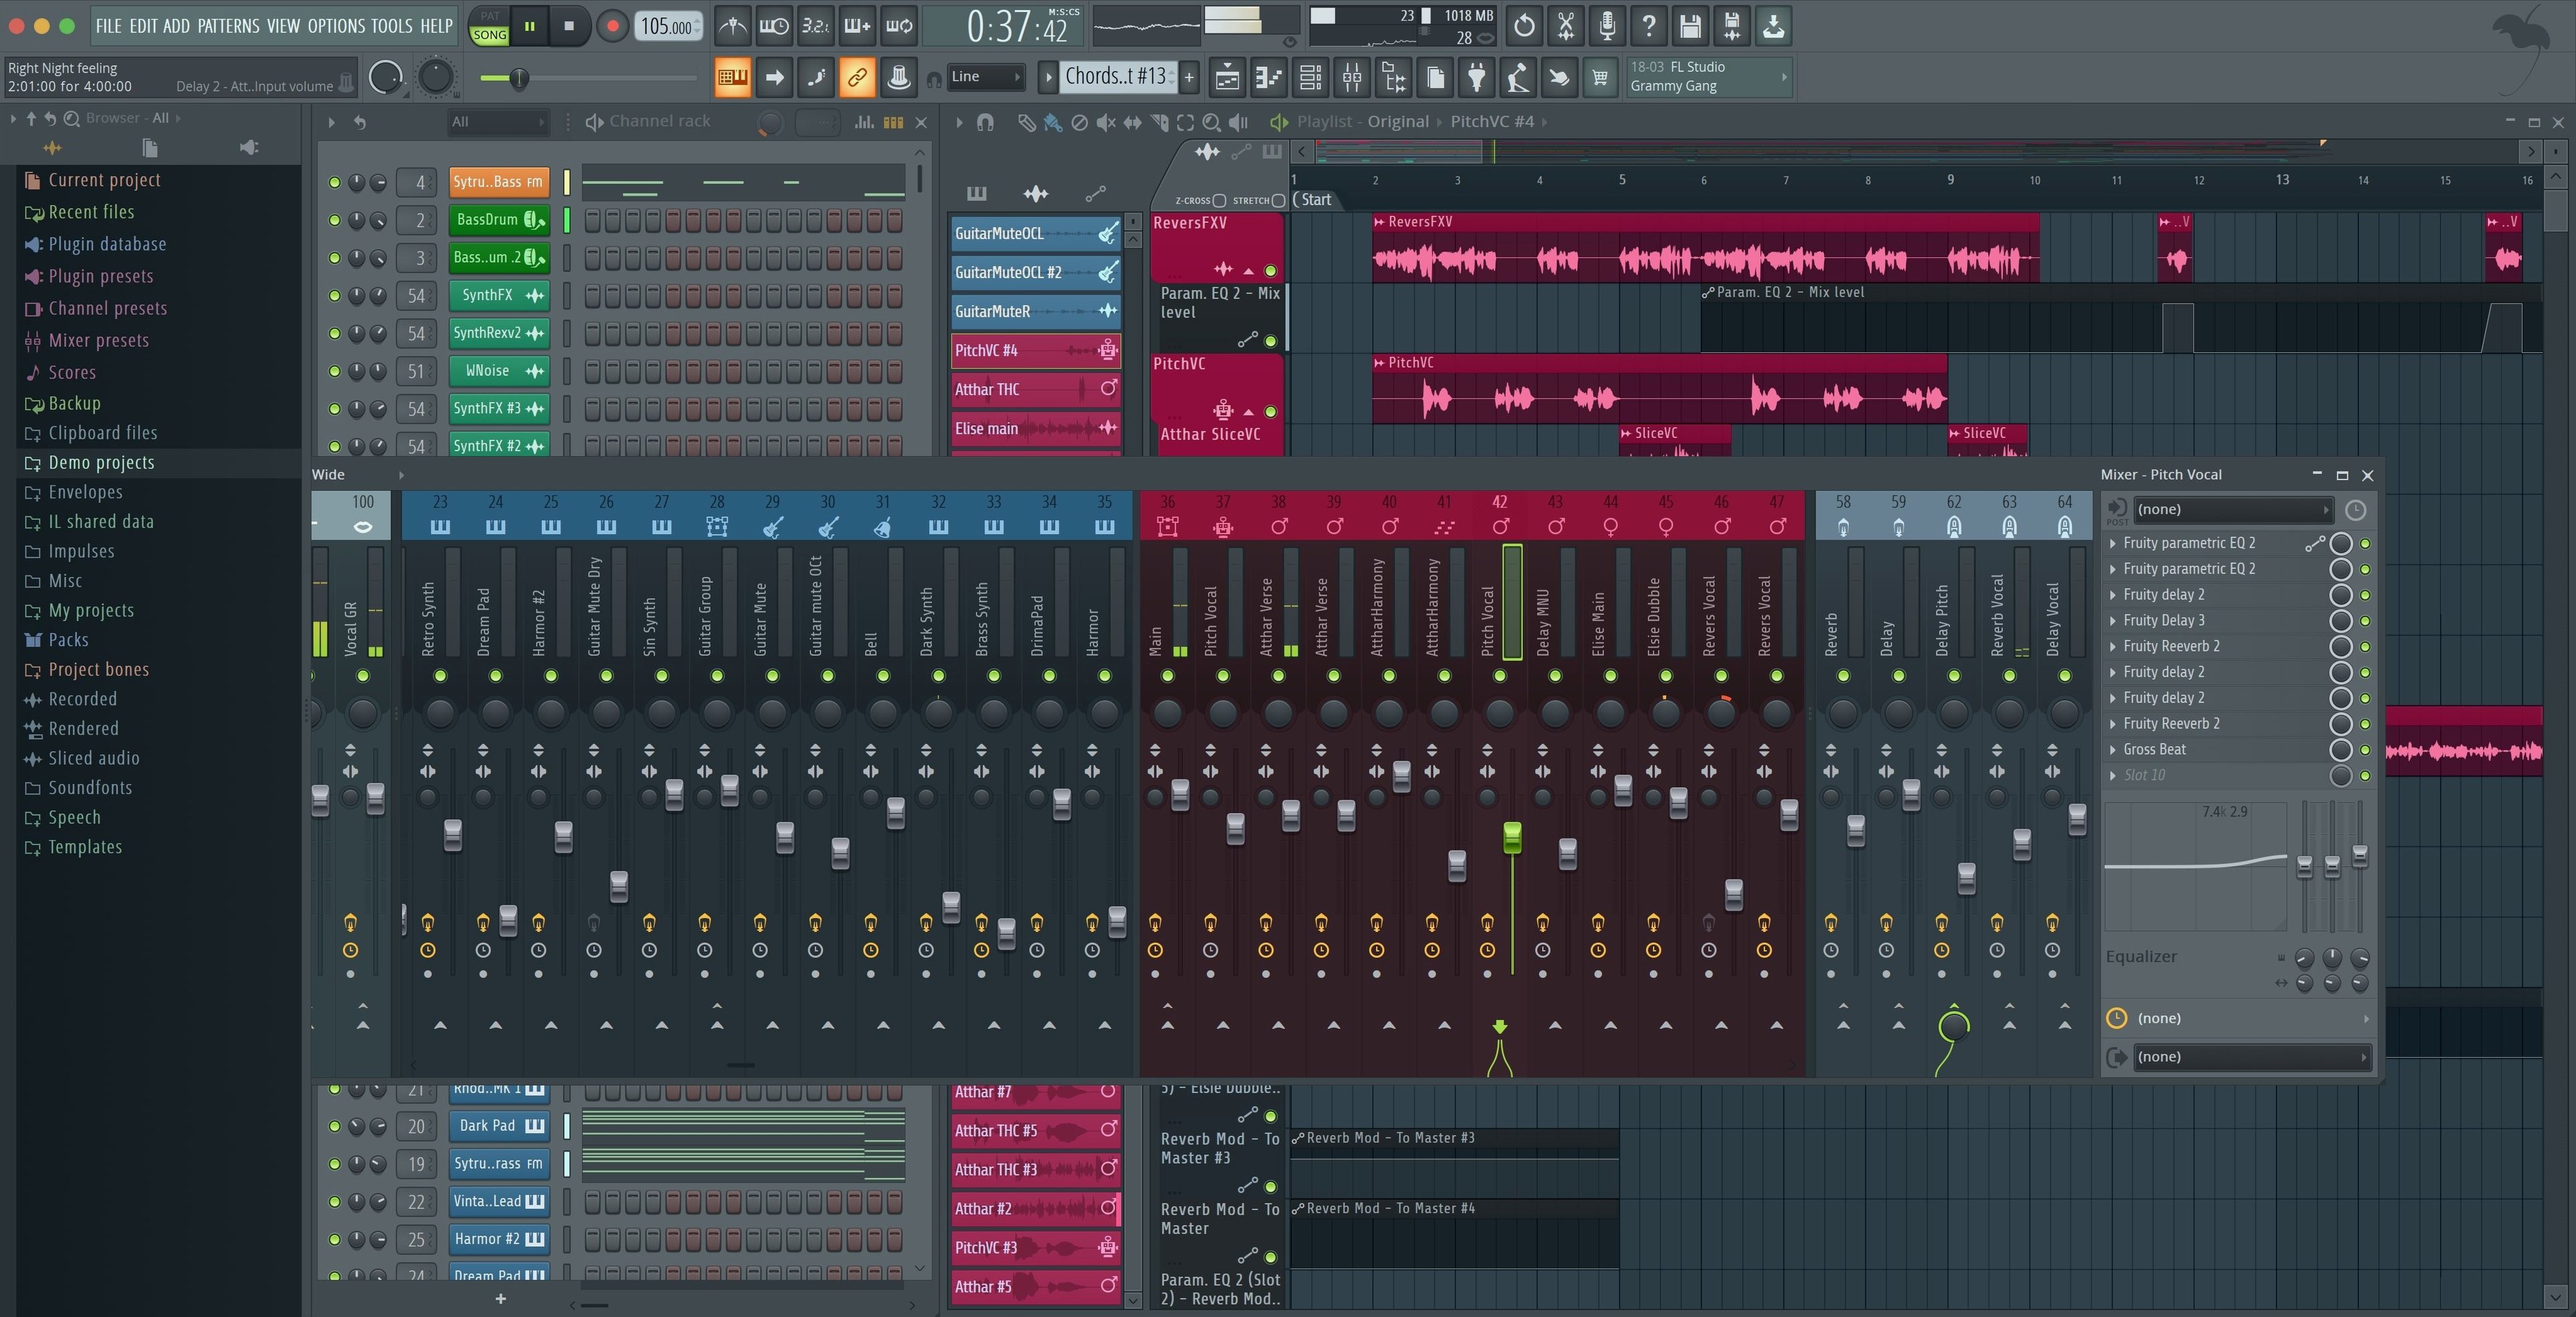
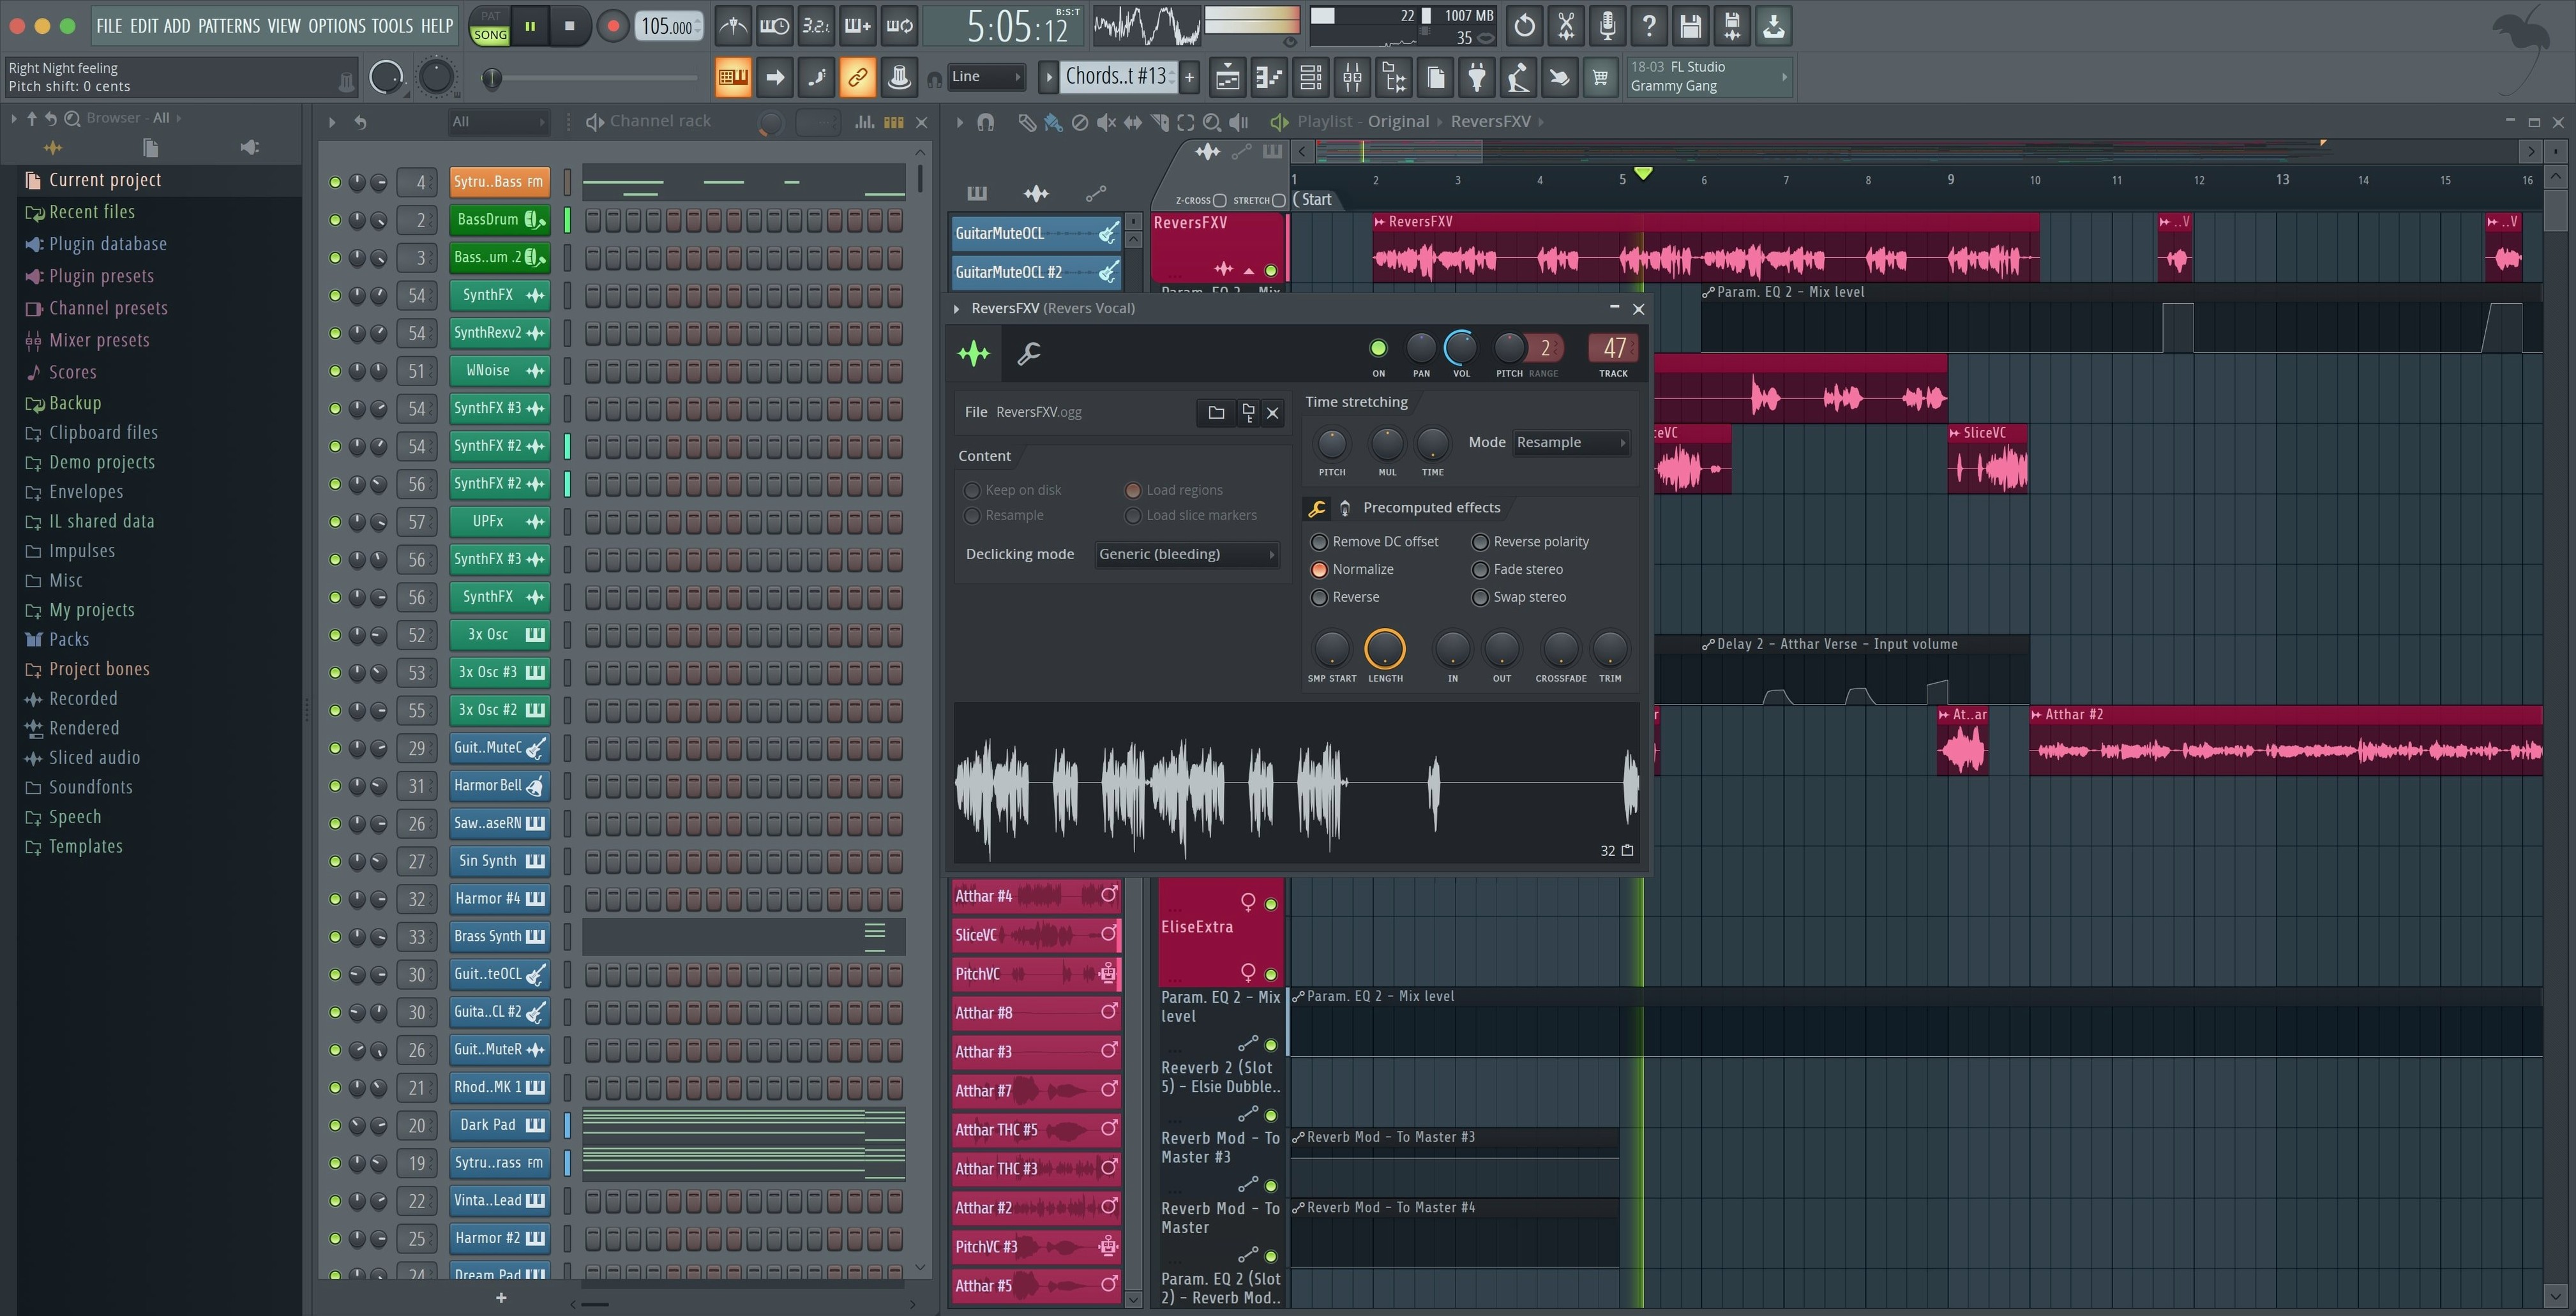
A producer opens a complex project with eighty mixer tracks, a dozen sidechain routings, and three instances of a phase-coherent linear-phase EQ that pushes the CPU meter into the orange. The new fractional readout on the Plugin Performance Monitor shows exactly which instance is tipping the balance, down to a tenth of a percent.
What's changed in the mixer's export logic?
The export dialog now includes dedicated checkboxes to render Master and Current outputs when splitting mixer tracks. It removes a common bounce-down ambiguity when you want stems plus the full mix in one pass.
How does the new Plugin Performance Monitor help?
Percentage values now show a decimal place instead of rounding to whole numbers. For someone chasing down a DSP spike in a large session, that precision makes it faster to spot the plugin that just crossed a threshold.
Does plugging in a controller skip the MIDI settings dive?
FL Studio shows a notification identifying the controller and offers a one-click option to enable it. The mapping step is no longer a dive through the MIDI settings unless you want to customize it.
Is Rosetta still needed to run it on Apple Silicon?
No. The application is a native Universal binary — Apple Silicon Macs do not require Rosetta — and VST plugin loading follows the host architecture directly.
Can you drag a bounced stem straight into Final Cut Pro?
FL Studio sits comfortably inside a Mac-based production setup. Audio you bounce from the Playlist can be dragged straight into a Finder folder, then dropped into a video editor like DaVinci Resolve or Final Cut Pro as a mixed stem. The .wav or .mp3 files carry standard metadata, so any Apple Silicon–native audio tool picks them up without conversion.
On the MIDI side, the app plays nicely with Logic’s old environment tricks and with lightweight hosts like Hosting AU. If you run a second DAW for scoring or live performance, you can route MIDI out of FL Studio via the IAC Driver, which macOS builds into Audio MIDI Setup. Create a bus, pipe MIDI clock and note data across, and record the results in the other application. macOS’s aggregate device feature also works here: combine your interface and BlackHole to capture FL Studio’s output in another app without a physical loopback cable.
The new MIDI controller notification ties into this. When macOS recognizes a class-compliant device, FL Studio surfaces it instantly — no need to open Audio MIDI Setup to confirm the port name. That small hook makes multi-app MIDI routing less of a detective job.
A workflow from sketch to rough mix
Say you have a four-bar chord loop in your head and want a structured rough mix in thirty minutes. Here is one way through it.
- Open a new project and set the tempo to 108 bpm. In the Step Sequencer, load FLEX on a Channel Rack lane, pick a warm pad preset, and pencil in a chord rhythm across two bars.
- Use the new FLEX sound search: type “soft piano” and drag the result onto a new lane. Play a simple melody in the Piano Roll with the mouse or a connected controller — the MIDI notification pops up the moment you plug in a keyboard, so enable it and record directly.
- Pattern mode is fine for the sketch. Create a second pattern for a drum groove. Load FPC onto a lane, pick a kit, and tap out kick, snare, and hi-hat on the step grid. Set the swing fader to around 20% to push the groove slightly off the grid.
- Switch to the Playlist. Paint the pad pattern across eight bars, the piano pattern across the last four, and the drum pattern the full length. Use the Split by Channel option to send each Channel Rack lane to its own Mixer insert with one click.
- Open the Mixer. Add Fruity Parametric EQ 2 to the drum insert and roll off some low-mid mud around 300 Hz. Drop a Fruity Reeverb 2 on a Send and feed the pad channel into it for space.
- Hit the export dialog. Check the new Render Master checkbox alongside Split Mixer Tracks. You walk away with a full-mix
.wavplus individual stems, ready to share or pull into a proper session later.
Can you read the tuner from across the room now?
A few details get buried in daily use even though they save real time.
- Tuner readability. The interface tweak in this version makes the Tuner visible from across a desk. If you record a live bass or synth, leave it open on a secondary display — the larger readout means you catch pitch drift without leaning in.
- Akai Fire default script. The controller now auto-loads its dedicated script. Step sequencing and performance mode come up immediately; you skip the manual port assignment in MIDI Settings entirely.
- Fractional CPU percentages. Hover over the Plugin Performance Monitor entry for a synth that uses lookahead — the decimal value reveals whether it is idling at 3.2% or creeping toward 4.8% as voice count climbs. That granularity matters when you freeze tracks selectively.
- Mixer track splitting checkboxes. The explicit Master and Current options in the export dialog remove the old workaround of soloing the Master track manually before rendering. One less mouse trip per export.
- Channel Rack ghost notes. In the Piano Roll, enable ghost notes from the view menu to see other channels’ MIDI as faint guides. It turns the Piano Roll into a lightweight arranger when you write interlocking parts.
Does the step sequencer feel more immediate than in Ableton Live?
Ableton Live. Live centers on Session View and clip launching; FL Studio centers on the Playlist and pattern blocks. Both handle VST plugins natively on Apple Silicon, but the step-sequencer workflow feels more immediate in FL Studio if you think in drum-machine grid terms. Live’s warping engine is deeper, while FL Studio’s Piano Roll offers per-note slide, fine pitch, and strum tools that go beyond Live’s MIDI editing.
Logic Pro. Logic integrates tightly with macOS — its stock library of instruments and loops is larger, and it ties into features like iPad remote control via Logic Remote. FL Studio counters with a mixer routing model that lets any insert send to any other without bussing restrictions, plus lifetime free updates. The pattern-based composition model also differs sharply from Logic’s linear arrange window, which can feel like a faster sketchpad for beat-driven genres.
Bitwig Studio. Bitwig shares some modular DNA with FL Studio’s Patcher environment, but Bitwig’s Grid is built around polyphonic modulation at the device level while Patcher focuses on control-rate mixing and MIDI processing. FL Studio’s Channel Rack and Step Sequencer remain unique — Bitwig approximates them with layered note devices, but the immediacy of painting a pattern and cloning it with variations is a core FL Studio strength that the others do not quite replicate.
- Export dialog: Added checkboxes for rendering Master and Current outputs when splitting mixer tracks.
- Plugin Performance Monitor: Percentage readout now displays one decimal place for finer DSP tracking.
- MIDI controllers: A notification appears when a new controller is connected, with an immediate option to enable it.
- macOS 10.15 Catalina or later
- Apple Silicon or Intel processor (Universal binary, no Rosetta needed)
- VST-compatible host for plugin use (optional)
$ man fl-studio | grep -A2 "?"
Which macOS versions does this edition support?
It requires macOS 10.15 Catalina or later and runs natively on both Intel and Apple Silicon Macs without Rosetta.
Does the Producer Edition support third-party plugins?
Yes, it loads VST2 and VST3 instruments and effects alongside the built-in Image Line plugin suite.
What is the current build number for this release?
The version covered here is 26.1.6.5406, which includes the updated export dialog, performance monitor, and MIDI controller detection.
Comments 0
Sign in or create an account to leave a comment.
No comments yet. A codec, a slice, a machine — they appear after moderation.