

Dehancer Pro for macOS
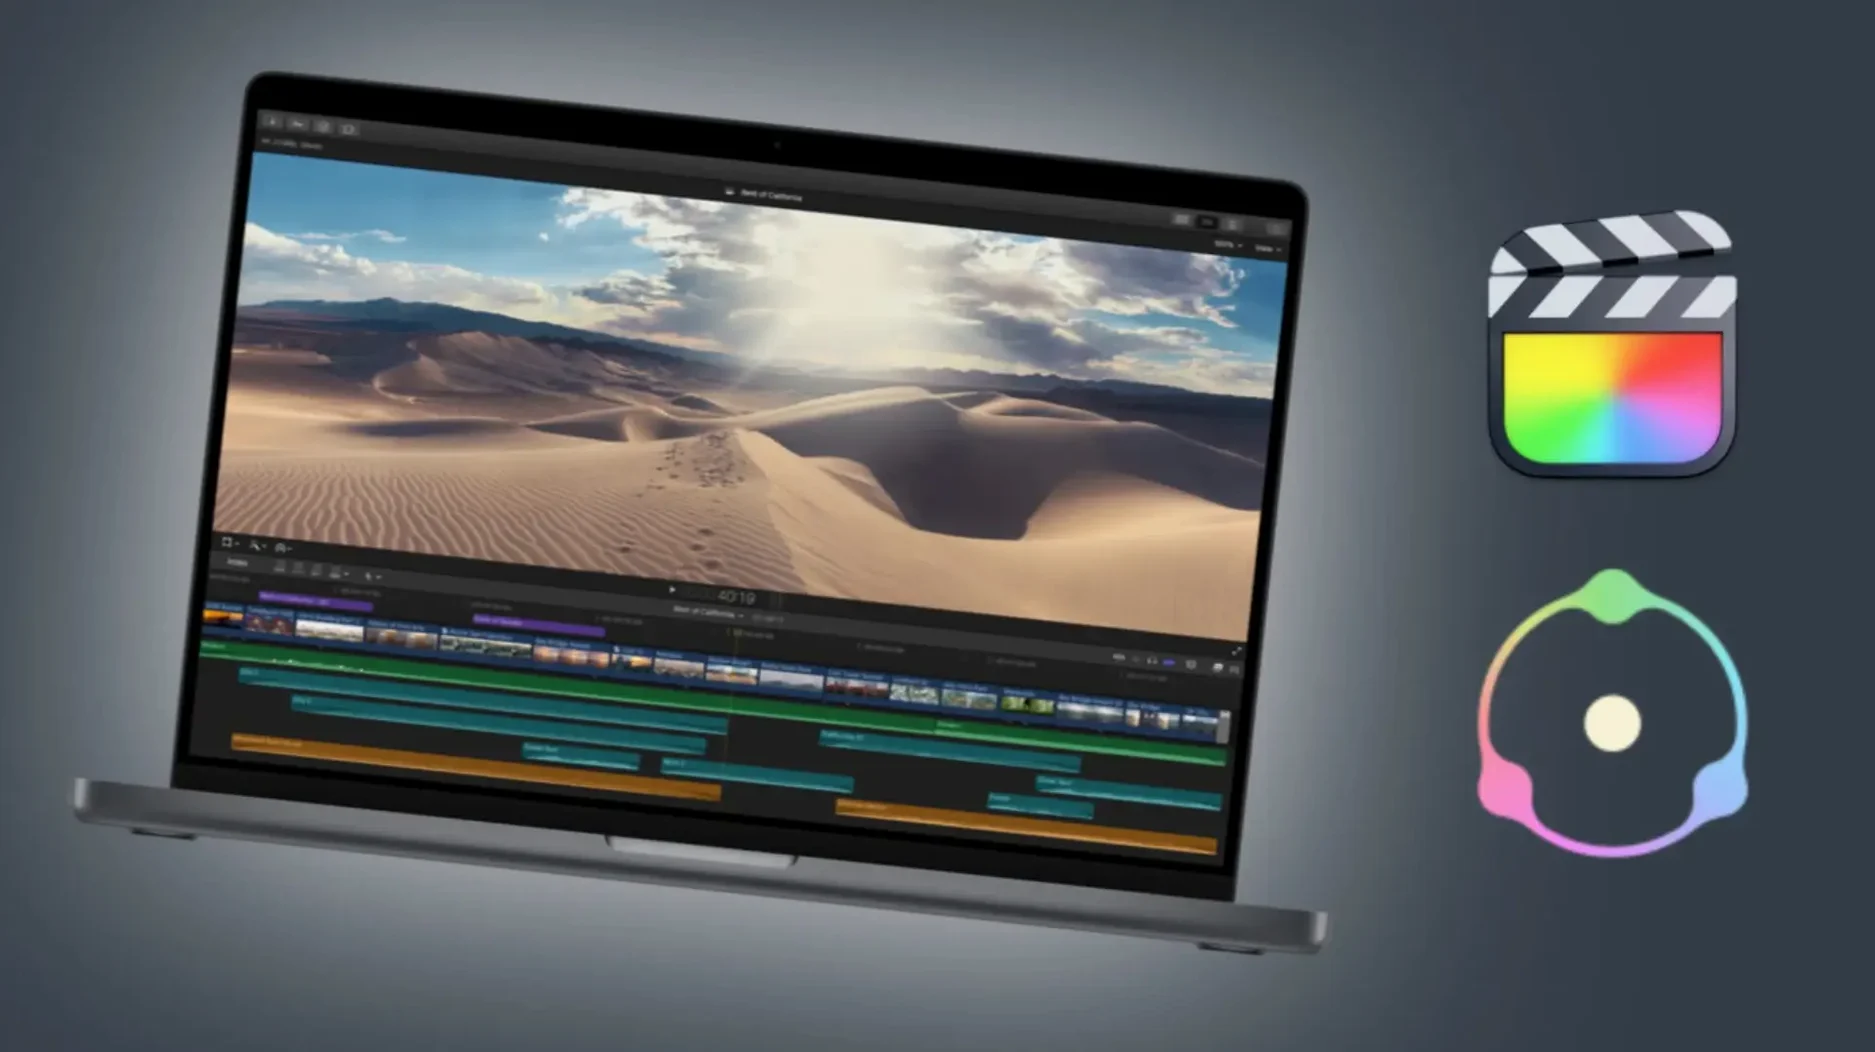
The current build ships as a .pkg containing over 60 film profiles — negative stocks, print films, and a full set of optical effects. It drops into a timeline as an effect, not a standalone app, so it fits right between your edit and your grade without leaving the host.
A single plugin for the full film pipeline, no Resolve round-trips
- Editors who already live in Final Cut Pro, After Effects, or Premiere Pro and want film look without round-tripping to Resolve.
- Projects where a single plugin needs to supply the whole film pipeline: color response, halation, bloom, grain, and gate weave.
- Generating a LUT from a profile stack to hand off to a colorist or bake into a monitoring chain.
No standalone app, and grain hits older Intel machines hard
- It lives entirely inside the host — no standalone app, so it can’t batch-process clips on disk.
- The grain and damage engines are GPU-heavy; older Intel machines will feel it on long timelines.
Step through one film stock at a time on a fresh clip
Install the .pkg, open your host, and resist the urge to slap a full film stack onto a finished timeline. Instead, drop a single clip onto a new project and step through the profile list one stock at a time. Dehancer ships with over 60 profiles, and they don't all announce themselves the same way — some print films read warm and gentle, others shift greens into a territory you won't expect until you see it.
Before you touch grain or halation, dial in the Color Head and Print Film pair that gets the midtones where you want them. A common early mistake is pushing grain density high while the underlying color response is still fighting the shot. Grain looks like noise when the profile doesn't fit; it looks like texture when it does.
If you work in DaVinci Resolve, place Dehancer on a post-group or timeline-level node, not per-clip, at least for the first pass. That gives you a single set of controls across the whole edit and makes it obvious when a profile works for 80% of the shots but falls apart on the other 20%. For Final Cut Pro, apply it as an adjustment layer effect so you can trim its range without baking it into every clip individually.
Export a few seconds of rendered footage early — not to judge the final look, but to check render times on your machine. The grain engine is the biggest variable. On an Apple Silicon Mac with a media engine encoder, a short test tells you whether you need to lower the grain resolution for real-time playback or can leave it at full quality during the edit.
Short-form narrative and music-video editors who skip manual film builds
The plugin makes the most sense for anyone who already grades but wants film character without building it from scratch with curves and third-party overlays. Video editors cutting short-form narrative, music videos, or documentary segments tend to adopt it fastest — they need a look that reads as intentional, not default, and they need it inside the timeline they already know.
Colorists who split time between Resolve and Premiere Pro get a practical bonus: the same profile stack behaves identically across hosts, so a look developed on a Resolve Linux workstation carries over to a Premiere timeline on a MacBook without translation. That's not universal among film emulation tools, and it saves re-grading time when projects move between suites.
Photographers who occasionally deliver short video assets get an unexpected workflow: apply a familiar negative stock profile to a still frame inside After Effects, generate a LUT from that single-frame stack, and import the LUT into Capture One or Lightroom for batch photo grading. It's a roundabout way to match stills and video, but it works because the LUT generator respects the full profile depth, not a baked preview.
Users who hunt for a dehancer mac free setup often discover that the real value isn't the one-click preset — it's the ability to stack bloom, halation, and gate weave independently and adjust each one's intensity per shot. Presets get you a thumbnail; the sliders get you a shot that cuts into the next one without jarring the viewer.
Small controls that are easy to overlook
- Film Damage > Dirt Amount and Hair Amount — both default to zero. When you add even a tiny value, the plugin randomizes the artifacts per frame, so two renders of the same clip won't produce identical dirt patterns. That's authentic behavior, but it means you should lock the seed if you need reproducible outputs for versioning.
- Overscan — it doesn't just add a border; it reveals the frame edge with the correct optical vignette falloff for the selected print film. Dragging it to 2–3% on a 16:9 timeline gives you a subtle projector-edge feel without looking like a retro filter.
- Bloom > Highlight Threshold — the default threshold clips bloom to the brightest speculars. Dropping it a few points brings bloom into upper-midtones, which softens skin highlights in a way that reads as diffusion, not glow. Useful for interviews where a full halation pass would look heavy-handed.
- Grain > Resolution — set to
Fullby default. Switching toHalforQuarterdoesn't just speed up rendering; it changes the grain size relative to the frame, which sometimes matches 16mm stocks better than the full-resolution grain does. TryQuarteron 4K footage for a Super 16 feel. - Profile Stack order — the plugin processes from top to bottom, and you can drag layers. Putting Print Film above the Negative Stock changes the color interaction completely because the print film's spectral response compresses the negative's gamut differently. A small reorder can rescue a profile pair that looks too saturated.
If you're exploring a Dehancer Pro torrent or Dehancer Pro Mac torrent to test the plugin before committing, these small controls are exactly what you want to poke at first — they reveal more about the emulation quality than any preset demo reel.
Floating licenses that follow the artist, not the machine
The jump to 7.3.4 brought two practical shifts. The first is obvious only in multi-seat environments: Production License Server support. For post houses with floating licenses, this means a Dehancer seat can follow the artist rather than being pinned to a single machine. On a practical level, you install once, point the plugin at the server address, and it checks out a license when you open the host — no manual deactivation when moving between suites.
The second shift is quieter: the bug fixes and performance improvements target exactly the areas that caused friction in previous builds. Render queue stability in After Effects is noticeably better on long exports, and the grain engine's memory usage on Apple Silicon drops more aggressively between frames, which reduces swap pressure on machines with 16 GB of RAM. If you previously had to bounce a timeline to a flattened ProRes master before applying Dehancer to avoid timeline stutter, 7.3.4 makes it more practical to leave the plugin live during the edit pass.
For anyone grabbing a dehancer torrent or dehancer mac torrent to see what the current build feels like, the performance delta between 7.3.4 and earlier versions is most visible on M1 and M2 machines — the grain pipeline now schedules better across efficiency and performance cores, so the fans stay quieter during playback than they did six months ago.
- Bug fixes and performance improvements across the rendering pipeline.
- macOS 11 or later
- Intel or Apple Silicon Mac
- Host: Final Cut Pro, Adobe After Effects, or Adobe Premiere Pro
$ man dehancer-pro | grep -A2 "?"
Which camera profiles does it include?
Dehancer ships with input profiles for common digital cinema cameras and mirrorless bodies, normalizing log and raw footage before the film emulation stage.
Comments 0
Sign in or create an account to leave a comment.
No comments yet. A codec, a slice, a machine — they appear after moderation.
More in Final Cut Pro Plugins
cd ../ Color Finale
Final Cut Pro Plugins 35 MB
 Flicker Free
Final Cut Pro Plugins 24 MB
 FxFactory Pro
Final Cut Pro Plugins 68 MB
 MotionVFX mInfographics
Final Cut Pro Plugins 8 MB
 MotionVFX mKBHD
Final Cut Pro Plugins 12 MB
 MotionVFX - mLowers Universal for FCP
Final Cut Pro Plugins 71 MB
 MotionVFX mModules
Final Cut Pro Plugins 5 MB
 Motionvfx - mTitle Cinematic
Final Cut Pro Plugins 5 MB