

MotionVFX mModules for macOS
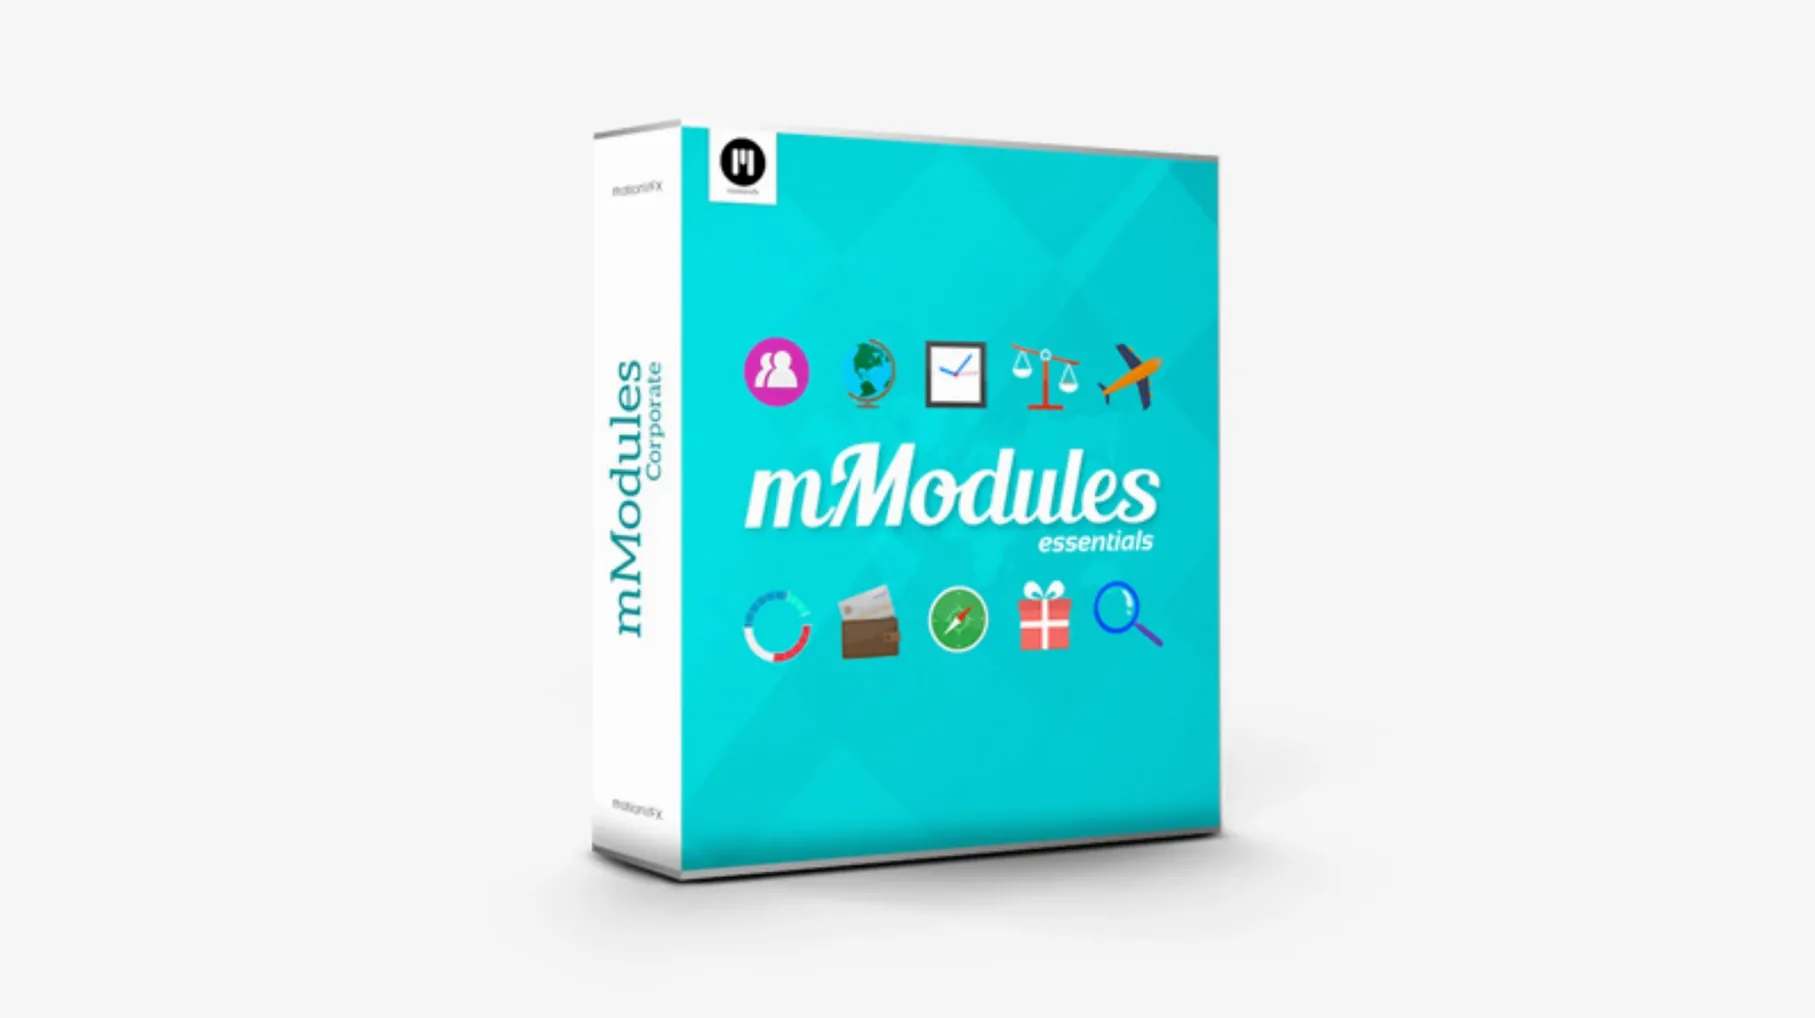
Building a title sequence from scratch eats into editing time you don't have. mModules solves that by giving you 60 pre-built elements you can drop straight into a timeline and tweak — no motion-graphics detour required.
The templates sit inside Final Cut Pro, so you browse them right where you work. Generators appear under the motionVFX category in the Generators Browser; titles live under the same category in the Titles Browser. Drag one in, adjust the text and parameters, and you're moving on.
On the compatibility side, the package uses standard Final Cut Pro template structures, which means it works on any Mac that runs Final Cut Pro X. There's no separate installer binary to worry about — you're placing files, not running a .pkg.
Installation is a manual folder placement. Unpack the archive and move the contents into /Users/Your User Name/Movies/Motion Templates/Titles/. Final Cut Pro picks them up from there automatically, so make sure the path is exact.
Scale and position controls to tweak first
Most of the mModules templates ship with sensible defaults, but a few parameters reward early attention. Open any element, head to the Inspector, and look for the Scale and Position controls under the Transform section. The templates are built at 1920×1080, so dropping one into a 4K project leaves it smaller than you expect — bump Scale to 200% right away if you're working at the higher resolution.
Next, find the Color or Tint sliders that appear in nearly every module. The default white or blue palette is clean, but it clashes fast with branded projects. Set a custom color once, copy the element, and paste attributes onto similar modules to keep the look consistent across a sequence.
Finally, check the Duration field. Many templates default to five seconds, but text-heavy modules need more breathing room. Stretch them to eight or ten seconds in the timeline before you start typing — retiming after you've written the copy sometimes throws off keyframe pacing inside the template itself.
Build a favorites bin before your first real project
Spend your first session building a favorites bin, not cutting a real project. Open the Titles Browser, scrub through every mModule, and drag the ten or twelve you'll actually use into a Favorites folder inside Final Cut Pro. The motionVFX category lists all sixty alphabetically, and that flat list gets old once you're on a deadline.
Get comfortable with the published parameters early. Each template exposes a different set — some let you toggle background opacity, others hide the accent line, a few switch between animation styles. Click through the Inspector panels on a throwaway timeline so you know what's available without hunting mid-edit.
Keyboard shortcuts speed things up more than you'd guess. With a module selected, Cmd-C copies it, Cmd-Shift-V pastes effects — use that to propagate color and timing changes instead of setting each one manually. And map the Titles Browser to a hotkey if you haven't already; bouncing between the browser and timeline with the mouse adds friction you don't need.
How mModules fits with other apps and macOS features
The templates aren't locked inside Final Cut Pro. Because they live as standard .moef bundles in the Motion Templates folder, Apple Motion can open them for deeper edits. Right-click a module in the Finder, choose Open With Motion, and you can rework the animation curves, swap fonts permanently, or add new published parameters that Final Cut Pro will then expose in the Inspector.
On the Finder side, Spotlight indexes the ~/Movies/Motion Templates/ path by default. Naming your most-used modules with descriptive prefixes — "Lower Third – Clean", "Lower Third – Bold" — makes them searchable via Cmd-Space without opening Final Cut Pro at all, which is useful when you're organizing or moving templates between machines.
QuickTime screen recordings and mModules work well together. If you're making tutorial or demo content, record your screen with Cmd-Shift-5, drop the footage into Final Cut Pro, and overlay an mModule title card and lower third from the same family. Because both elements share the same color controls, matching them takes seconds rather than a trip through the color board.
If you're working with audio from GarageBand or Logic Pro, finish your mix first, export a stereo WAV, and place it on the timeline before adding mModules. Many of the animated elements have built-in fade-in curves that look best when they hit their full opacity right as a voiceover or music cue lands, so having the audio locked early keeps you from re-timing every module later.
Building a 15-second podcast teaser from audio to export
Imagine you need a 15-second teaser clip for a podcast episode. Start by dropping the finished audio file onto the timeline — a 15-second WAV export from your DAW, already trimmed and normalized. That's your backbone.
Add a background: a still image or a short clip stretched to fill the 15 seconds. Now open the Generators Browser, find the motionVFX category, and pick a full-screen overlay element — one of the subtle particle or light-leak modules works here. Drag it above the background, stretch it to match, and set its blend mode to Screen or Add in the Inspector to keep the background visible underneath.
Next, titles. Switch to the Titles Browser, still under motionVFX, and grab a centered main-title module. Place it at the two-second mark, type the episode name, and set the color to match the podcast artwork. Stretch it to run for eight seconds. Then add a lower-third module at the six-second mark with the guest's name and handle, fading it in as the main title fades out.
For the closing, add a second lower third at the twelve-second mark with the release date or "Listen now." Tweak its Scale parameter if it feels too small at 1080p. Now run through the sequence once, adjust the timing of each element so the fades overlap cleanly, and export via File > Share > Apple Devices 1080p — or 4K if your source footage calls for it.
The whole thing takes under twenty minutes once you know which modules do what, and the result looks like you spent an afternoon in After Effects.
Leaving the placeholder text and color untouched
The most common one is dropping a module onto the timeline, typing text, and never opening the Inspector at all. The default placeholder copy and white color might work for a draft, but leaving them untouched in a final export screams "template." At minimum, change the font weight and the accent color.
Another: stacking too many animated modules on top of each other. Two or three with overlapping opacity fades can look polished; five with simultaneous scale and position animations creates visual noise that pulls focus from the content. If you need multiple text layers, use one animated module for the hero text and pair it with static, non-animated title layers for the secondary information.
Mishandling the folder structure trips people up before they even start. Dragging the whole archive into ~/Movies/Motion Templates/ without unpacking first, or placing the templates directly in ~/Movies/ rather than inside the Motion Templates/Titles/ subdirectory, means Final Cut Pro won't see them. The path must read exactly /Users/Your User Name/Movies/Motion Templates/Titles/ — no shortcuts, no aliases, no enclosing folders with different names.
Finally, ignoring the published parameter checkboxes. Several mModules include toggle switches for elements like background boxes, accent strokes, or secondary text fields. Beginners often leave every toggle on, clutter the frame, and then wonder why the module looks busy. Turn off everything you don't need, and only then start adjusting what remains.
Finding the full set of modules is straightforward once you know where to look. A search for motionvfx download gets you to the right place, and the same goes for motionvfx plugins free download if you're exploring what else the developer offers alongside mModules.
- macOS version that supports Final Cut Pro X
- Final Cut Pro X installed
Comments 0
Sign in or create an account to leave a comment.
No comments yet. A codec, a slice, a machine — they appear after moderation.
More in Final Cut Pro Plugins
cd ../ MotionVFX - mLowers Universal for FCP
Final Cut Pro Plugins 71 MB
 Motionvfx - mTitle Cinematic
Final Cut Pro Plugins 5 MB
 MotionVFX mKBHD
Final Cut Pro Plugins 12 MB
 MotionVFX mInfographics
Final Cut Pro Plugins 8 MB
 FxFactory Pro
Final Cut Pro Plugins 68 MB
 Flicker Free
Final Cut Pro Plugins 24 MB
 Dehancer Pro
Final Cut Pro Plugins 382 MB
 Color Finale
Final Cut Pro Plugins 35 MB