

MotionVFX mInfographics for macOS
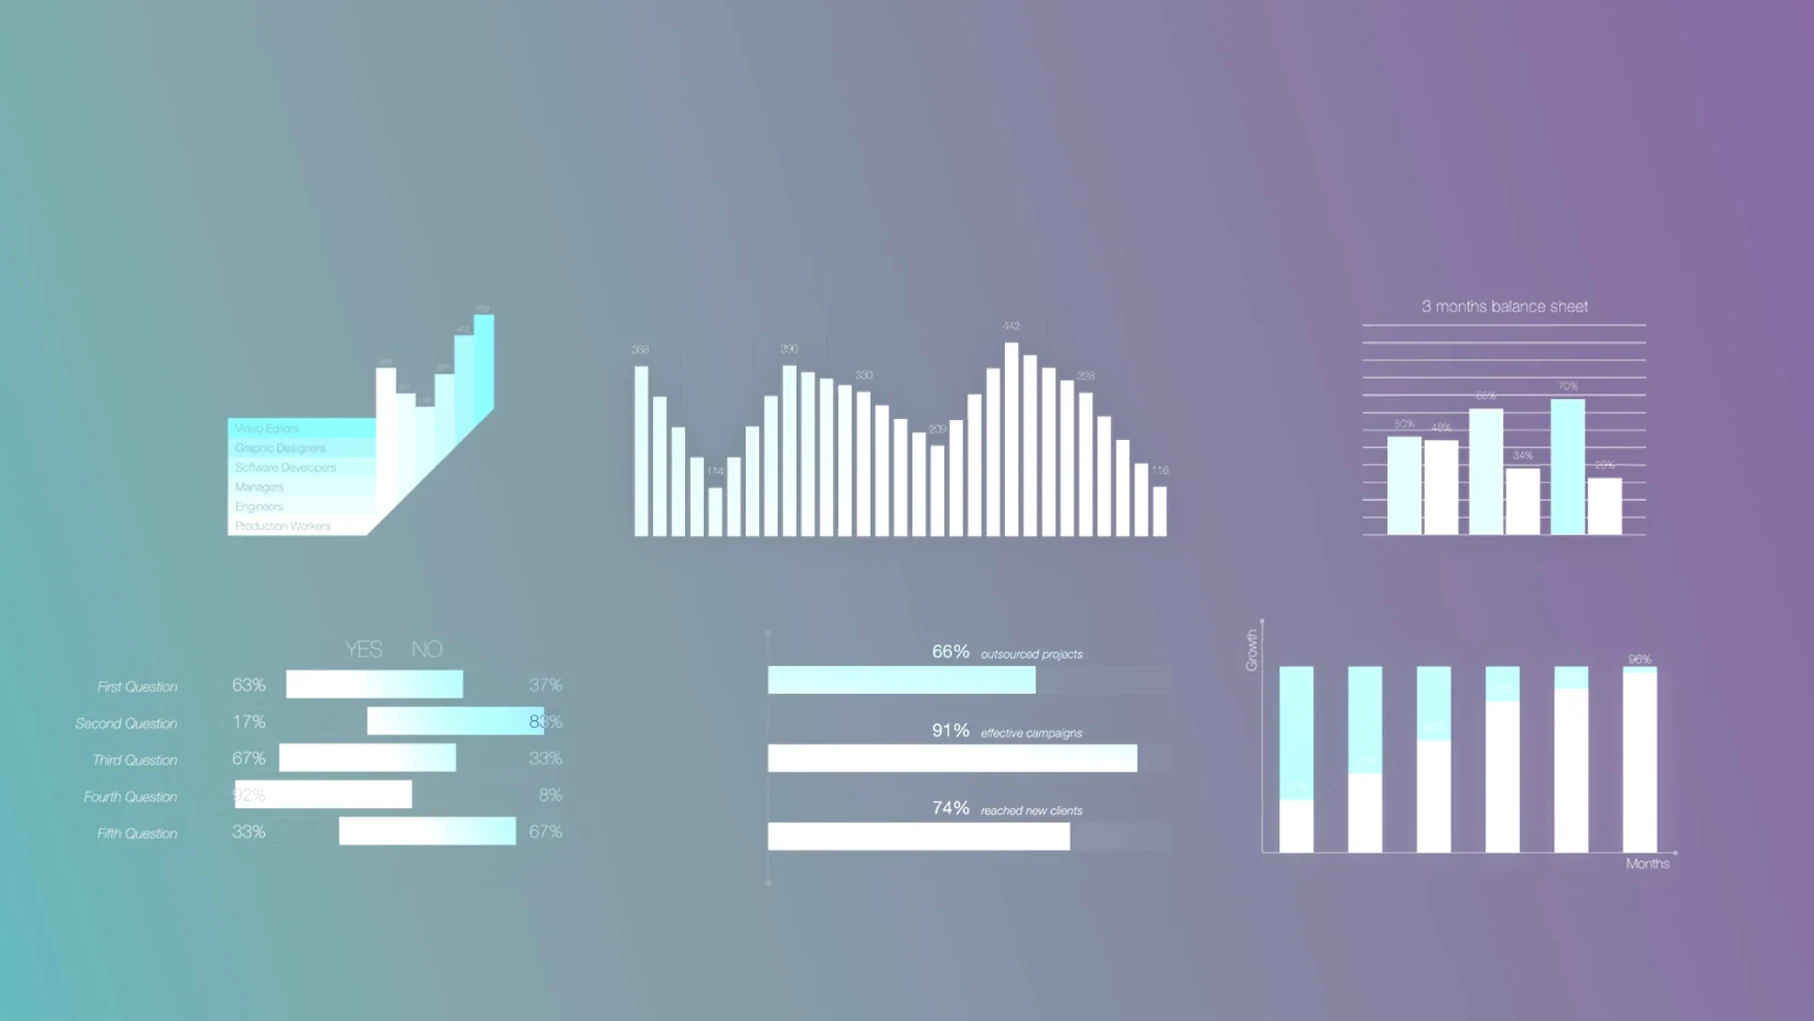
If you've ever built a lower third from scratch in Final Cut Pro, you know the drill. You lay down a generator, stack a few shape masks, and tie yourself in knots with keyframes just to get a bar chart to animate. mInfographics is essentially that whole process, pre-built and dropped into your Titles browser.
What kind of elements are we talking about?
- Bar and column charts
- Pie and donut charts
- Progress rings and percentage counters
- Callout labels with editable numbers
- Animated line graphs
Drag onto timeline and adjust right in the viewer
These are Motion Templates, so they live in your FCP inspector like any other title. You drag one onto the timeline above a clip, and the on-screen controls let you scale and position it directly in the viewer. The real work happens in the inspector panel, where you type in your data points, change the number formatting, and tweak the description text. Because the elements are resolution-independent generators, they stay sharp no matter how you scale them. MotionVFX lists them as universal elements, meaning they work across aspect ratios without breaking the layout.
Do you need Motion installed?
The first question I see in every forum thread: "Do I need Motion installed?" No. These are pre-built Motion Templates, not Motion project files. Final Cut Pro reads them directly from ~/Movies/Motion Templates/Titles once you've moved the folders there. Motion is only necessary if you plan to open a template and redesign it from the inside. For everyday use—dragging, typing numbers, tweaking colors—FCP alone is enough.
The second question is about clutter. Sixty elements sounds like a lot of browser entries. mInfographics organizes everything under a single category inside the Titles sidebar, with subfolders for chart types. You won't suddenly find your Generators menu bloated; Motion Templates for titles stay in the title space, not the generator space.
People also ask about performance with multiple instances on the timeline. Each element is a title layer backed by a small Motion Template bundle—typically under two megabytes. Stacking ten or twelve of these in a project behaves roughly like stacking the same number of basic FCP titles. The template renders on the GPU through Metal, so playback stays smooth on Apple silicon as long as you're not also running heavy color grades and noise reduction at the same time. On Intel machines with discrete graphics, the same holds; integrated Intel GPUs from the 2016–2019 era will feel the weight sooner, especially with 4K timelines.
Dropping into the primary storyline hides the graphic
The first thing you'll notice is that dragging an element onto the timeline places it as a connected title above the primary storyline. That's standard FCP behavior, but beginners sometimes drop it into the primary storyline and wonder why the clip underneath goes dark. Treat these as overlay graphics. If you need them to behave like generators—say, a full-screen chart with no video beneath—place a gap clip on the primary storyline first, then connect the title above it.
The on-screen controls are the handiest feature nobody reads about. Instead of hunting through the inspector for position sliders, you can grab the element directly in the viewer and move it. The bounding box shows handles for scale and rotation. What's less obvious: double-clicking a number field in the viewer itself often lets you type the value right there, which is faster than scrolling through the inspector panel when you're dialing in a specific percentage.
A common early mistake is ignoring the "Publish" parameters that motionVFX exposes. When you select an element and open the inspector, you'll see more than just the standard title controls—look for custom sections labeled with the element's purpose, like "Chart Data" or "Number Format." These are the published rigs from Motion. If you only adjust the generic Transform controls and skip the published ones, you'll end up with a nicely positioned empty chart and wonder why the numbers won't change.
Fifteen infographic elements play smoothly on an M1 MacBook Air
I've watched editors use mInfographics across three generations of hardware. On an M1 MacBook Air with 16 GB of RAM, a project with fifteen infographic elements, a color correction layer, and a few audio effects plays back without dropped frames at full resolution. The templates are lightweight enough that the biggest bottleneck is usually disk speed for the source footage, not the graphics overhead. On a Mac Pro with an Afterburner card and dual GPUs, the same project barely registers a blip in render time.
Stability-wise, these are standard .moef Motion Template bundles. They don't inject scripts or background processes. I've yet to see one cause a crash unless the FCP library itself was already corrupted. The one quirk worth knowing: if you rename the template folders after installing them, Final Cut Pro will lose the link and grey out any instances already placed on timelines. The fix is simple—rename them back—but it's a panic moment if you don't know what happened.
Memory usage per element hovers around 20–40 MB of GPU memory depending on complexity. A pie chart with animated slices and a text overlay sits closer to 40 MB; a static callout label with a counter sits around 20 MB. In practical terms, you'd need to stack fifty of these before RAM pressure becomes a concern on any Mac with 16 GB or more.
Wrong install folder keeps templates invisible in FCP
Using the wrong install folder is the number one headache. The path must be /Users/YOURNAME/Movies/Motion Templates/Titles. Not Effects, not Generators, not the system library folder. If you drop the folders into /Library/Application Support/ or anywhere else, Final Cut Pro will ignore them entirely. The Titles folder is what tells FCP these go in the title browser.
Another slip: copying the zip file itself into the Templates folder without unpacking. FCP doesn't read archives. You need the bare folders—usually named something like mInfographics - Bar Charts sitting directly inside Titles. If there's an extra parent folder wrapping them, the templates won't appear.
Typographic overkill is a stylistic mistake rather than a technical one, but it's common enough to mention. mInfographics ships with styled captions that already have font pairings, weights, and sizes tuned. Beginners sometimes override every text field with a heavy display font and a drop shadow, and the result fights the clean data-visualization aesthetic the templates are built around. The default typography is restrained for a reason—let the numbers do the talking.
A subtler error: not keyframing the published "Count" parameter when you want a number to tick upward. The counter elements have a built-in animation range, but if you want a specific start-to-end value over time, you need to set two keyframes on the number field in the inspector, not just drop the element and hope it animates automatically. The on-screen controls won't show you this—it's an inspector-only operation.
- macOS version undisclosed by developer
- Runs natively on both Intel and Apple Silicon Macs
- Requires Final Cut Pro
Comments 0
Sign in or create an account to leave a comment.
No comments yet. A codec, a slice, a machine — they appear after moderation.
More in Final Cut Pro Plugins
cd ../ MotionVFX mKBHD
Final Cut Pro Plugins 12 MB
 MotionVFX - mLowers Universal for FCP
Final Cut Pro Plugins 71 MB
 MotionVFX mModules
Final Cut Pro Plugins 5 MB
 Motionvfx - mTitle Cinematic
Final Cut Pro Plugins 5 MB
 FxFactory Pro
Final Cut Pro Plugins 68 MB
 Flicker Free
Final Cut Pro Plugins 24 MB
 Dehancer Pro
Final Cut Pro Plugins 382 MB
 Color Finale
Final Cut Pro Plugins 35 MB