
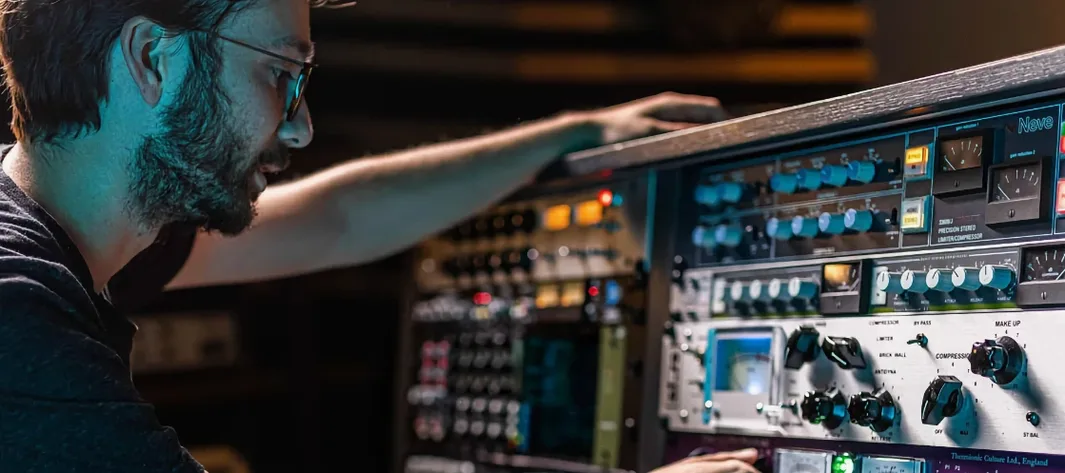
Arturia FX Collection for macOS
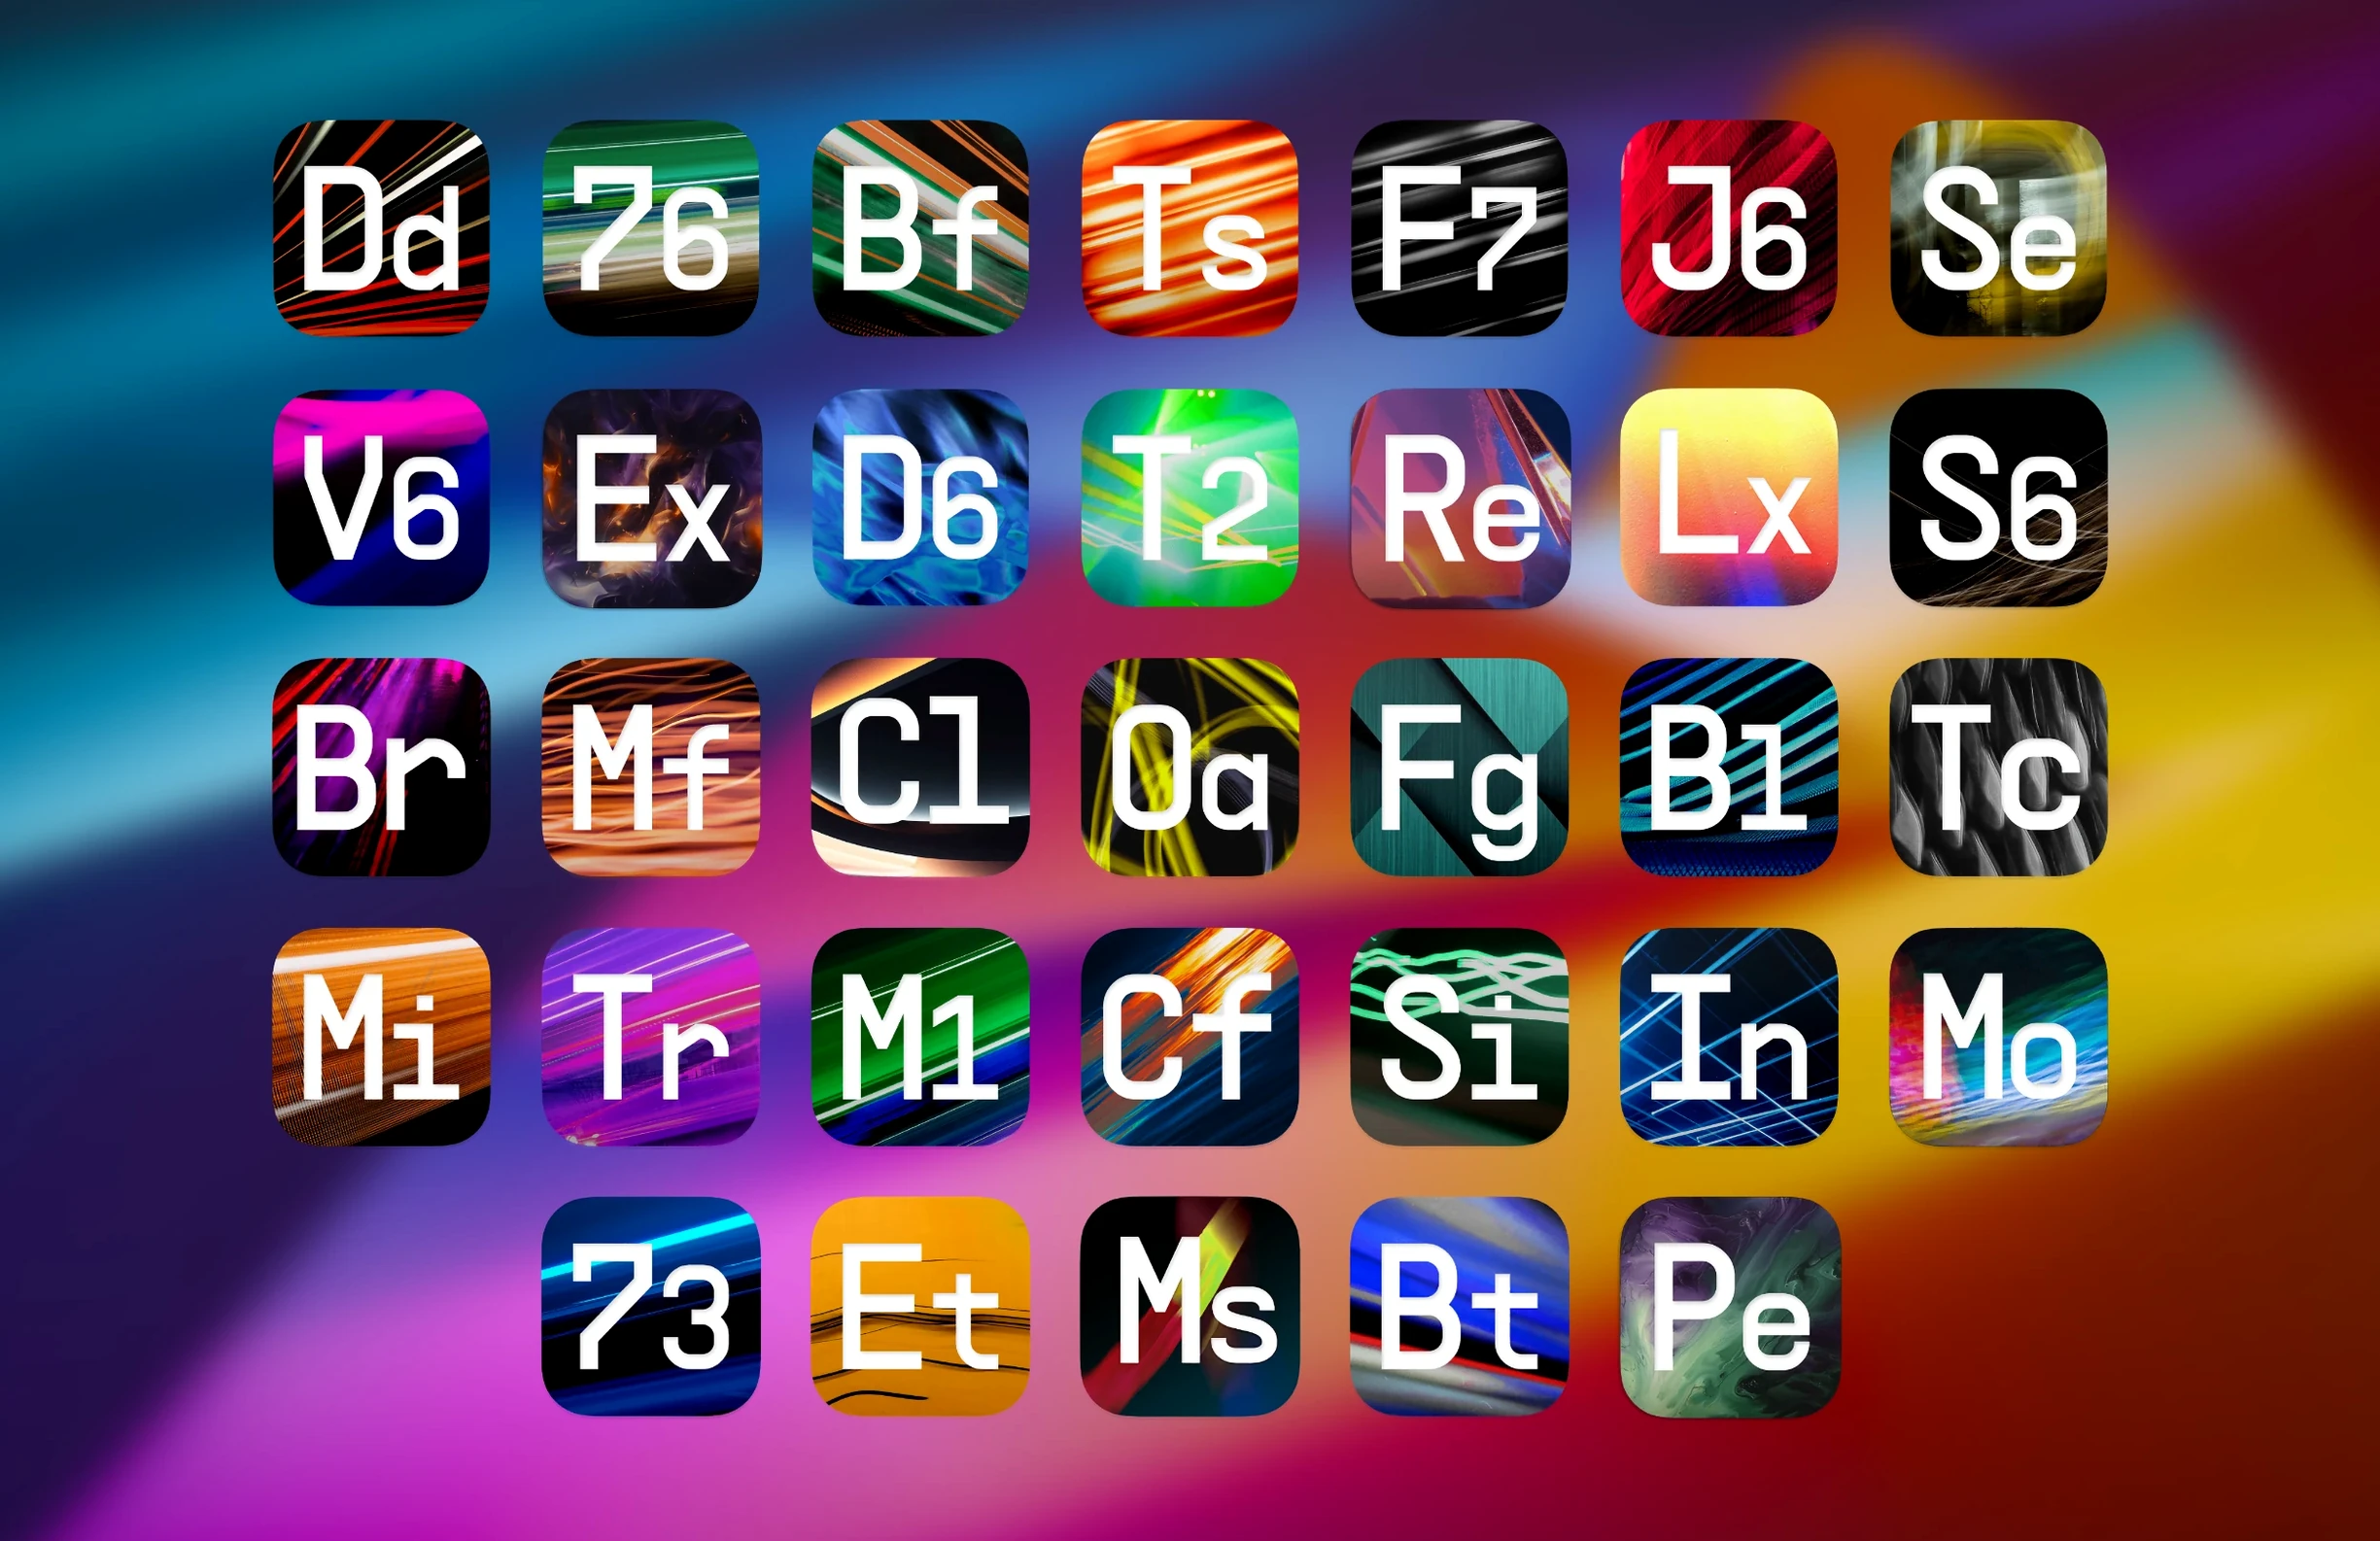
Arturia FX Collection is a software effects suite for music production that puts 34 sound-processing tools at your fingertips.
Compressors and Equalizers — shape the dynamics and tone of a track with models that react like the hardware they reference, from tube-leveling smoothness to surgical solid-state precision.
Reverbs and Delays — place a sound in a physical or unreal space. The plate, spring, and digital algorithms here move from lush rooms to rhythmic, filtered echoes that sit inside a stereo field.
Modulation Effects — chorus, flanger, and phaser units add motion. A static pad becomes a swirling bed; a bass line gains a slow, chewy sweep that cuts without getting louder.
Distortion and Filters — push a signal into warm saturation or full breakup, then carve out the result with resonant, modeled filter circuits. The collection includes over 1,400 presets to jump-start a chain, and the 2026.02 update brings the Tape J-37 for reel-to-reel warmth, Mix Drums for parallel bus processing, and a Pitch Shifter-910 for harmonized doubling.
There is a quiet practical split in this collection that the feature list alone does not reveal. Half the plug-ins are emulations of specific hardware units with a fixed job — the Pre 1973 preamp, the Eq M5 EQ curve — and the other half are open-ended modern processors where you build the behaviour from scratch. Knowing which camp you reach for on a given track changes how fast you work.
Where distortion and modulation meet performable faders
Mixing engineers who handle full sessions on a laptop
If you mix in a home studio without a rack of outboard gear, the collection fills a real gap. The bus compressors — especially the Bus Force and the new Mix Drums — do the glue job that a hardware SSL-style or API-style compressor would do on a console, without the noise floor. Running them in AU format inside Logic Pro on an Apple Silicon Mac keeps the CPU hit low enough that a full pop session stays playable at a 128-sample buffer.
Sound designers working in post-production
The Efx Ambient addition in the 2026.02 update is built for this crowd. It chains a long, diffuse reverb with a granular freeze and a modulation section, so a single footstep recording can bloom into a five-second atmosphere. Pair it with the Pitch Shifter-910 set to micro-shifted dual voices, and you get the kind of unnatural, glassy ambience that horror and sci-fi projects lean on. These are not plug-ins you use to sweeten a vocal; they are sound-creation tools in their own right.
Producers who build tracks from sampled material
When a sample library sounds too clean, the Tape J-37 and the distortion models — particularly the Dist Tube Culture — add the friction that makes a loop feel like it belongs on a record. The tape plug-in models three tape formulas and lets you push the input gain until the transients round off. That one step often replaces a compressor, an EQ tilt, and a saturator in a chain.
Trim each stage with the output knob on every toolbar
- Output trim on every plug-in. Almost every effect in the suite has a dedicated output knob tucked at the right edge of the toolbar. When you stack three or four plug-ins on an insert chain, trimming each stage stops the cumulative gain creep that leads to clipping the channel.
- A/B comparison inside the toolbar. The toolbar at the top of each window includes a Compare button that flips between two full states of the plug-in. It catches parameter moves that a preset browser would miss — you can nudge a reverb pre-delay by 10 ms and toggle it blind against the original.
- Sidechain input on dynamics plug-ins. The Bus Force and several compressors accept an external sidechain signal, but the routing is not always obvious. In Logic Pro, you set the sidechain source in the plug-in window header, not inside the Arturia interface itself. Once connected, the built-in sidechain EQ section on Bus Force lets you high-pass the detector so kick drums do not pump the whole mix.
- Advanced panel toggle. Several plug-ins — Eq M5, Bus Force — hide a secondary panel behind a small arrow icon. On Eq M5 it reveals per-band mid-side processing; on Bus Force it exposes the stereo link controls and the sidechain filter. A lot of users miss it for the first week because the icon is subtle.
Resolve crashes by toggling OpenGL in the settings menu
AAX plug-ins do not load
If you work in Pro Tools and the plug-ins do not appear after installation, that is expected with this version. The package notes confirm that AAX plug-ins do not work in the 2026.02 release. The AU and VST3 formats are functional — Logic Pro, Ableton Live, Cubase, and Studio One users are unaffected. Pro Tools users will need to host the plug-ins through a wrapper like Blue Cat's PatchWork or wait for a future update that restores AAX support.
High CPU usage on Intel Macs with the Tape J-37
The tape emulation runs a higher oversampling rate than most of the other plug-ins in the collection. On an Intel MacBook Pro, a single instance can push one core past 50% at a 64-sample buffer. The fix is to run the plug-in at a lower quality setting during tracking — click the cog icon and set Oversampling to Low — then switch it back to High before bouncing. On Apple Silicon, the same instance rarely breaks 15%, so the issue is architecture-specific.
Preset browser shows empty categories
After a fresh install, the preset browser sometimes shows category folders with no presets inside them. The cause is almost always that the preset database has not finished indexing. Open any plug-in, leave the preset browser open for about 60 seconds, then click the refresh icon in the top-right corner of the browser. If that does not work, the presets folder may have landed in the wrong location. Check /Library/Arturia/Presets/ — all bank files should sit there. Moving them elsewhere breaks the database.
Start with a parallel drum bus at 50% wet
- Build a parallel processing template early. Several plug-ins — particularly Bus Transient and Mix Drums — are designed with a wet/dry mix control right on the front panel. Set up a drum bus with Mix Drums at 50% wet, followed by Tape J-37 with the input gain pushed 3 dB into the red. Save it as a channel strip preset and you have a starting point for every mix that needs punch without losing the dry transients.
- Learn four presets per plug-in, not forty. With over 1,400 presets across the collection, it is tempting to spend the first session auditioning sounds. Pick four per plug-in — one clean, one driven, one modulated, and one extreme — and save them as user favorites. Use those as starting points for the first week. You will learn the parameter ranges faster than by scrolling through banks.
- Map the macro knobs to a MIDI controller. Every plug-in exposes four macro knobs that you can assign to any parameters you like. Right-click a knob on the interface, choose Assign to Macro 1, and then map that macro to a physical knob on your controller. For the Pitch Shifter-910, try mapping Mix, Interval, Feedback, and Detune to four adjacent knobs — you can play pitch shifts like an instrument during a bounce.
- Check the installation folder for activation instructions. The package includes a document with activation steps. If you run into a plug-in that displays an authorization screen, the instructions in the downloaded folder cover the exact workflow. The same folder also contains the component files for AU (
/Library/Audio/Plug-Ins/Components/) and VST3 (/Library/Audio/Plug-Ins/VST3/) — copying them to the correct system directories by hand is an option if the installer misses them.
- FX Collection 6 ships as the 2026.02 package for macOS 11 and later, announced 2026-02-19.
- New processors: Tape J-37 for analog tape saturation and character.
- New processors: Mix Drums, built for parallel drum bus compression and shaping.
- New processors: Pitch Shifter-910 for real-time harmonizing and stereo widening.
- macOS 11 or later
- Apple Silicon or Intel processor
Comments 0
Sign in or create an account to leave a comment.
No comments yet. A codec, a slice, a machine — they appear after moderation.
More in VST Plugins
cd ../ Arturia Mellotron V
VST Plugins 2.1 GB
 Arturia Emulator II V
VST Plugins 700 MB
 Arturia MiniFreak V
VST Plugins 468 MB Updated
 Arturia Efx AMBIENT
VST Plugins 285 MB
 Arturia Pigments
VST Plugins 1.8 GB
 Arturia Augmented BRASS
VST Plugins 2.3 GB
 Arturia Analog Lab V
VST Plugins 2 GB Updated
 BABY Audio Humanoid
VST Plugins 39 MB