
MiniMeters for macOS
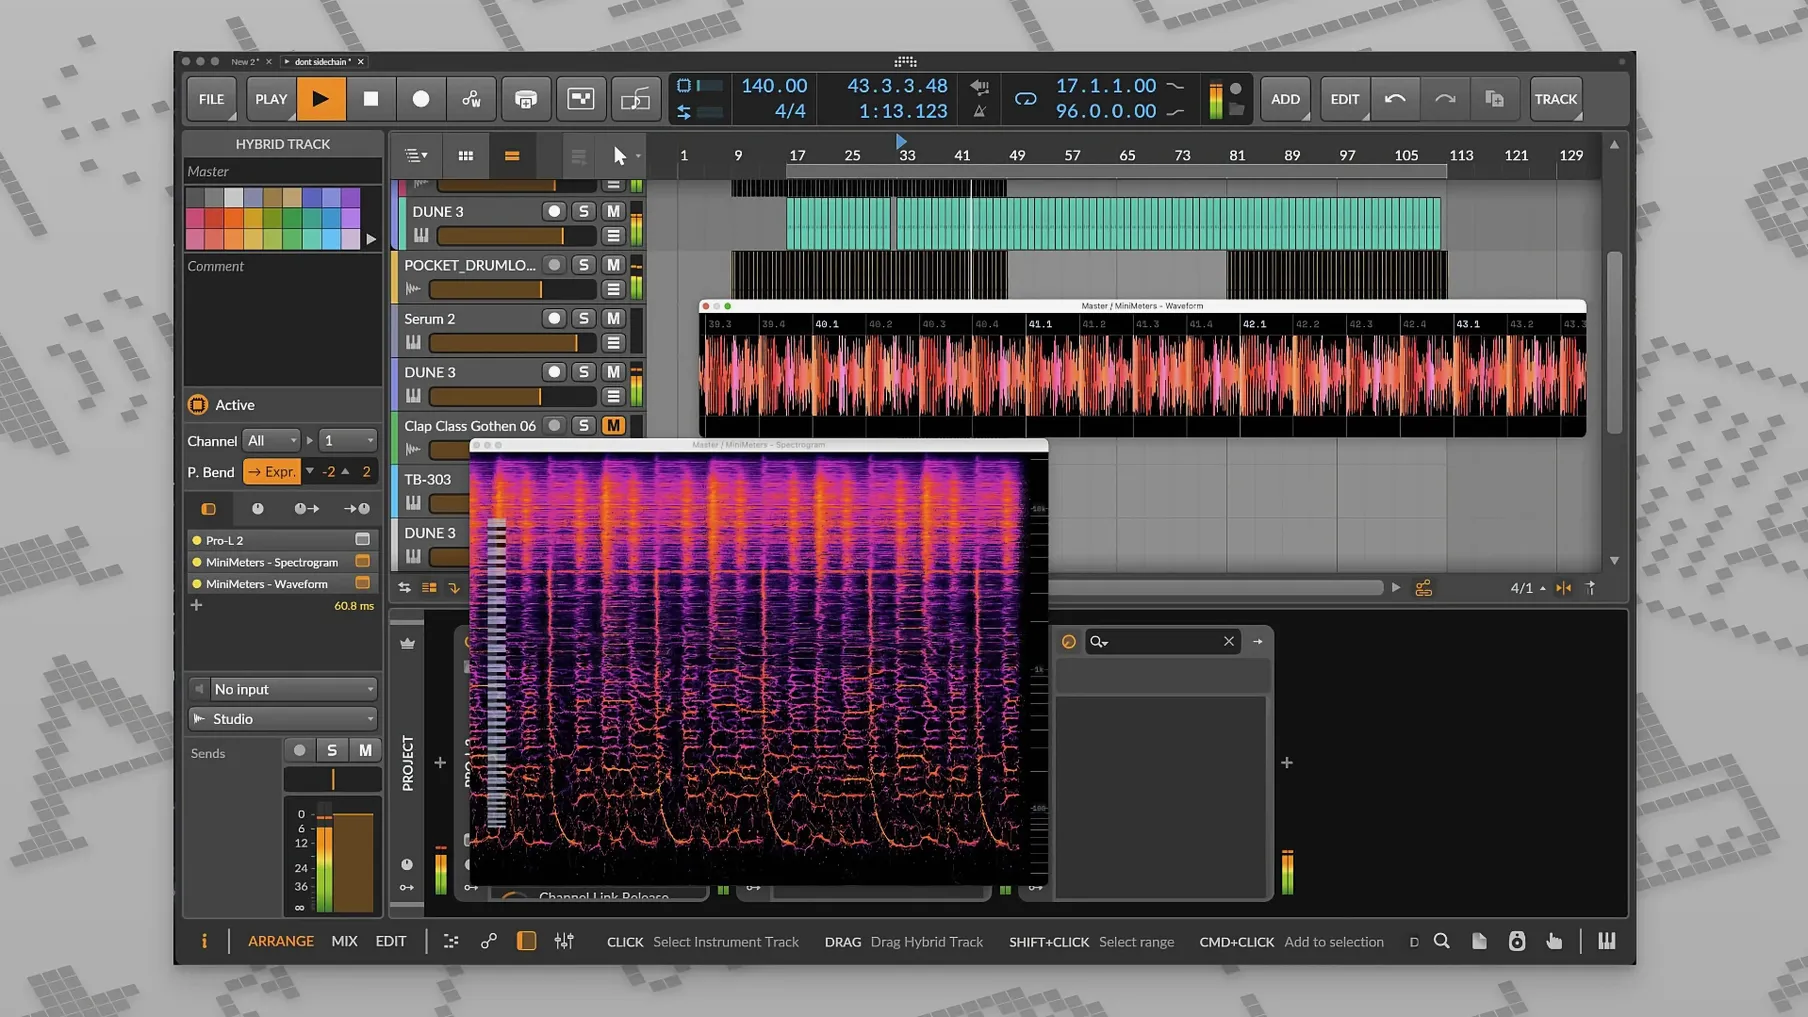
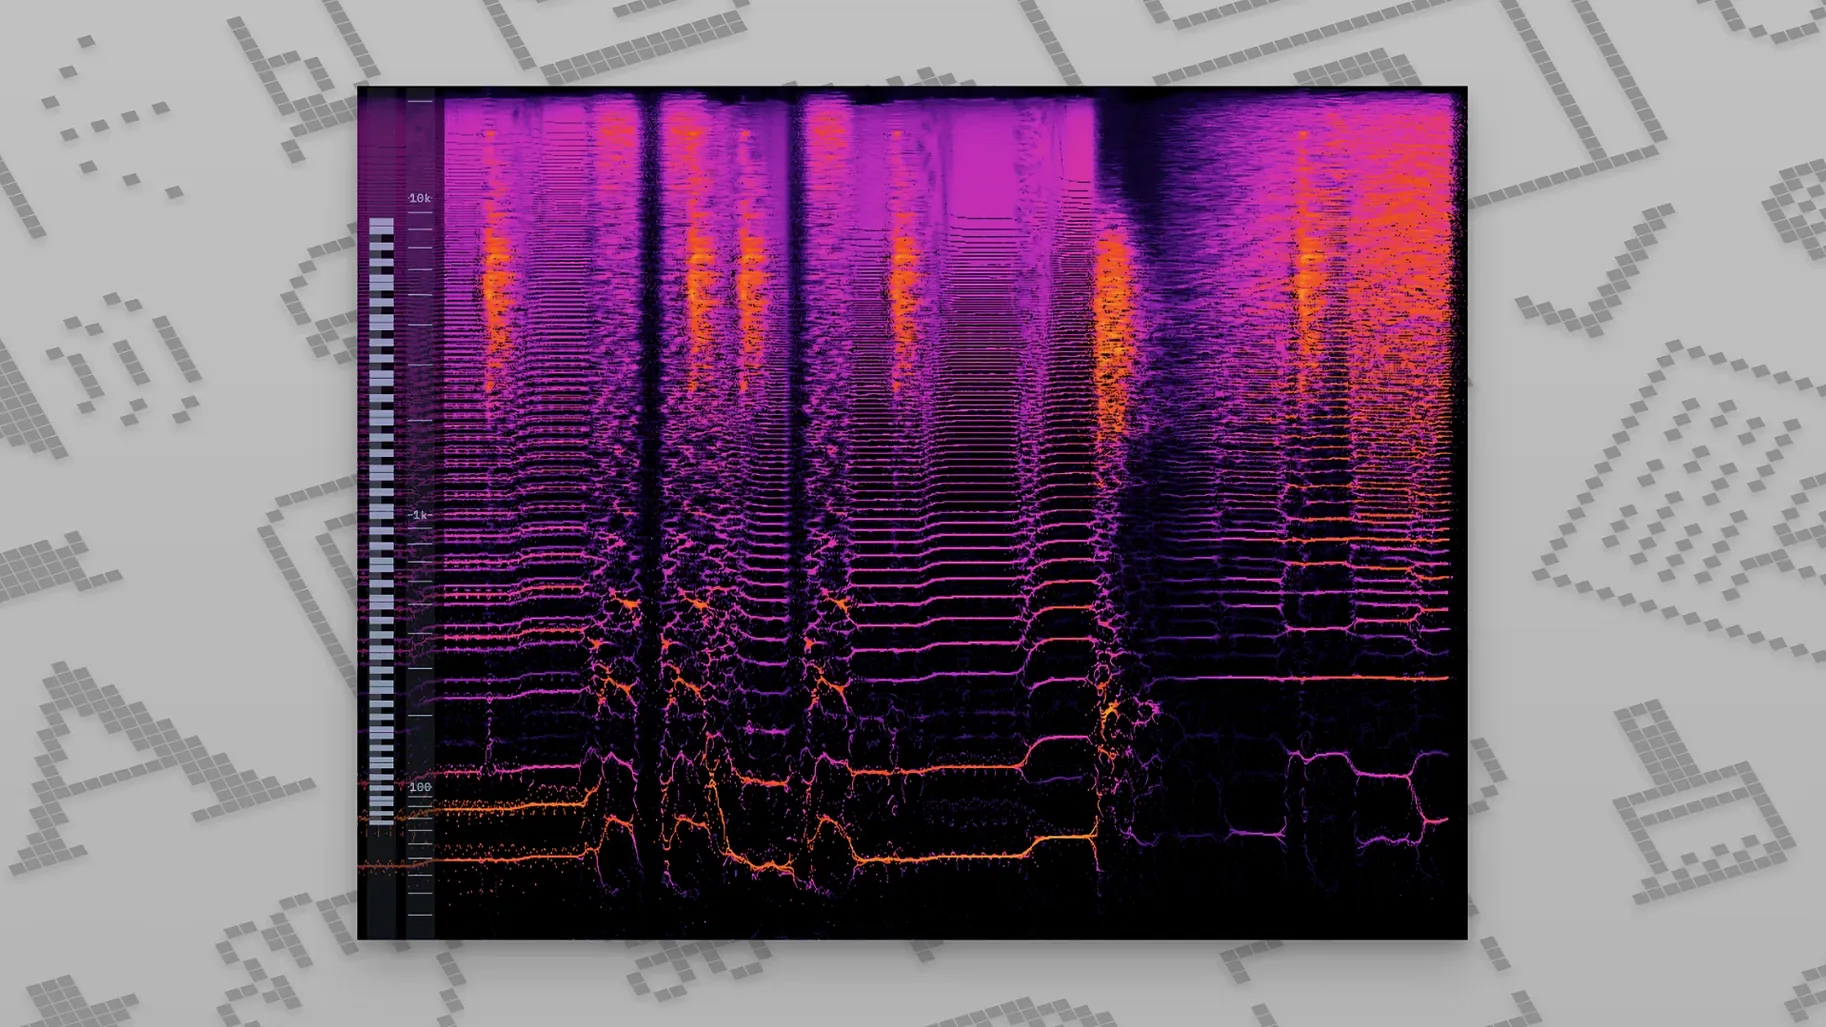
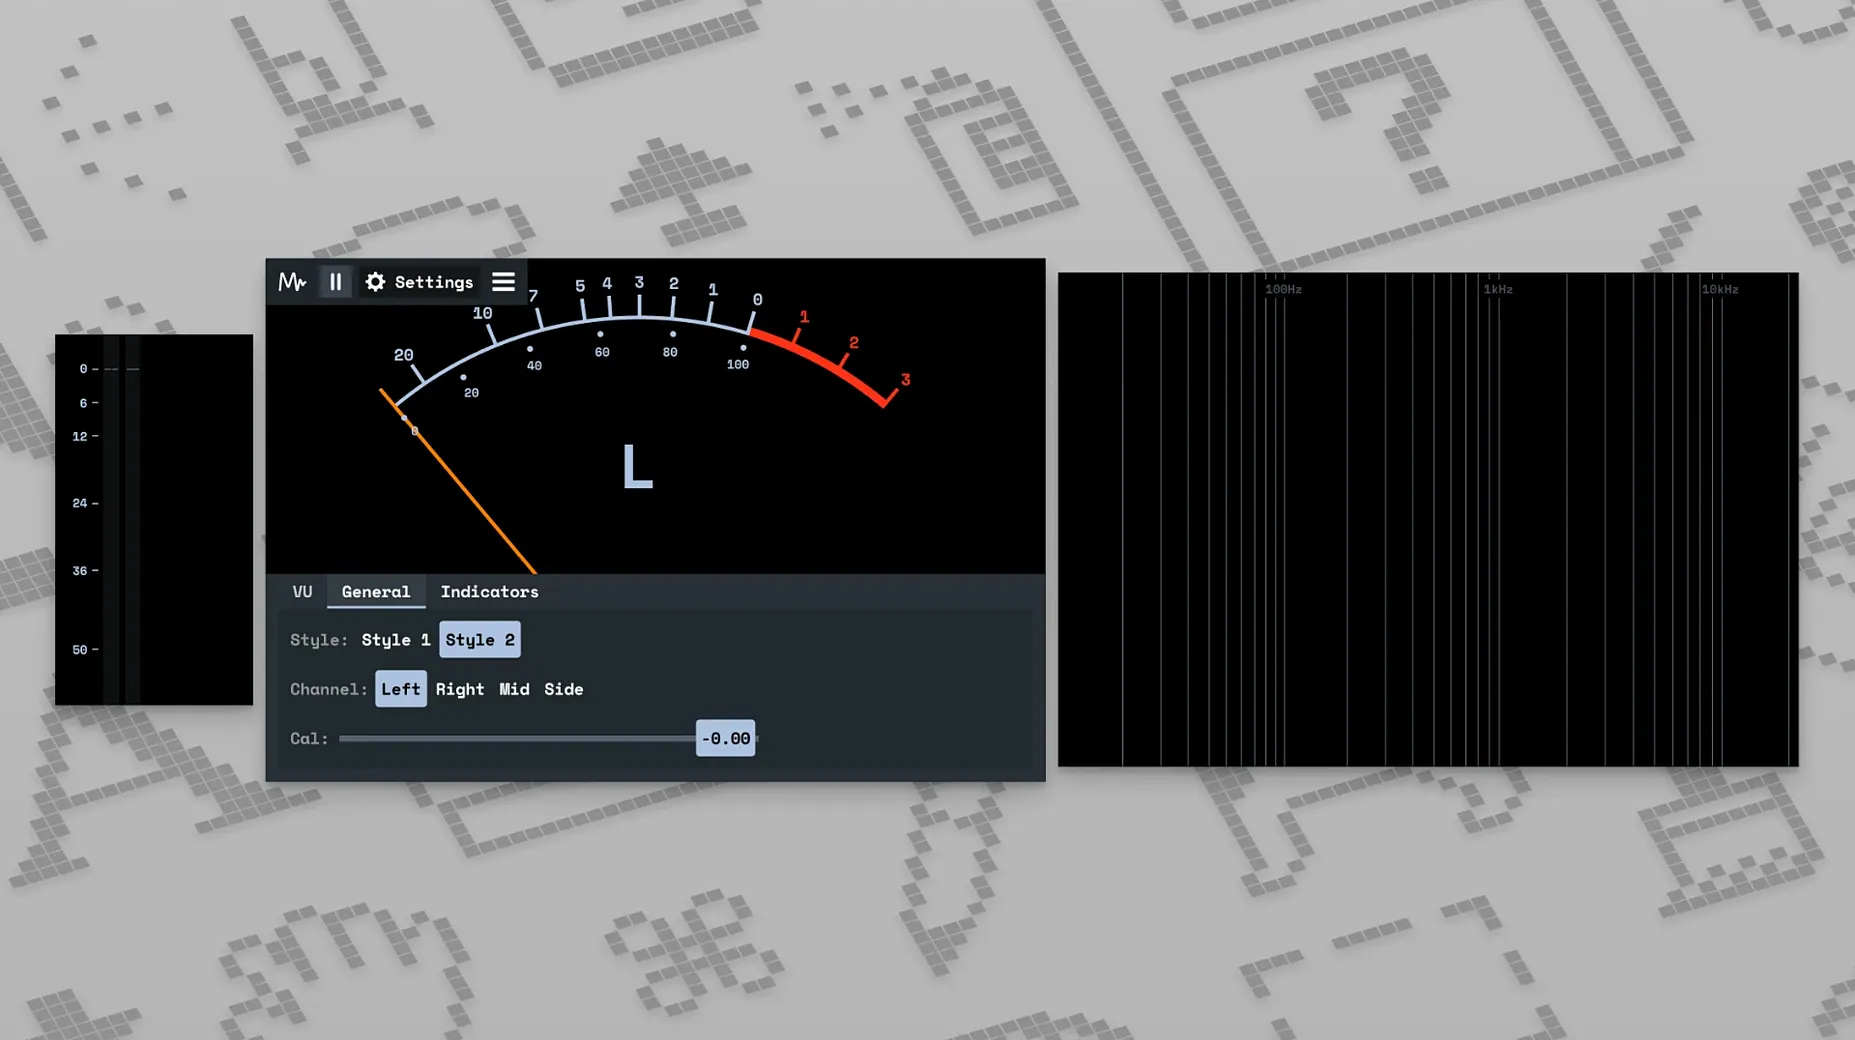
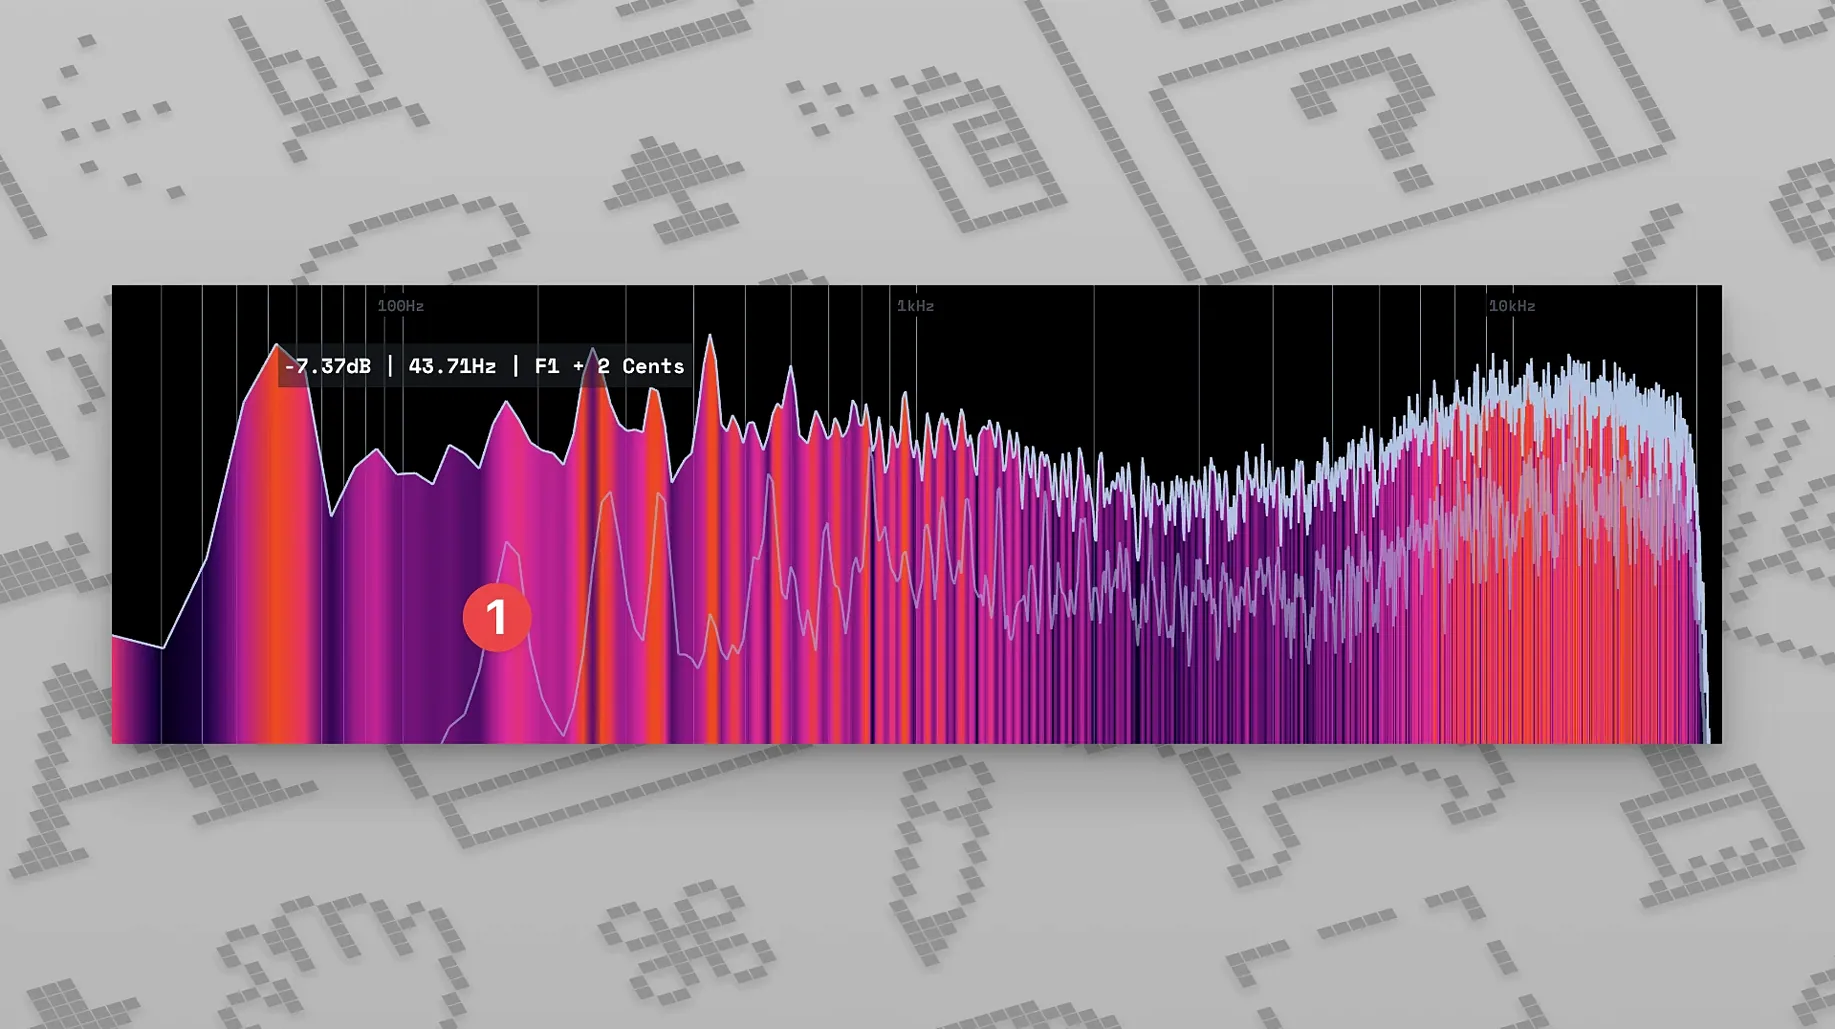
You hit play on a dense mix, and the master bus numbers twitch in the corner of your screen — but you want more than a single aggregate reading. MiniMeters sits off to the side as a dedicated window, pulling audio from your DAW or system output and breaking it into a customizable grid of meters that update with each buffer cycle.
Customizable meters for LUFS, peaks, and system audio
- Real-time loudness monitoring, including integrated and momentary LUFS, plus peak readings.
- Standalone mode for checking system audio without opening a DAW session.
- Rearranging meter modules, colors, and layout to match how you actually work.
- The companion
MiniMetersServerbridges audio from a track insert to the display — no virtual cable routing needed.
LUFS is spec-aligned, but uninstalling takes extra steps
- LUFS compliance arrived in v0.7.0; behavior on the current build is spec-aligned, not an approximation.
- The disk image ships a
.pkginstaller, so removal isn’t a simple drag-to-trash affair. - Heavy custom layouts with many meters can push older Intel machines harder — keep an eye on GPU usage.
A session with MiniMeters, step by step
You have a track that sounds fine at your desk but falls apart in the car. Yesterday you pulled up the loudness history after a full pass and spotted a two‑minute stretch where the short‑term LUFS drifted almost 3 dB above the rest of the song — invisible on a peak meter, obvious once you saw the slope. That kind of catch is what a session with MiniMeters is actually about.
Here’s how a typical run goes. You drop MiniMetersServer onto the stereo bus or a monitor aux in your DAW. It shows up as an insert — no routing matrix, no virtual cable driver to install. You launch the MiniMeters app and it finds the server automatically. The window pops up with the default four‑panel grid: waveform, stereo vectorscope, LUFS readout, and a spectrum. You hit play on the chorus section you were mixing, and all four panels come alive at once.
First thing you notice is the stereo field. The vectorscope shows energy leaning about 4 dB to the left — a reverb return you forgot to pan center. You fix it, watch the display rebalance, and move on. Then you loop the loudest eight bars and watch the momentary LUFS number settle. You nudge the vocal fader down half a decibel, and the number drops exactly as you expect. No waiting for an offline analysis to finish; the feedback is immediate.
Next you solo the bass and drums together. The spectrum shows a buildup around 120 Hz that you felt in your chest but couldn’t pinpoint. You open an EQ, make a narrow cut, and watch the peak on the spectrum dip in real time. At this point you might pull a reference track into a second DAW track, route it through the same server insert, and toggle between the two — MiniMeters keeps displaying whatever audio the server sends, so A/B comparison is dead simple.
Before you bounce, you run the full song one more time and keep an eye on the integrated LUFS number accumulating in the corner. When the last note fades, you glance at the readout: it’s within half a LU of your target for the project. You bounce, close the session, and later that evening open MiniMeters in standalone mode, selecting your browser’s audio output to spot‑check a streaming reference without firing up the DAW at all.
Why it works as a server bridge instead of a traditional plug‑in
MiniMeters isn’t a plug‑in in the traditional AU/VST3 sense — you don’t insert it directly on a channel. Instead, MiniMetersServer acts as a lightweight audio bridge that any DAW sees as a standard plug‑in. That design means it works with Logic Pro, Ableton Live, Reaper, and anything else that hosts AU or VST3 on a stereo track. The server streams audio to the display app over a local connection, so you can even run the meter window on a second Mac on the same network if you want a dedicated metering screen separate from your mixing machine.
In standalone mode, the app taps into whatever macOS audio device you select — built‑in output, an audio interface loopback channel, or a virtual device created in Audio MIDI Setup. This is where it pairs well with Audio Hijack or BlackHole if you want to meter audio from a browser, a media player, or a video call without routing through a DAW. For users who rely on SoundSource for per‑app volume control, MiniMeters can sit downstream, monitoring the final mix of everything leaving your interface.
On the macOS side, MiniMeters respects Dark Mode automatically and plays nicely with Spaces — you can full‑screen it on a separate desktop and swipe over to check levels mid‑session. It also responds to standard window‑management gestures and remembers its position across launches, so a dual‑monitor setup with meters on the secondary display becomes a set‑once arrangement.
Blank window? You probably skipped the server step
The most common rookie move is launching the app without starting the server first. You open MiniMeters, stare at a blank window, and assume something is broken. The app needs MiniMetersServer instantiated on a track in your DAW — or needs a system audio source selected in standalone mode — before any visual data appears. The help docs spell this out, but plenty of people skip them on the first run.
Another frequent stumble: misunderstanding the LUFS meter modes. The display shows short‑term, momentary, and integrated values, and a beginner will sometimes treat the momentary number as the one that matters for loudness normalization. It is not. Integrated LUFS over the full program is what streaming platforms use, and watching only the momentary readout during a quiet verse leads to chasing the wrong target. The minimeters display makes the distinction clear once you read the labels, but the three numbers sitting next to each other can blur together when you are moving fast.
Some users grab a minimeters crack or minimeters torrent from a forum and find themselves on a version that predates the v0.7.0 LUFS compliance fixes — meaning the readings are not spec‑accurate and any loudness decisions based on them are suspect. The current v1.0.30.358 build aligns with the standard; older cracked builds often do not, so checking the version number after setup is a smart move.
Layout overreach is another early mistake. You can add every meter module at once — waveform, spectrum, spectrogram, vectorscope, LUFS, peak, correlation — and suddenly the window is a dense grid of tiny panels that flicker faster than you can read. A better approach is to start with three or four modules, learn to read them at a glance, and add more only when you have a specific question that a new meter can answer.
Seeing transient peaks and sustained loudness side by side
Mixing engineers who work across genres are the natural power users. A rock session demands attention to transient peaks; an electronic session is all about sustained loudness and sub‑bass energy. MiniMeters gives you both views simultaneously without switching tools, and the customizable grid means you can keep the stereo field and spectrum visible while the LUFS meter runs its long‑term tally. That combination of visual feedback in one window cuts down the number of times you reach for a separate analyzer plug‑in.
Mastering engineers benefit from the standalone mode more than anyone. You can load a finished mix into any playback app, route system audio through MiniMeters, and check loudness, stereo balance, and spectral content without touching a DAW session. The integrated LUFS readout over a full album side gives you a reality check before you send files to a distributor. A minimeters free download from the developer site gets you the full toolset for this workflow — no paid tier, no feature gating — so mastering work can be entirely self‑contained with just the app and a good monitoring chain.
Students and educators in audio programs get a lot of mileage out of it because it makes abstract concepts visible. You can explain crest factor while pointing at a waveform display that shows the gap between RMS and peak in real time. You can demonstrate masking by soloing two tracks and watching the spectrum overlap. The feedback loop between hearing and seeing shortens when the display updates with every buffer, and that immediacy reinforces the lesson faster than a static screenshot ever could.
Even casual Mac users who just want to see what their system audio looks like can get something out of it — but the ones who stick around are the people who treat metering as part of their decision‑making process, not as decoration. If you already reach for a LUFS meter before you bounce, or you habitually check a spectrum analyzer when a mix feels muddy, MiniMeters slides into that habit without friction.
- v1.0.30 ships long-requested bug fixes and polishes a handful of small UI rough edges that have been present across several prior releases.
- macOS 10.15 or later
- Intel and Apple Silicon Macs
Comments 0
Sign in or create an account to leave a comment.
No comments yet. A codec, a slice, a machine — they appear after moderation.
More in VST Plugins
cd ../ Minuit Solstice
VST Plugins 117 MB
 MixWave Manuel Gardner Fernandes
VST Plugins 238 MB
 Metric Halo Production Bundle
VST Plugins 318 MB
 Melodyne
VST Plugins 97 MB
 MeldaProduction MCompleteBundle
VST Plugins 1.2 GB
 Native Instruments Massive X
VST Plugins 1.6 GB
 Native Instruments Noire KONTAKT
VST Plugins 14.7 GB
 Neural DSP Archetype Petrucci
VST Plugins 745 MB